DIY Christmas Village
5th Nov 2020
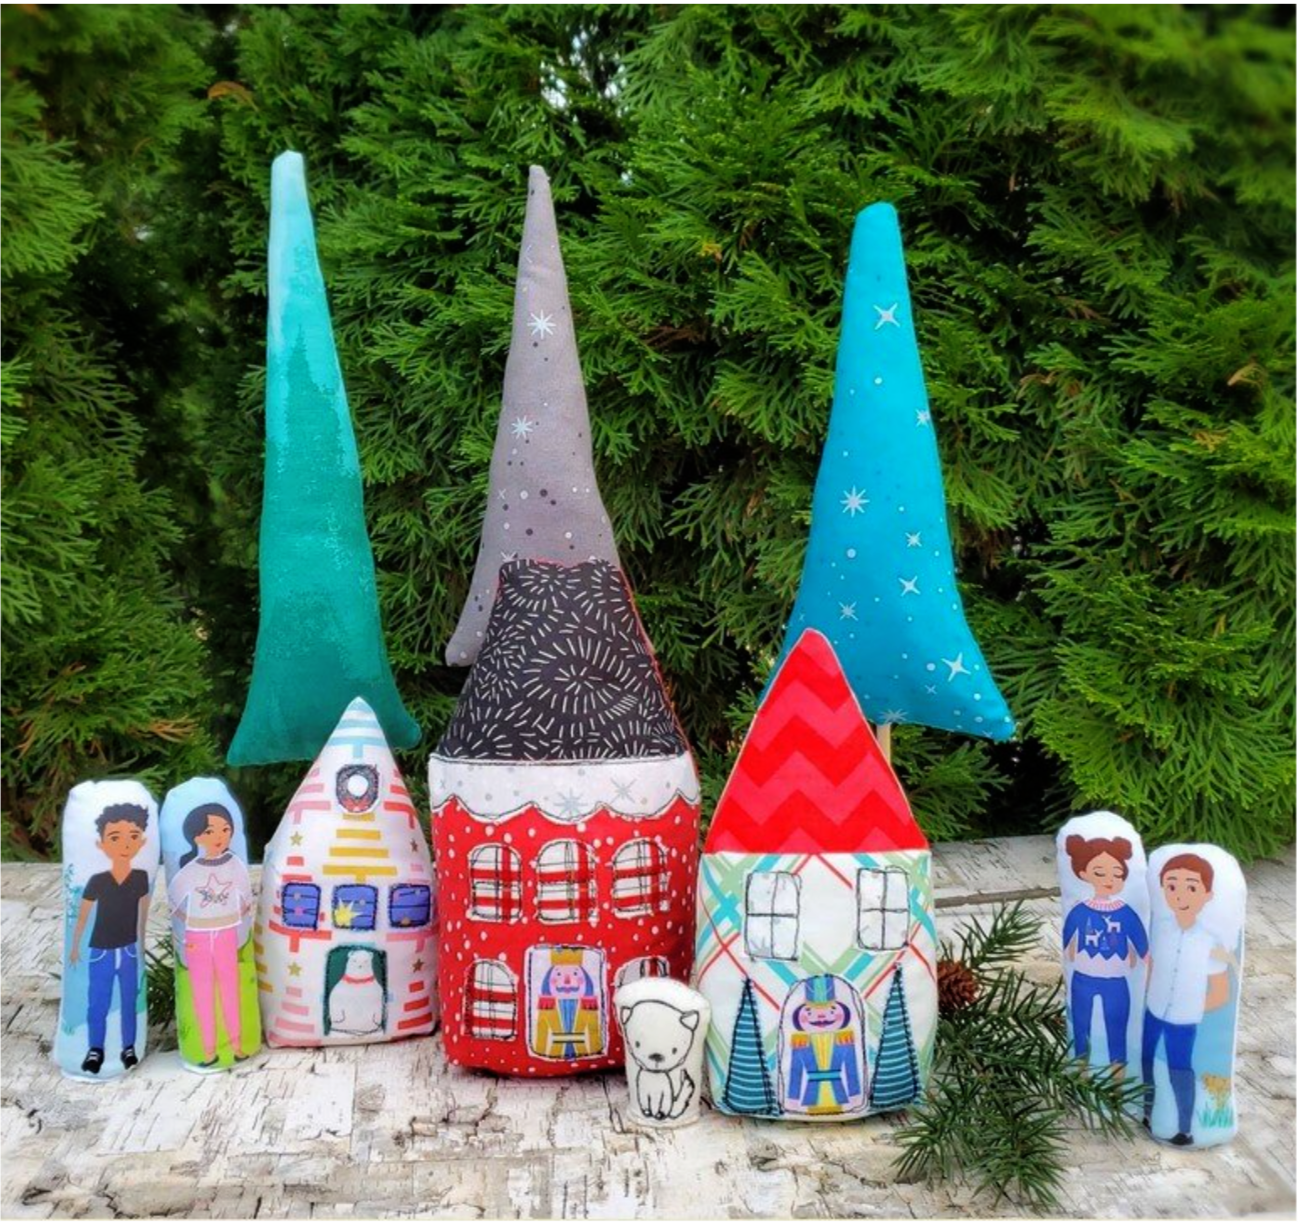
It is the first week of November and I am ready to get sewing on some holiday gifts. I spotted this pattern for a Christmas village from Ame Roonie designs. My Cotton Cuts Classic box has had so many great fabrics that were perfect for this project.

When my kids were growing up it was fun to have child friendly decorations for the holidays. As the holidays approach children are filled with excitement about the season. This would be a fun decoration to engage in imaginative play as they anticipate the big day. Depending on your fabric choice it can work for different holidays throughout the year.
Materials needed:
Pattern downloaded and printed
Fat quarters of assorted fabric
Coordinating thread
Poly-fil
Assorted fabrics for fussy cutting details
Heat n bond lite and tear away stabilizer
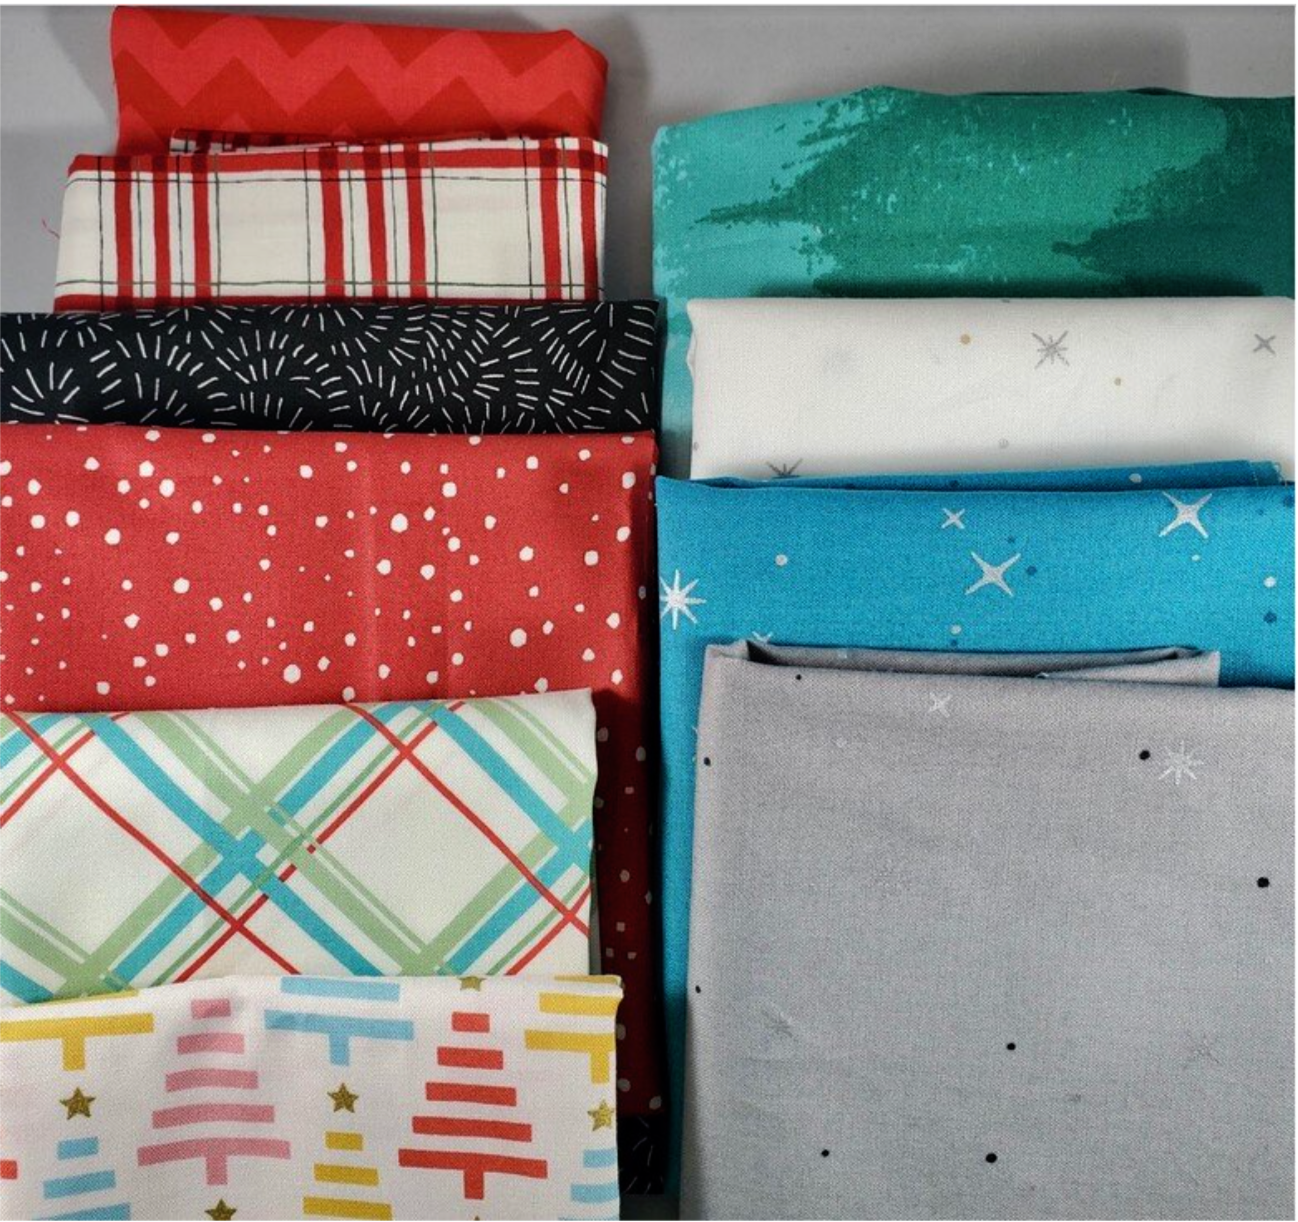
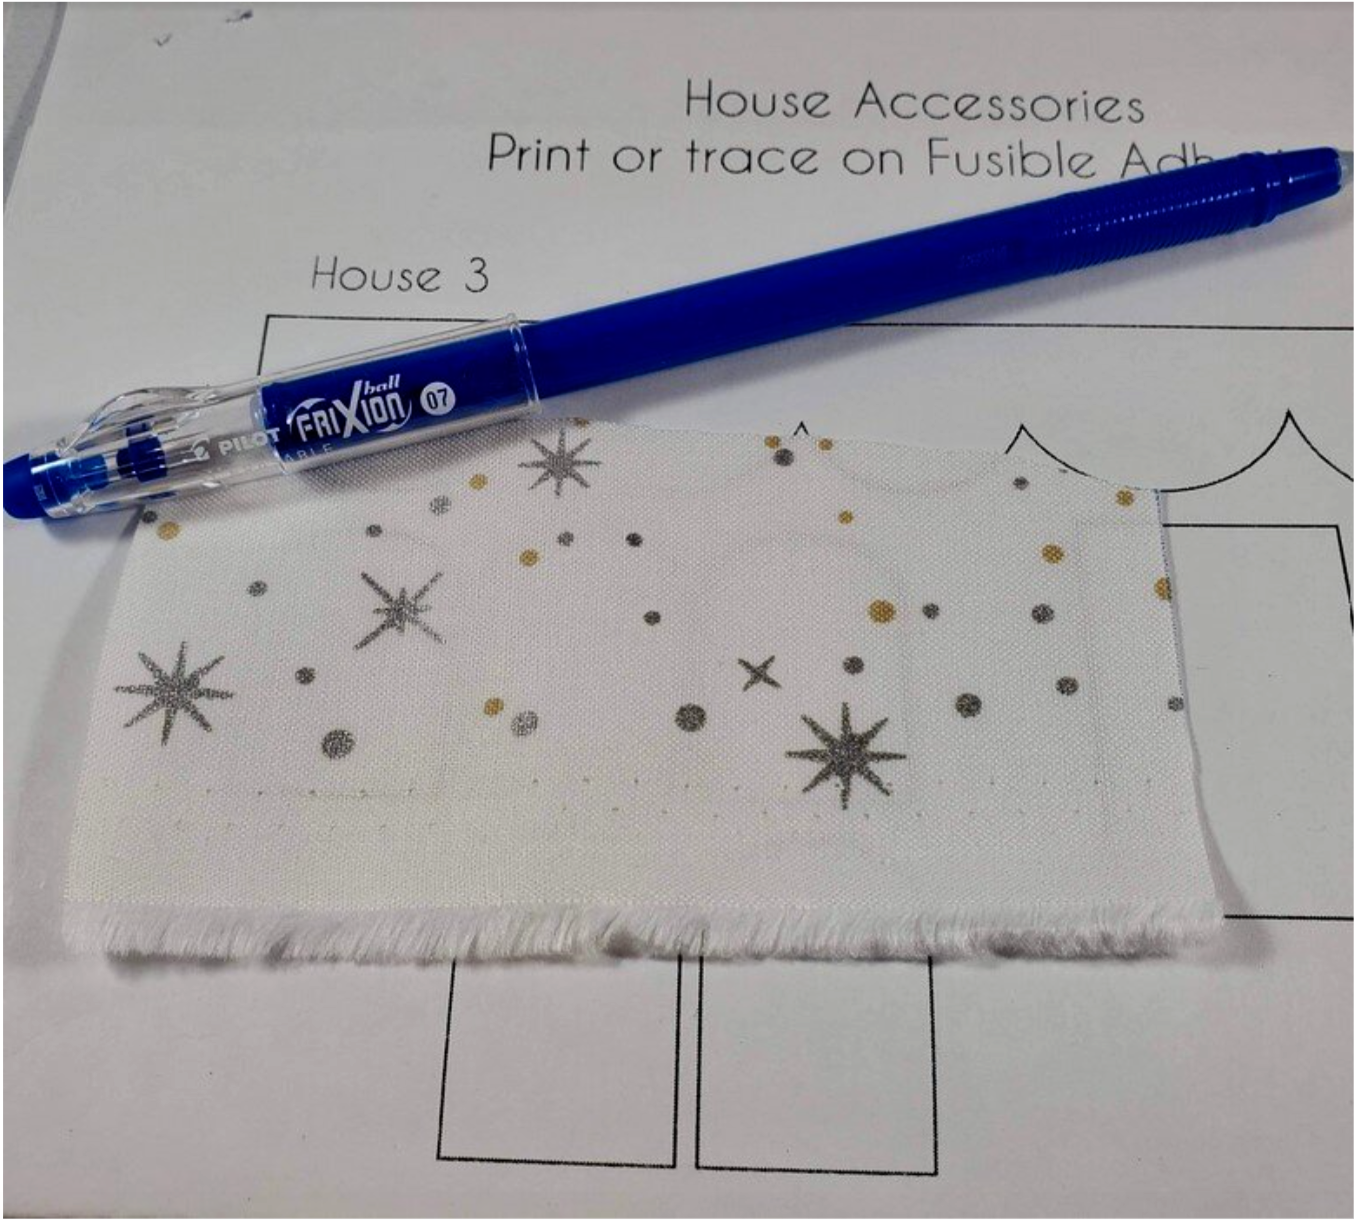
After you print the pattern and read it over, it is time to have some fun picking out holiday fabric for the village. I really enjoyed digging through my stash to find some fun designs to fussy cut for the houses. I recently purchased a light box and it was very helpful to use to mark the cutting lines for the pieces. I use a Frixion pen to draw the shapes since it disappears with the heat of iron.
For this project, I made one of each size of the houses in the pattern. The two larger houses have a different fabric for the roof to add some interest. I used high contrast fabrics. I picked the house fabric and then started fussy cutting the windows and doors for each one. If you decide to use just the fusible heat n bond to adhere the windows and doors you will want to iron it on the fabric before you fussy cut it out.
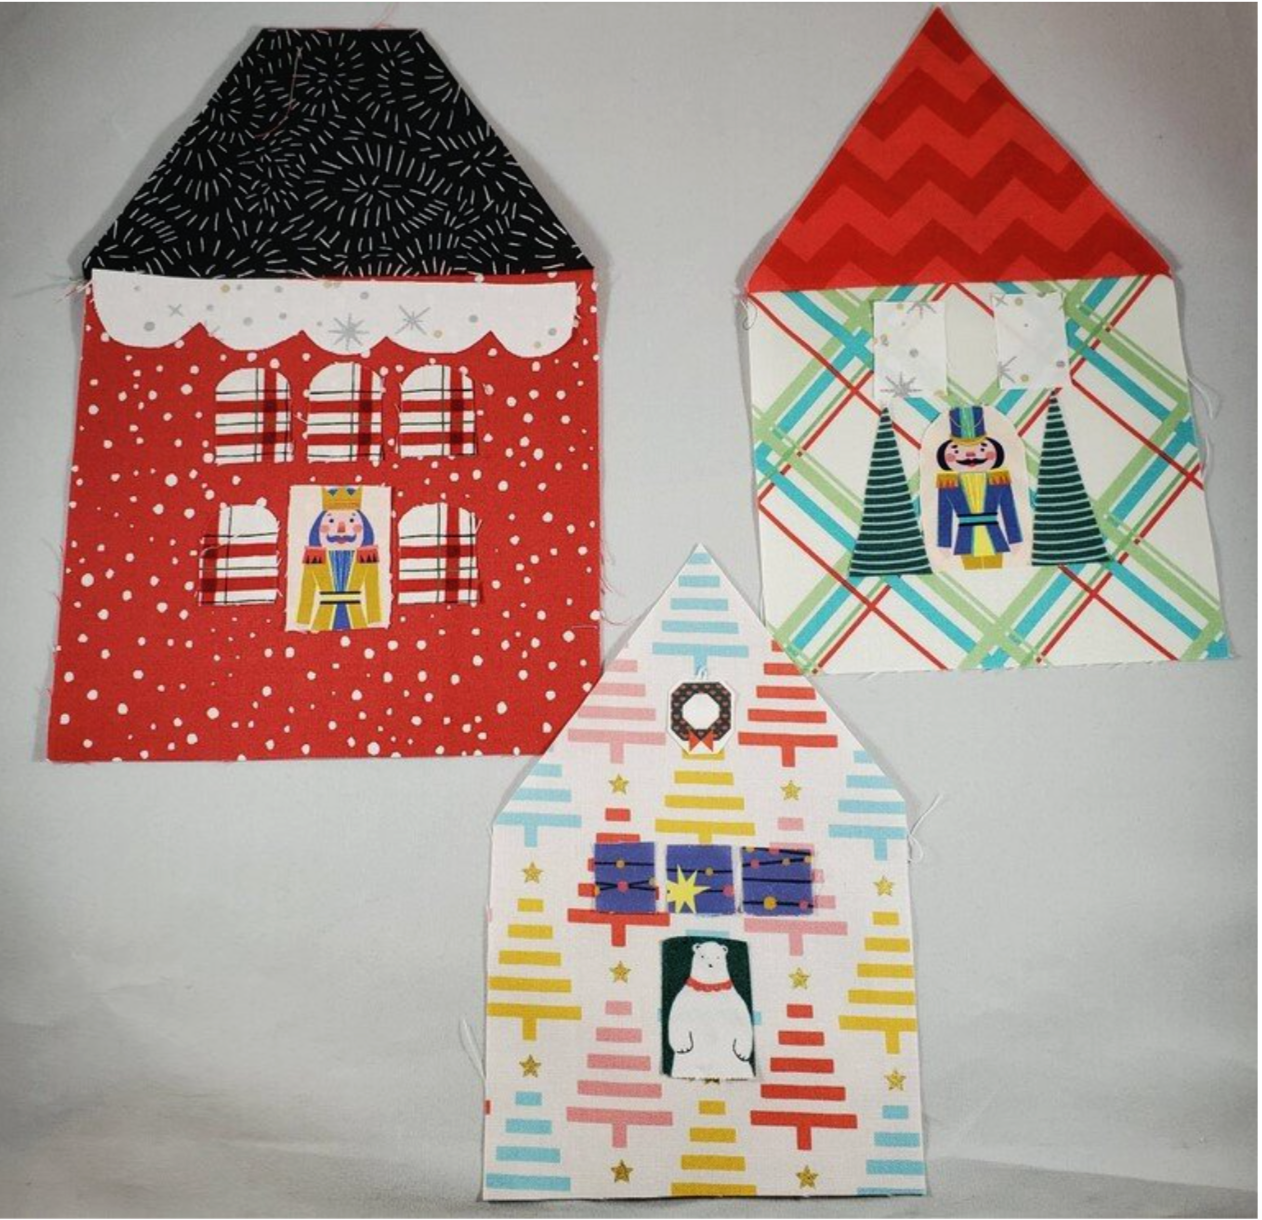
Following the pattern, I sewed the roof in place and prepared the front piece by ironing on the windows and doors in the appropriate placement. Next, I sewed around the pieces with black thread using free motion quilting. It is very helpful to put a stabilizer on the wrong of the fabric as you sew. It keeps the fabric smooth, I quickly realized something was wrong when I forgot to add it as the fabric bunched up with the stitching.
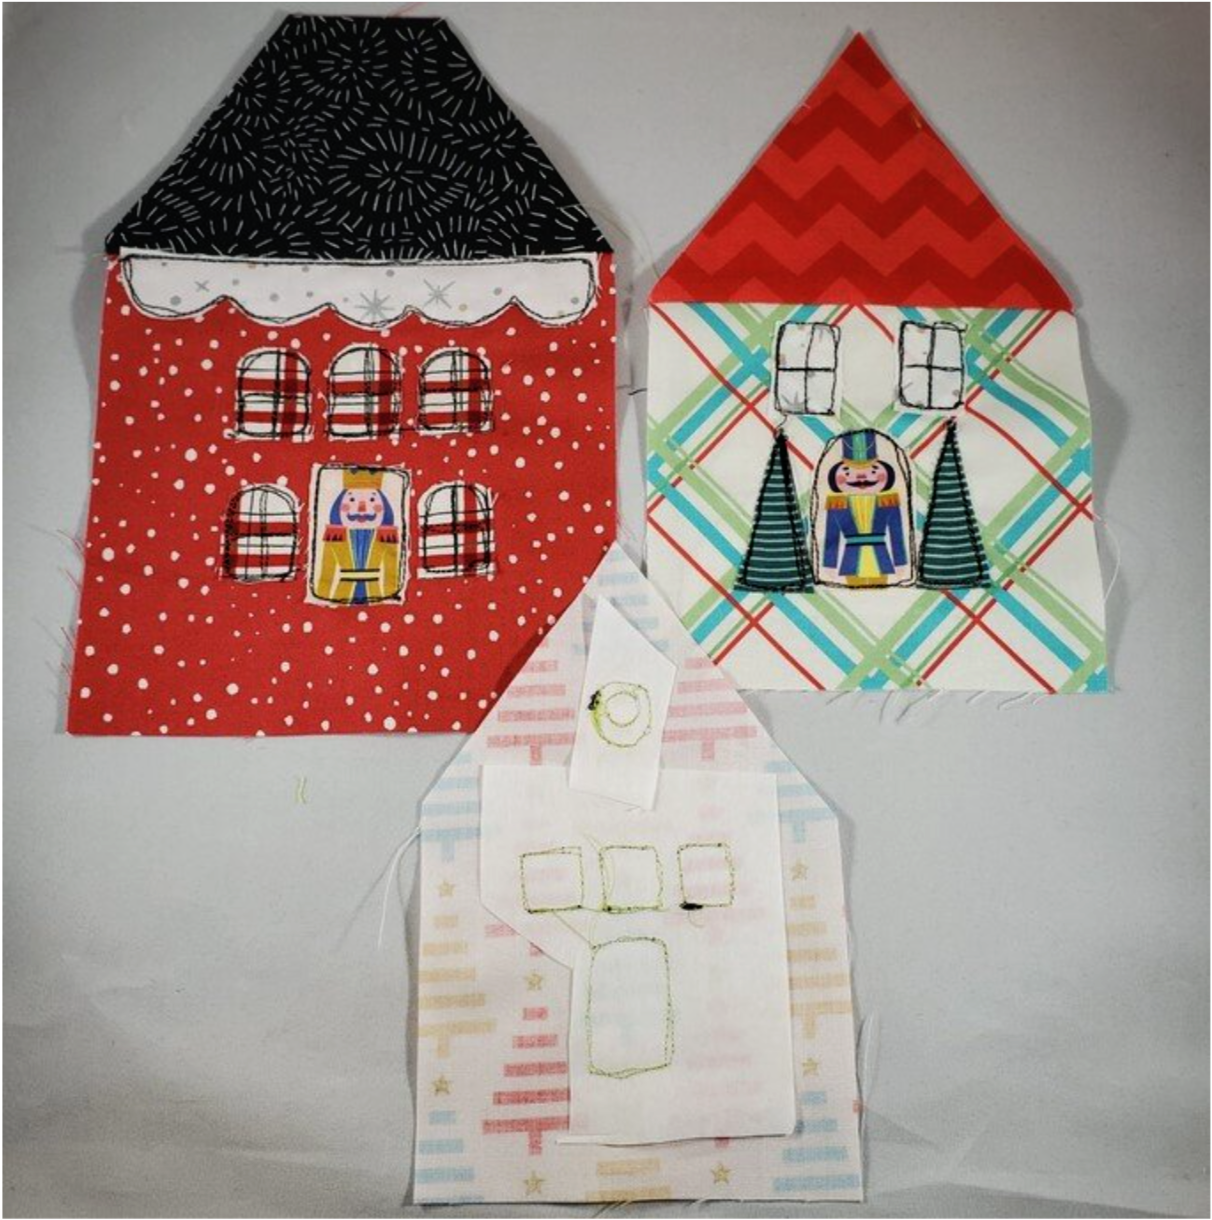
The stitching adds detail and a whimsical feel to the house. Next you will place right sides together and sew the house together boxing the seams and sewing the darts to give the house its shape.

After turning right sides out it is time to stuff with poly-fil. Stuff the houses firmly adjusting the shape as you fill. I use a dowel to help guide the fluff to create the shape. When you are happy with the shape you will hand sew the opening closed.
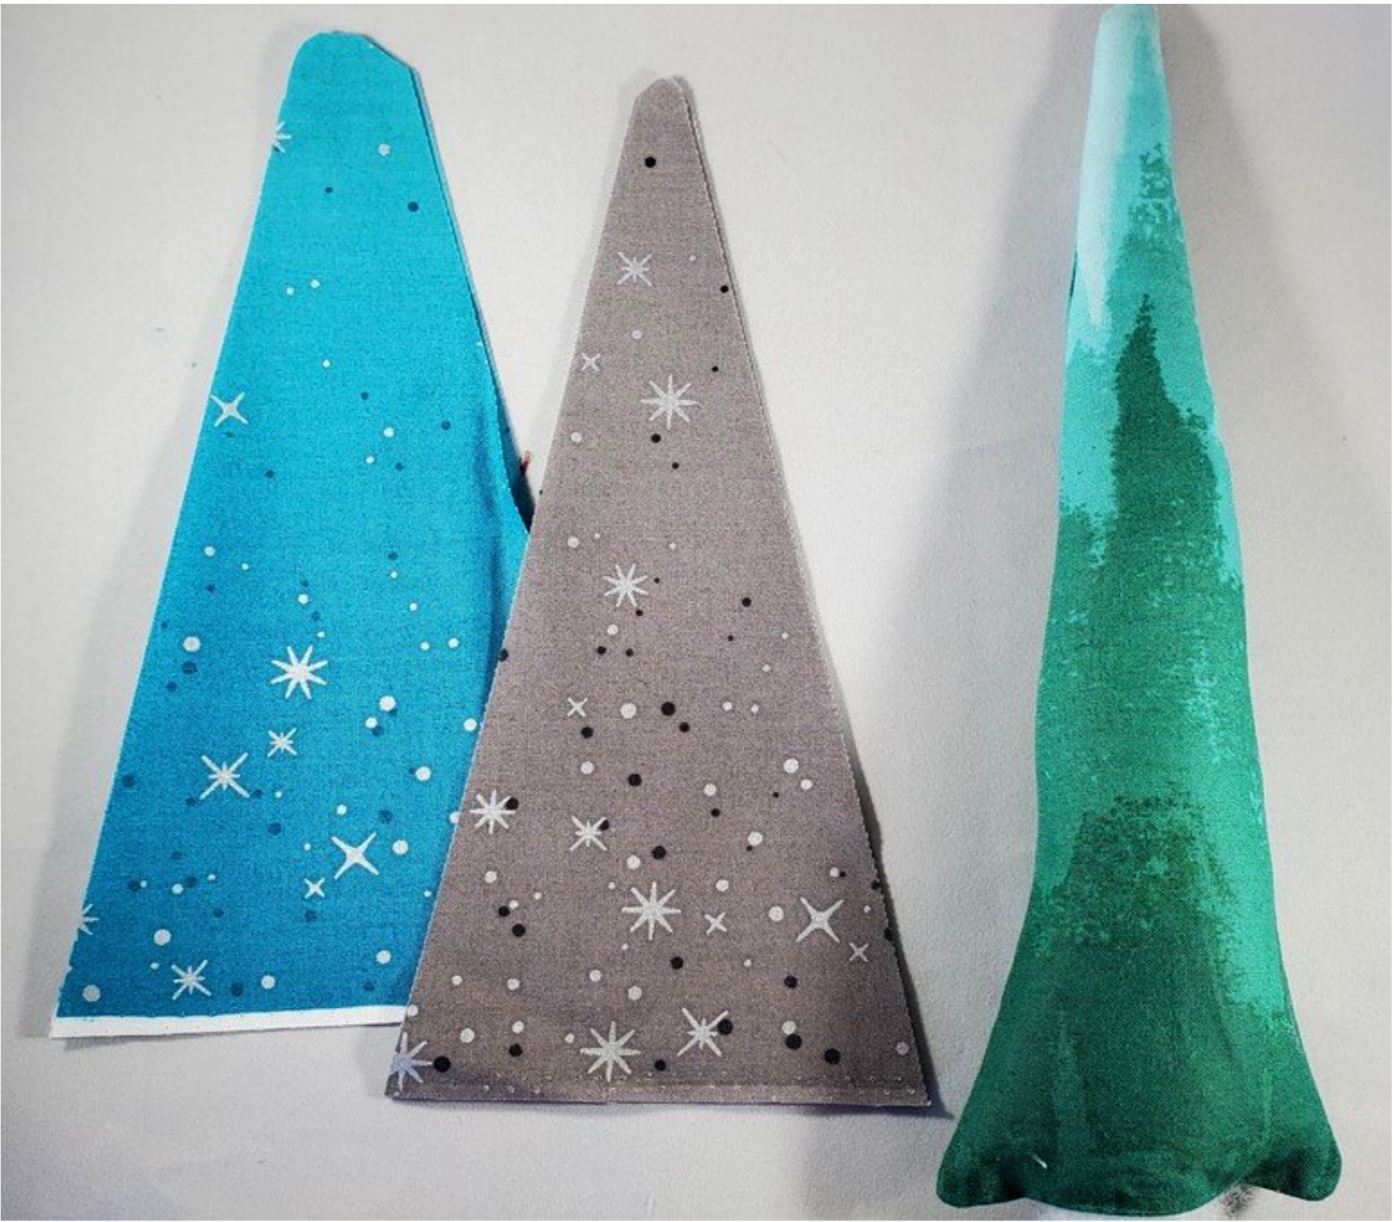
To complete the village, I decided to add these simple triangle shaped trees.
I continued with the fussy cutting to make some people and even added sweaters keeping with the holiday spirit.
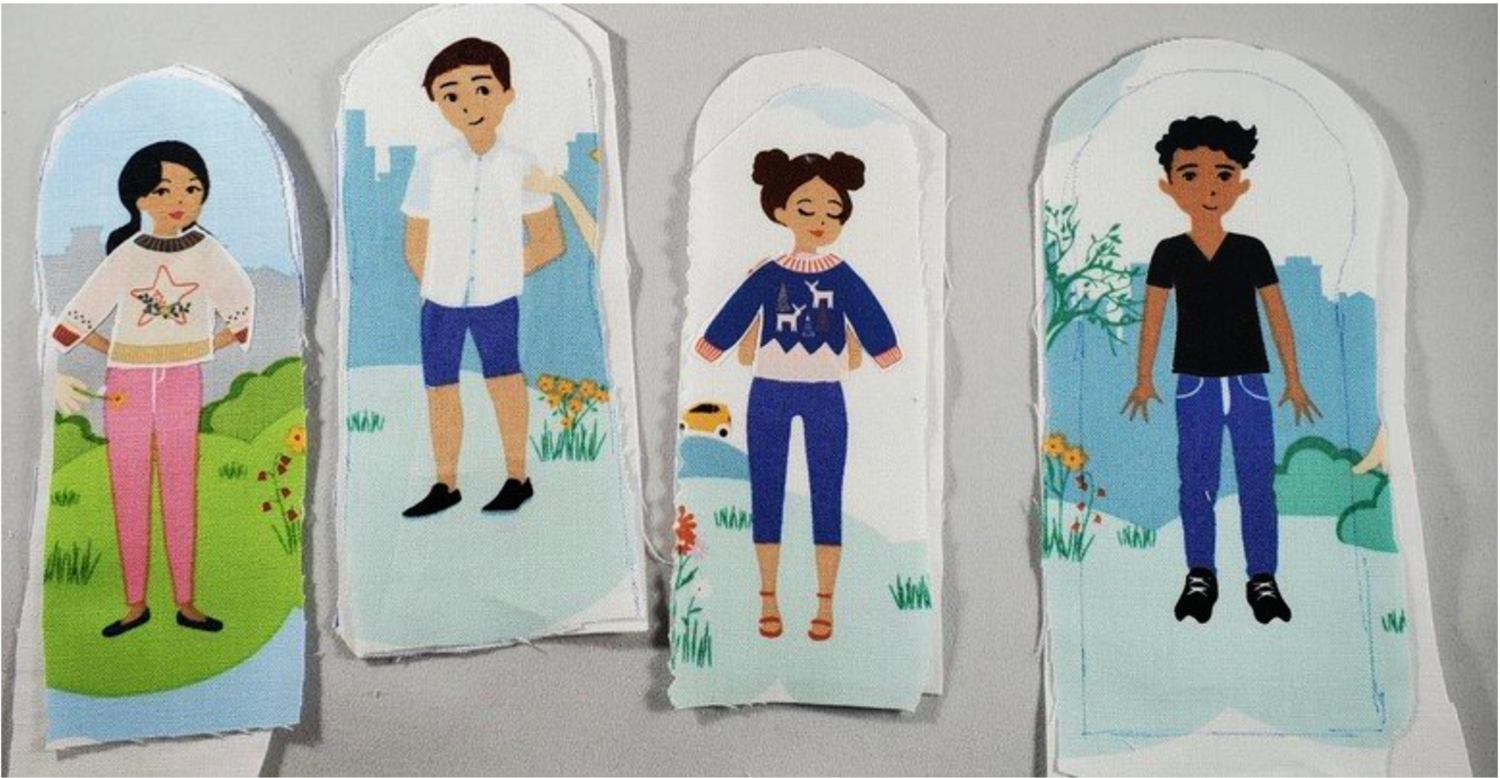
To complete the people, sew ¼” seam, turning right sides out and stuffing with fiber-fil. I hand stitched the bottom closed using a big stitch and pulling it tight knotting the thread tightly.
Using double sided fusible Pel-Tex circle cut to the appropriate size and fuse to the bottom creating a flat surface so the people can stand upright easily. It does take quite a bit of heat to adhere. I found it easier to place the circle on the bottom of the doll and then press firmly against the iron holding the doll perpendicular to the iron. You could also whip stitch it in place for a secure hold. In this recent blog post I shared how to make play dolls.
This project would be a wonderful gift for the holidays! You can even stitch up a sustainable gift bag as described in my drawstring bag blog post.