

DIY Animal Stuffies
21st Mar 2021
Hello all! It’s Theresa and I’m back once more to make another project!
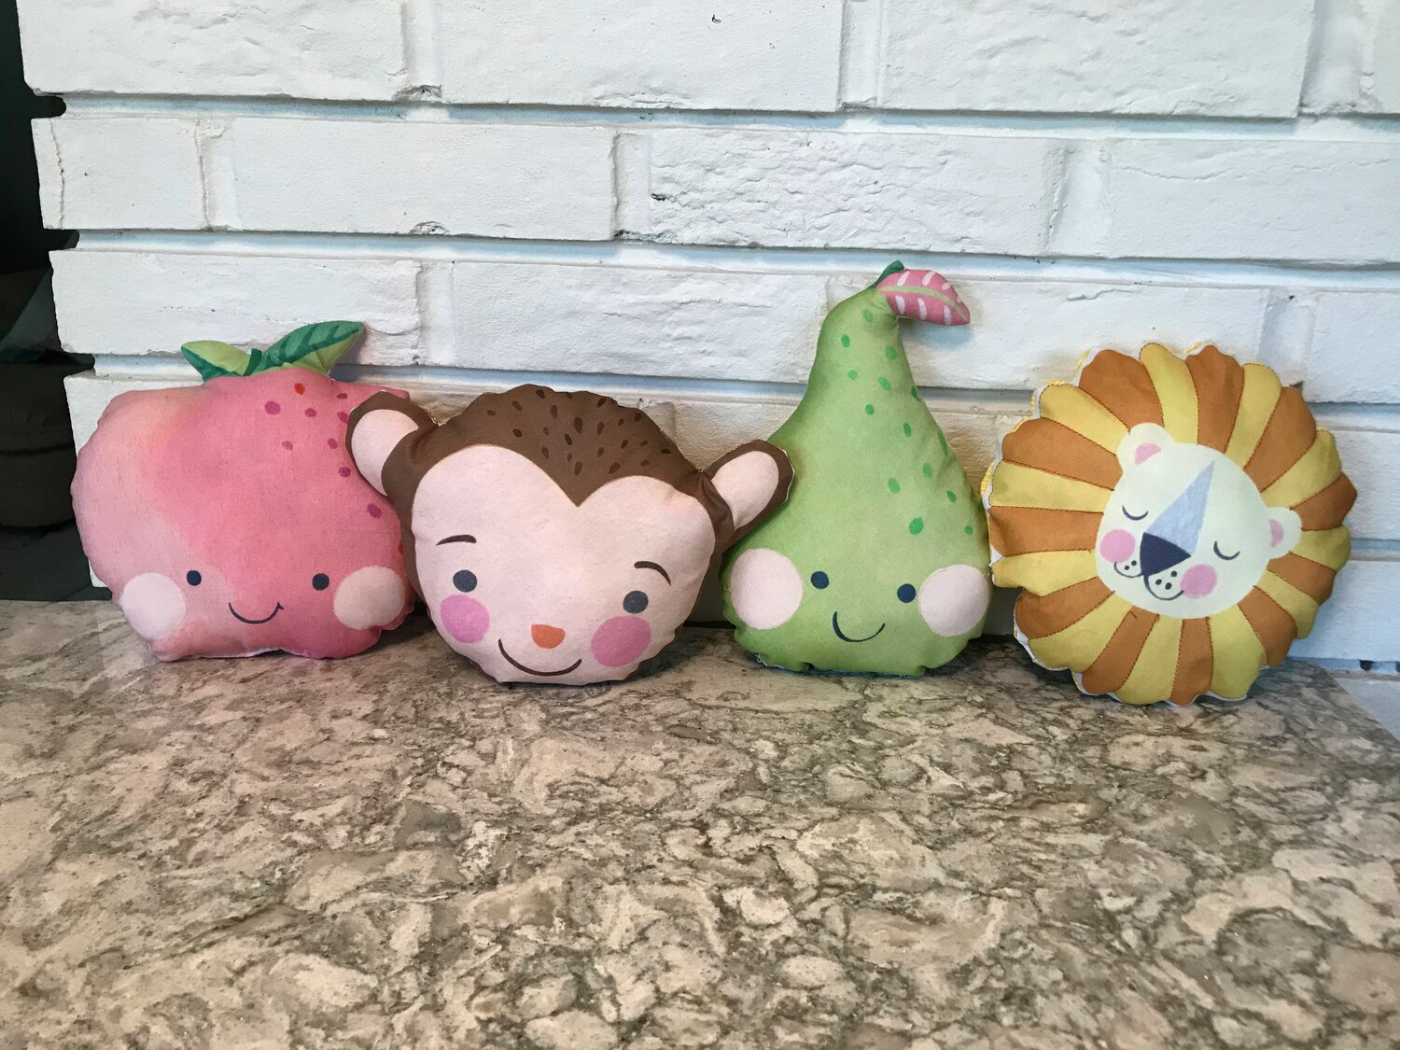
Aren’t these little faces the cutest? These are part of the Storytime fabric collection by Brenda Walton for Blend Fabrics. We sent these out as the Lagniappe with our September Classic Box and they were a hit!
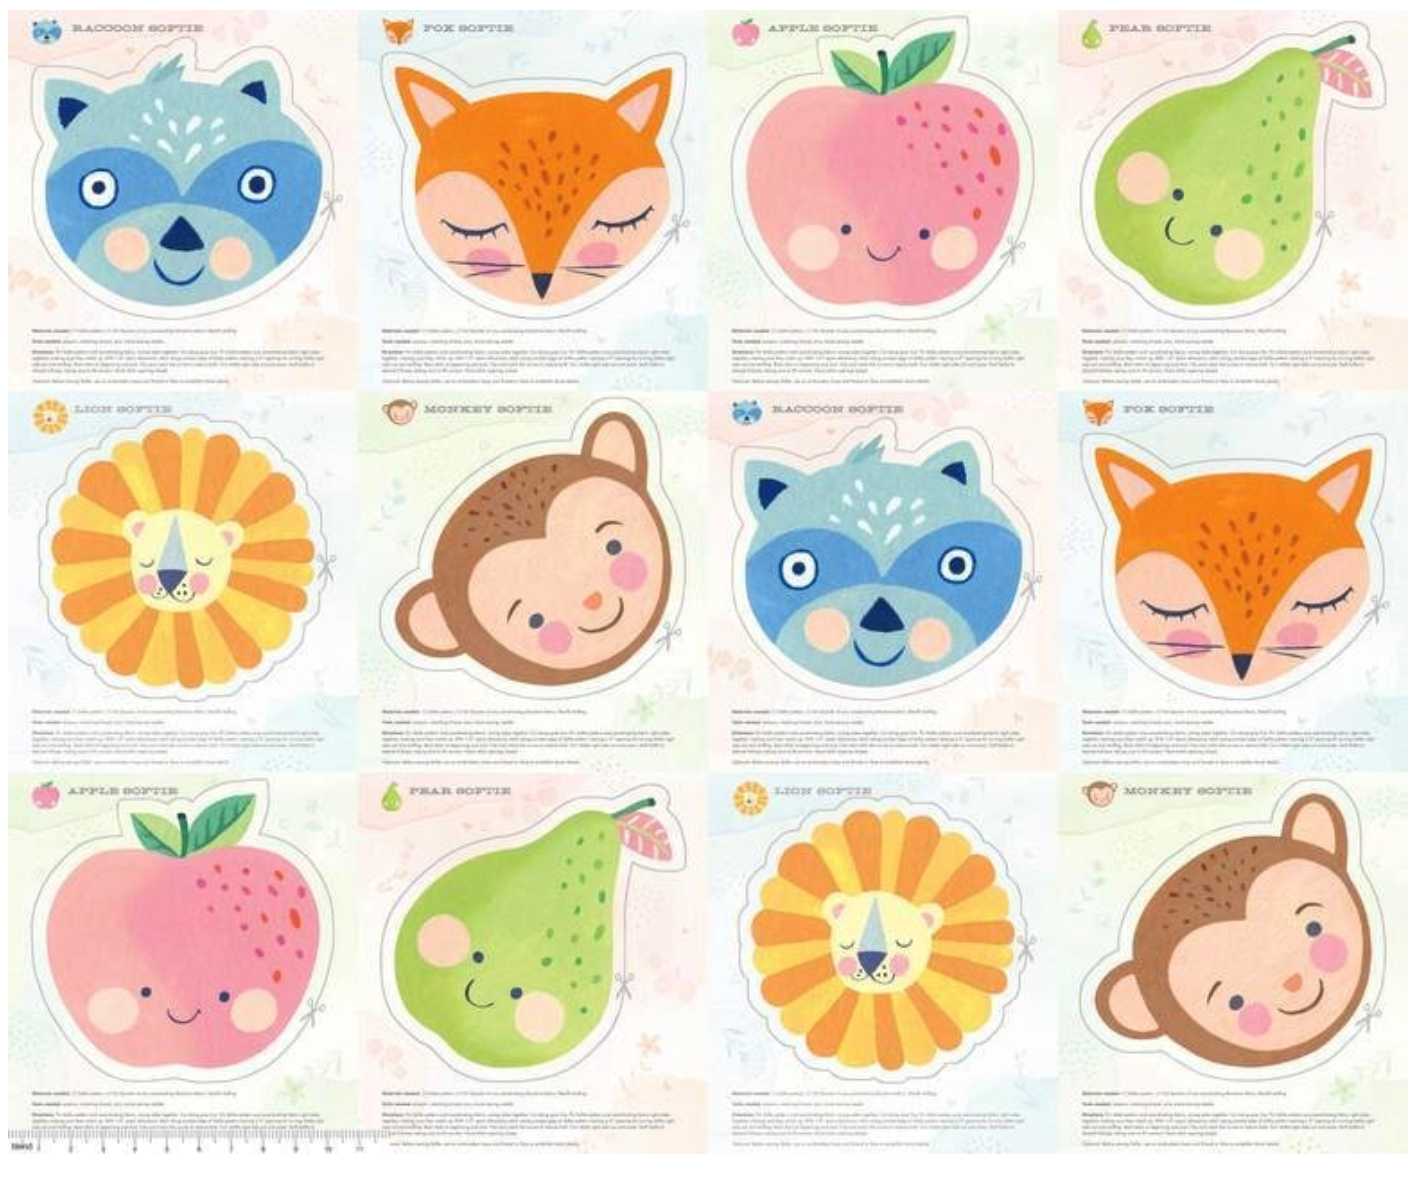
These panels come in so many different varieties like the monkey I’m doing. There’s also a lion, a pear, an apple, a raccoon, and a fox. We have them available in our shop here.
You can use the fabric panel to make so many different things. I’ve seen them made into pot holders, appliqued on a quilt, or pillows, just to name a few. The sky’s the limit here for your creativity!
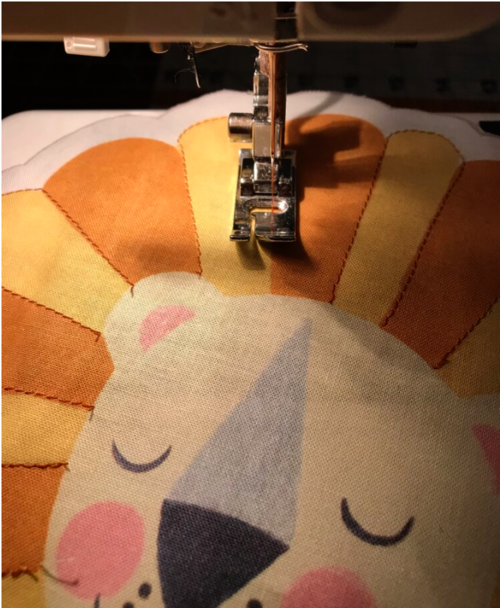
If you’re really feeling ambitious, you can embroider around the facial features to make them pop! I did that on the pear and apple around the cheeks, and on the lion, I outlined the mane. I like how it gives it a little bit of texture. I’m using the monkey panel to show you how to make a cute little pillow
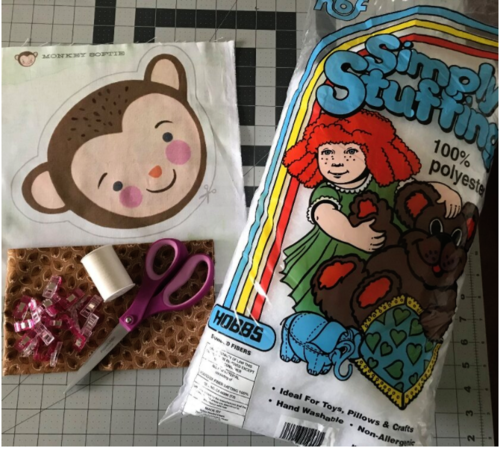
To make each pillow you’ll need:
Fabric panel with your choice of print—You can buy this fabric by the panel which includes 12-16 faces
1/2 yard of your choice of fabric for backing
Fiberfill stuffing
All-purpose thread in a coordinating color
Scissors
Straight pins or fabric clips
Iron
Washable fabric pen (optional)
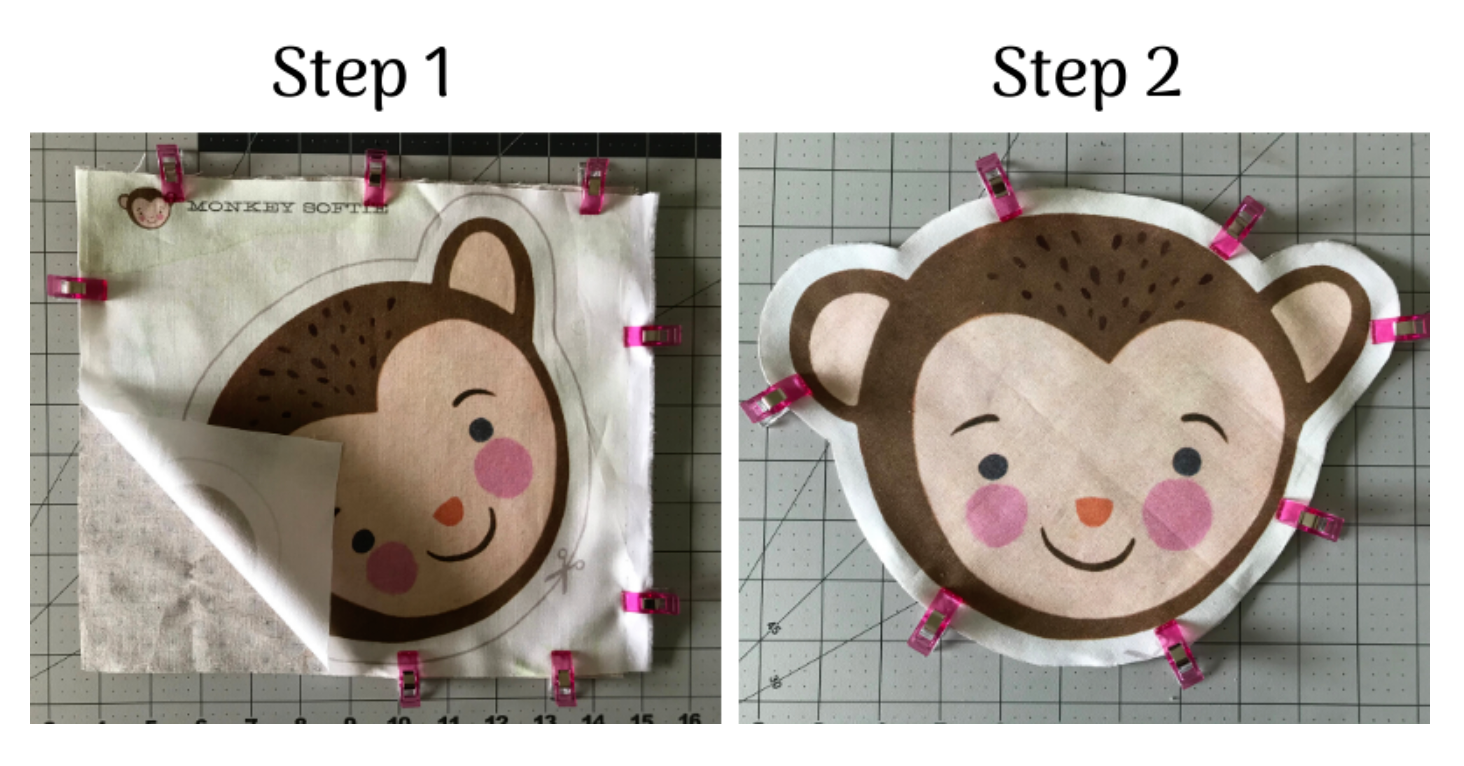
Step 1: Take your fabric panel and your backing fabric and pin or clip them wrong sides together. Cut along solid grey line to cut out the shape and backing fabric.
Step 2: Place your Softie pattern and coordinating fabric right sides together. Depending on the shape you choose, you’ll have to line up curves. Pin/clip these two pieces together leaving about a 2-3” gap open near the bottom.
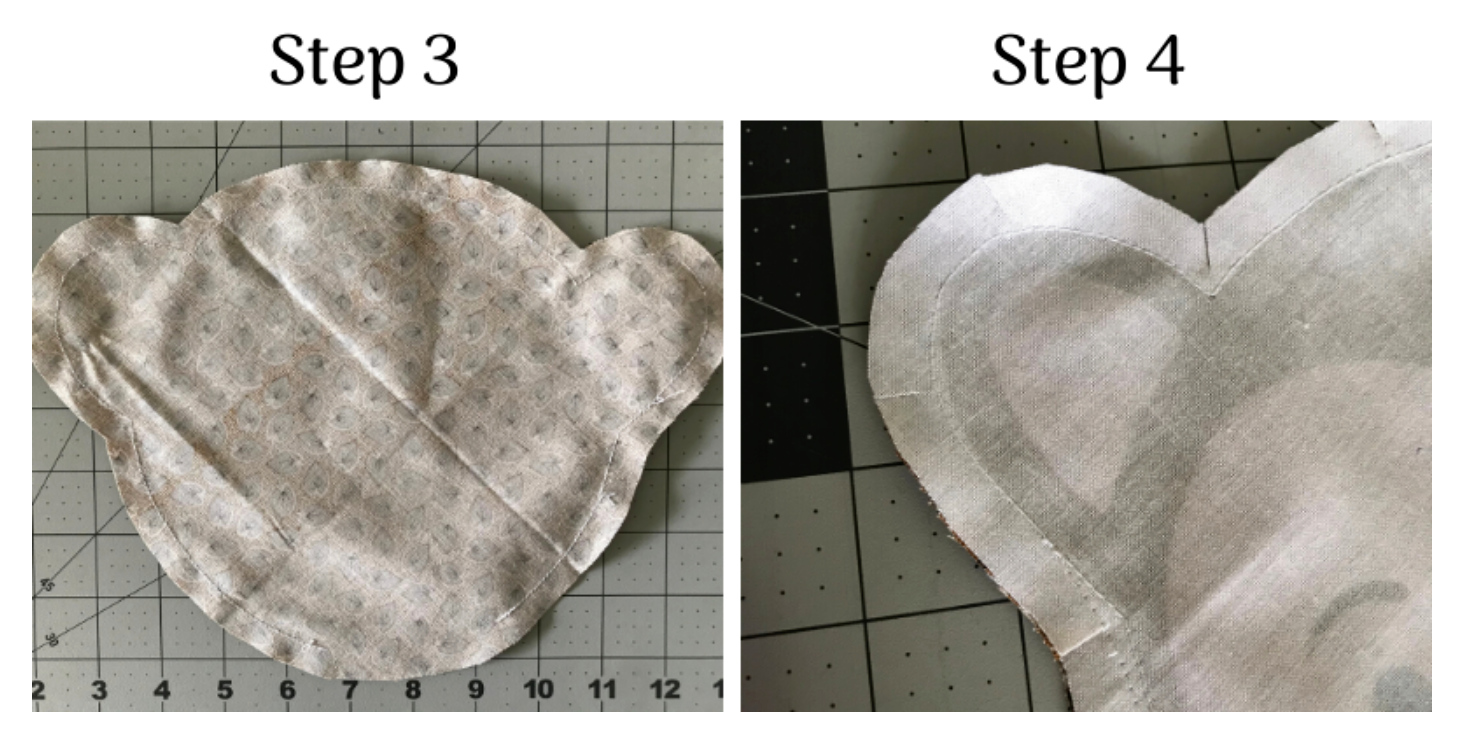
Step 3: Starting at one edge of your gap, sew around the edge using a 1/2 inch seam allowance. Make sure to backstitch at the beginning and end of your gap. It’s going to get a little tricky sewing around some of the curves, so take it slow, and remember your seam ripper is your best friend should you need it. A tip I learned is to outline around the face with a washable fabric pen so you can see the line you need to sew on. That makes it infinitely easier if you have smaller details you have to go around like leaves.
Step 4: Clip and notch the curves using your scissors to reduce bulk.
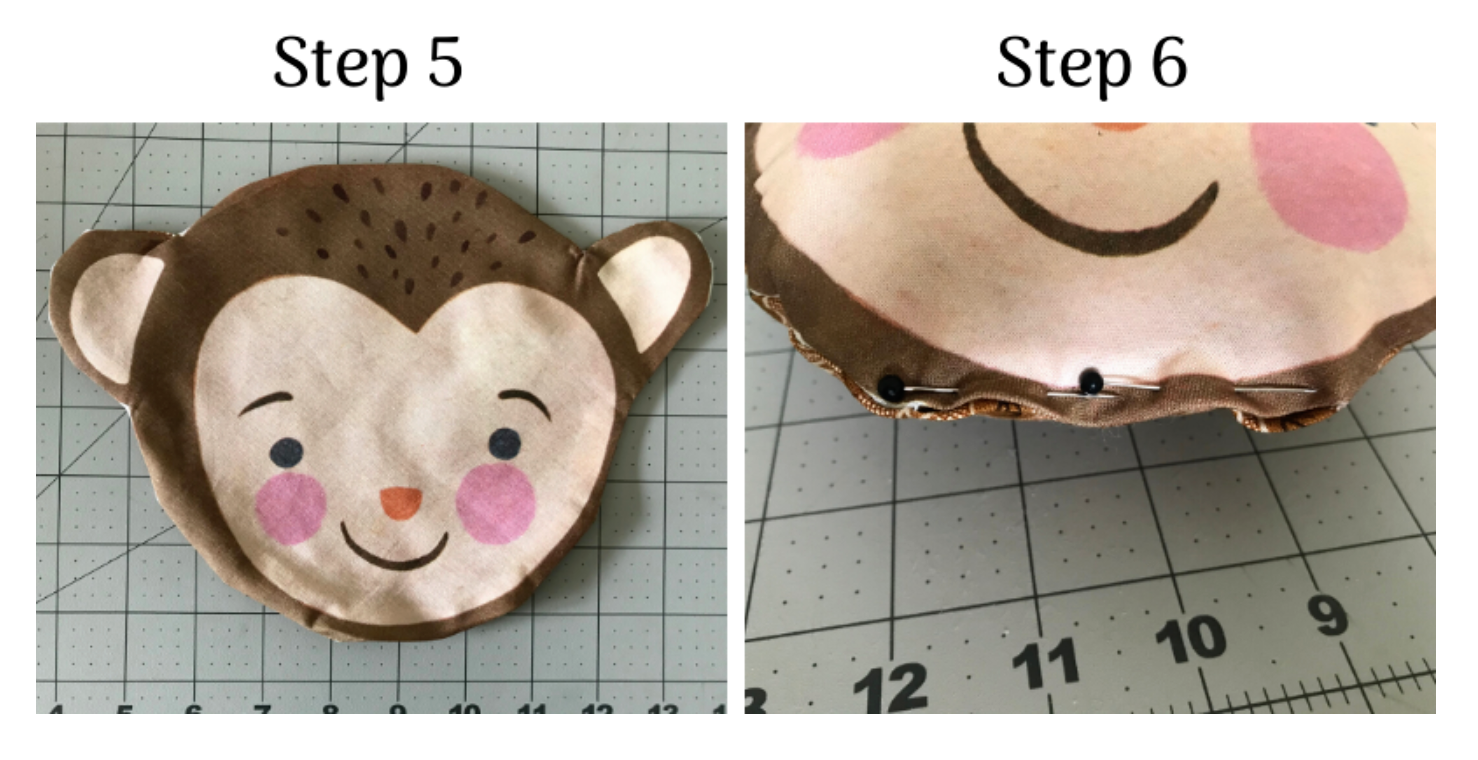
Step 5: Flip your Softie right side out. Make sure to push out all of your corners and your seams. (A pencil point or chopstick works great for this!) Iron flat making sure to pay close attention to the edges and the opening where you are going to insert your stuffing.
Step 6: Take your fiberfill stuffing and start filling your pillow. Try using smaller pieces of stuffing for filling the smaller areas like ears. You can add as much or as little stuffing as you’d like depending on how firm you want your pillow to be. Once your pillow is your desired stuffiness, (I guess that’s a word!) pin the opening at the bottom closed and hand stitch to close it up. The monkey measures about 6.5”x9” when finished.
Who knew animals and fruit could be so cute! Seriously though, these little pillows are the perfect snuggle companions!