Reversible Box Tote
7th Jul 2021
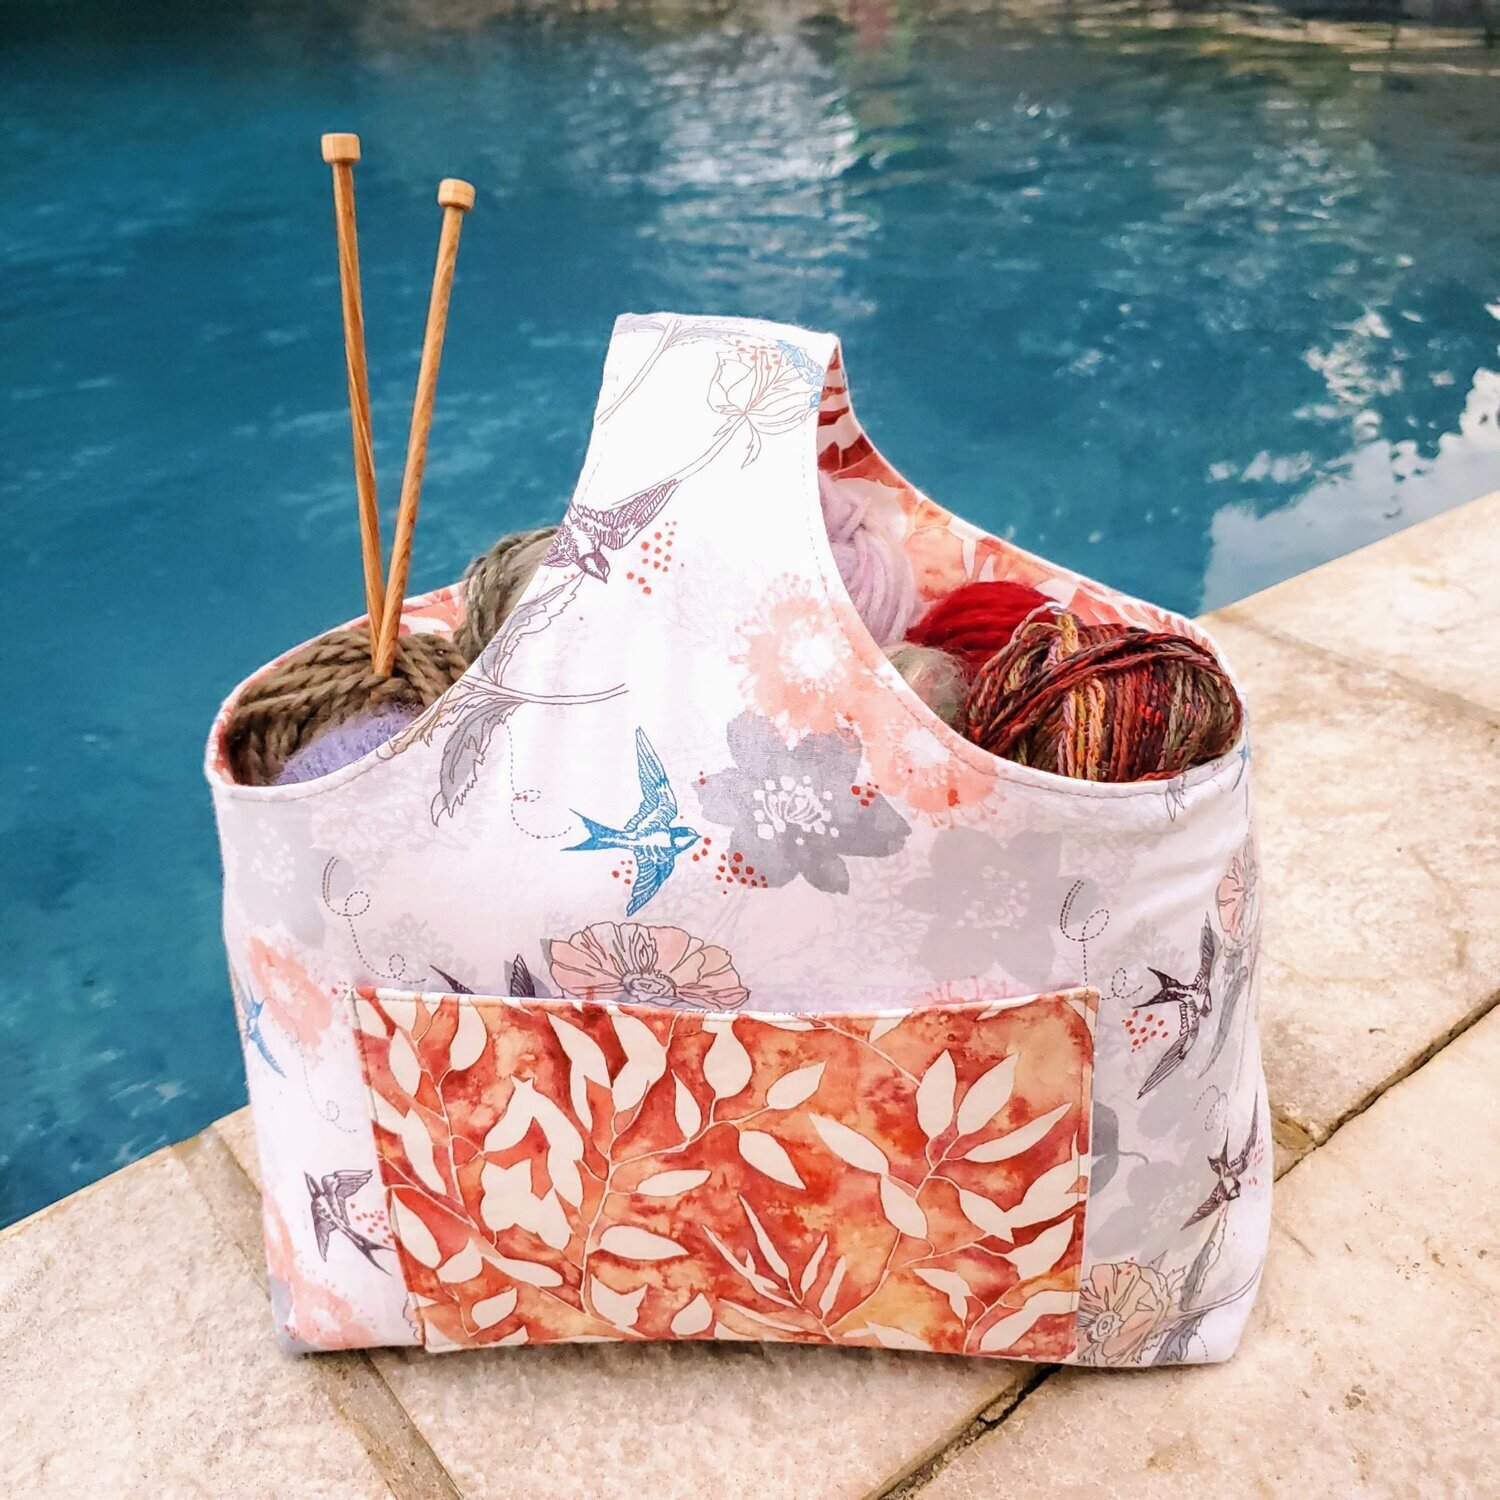
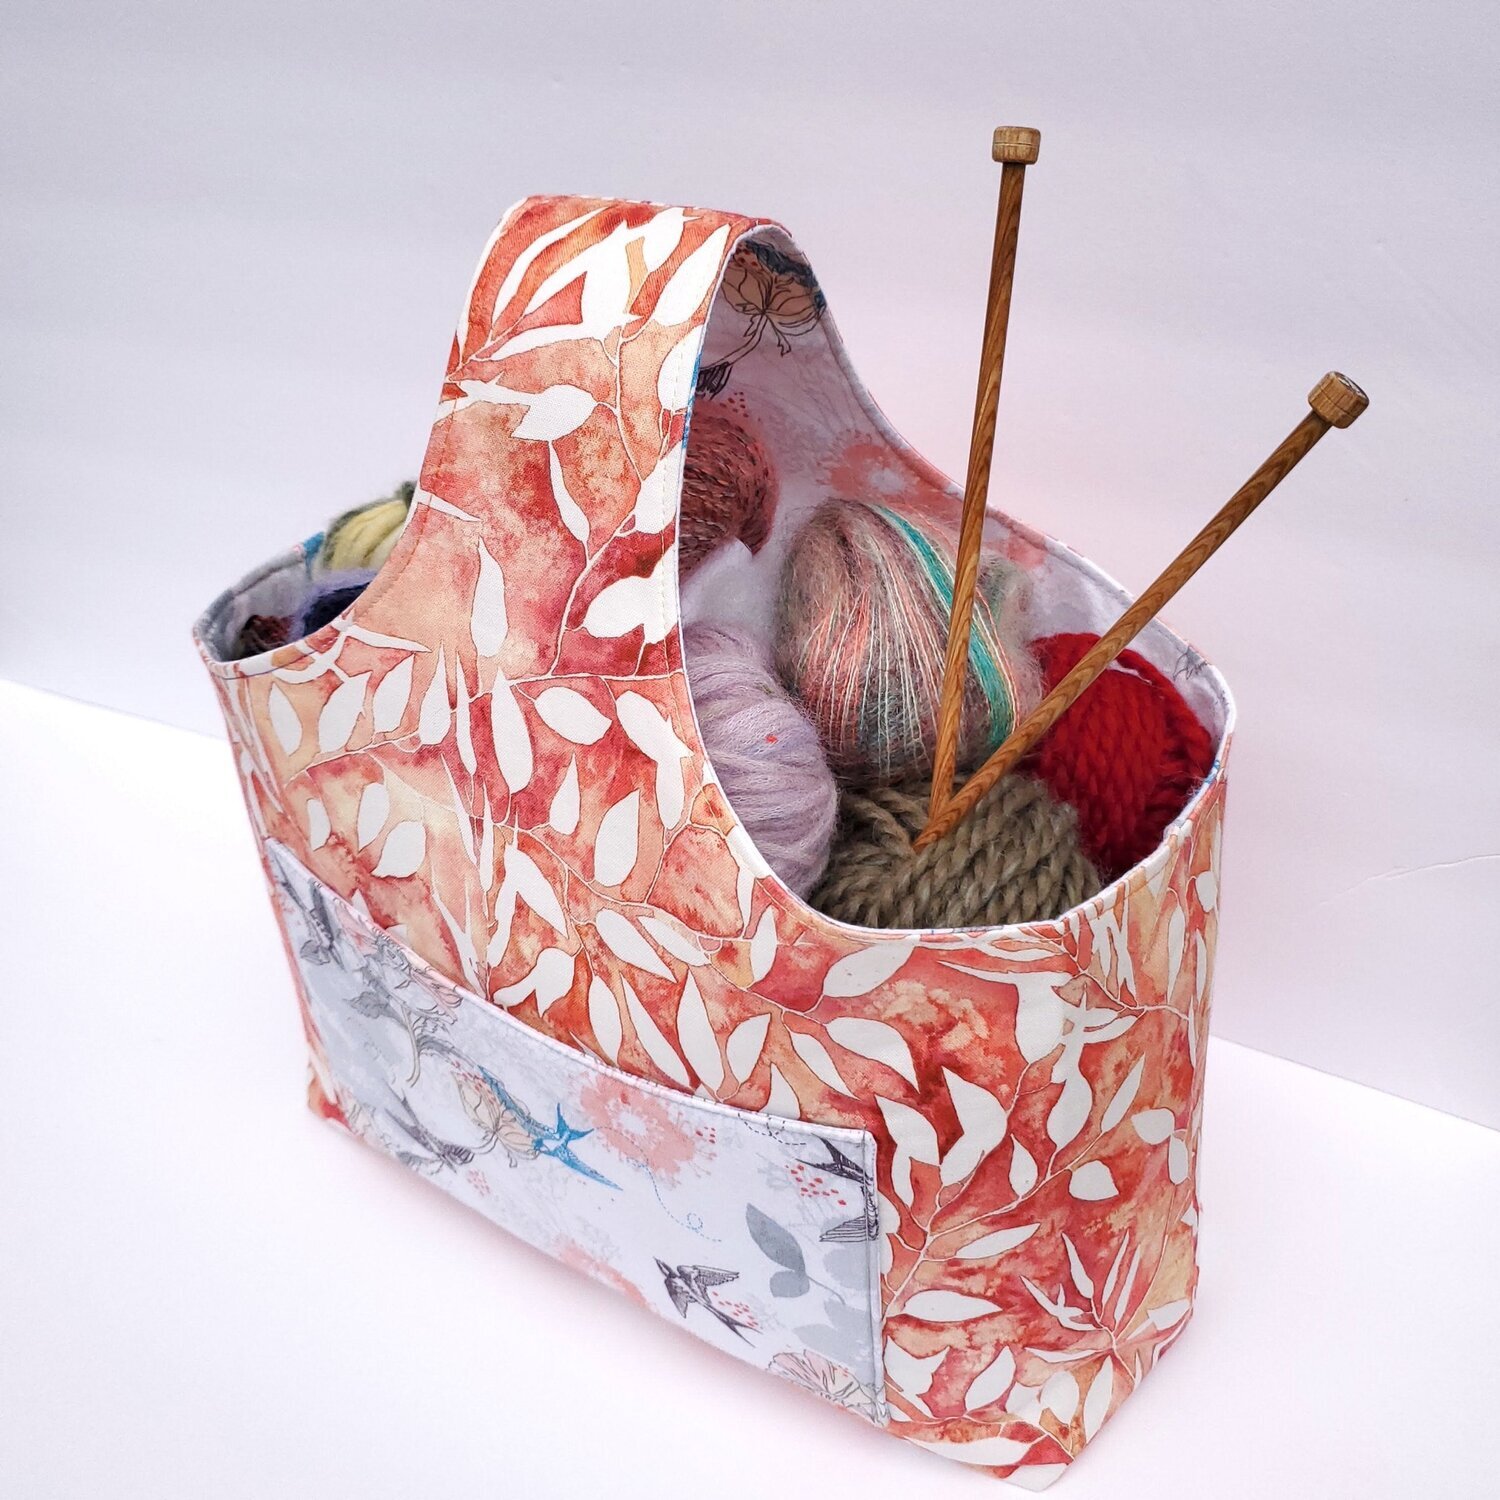
June’s Modern Maker membership box arrived with this beautiful Sunshine Soul collection by Create Joy Project that was perfect for this handy tote. This colorful go anywhere tote will be great to take along to keep your craft project supplies handy. If you are into sewing and yarn crafts this has two customizable pockets to keep your notions organized. It is a great size to keep a few skeins of yarn or FPP supplies to work on your knitting or hand sewing project as you travel.
Materials needed:
35”x18” piece of fabric for outer and lining fabric (35”x36” for matching)
Fusible fleece interfacing or Pellon #809 interfacing
12”x9” of contrasting fabric for each pocket
Coordinating Aurifil Thread from Chroma membership
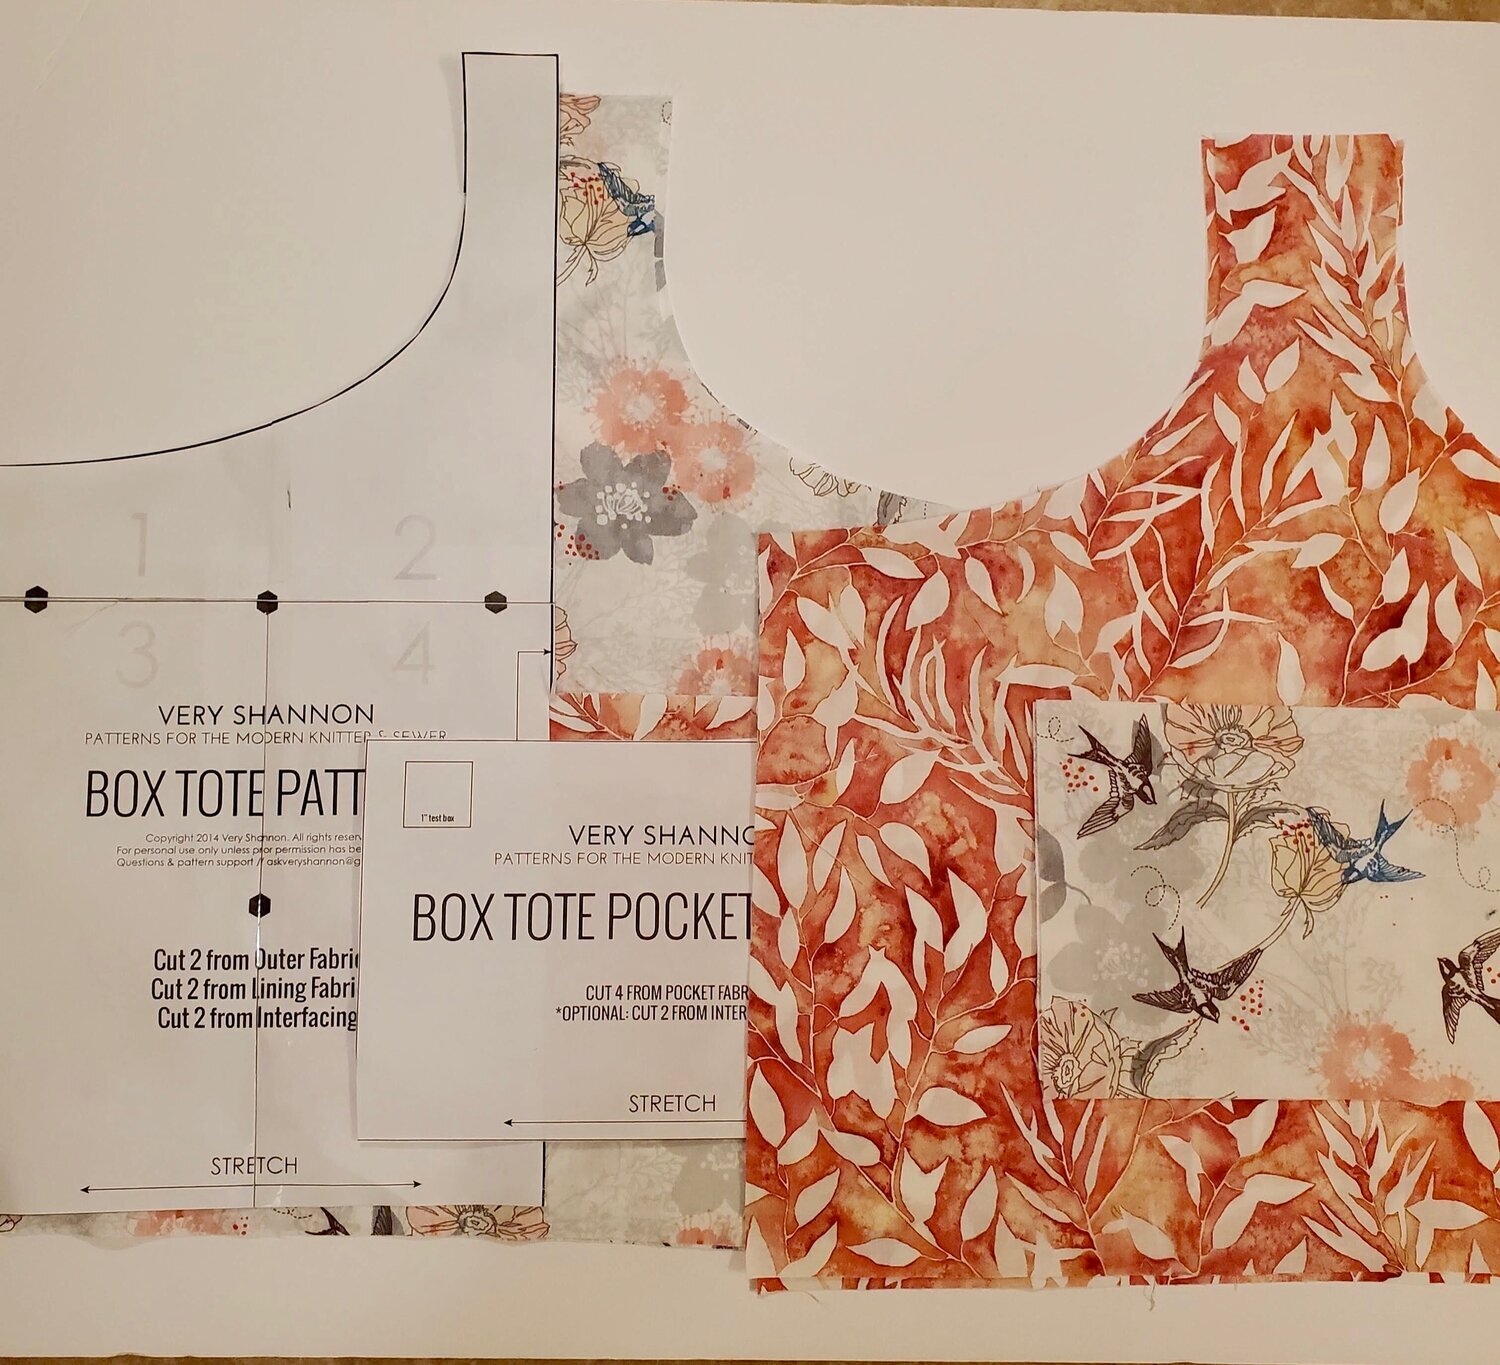
Download the free pattern Very Shannon Reversible box tote
Print the pattern pieces and tape together according to the directions. If you are using directional fabric, keep that in mind as you lay out the pattern pieces on your fabric. I usually fuse the interfacing right after I cut out pattern pieces.
It is always a good idea to read the pattern directions completely before starting a new project. As I reviewed the directions, I decided to use a method I have used in the past to sew a single-handled tote bag. I prefer to have the very visible edge of the handle and top of the bag be sewn right sides together then turned inside out for a cleaner finish. I will use this method in the tutorial.
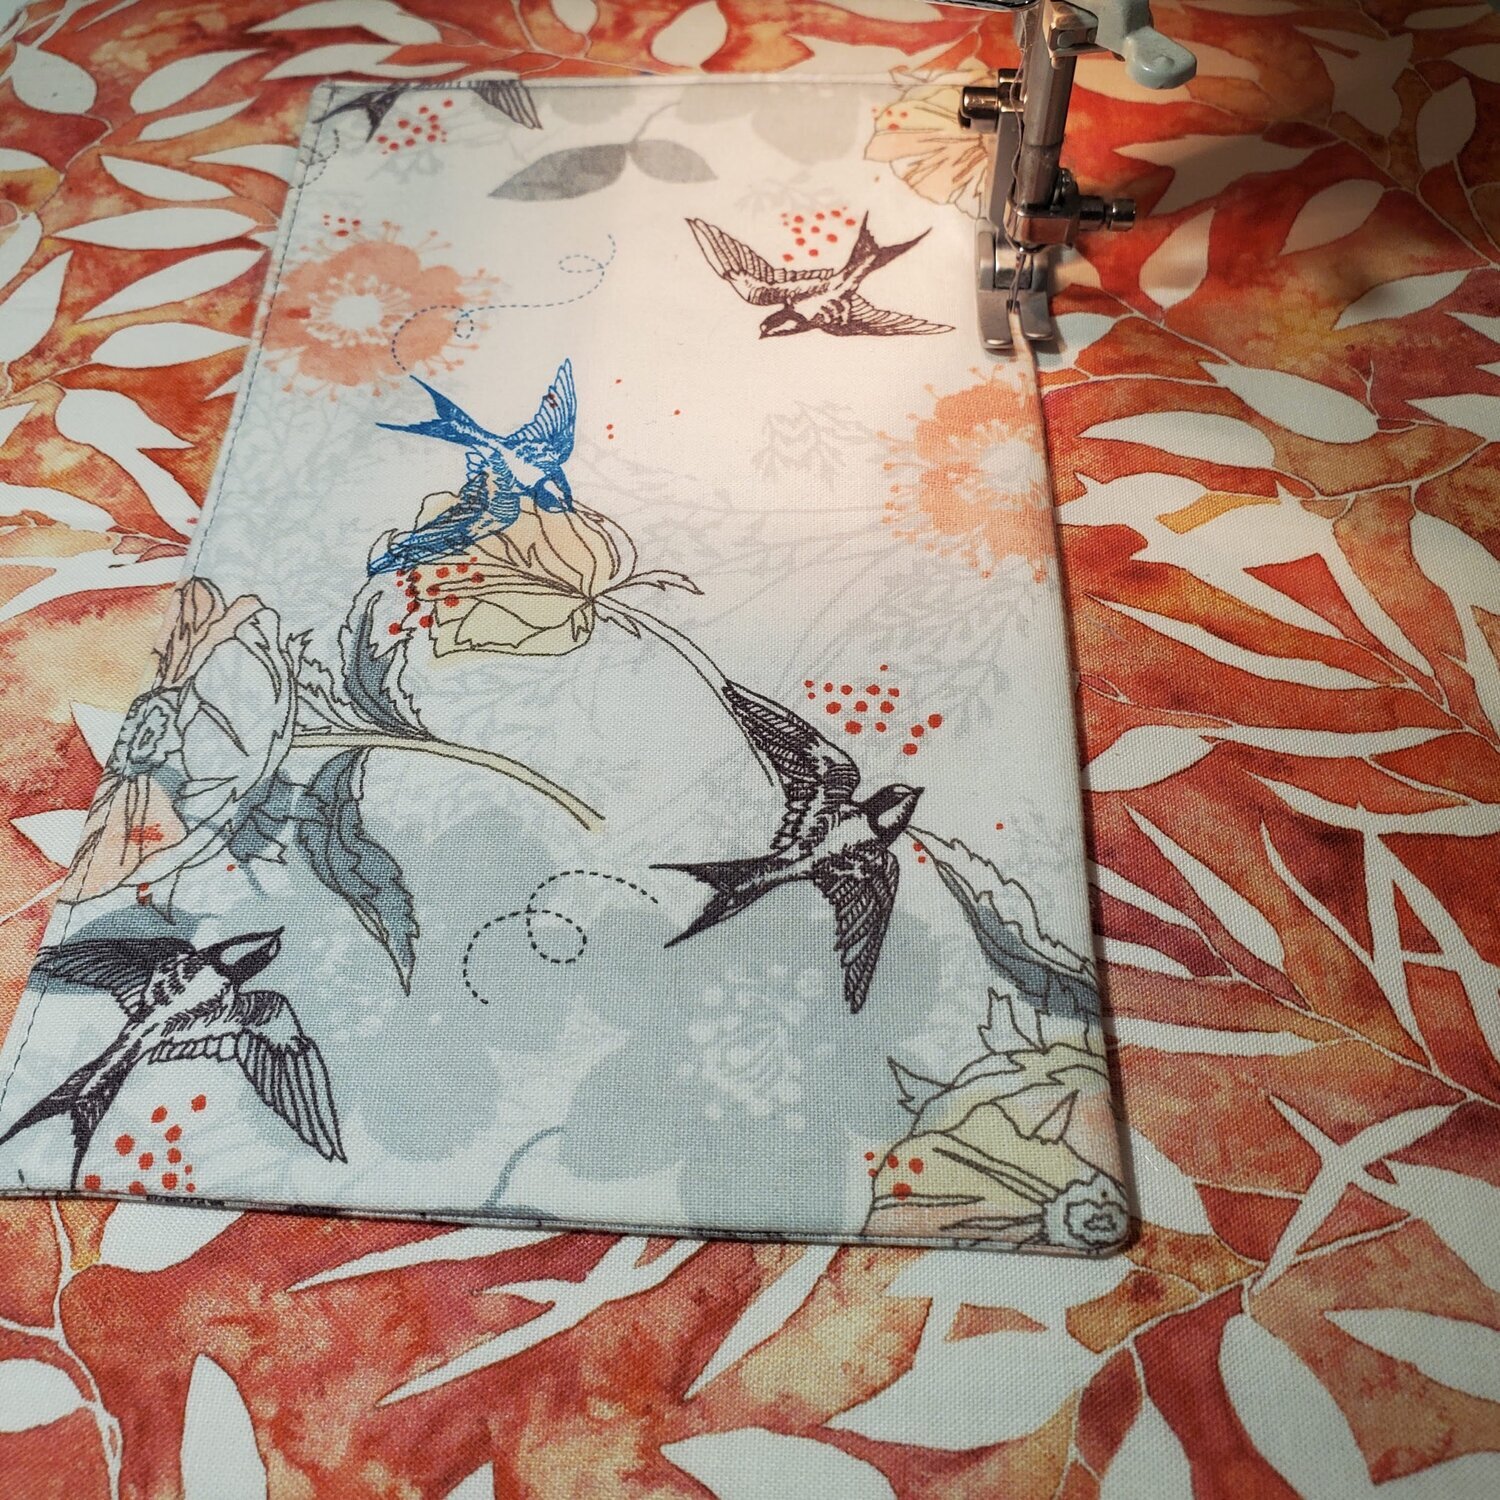
After cutting the pattern pieces and fusing the interfacing, you will first make the pockets for the interior and exterior of the bag. Align the rectangle pieces with right sides together and sew starting at the top edge, sew all the way around leaving an opening to turn the pocket. Be aware of the directional fabric designs.
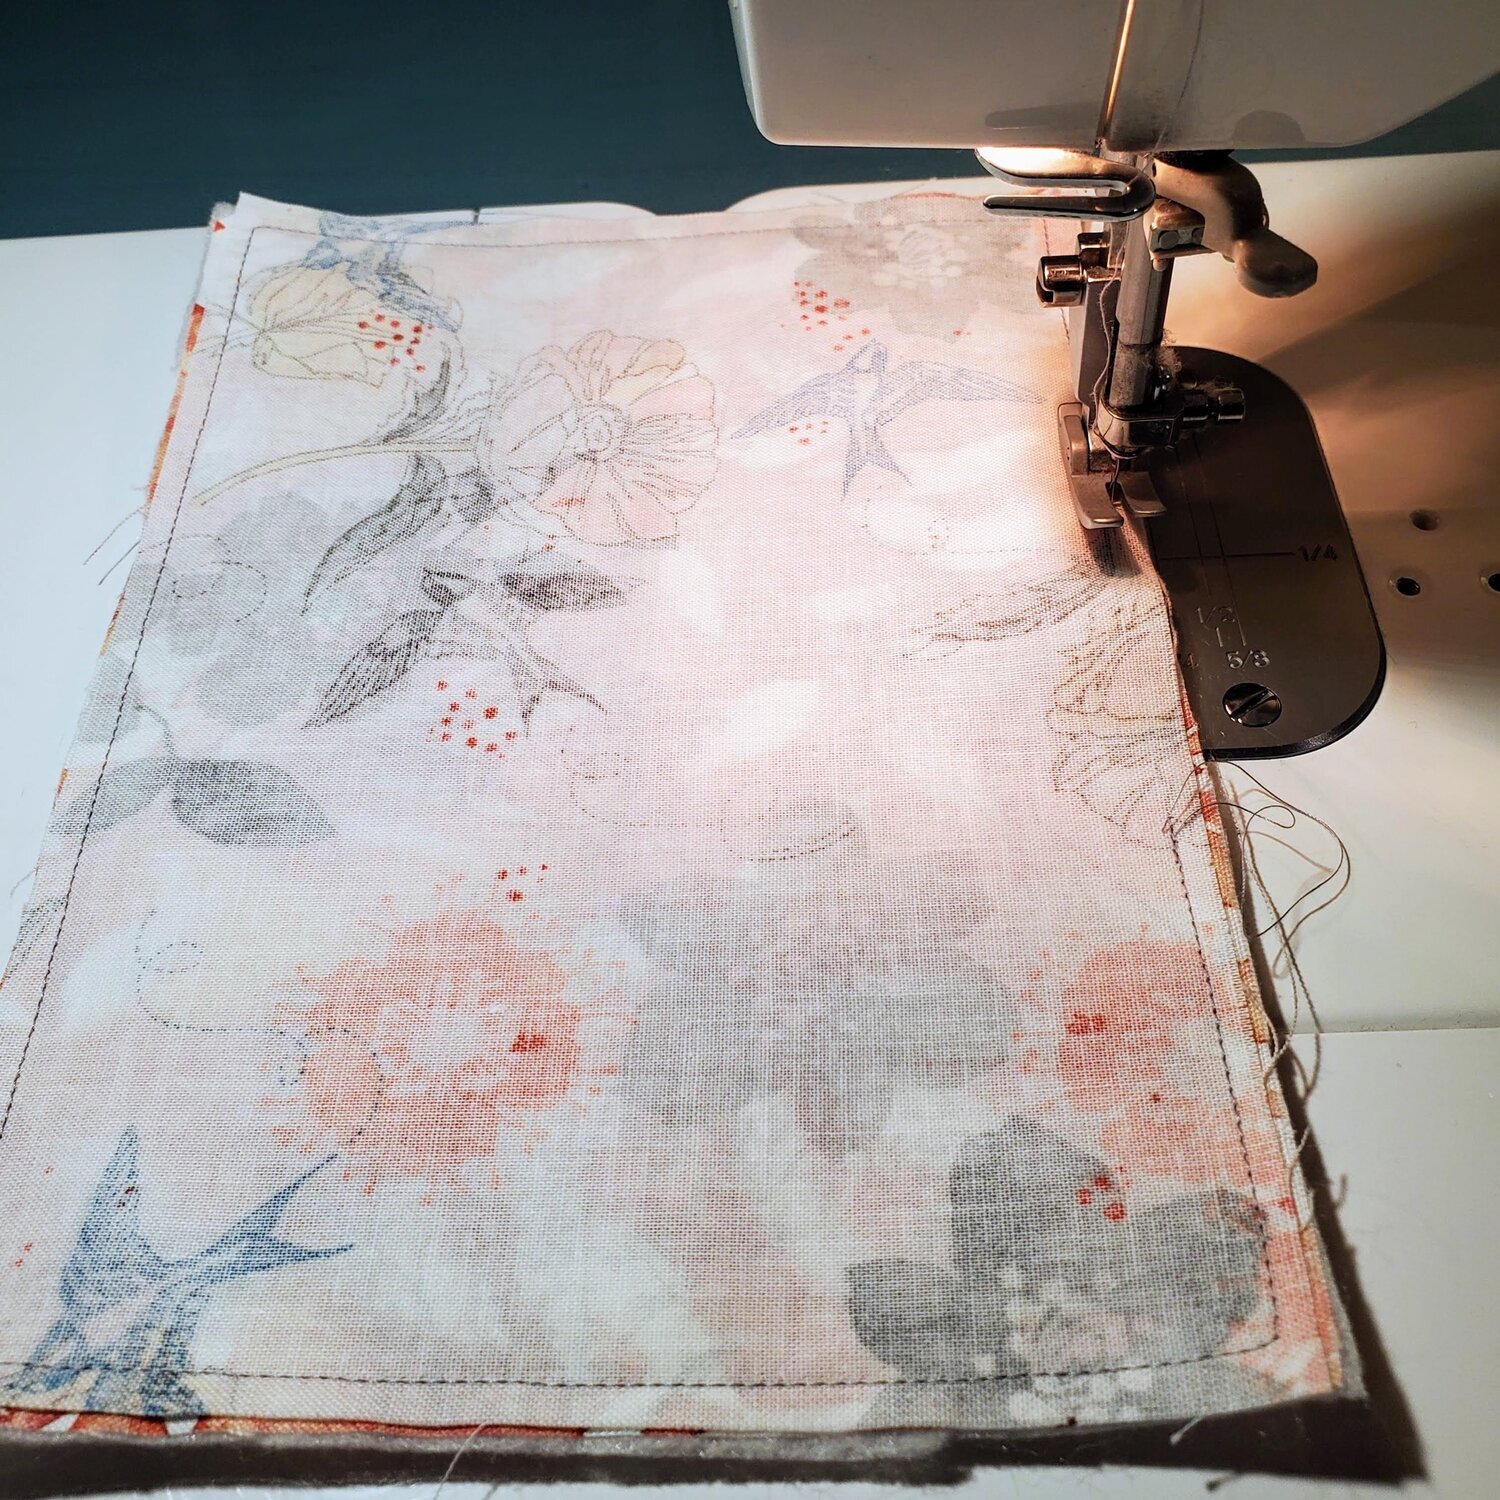
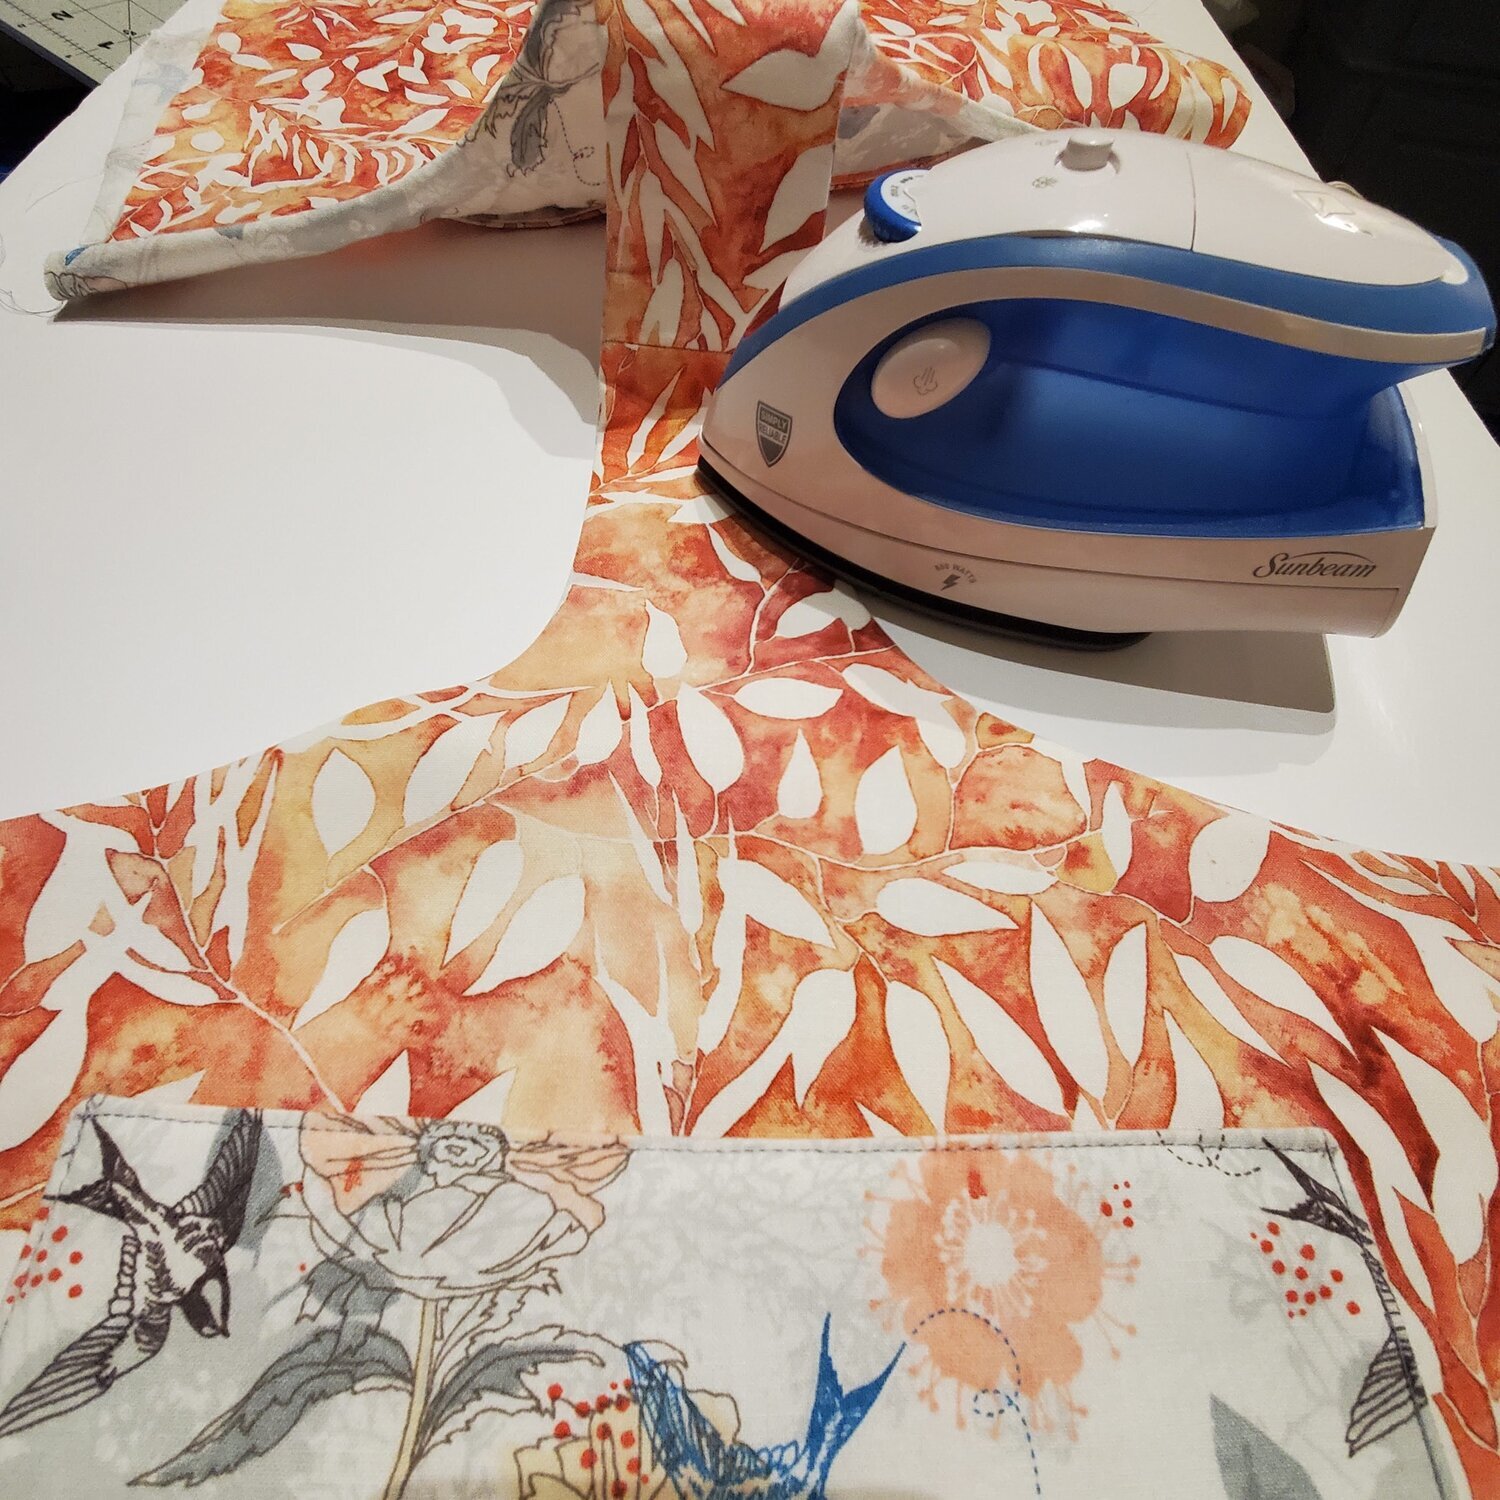
Trim the corners and turn the right sides out, taking care to turn out the corners nicely. Press the pockets turning under the opening seam. Topstitch the top edge with a coordinating thread to close the opening. Next measure 8 ½” from the top of the handle and mark. Find the center of the tote by folding the fabric piece in half and finger press. Find the center of the pocket in the same way. Place the pocket in place on the outer and lining piece, measure to check the alignment.
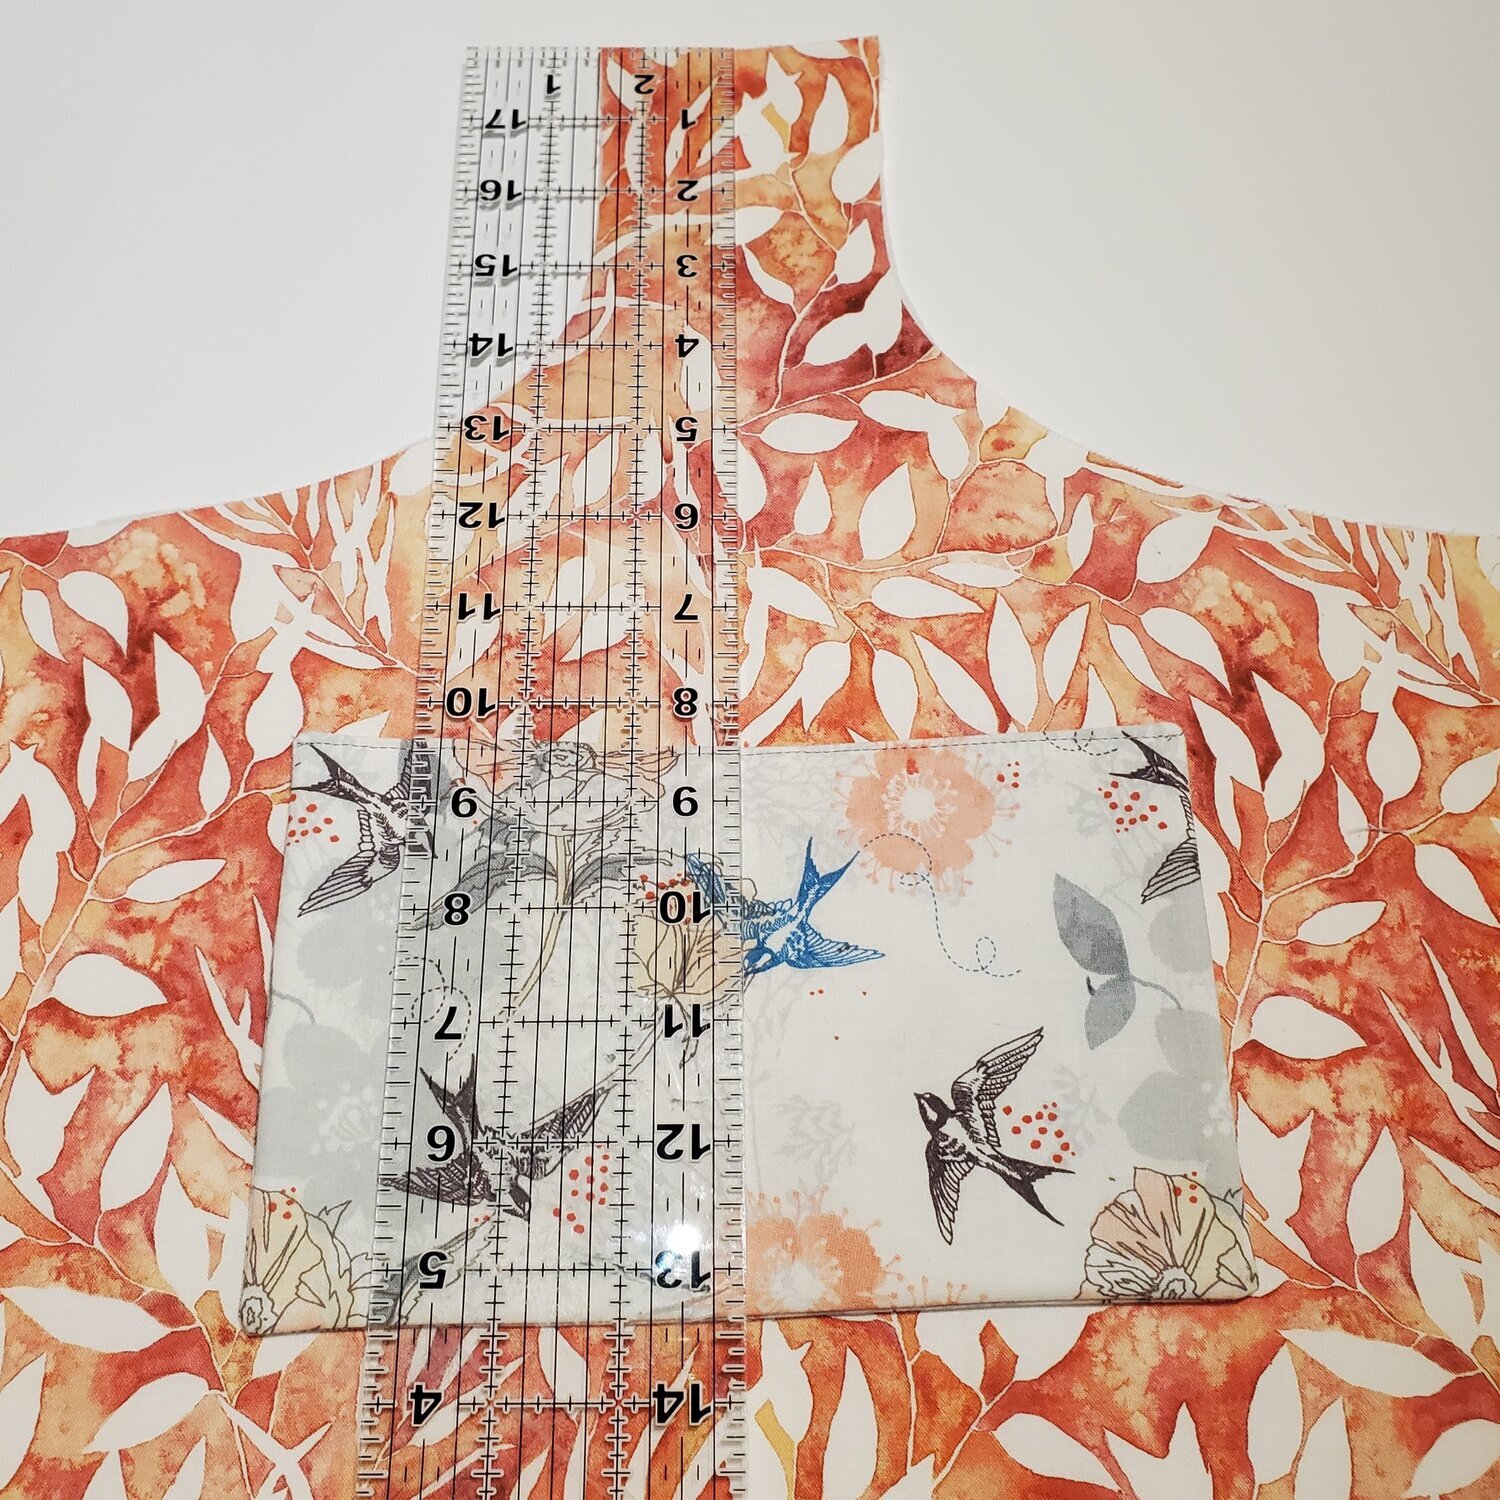
If you would like to add a Velcro or purse closure you may want to add it before sewing to the main piece. Topstitch in place on the bottom and sides ⅛” from the edge of the pocket. This would be a good time to customize the pocket opening by adding topstitching to make sections in the pocket to hold tools or notions.
Now that you have the pockets in place, take the two outer pieces and align the right sides together to sew the small seam joining the handle pieces. Use a ¼” seam allowance for all seams.
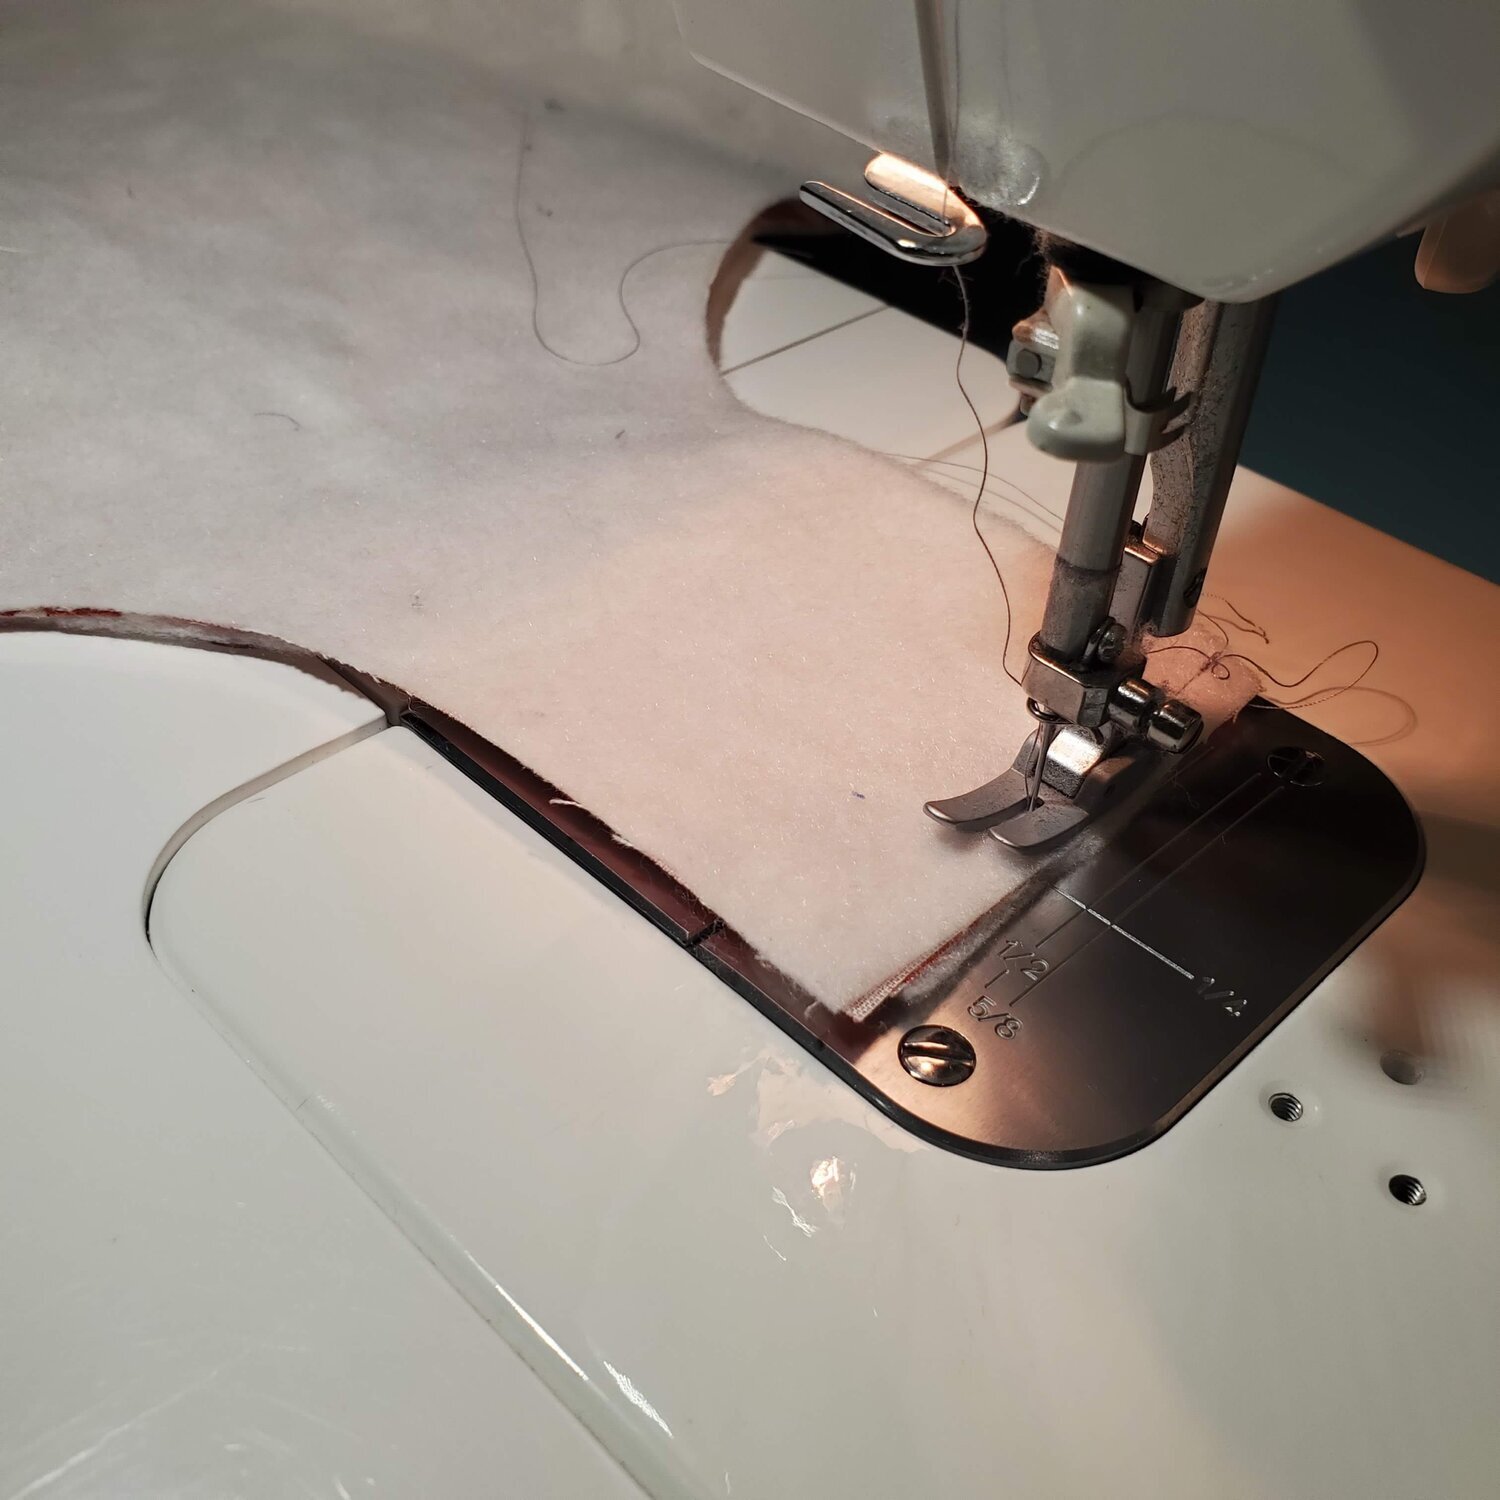
Do the same for the lining pieces. Press the seams open as you go along. It is best to keep the inner and outer pockets on the same side of the tote, keep that in mind as you move to the next step. Take the outer and lining pieces pin together to prepare to sew only around the curved handles and trim with pinking shears to help the seams lay flat.
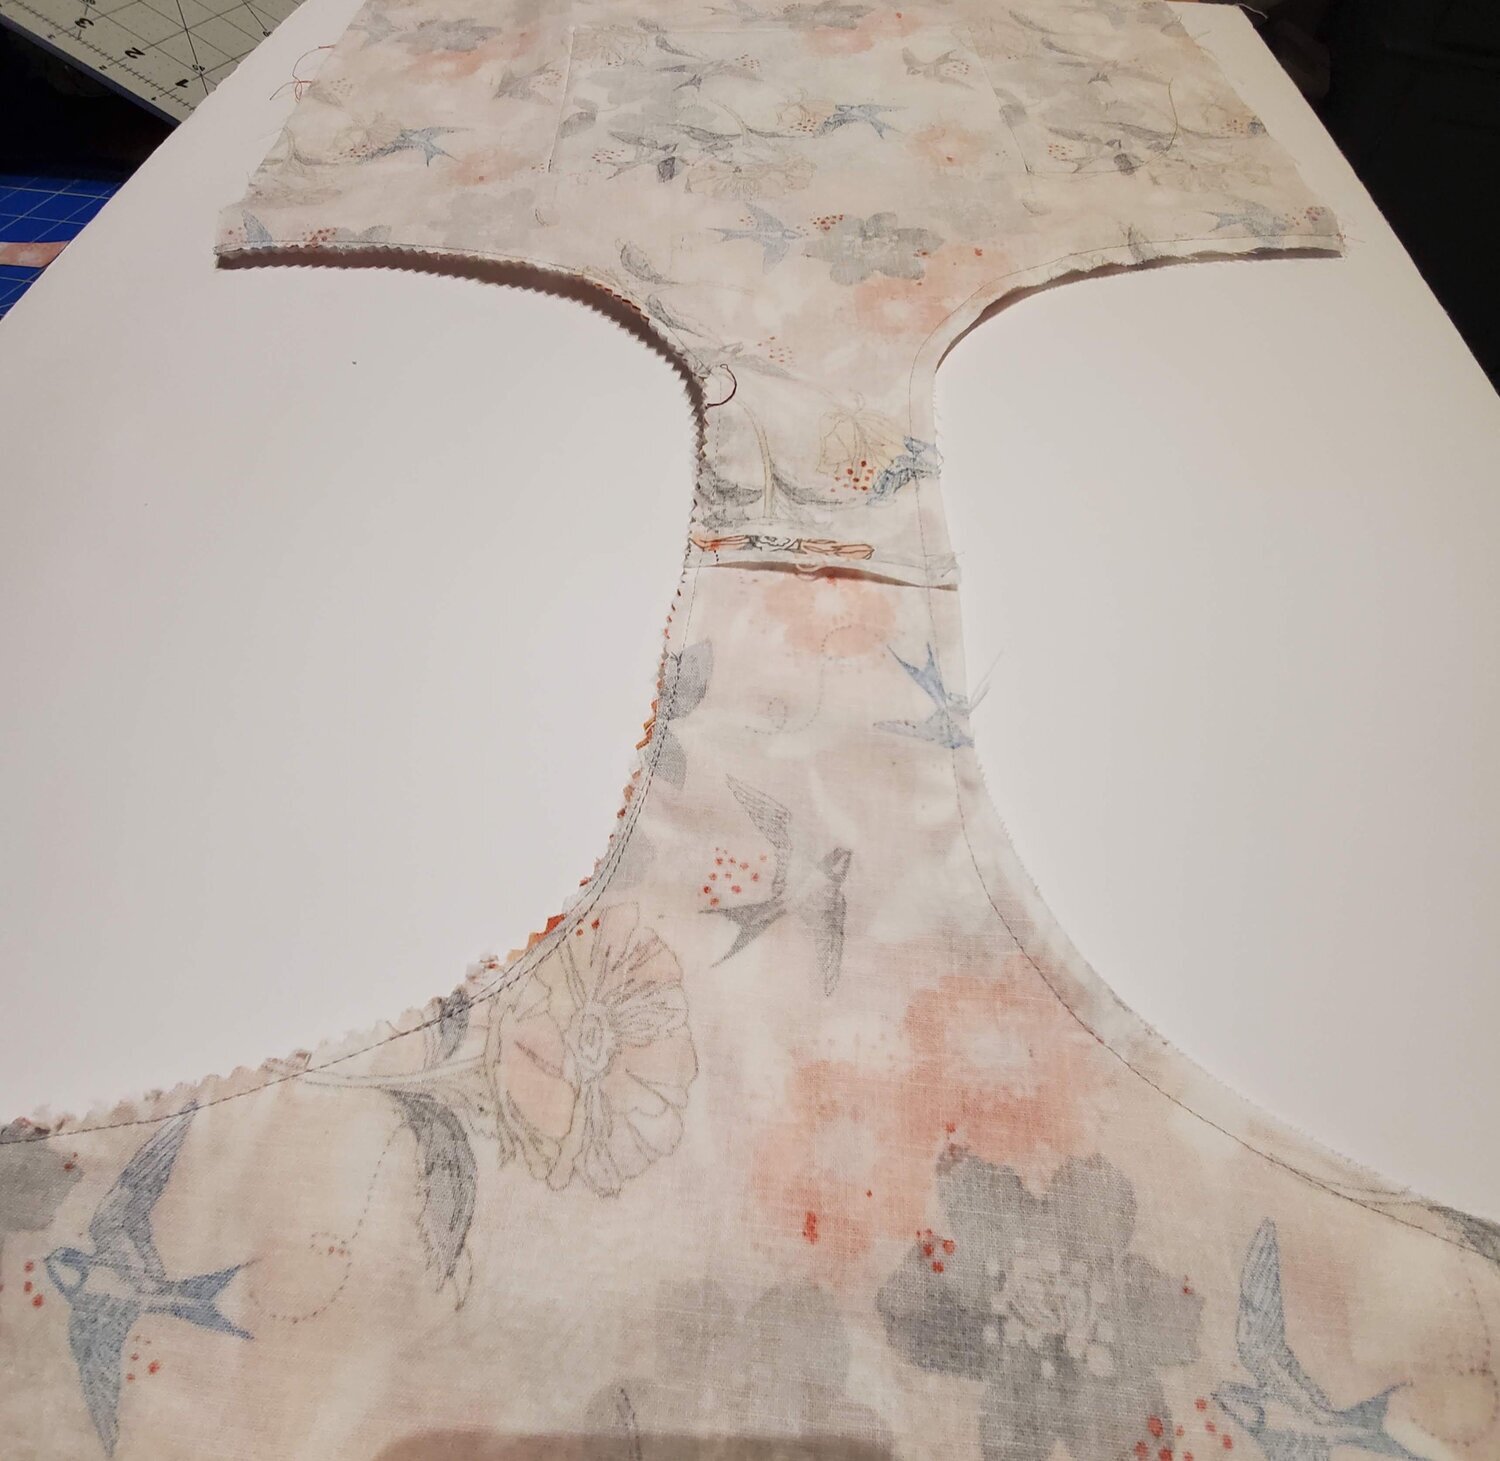
Now the next step will be a little tricky and takes some patience. You will turn the right sides out by pulling the side with no pockets through the handle. I find using craft forceps handy to carefully pull the fabric through the skinny handle. It just takes a few minutes and will give you a nice finished edge in the end. It is really important to give it a good press aligning the seams edge evenly as you press. This will be the top edge of the tote.
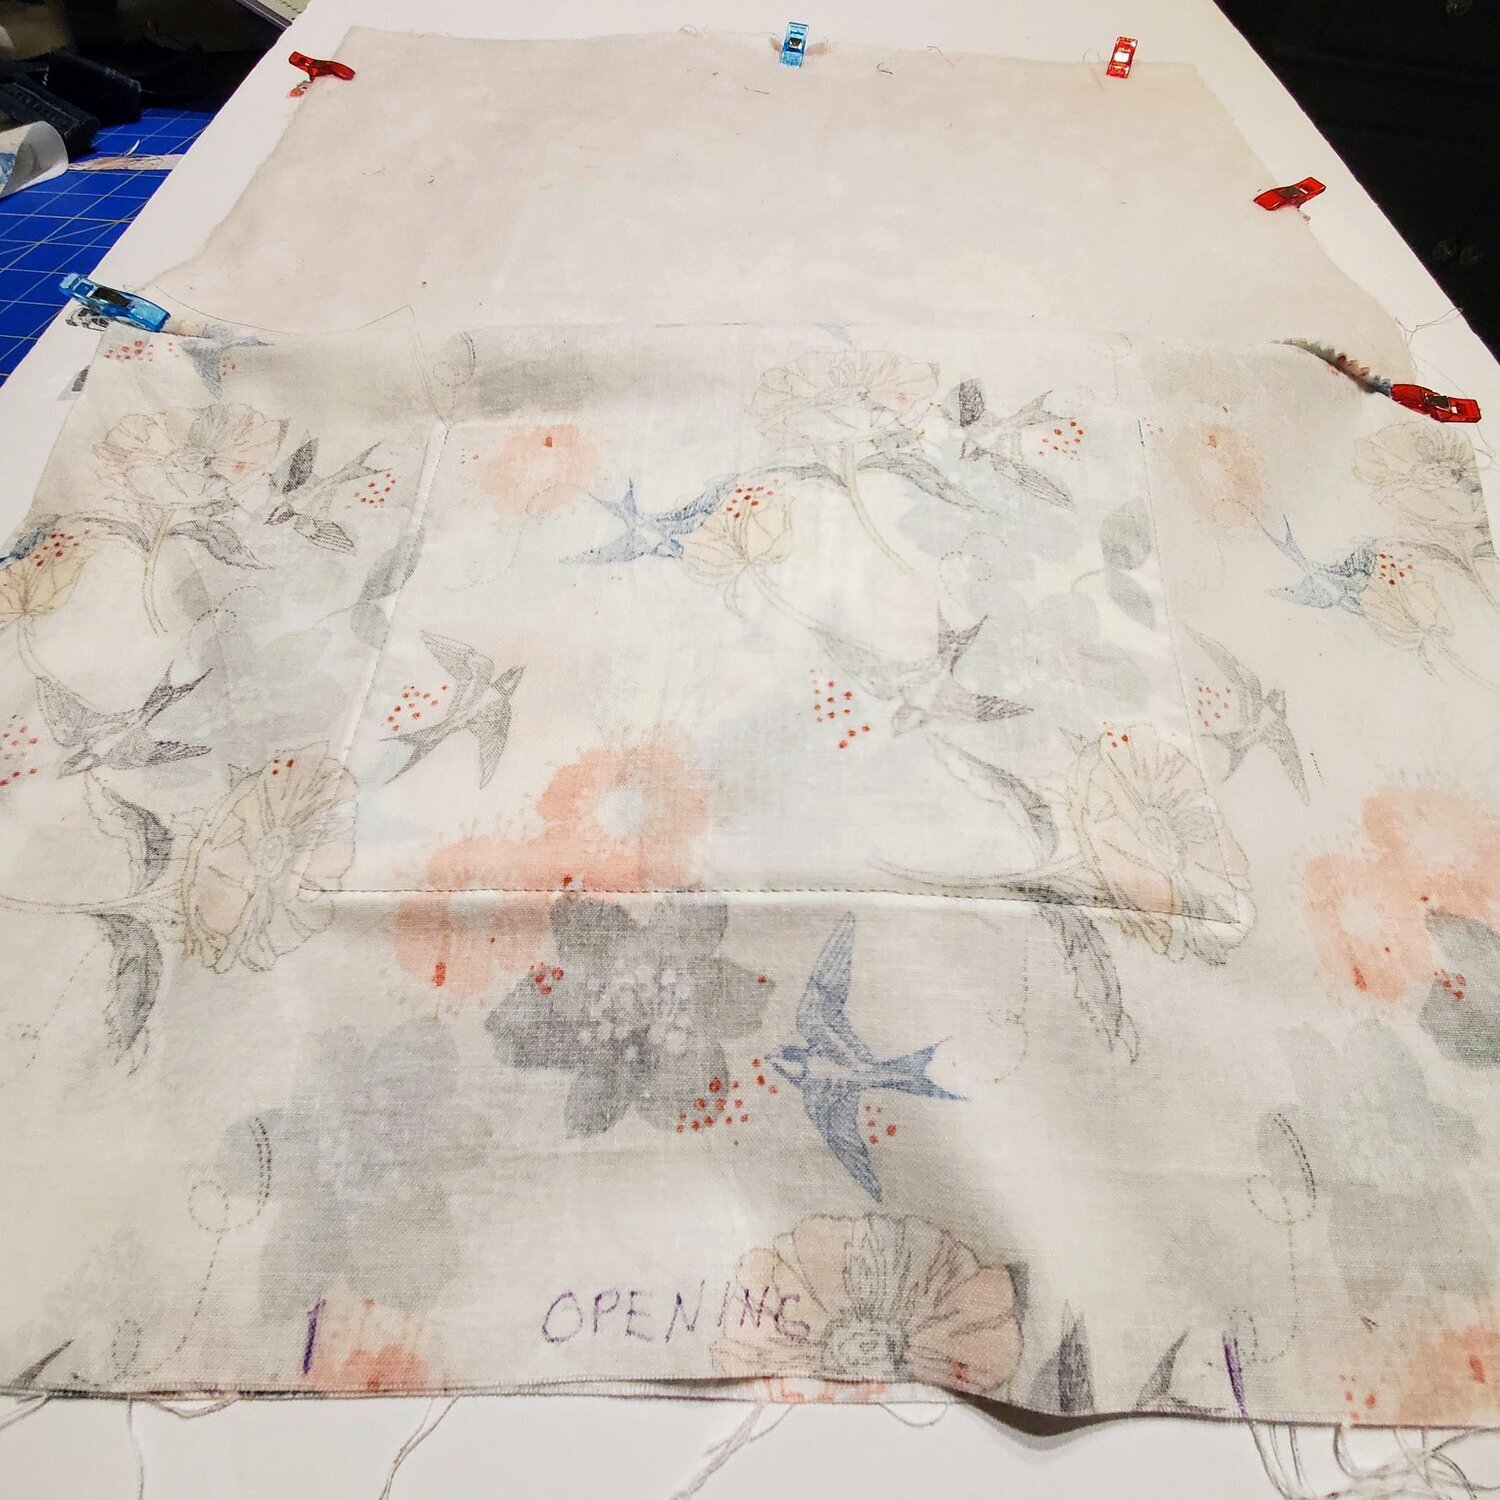
Next you will fold the tote with the right sides together of the outer and lining pieces, matching the side seams and clip in place. Mark about a 4” opening in the lining at the bottom of the bag. You will be sewing the sides and bottom of the tote in this step.
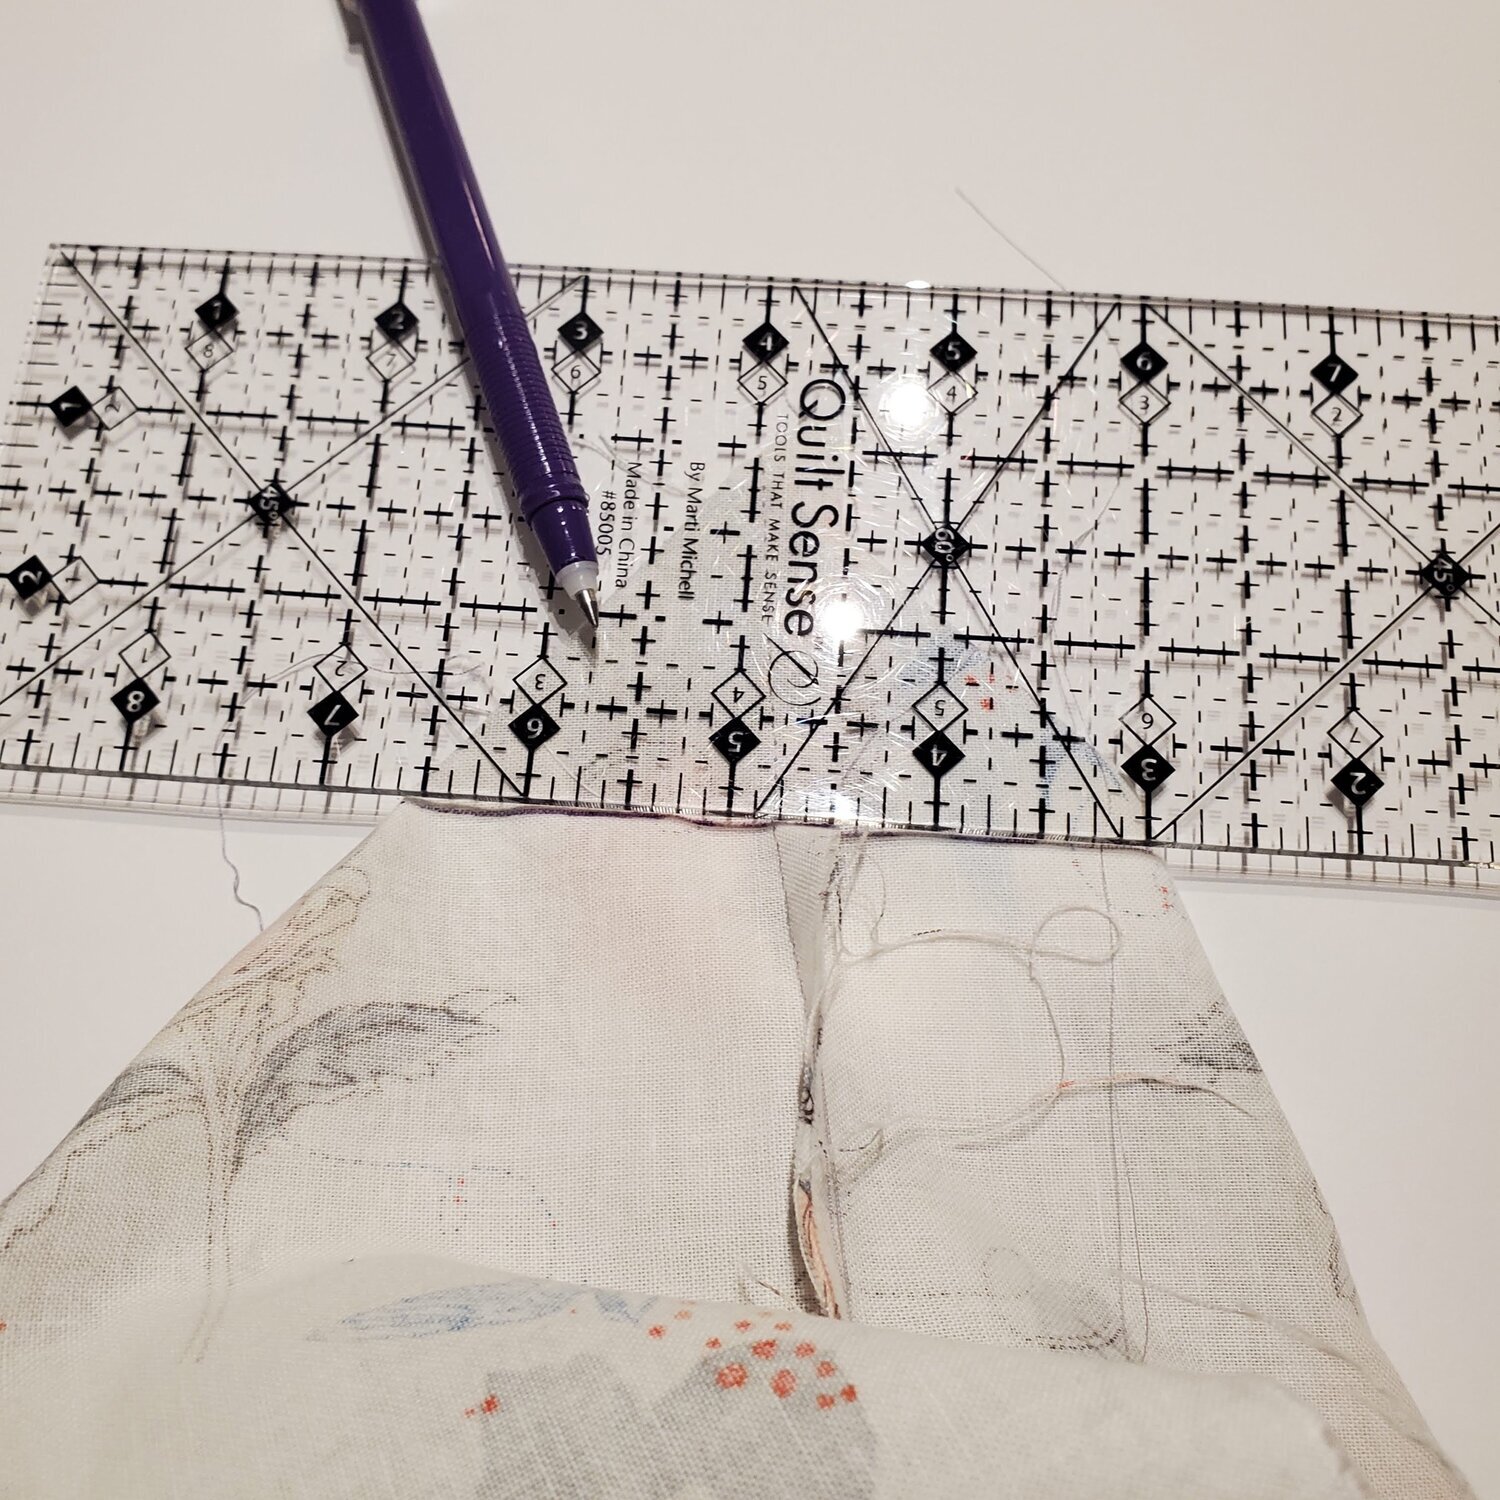
Sew all the way around the bag making sure the edges are matching as you sew the ¼” seam. You are nearly finished! You will box all the corners by aligning the side seams with the bottom seams marking 2 ½” from the corner for the sewing line.
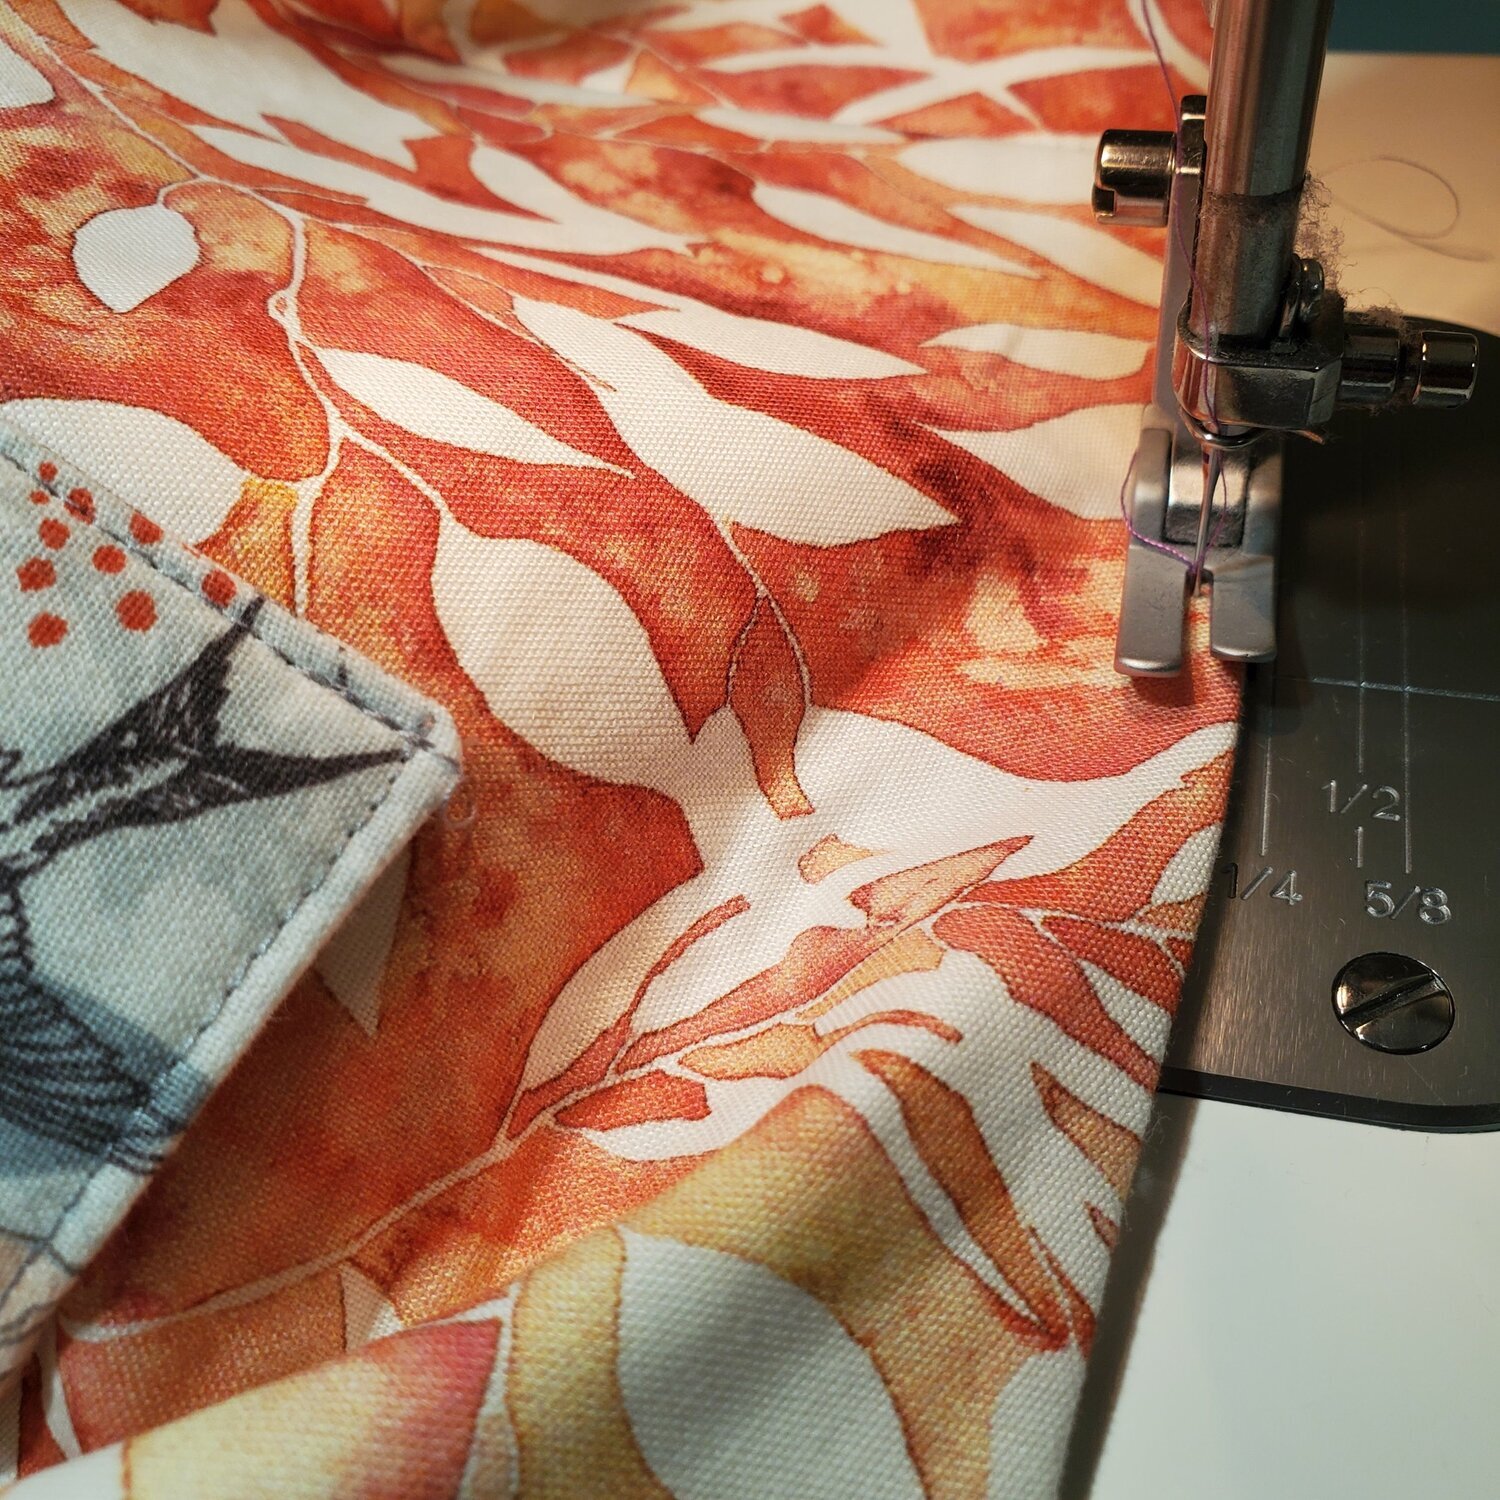
After sewing the corners, trim off the extra fabric leaving a ¼” seam allowance. Turn the tote bag right sides out and press. Be sure to turn under ¼” at the opening in the lining and topstitch the opening closed at the bottom of the tote. The final step is to topstitch along the top edge of the tote and the handle. You can use a slightly heavier thread or contrasting color to add some interest to the tote. It is helpful to lengthen the stitching to at least #3 as you topstitch ⅛” from the edge.
You can just flip the bag inside out for a different look. This is a very versatile tote!