Book Pocket Pillow
13th Jan 2022
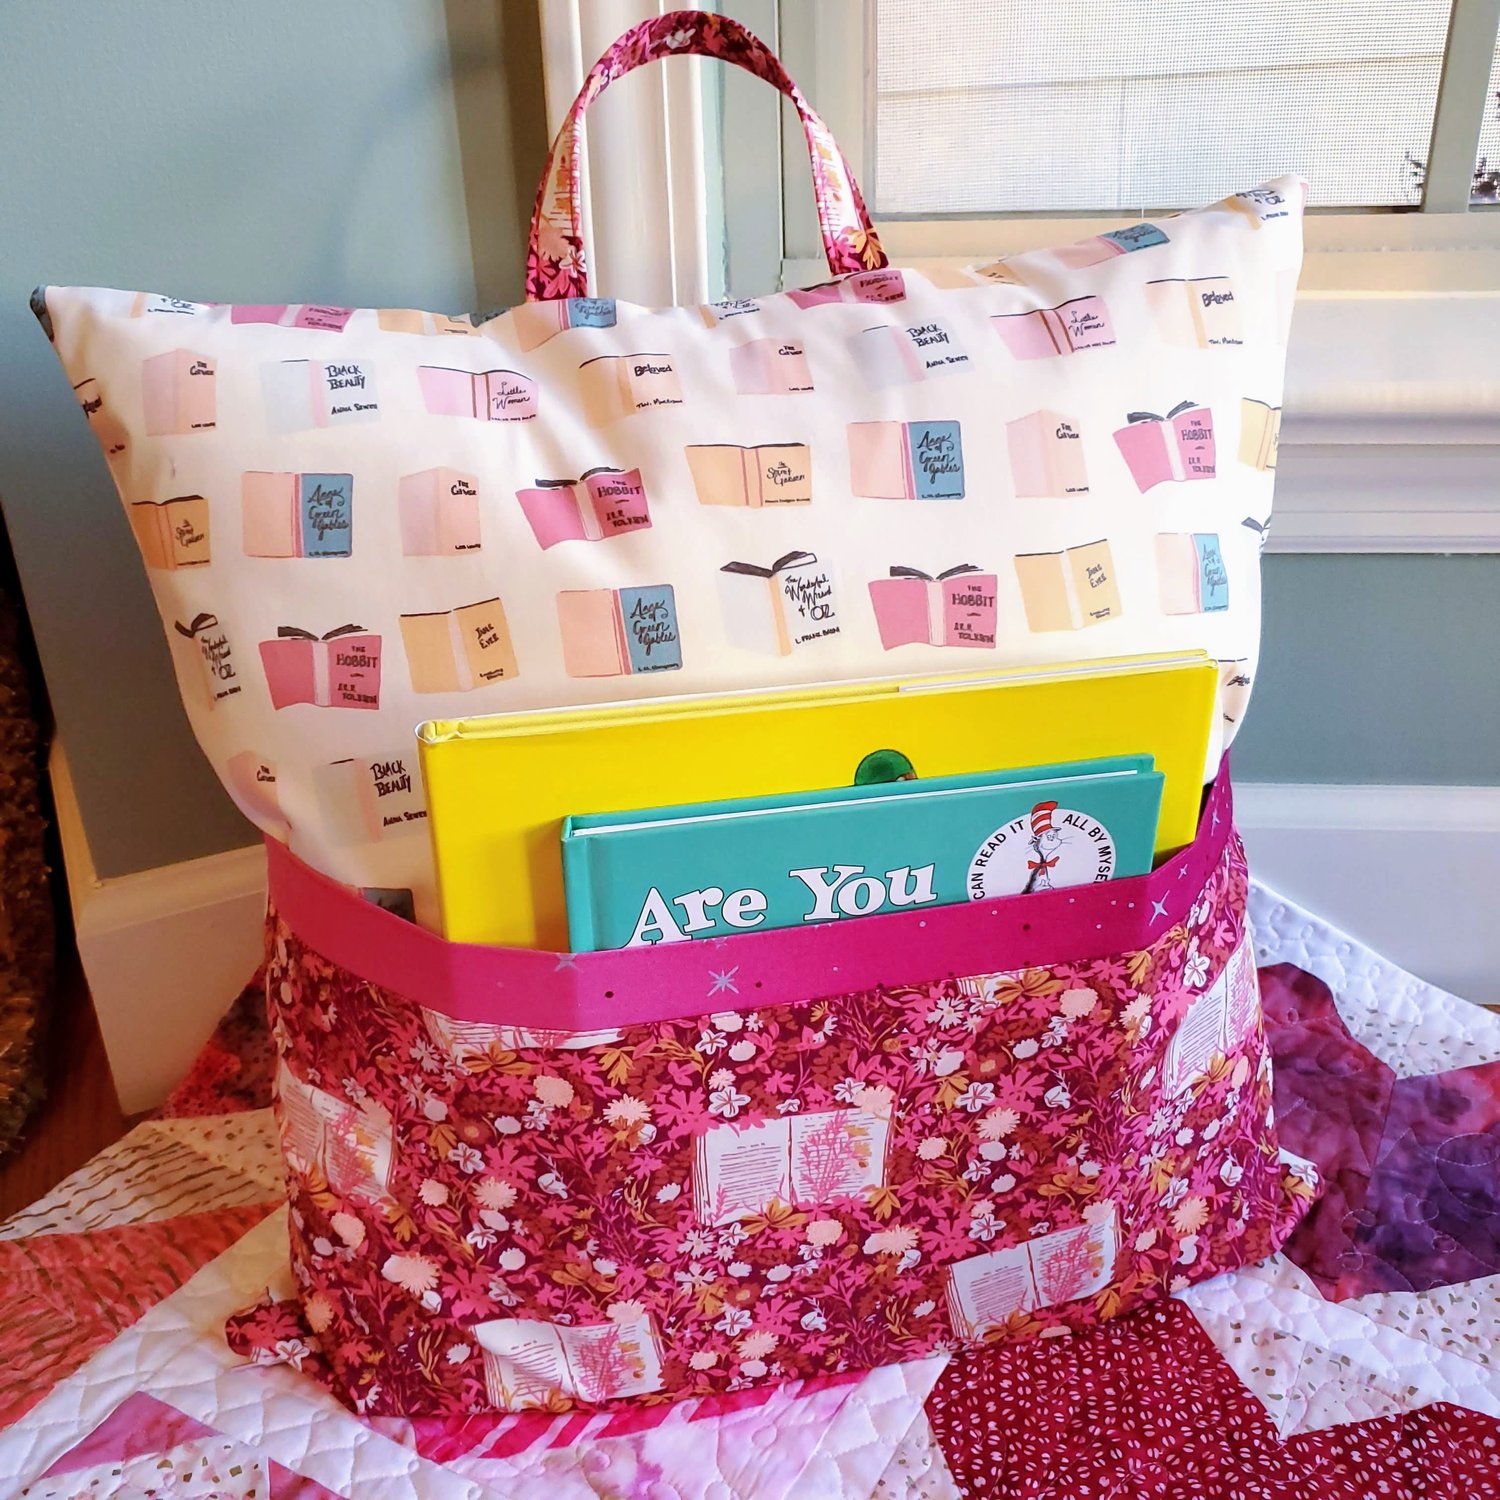
I love books almost as much as fabric! I worked full time in a library for several years and really enjoyed the job surrounded by books. This fabric design brought back fond memories of time spent reading books to my children. They still remember their favorite stories, and I have tucked away the books from their childhood ready to pass on to little ones in the future. When the Sharon Holland Bookish design from Art Gallery Fabrics was featured in the October Modern Maker Membership box I thought the reading pillow would be a fun project. I will share with you how to make this removable, washable pillow cover.
Materials Needed:
½ yard of main fabric Passport
Fat quarter of pocket fabric
18” pillow form Jo Ann's Fabric
2” x 18” coordinating fabric for faux binding on pocket
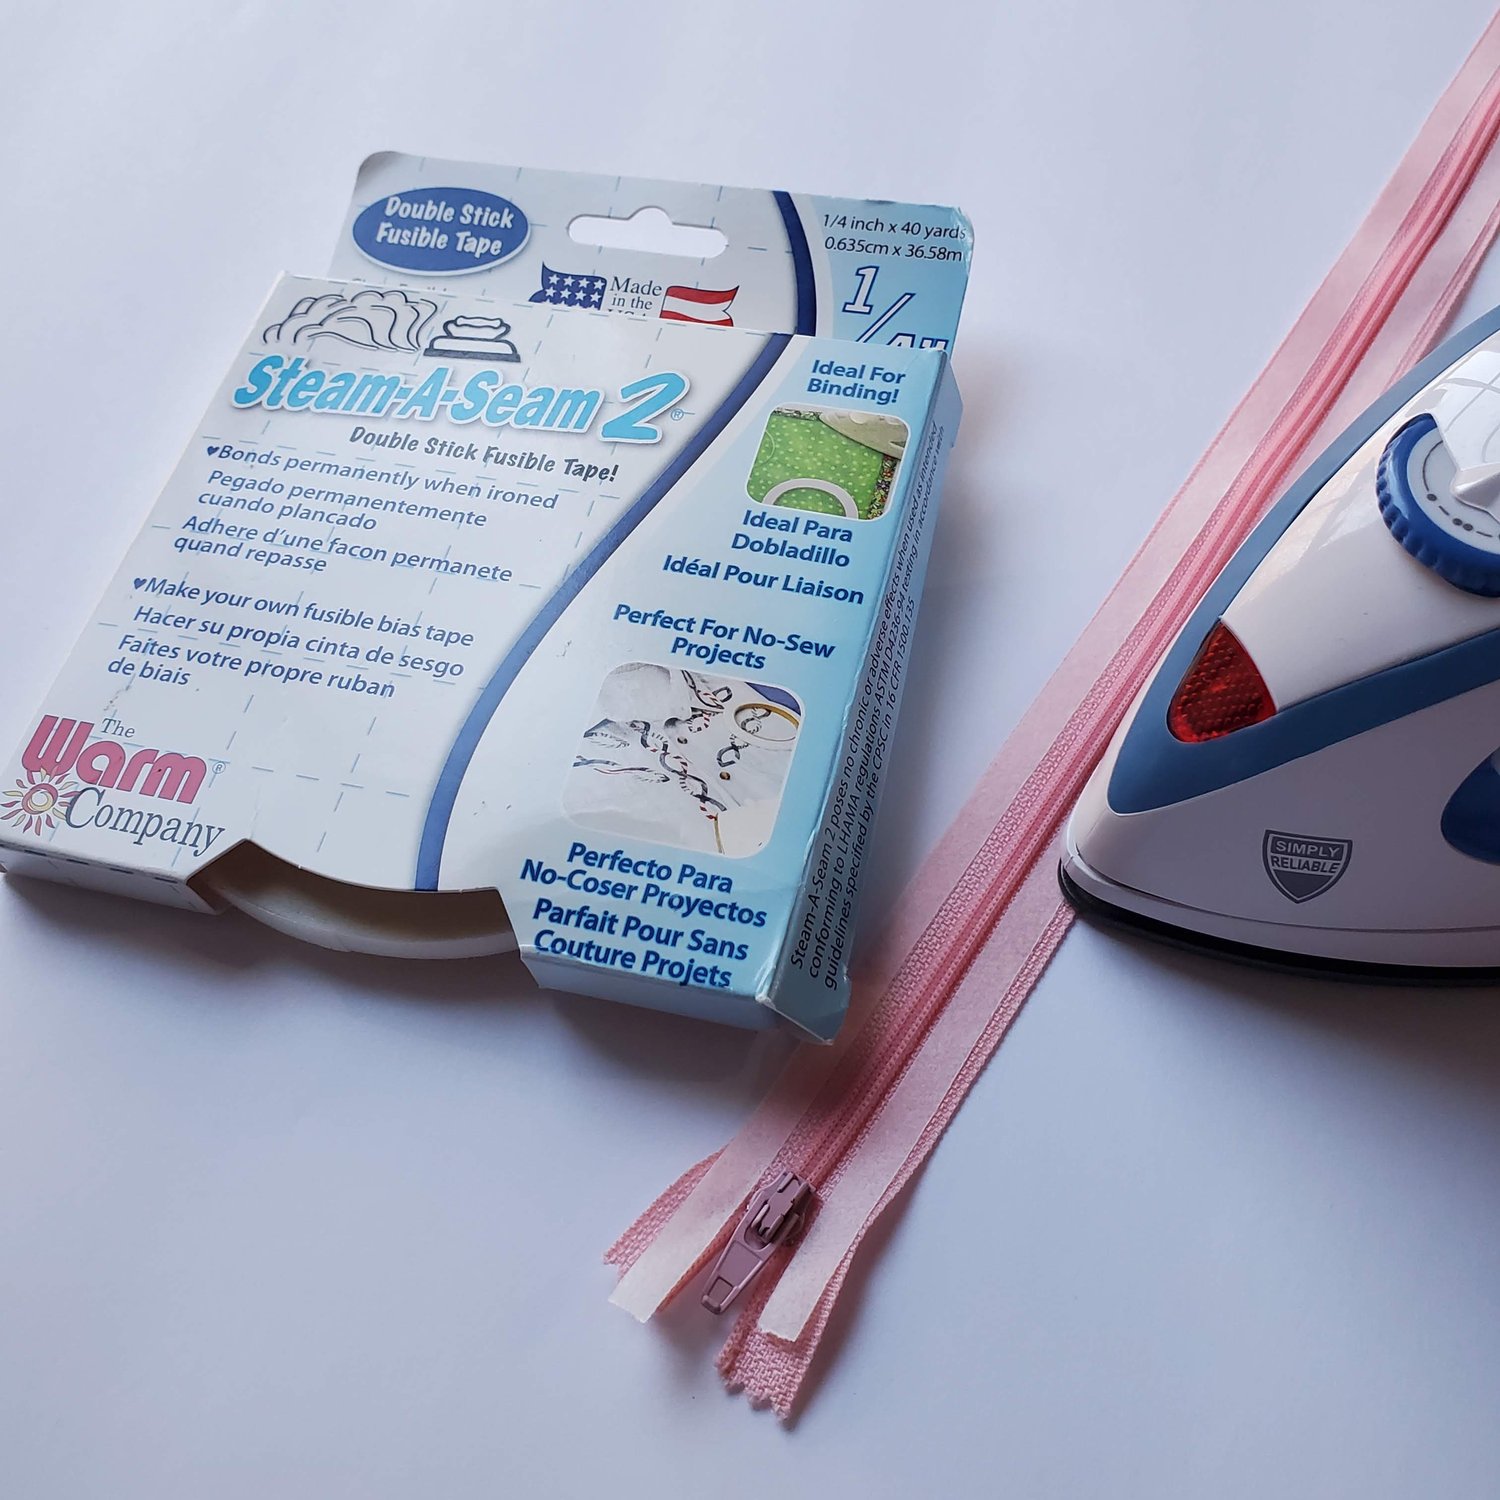
16” zipper
Coordinating Aurifil Thread from Chroma Membership
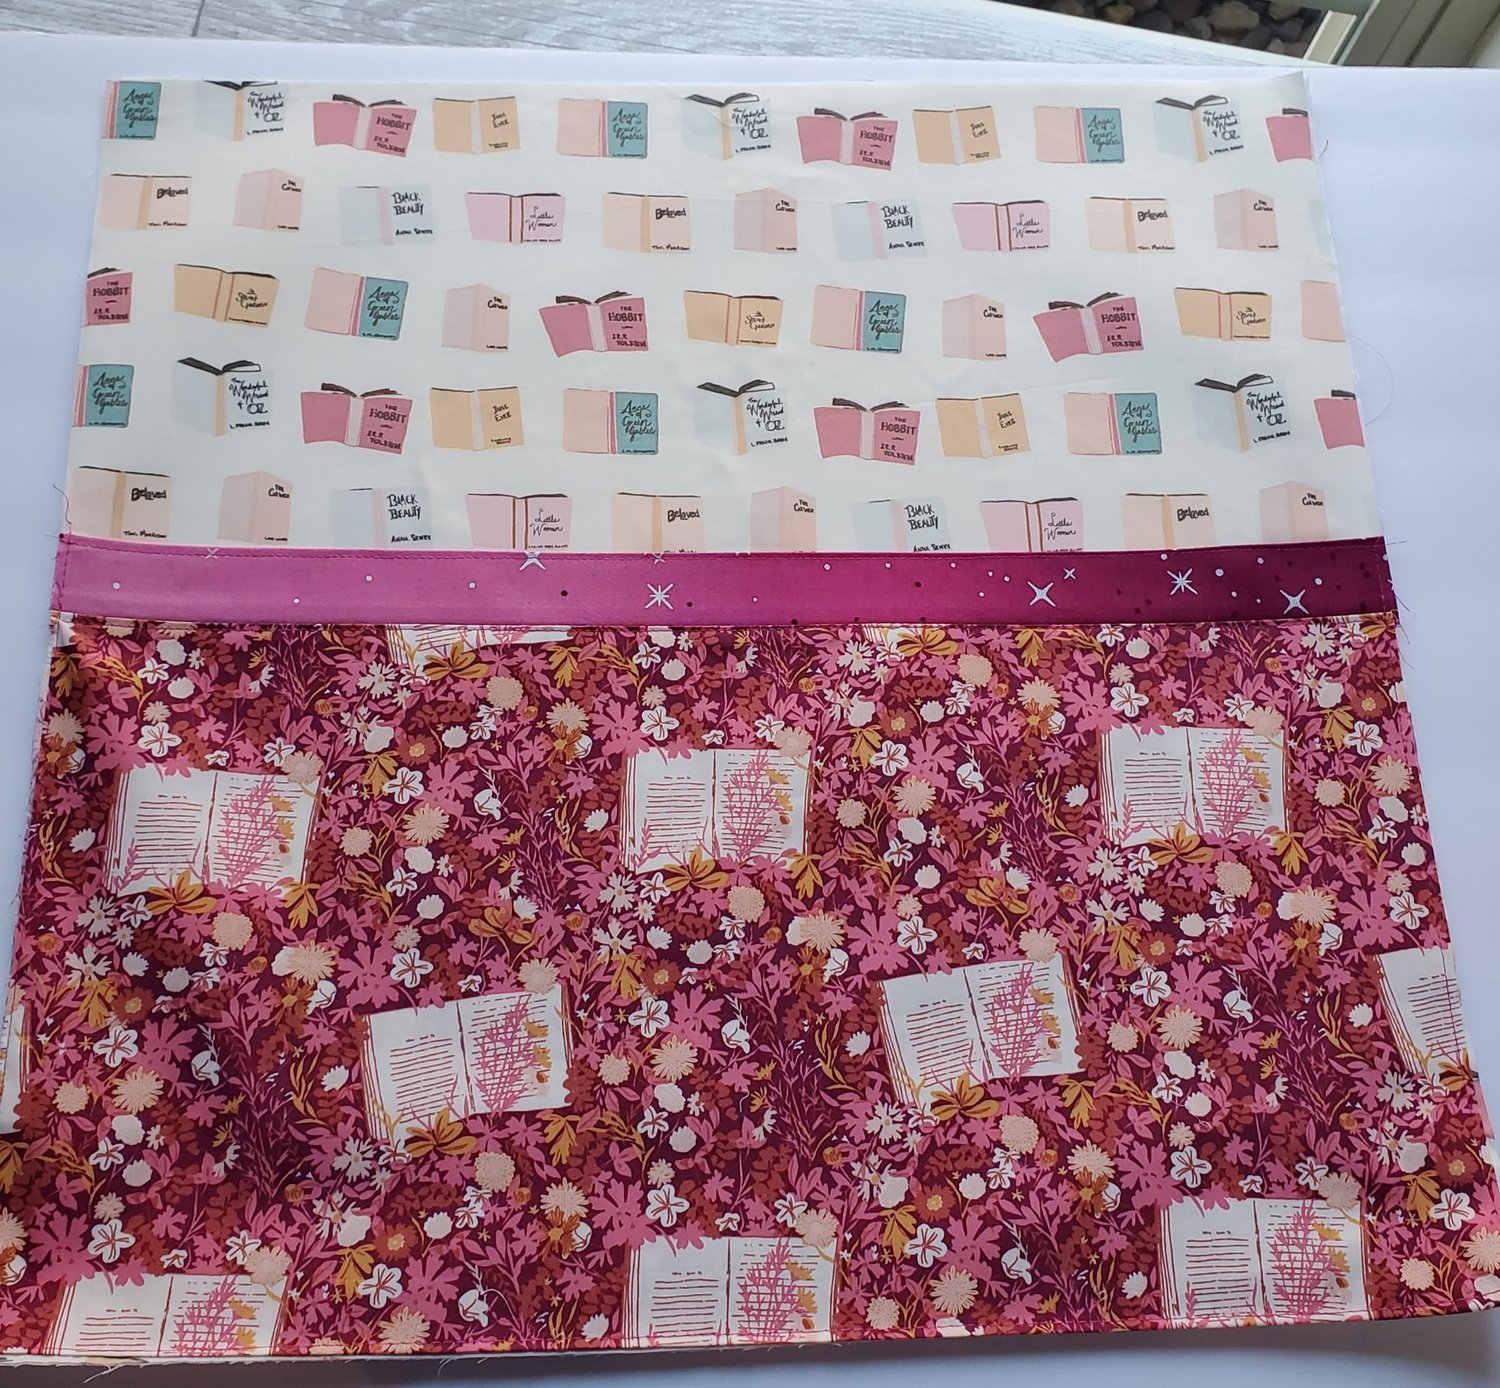
To get started, cut two 18” squares from the main fabric. Since the fabric background was cream I decided to use some Pellon shape flex fusible interfacing on the wrong side of the main fabric. The second layer helps conceal the inner pillow form for a more professional finished look to the pillow. Cut 18” x 18.5” piece of the pocket fabric. Sew the 2”x 18” fabric strip with a ¼” seam to the 18” side of the pocket with right sides together.
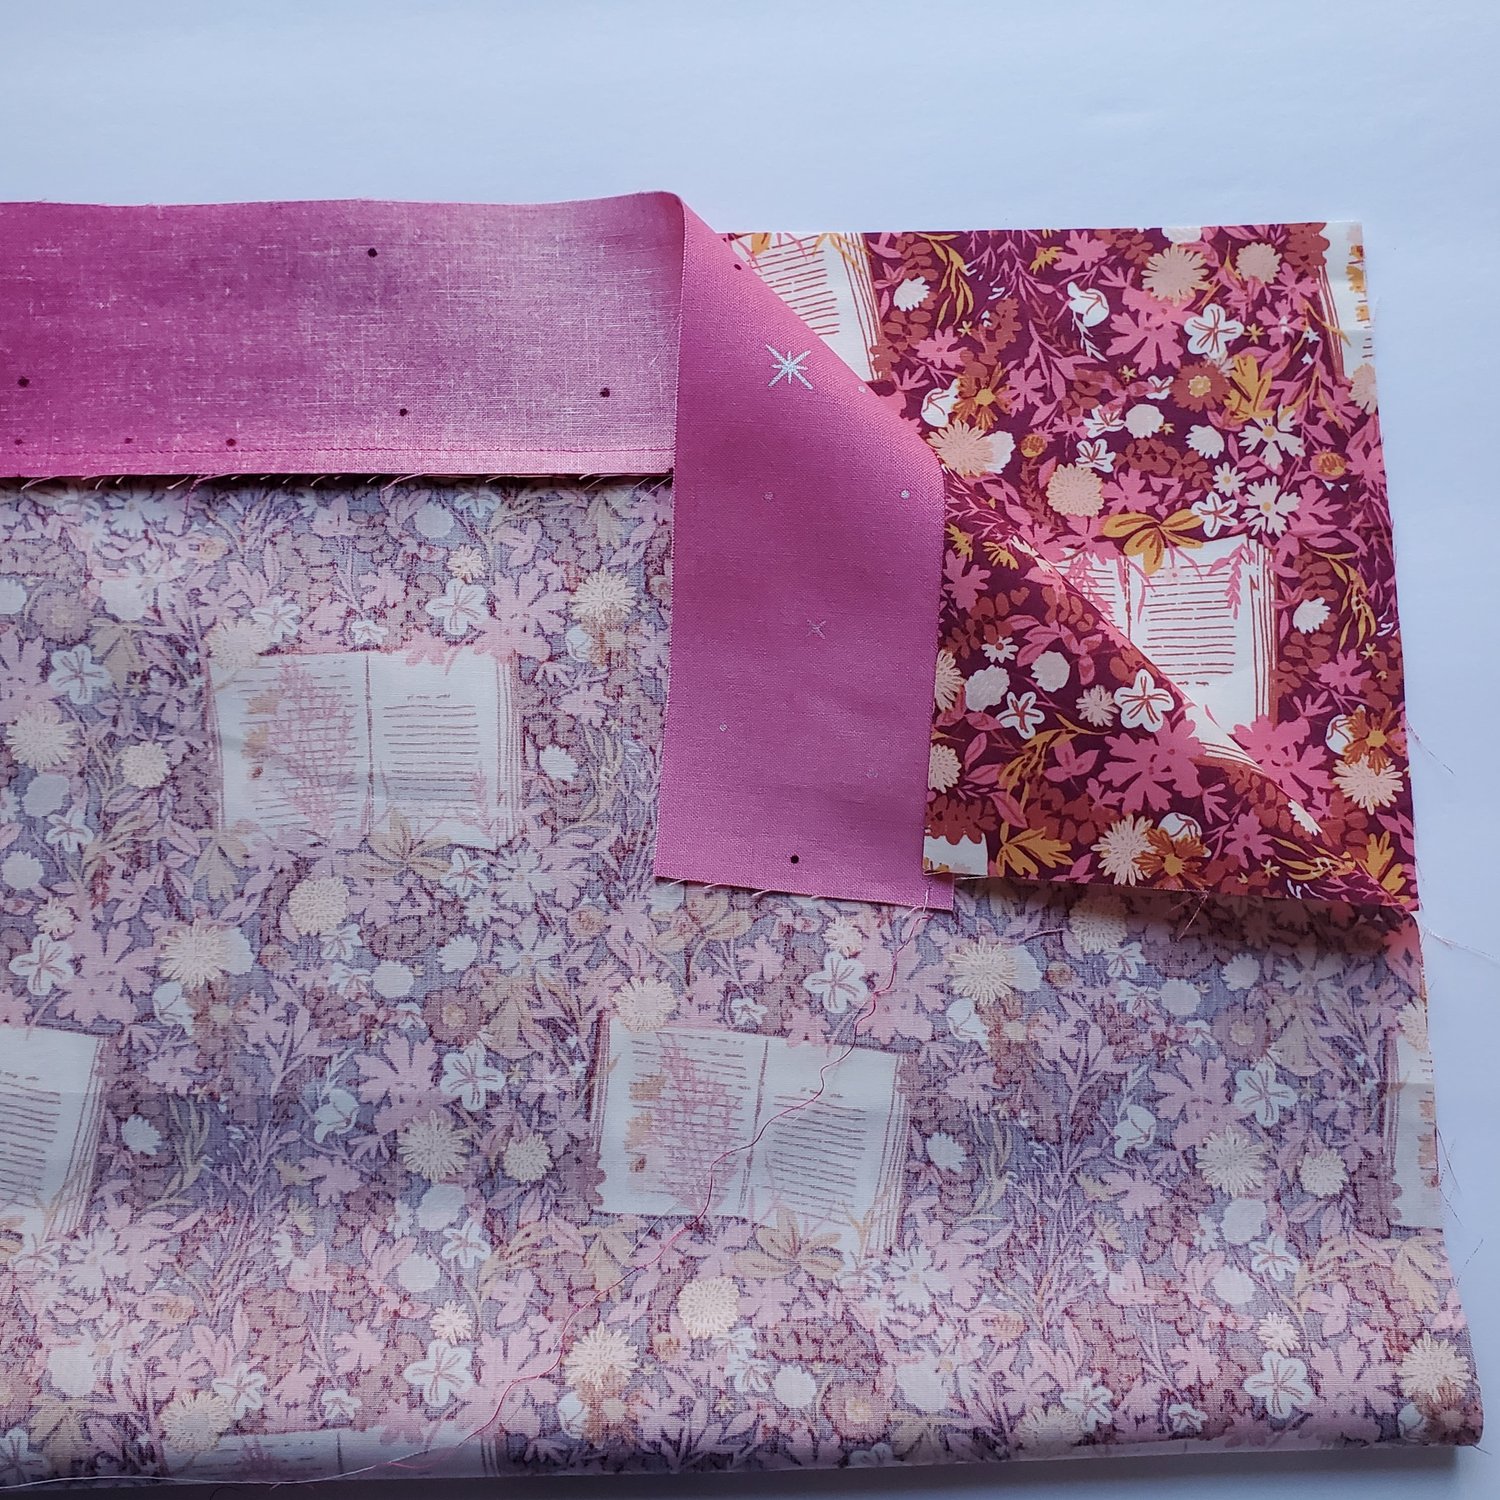
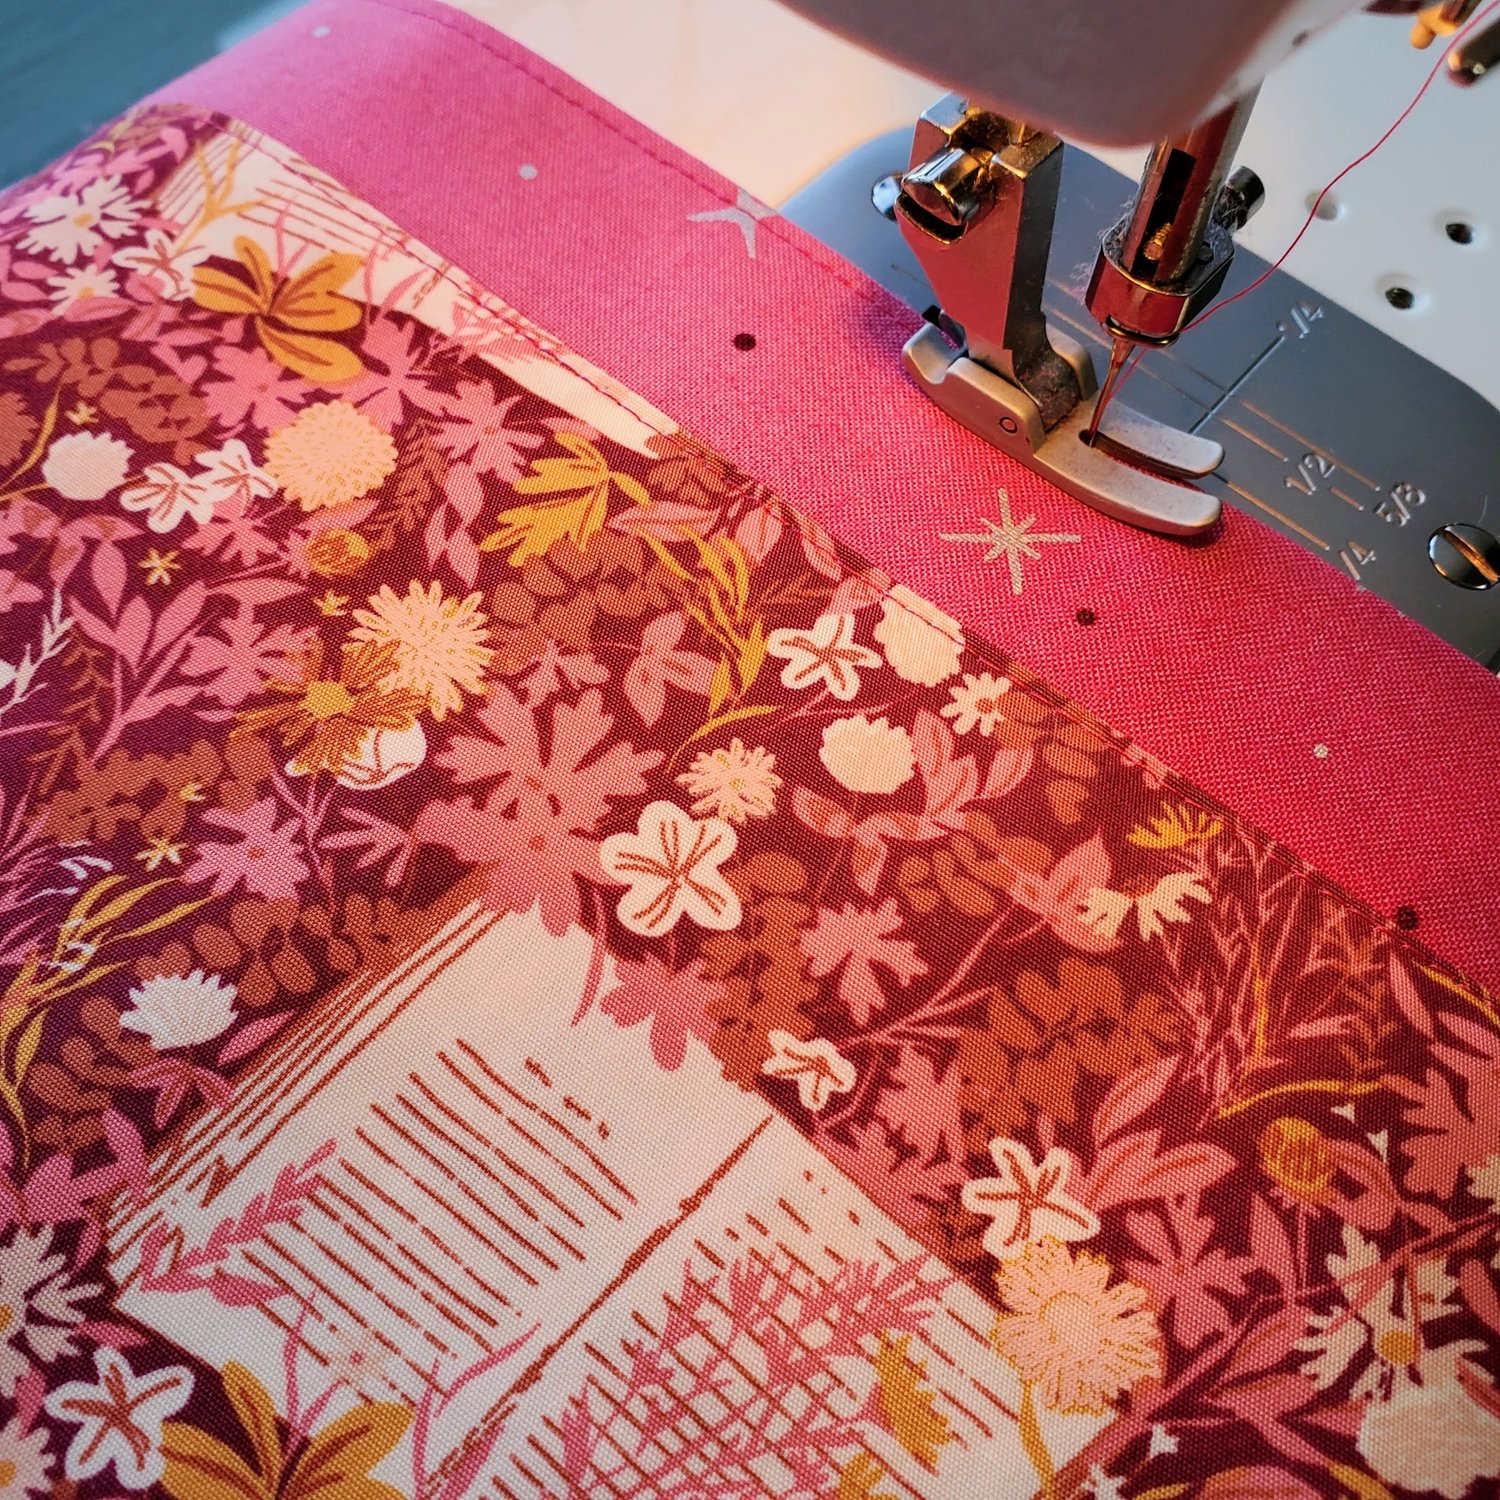
Press the seam. Sew the other long seam with the right sides together, press. Turn right sides out and press in half to form the pocket. Topstitch ⅛” from the edge and along the seam line to give it a nice finished edge creating the faux binding.
Lay the pocket right sides together on the main piece and baste in place along the bottom and sides. If using a directional fabric be sure it is facing the right way.
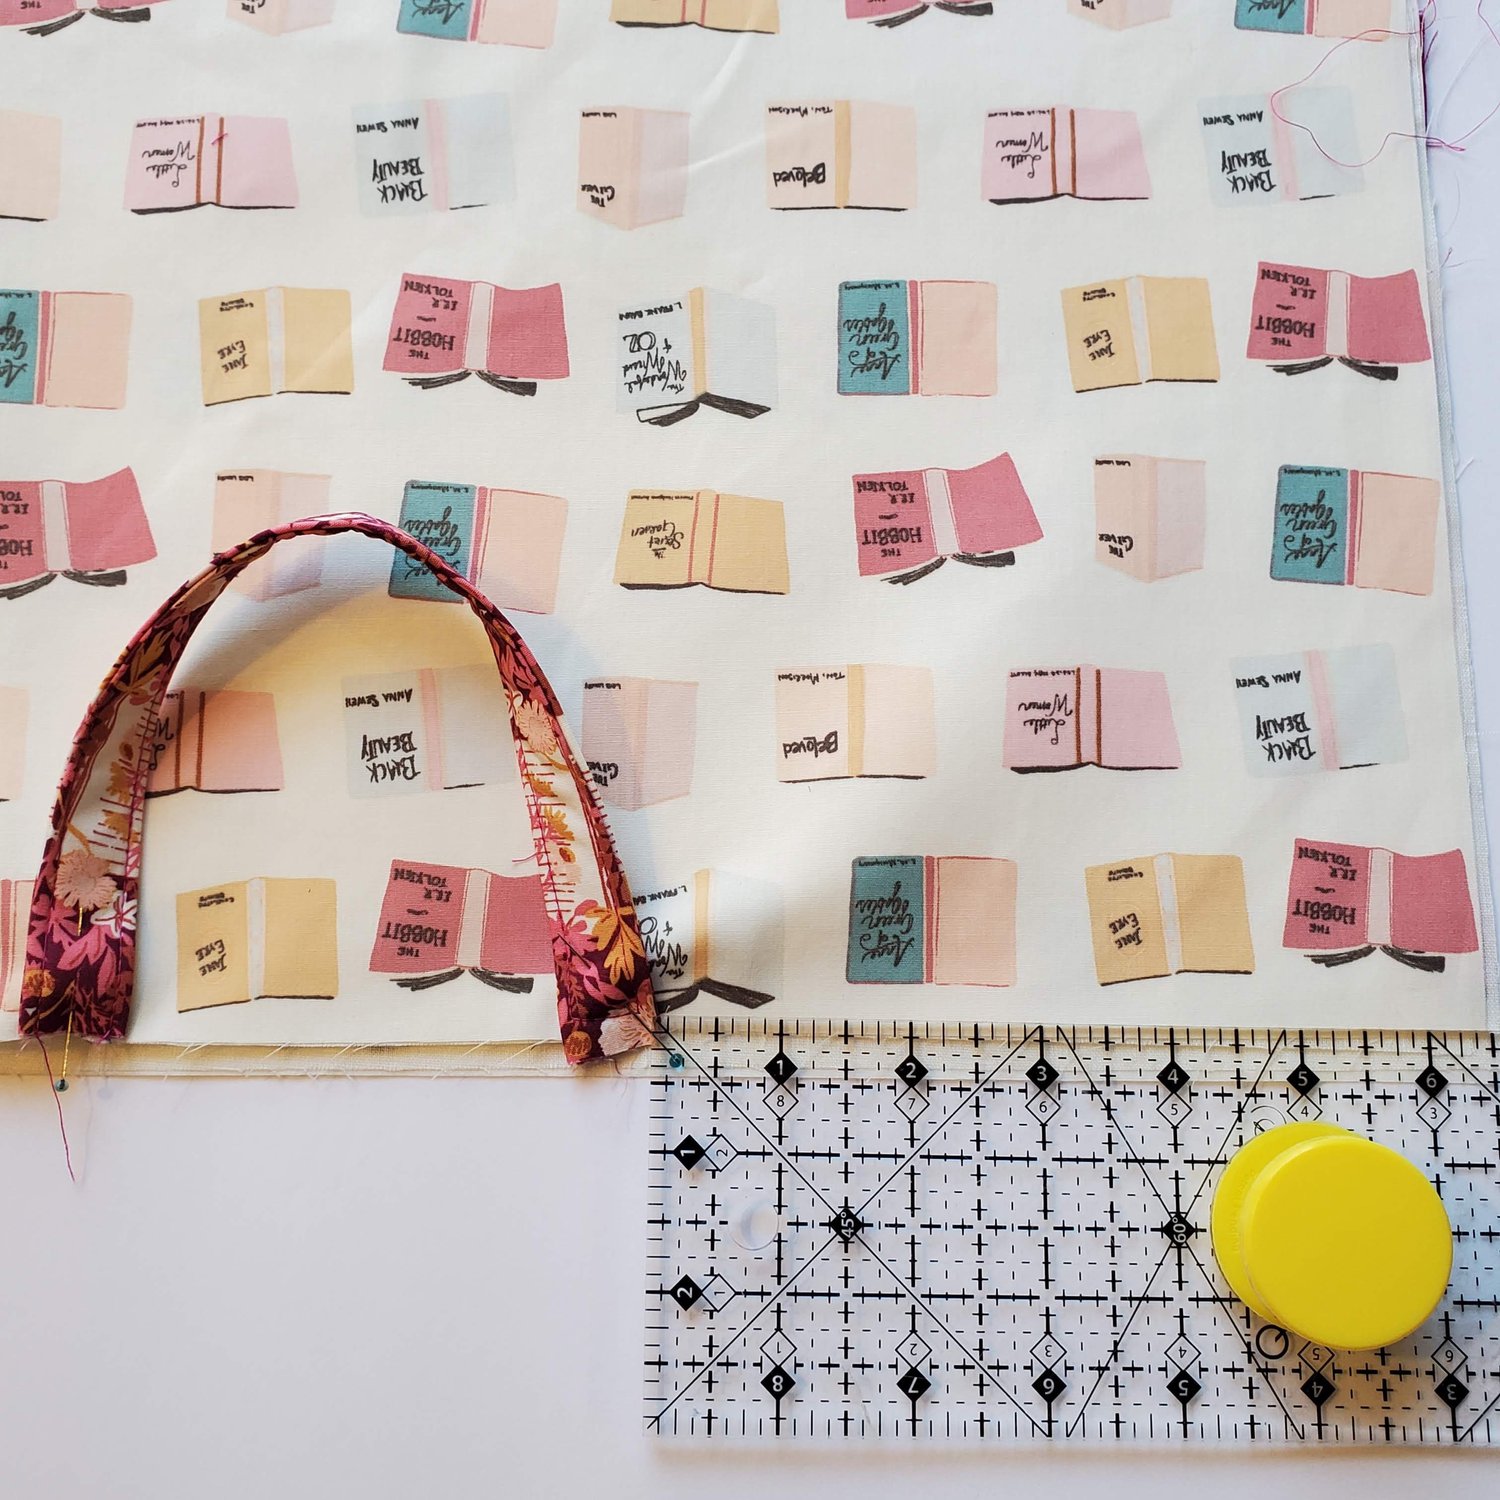
Using the matching pocket fabric cut a 3” x 10” piece of fabric for a handle. Use a piece of scrap fusible interfacing about 1” x 10” wide and press in the center of the strip. Press in half lengthwise, open and press the raw edges to the center.
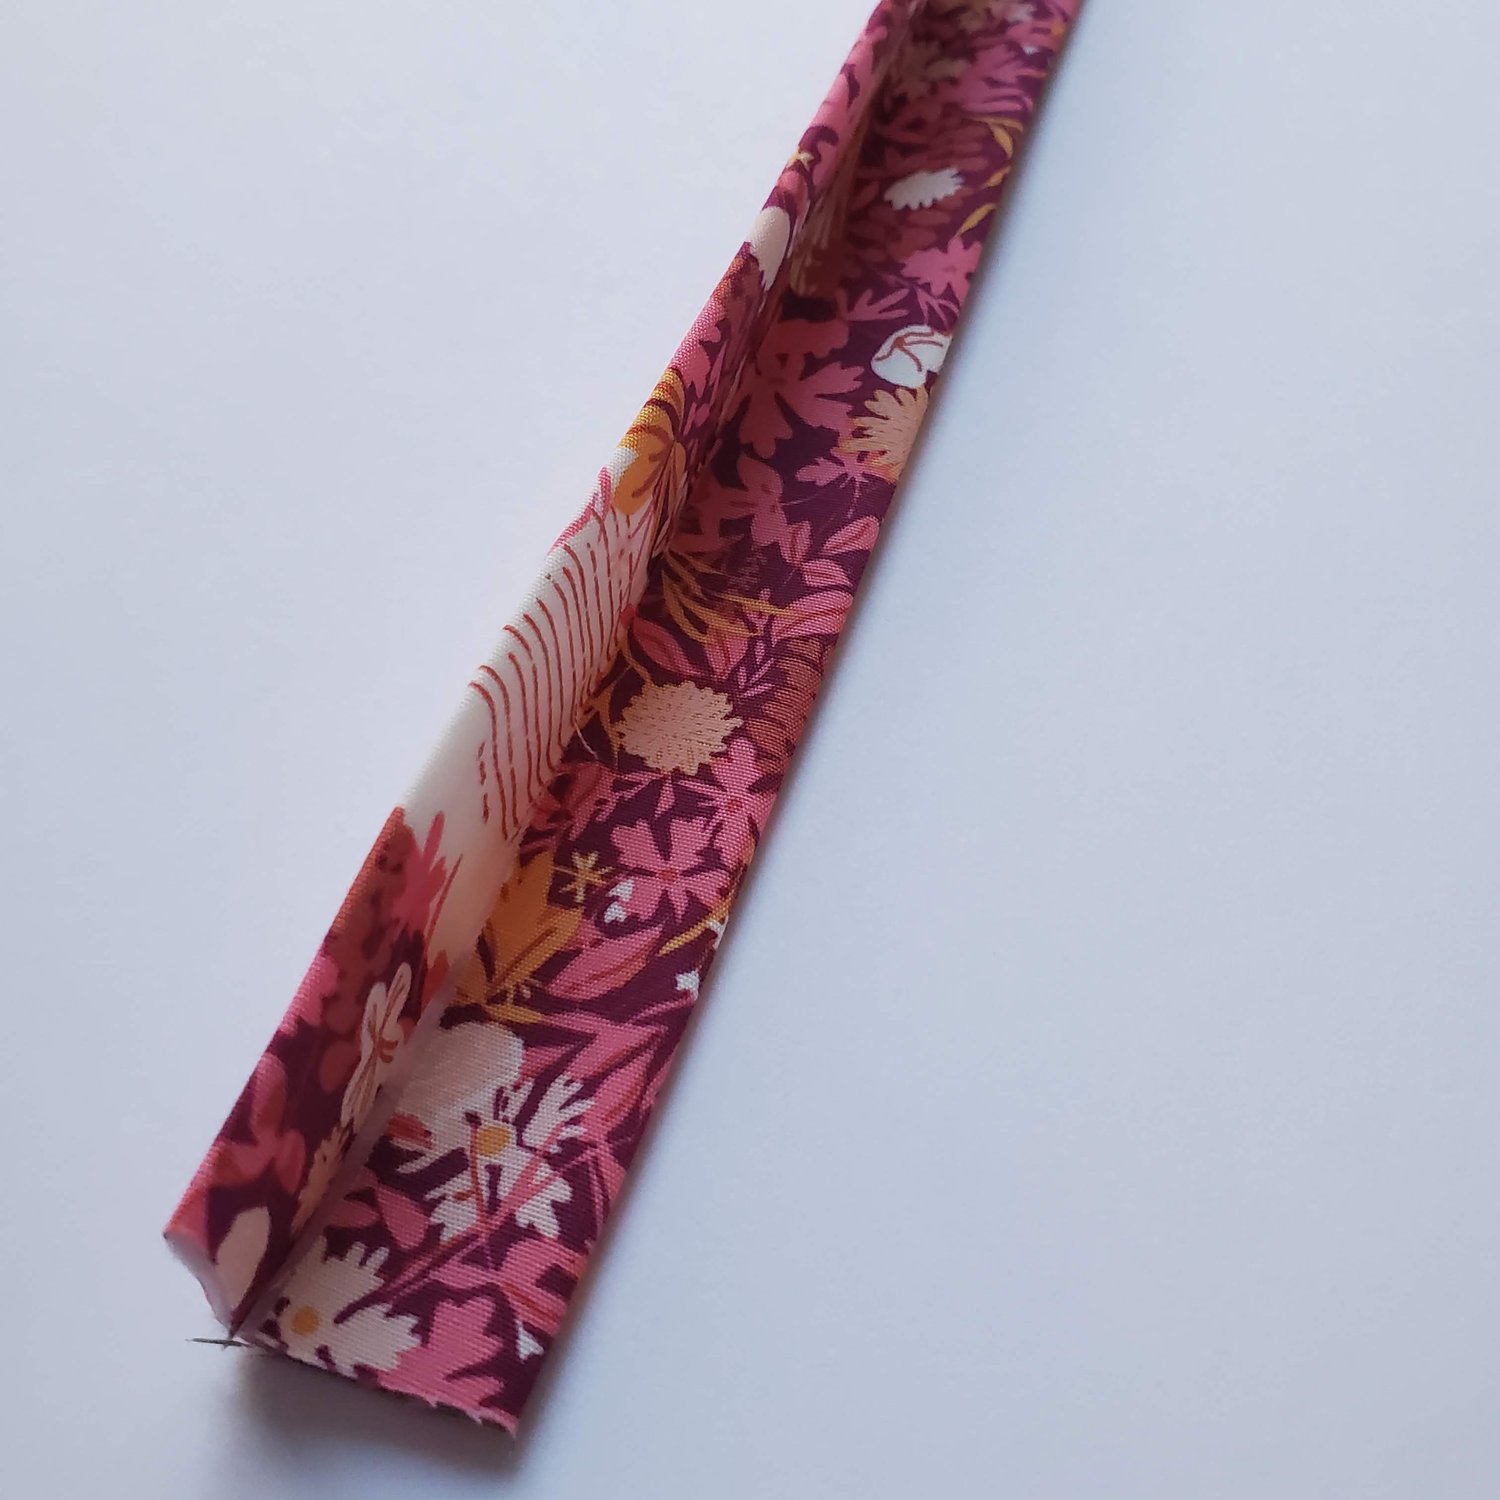
Topstitch along the edges and press. Set aside.
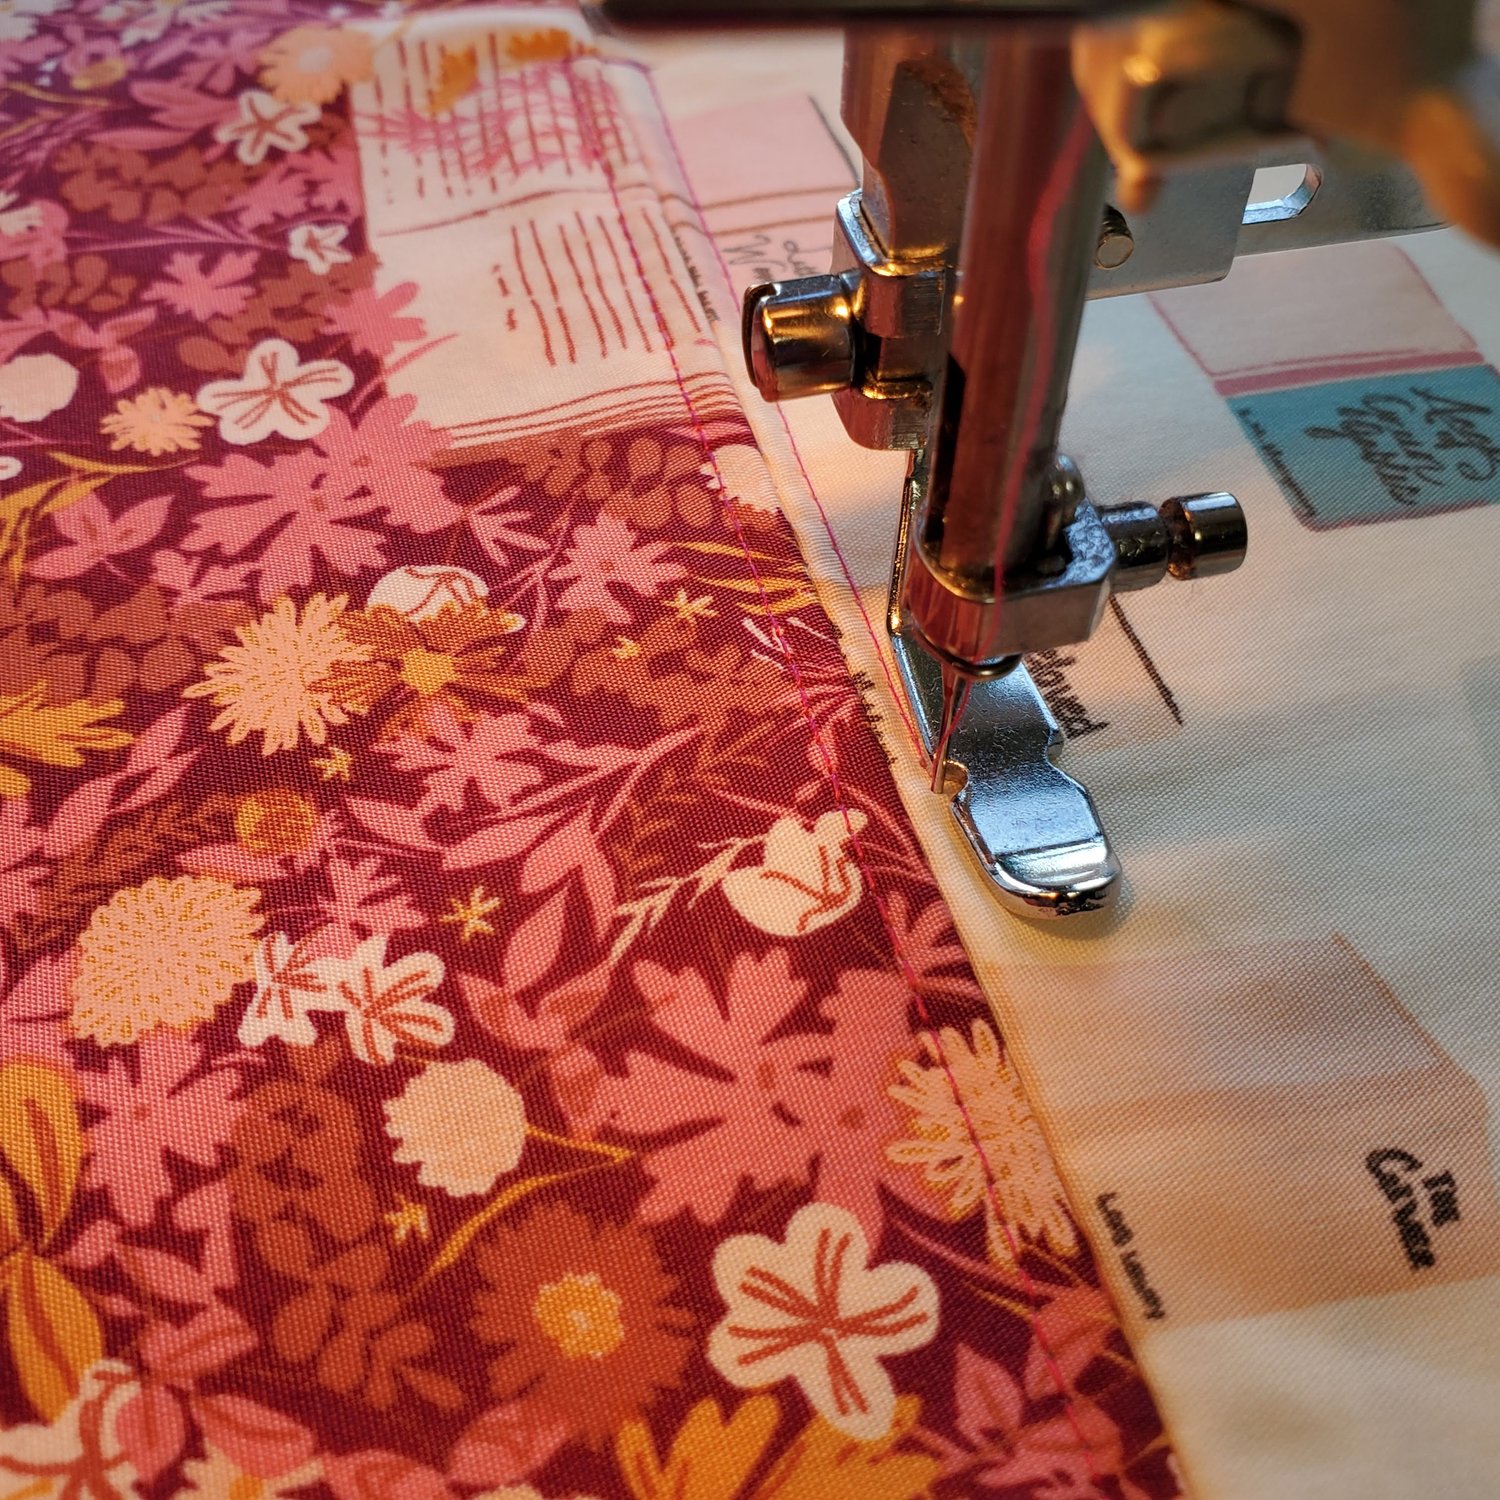
Take the front pocket piece and the main back and with right sides together baste the bottom with a ½” seam allowance to prepare for the zipper placement. Since the zipper is about 2” shorter you will want to sew the first 1.5” with a normal 2.5mm stitch length then increase stitch length to about a 4 or 5mm then the last 1.5 reduce the stitch length again. Press the seam open. I like to use Steam a Seam ¼” tape to fuse the zipper in place.
Line up the zipper teeth with the center of the seam. Press in place.
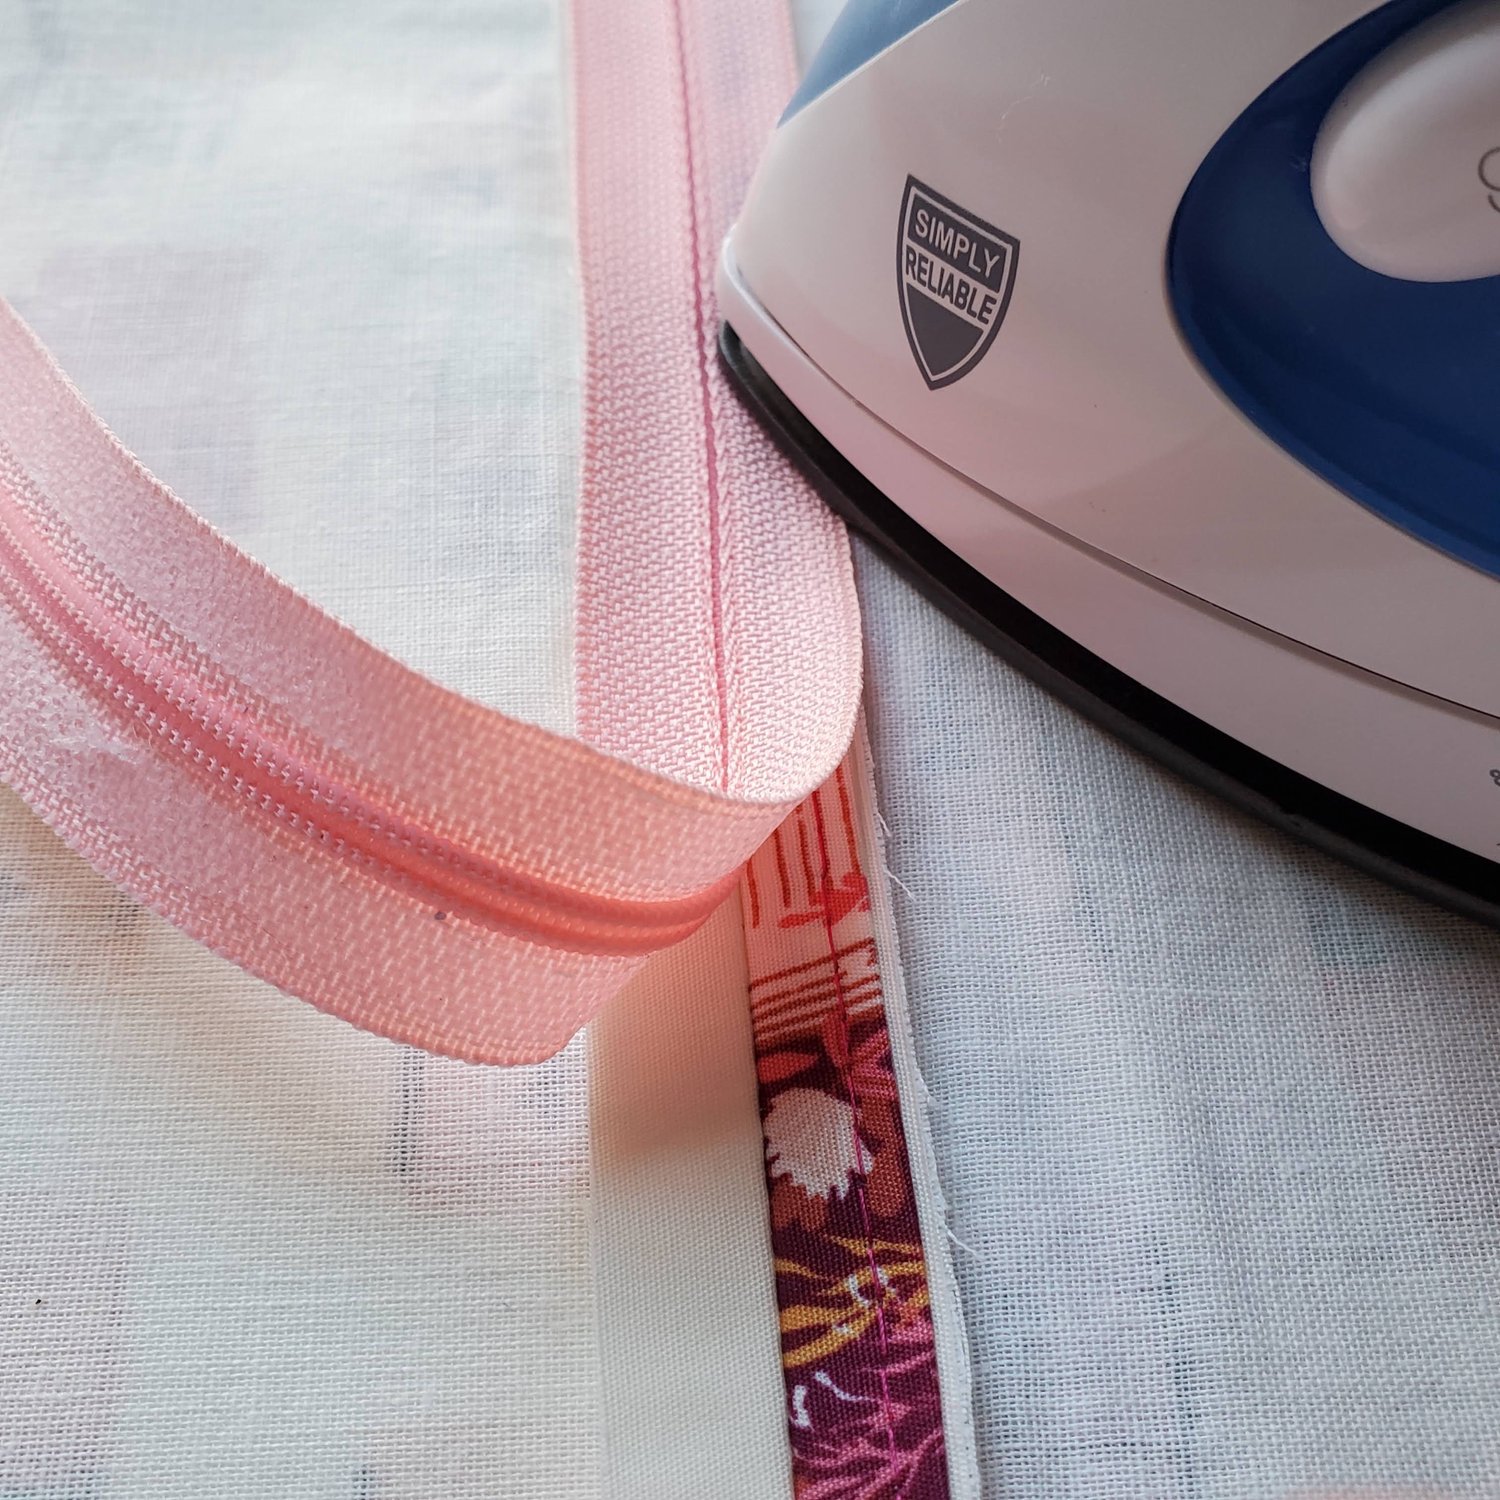
With your zipper foot and coordinating thread color, sew on the right side around all four sides of the zipper.
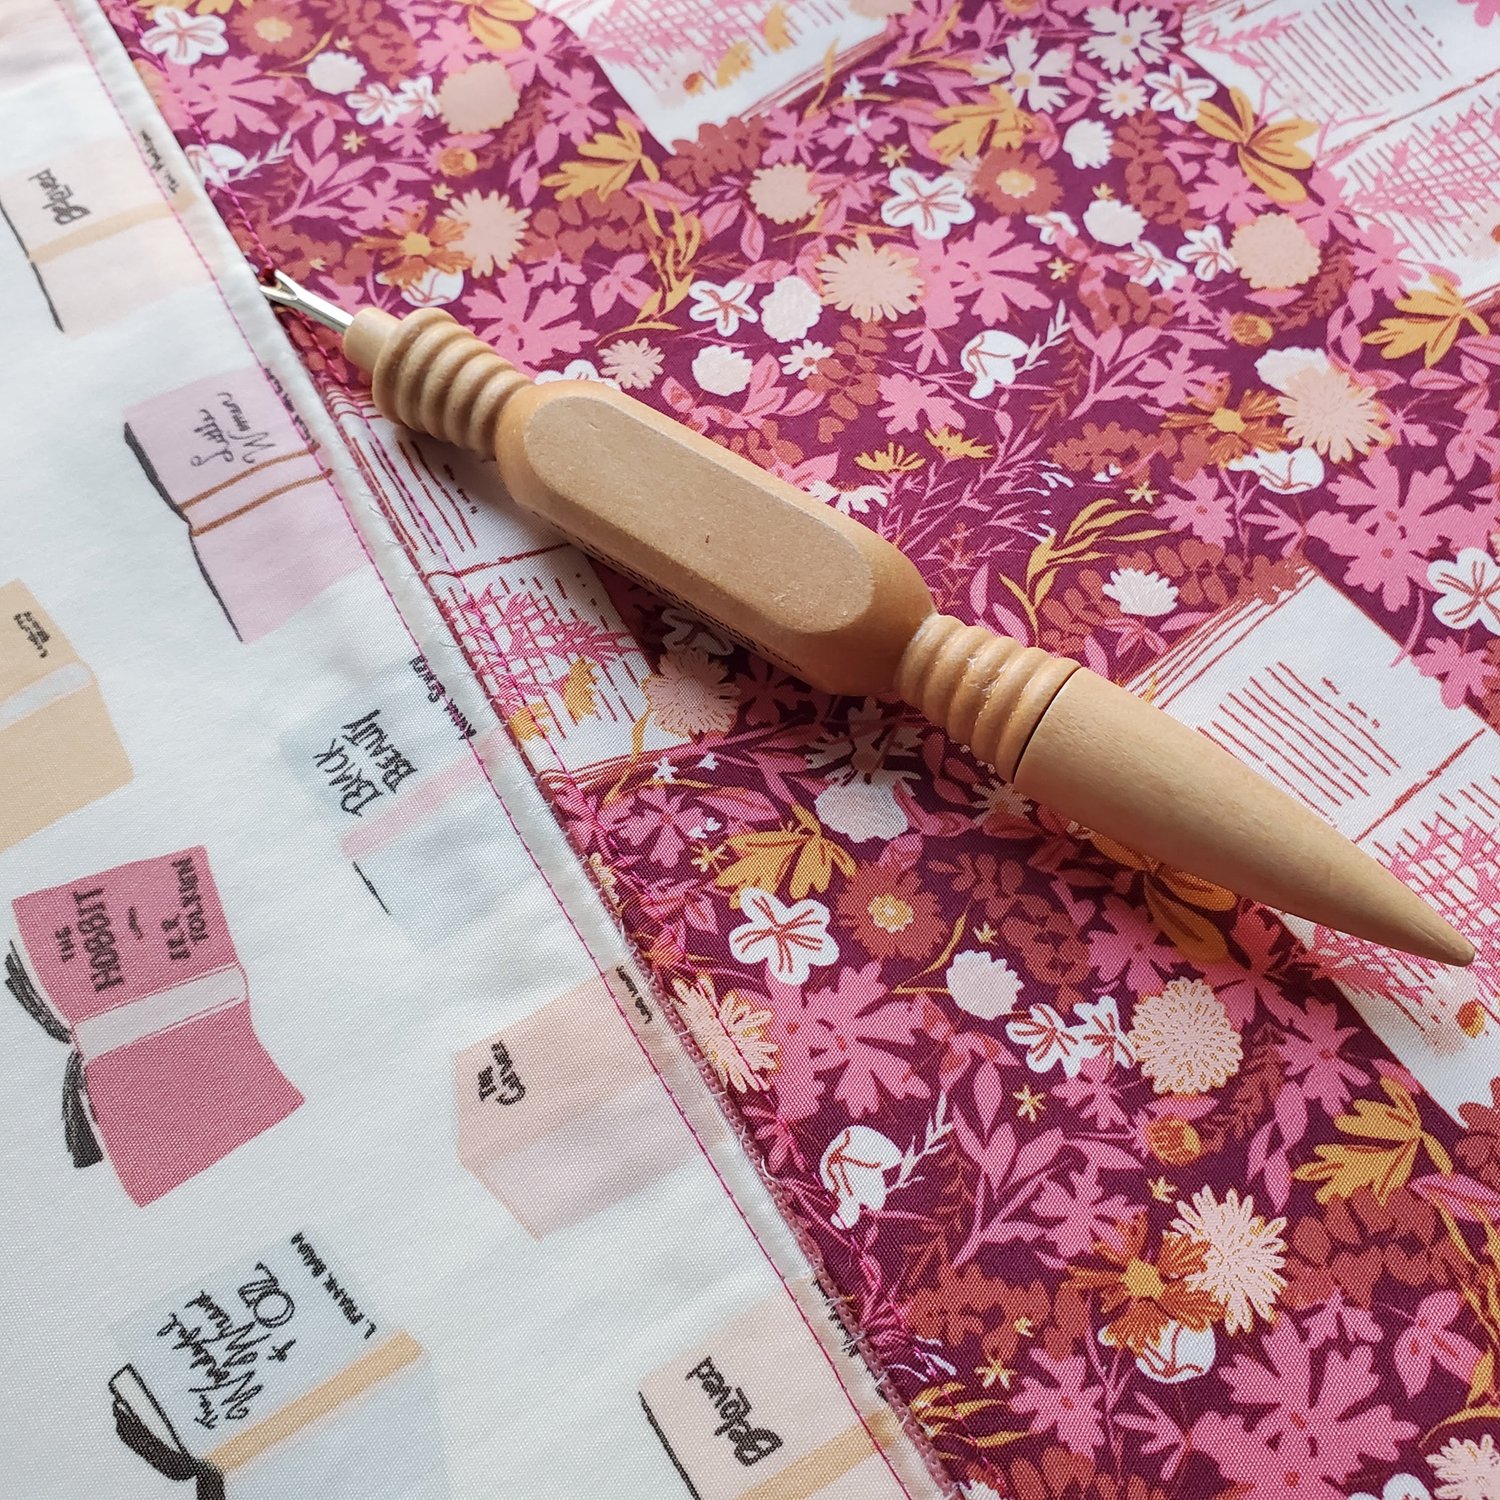
Using a seam ripper carefully remove the basting stitches along the length of the zipper.
Place the handle centered on the top edge about 6.5” from each edge and pin or baste in place.
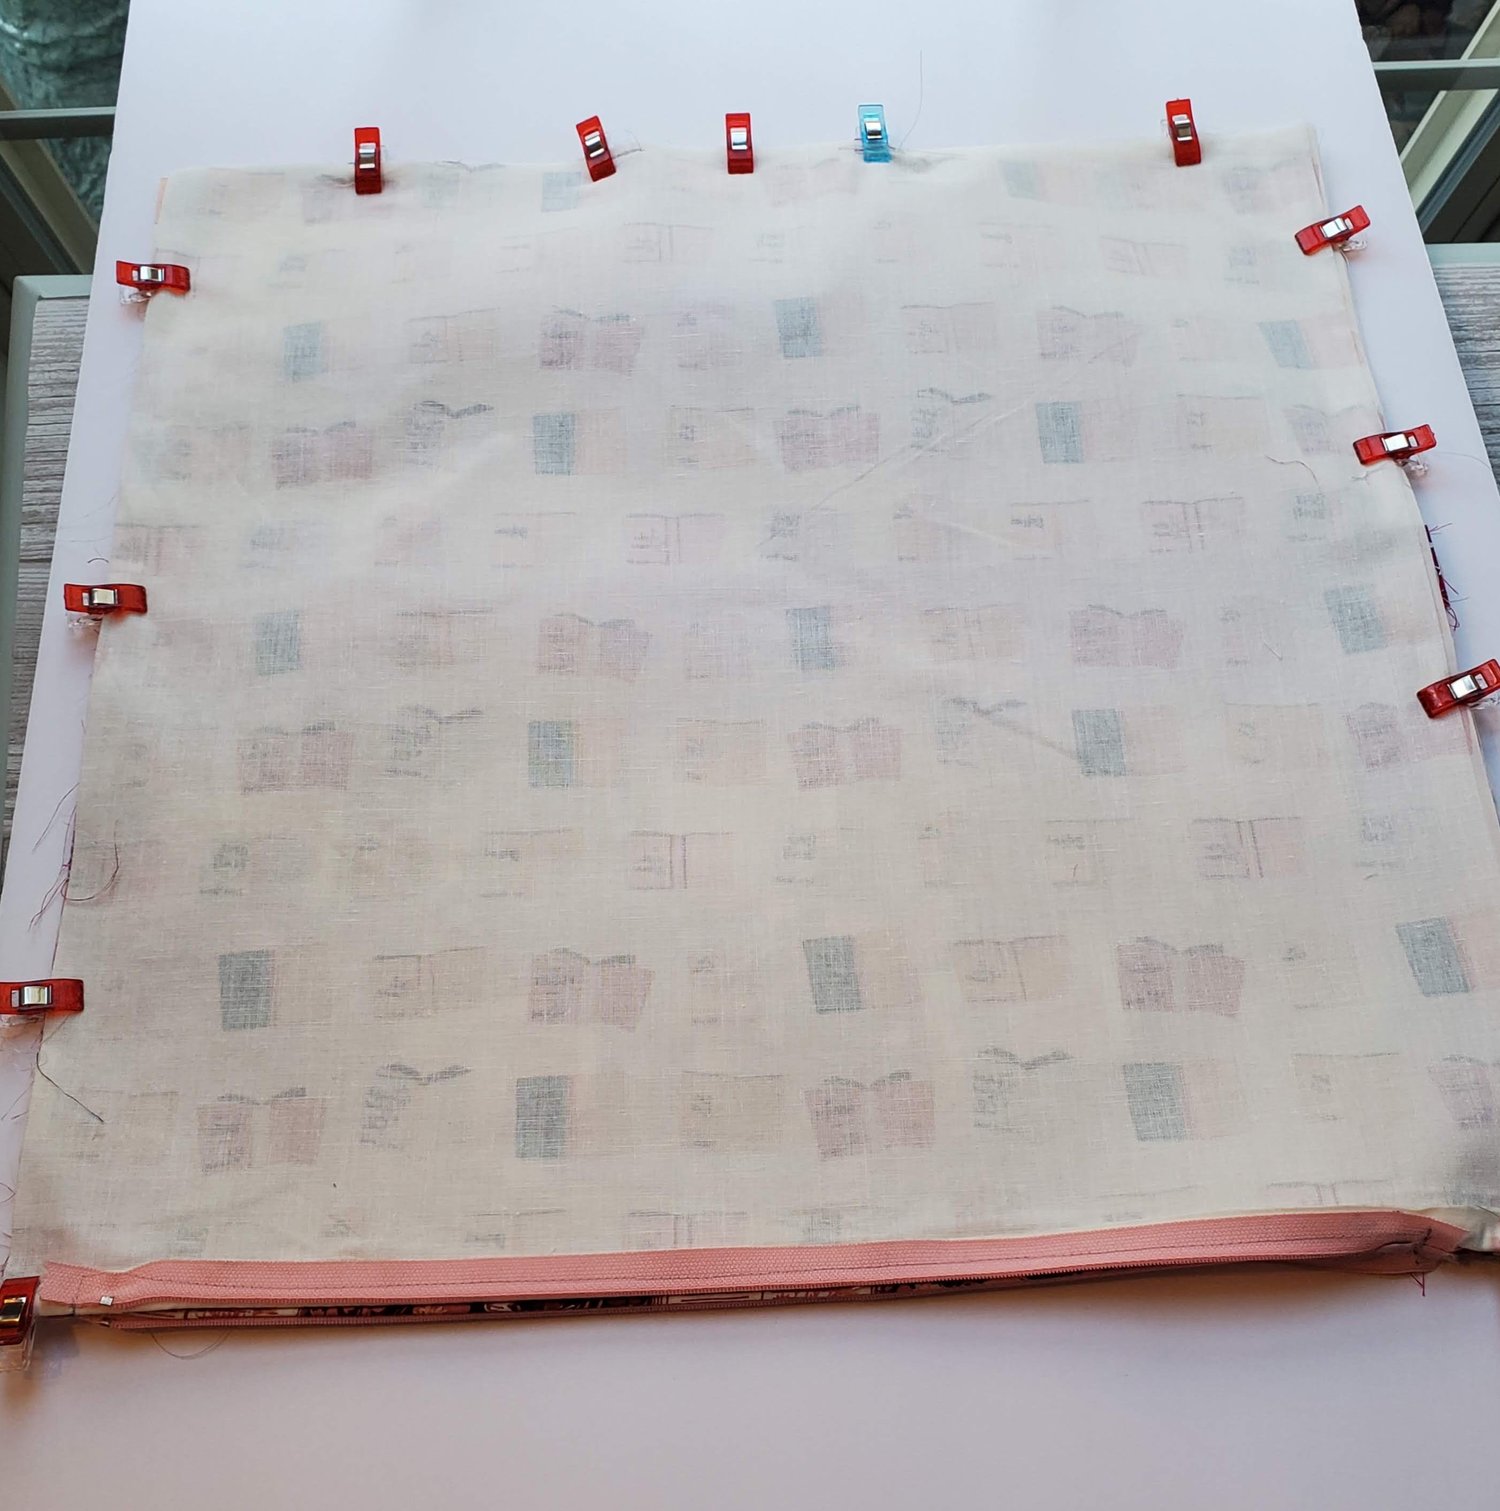
Open the zipper and clip the right sides together to prepare to stitch the remaining three sides of the pillow.Sew with a ½” seam allowance
Clip the corners and turn right sides out through the opened zipper. Give it a final press and insert the pillow form.
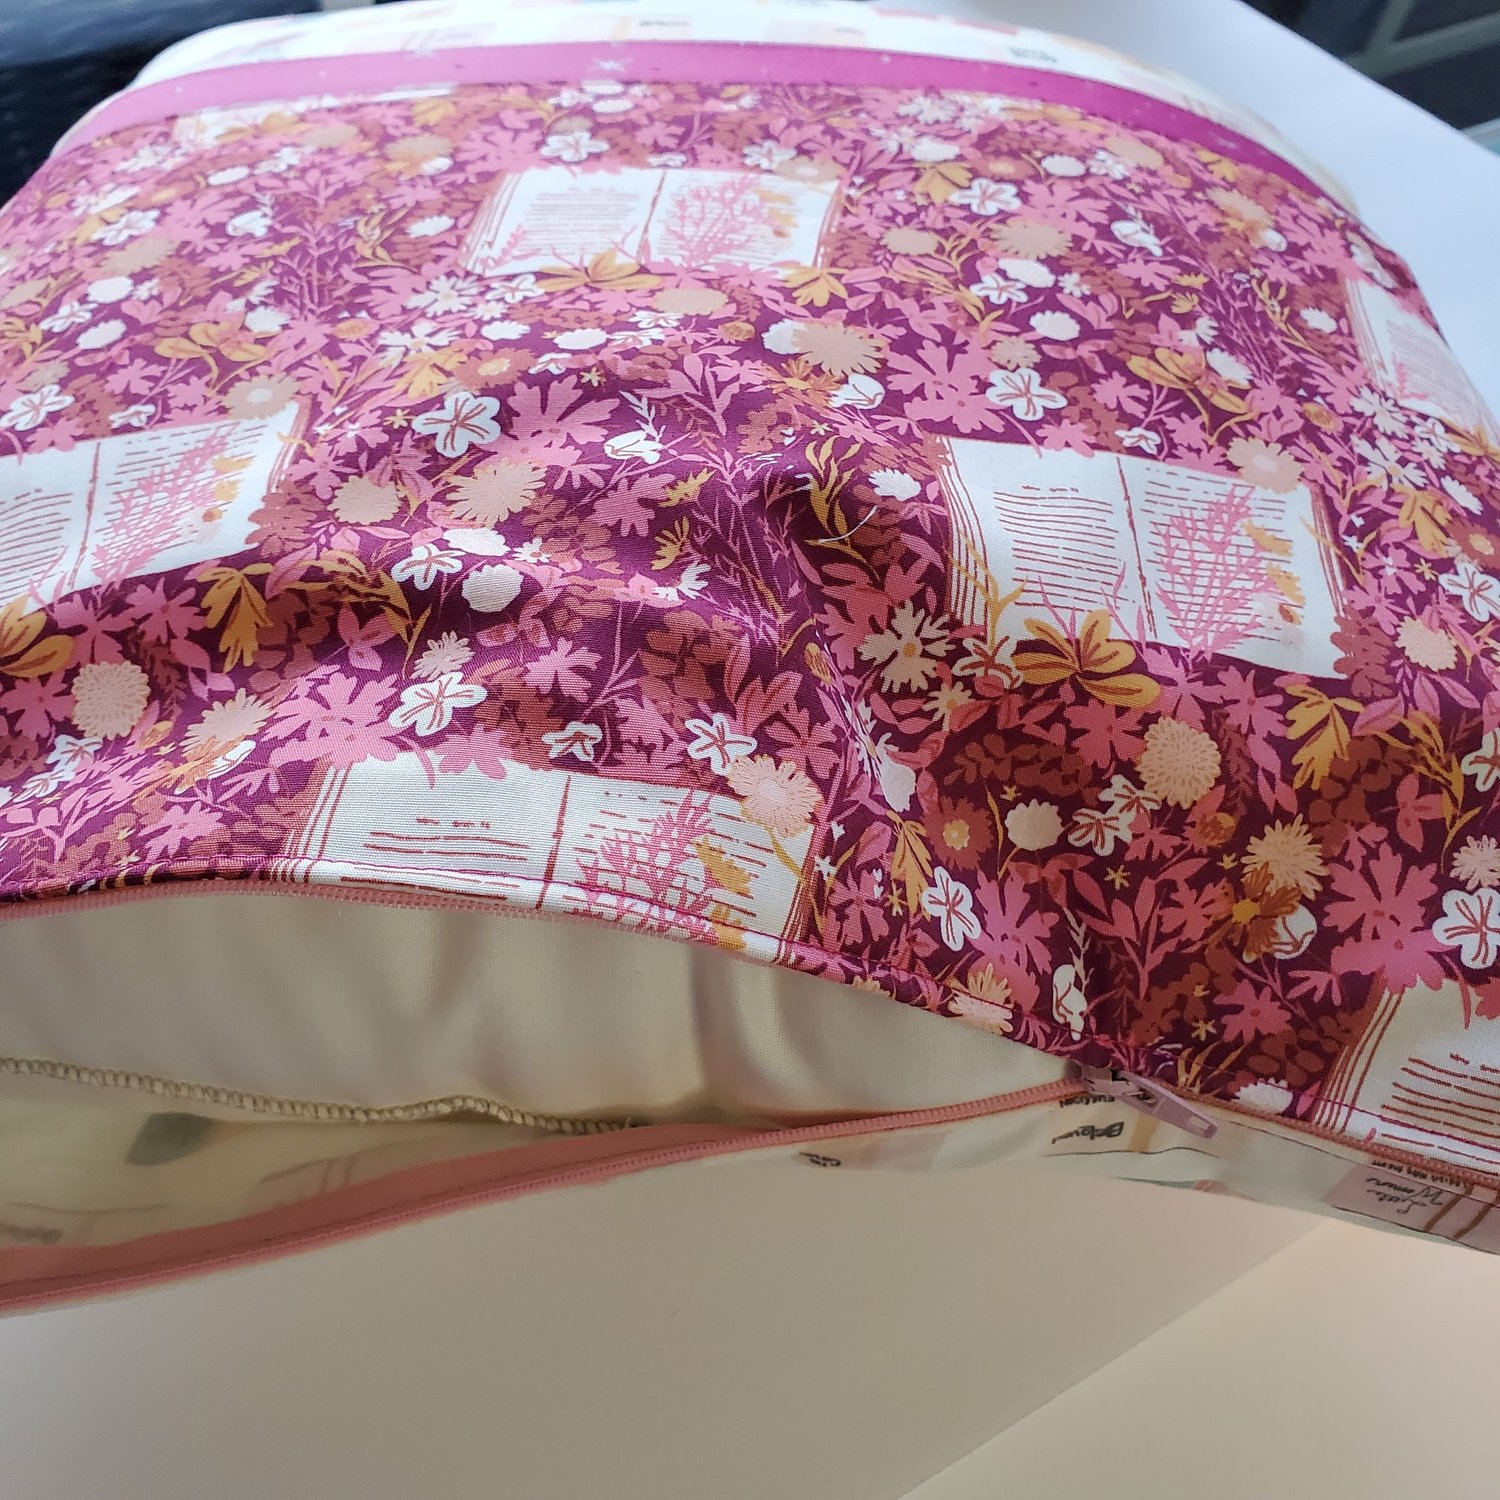
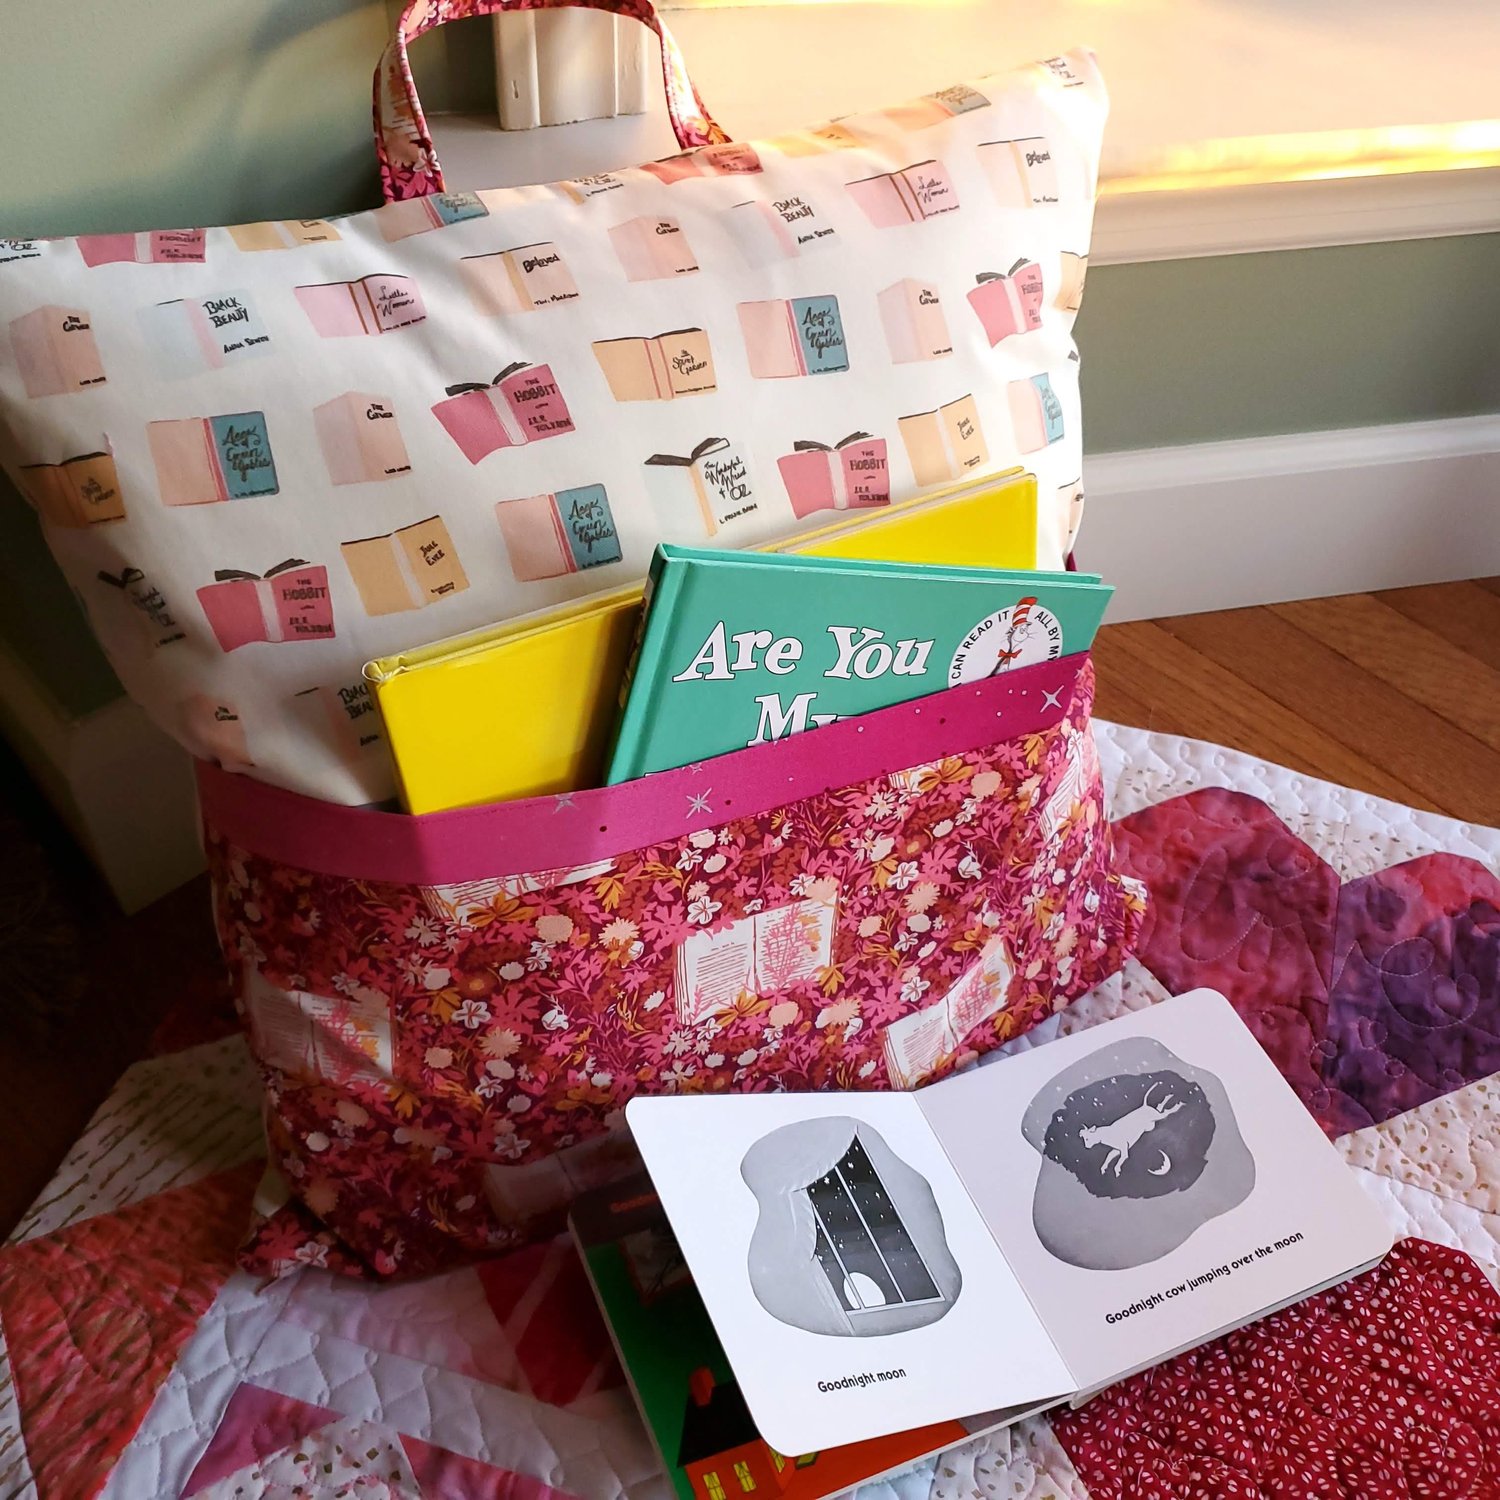
Add some books and a cozy quilt and you are ready to spend some quality time with the little ones in your life!