

An Advent Calendar From Ellie
Posted by Ellen Perez on 14th Nov 2022
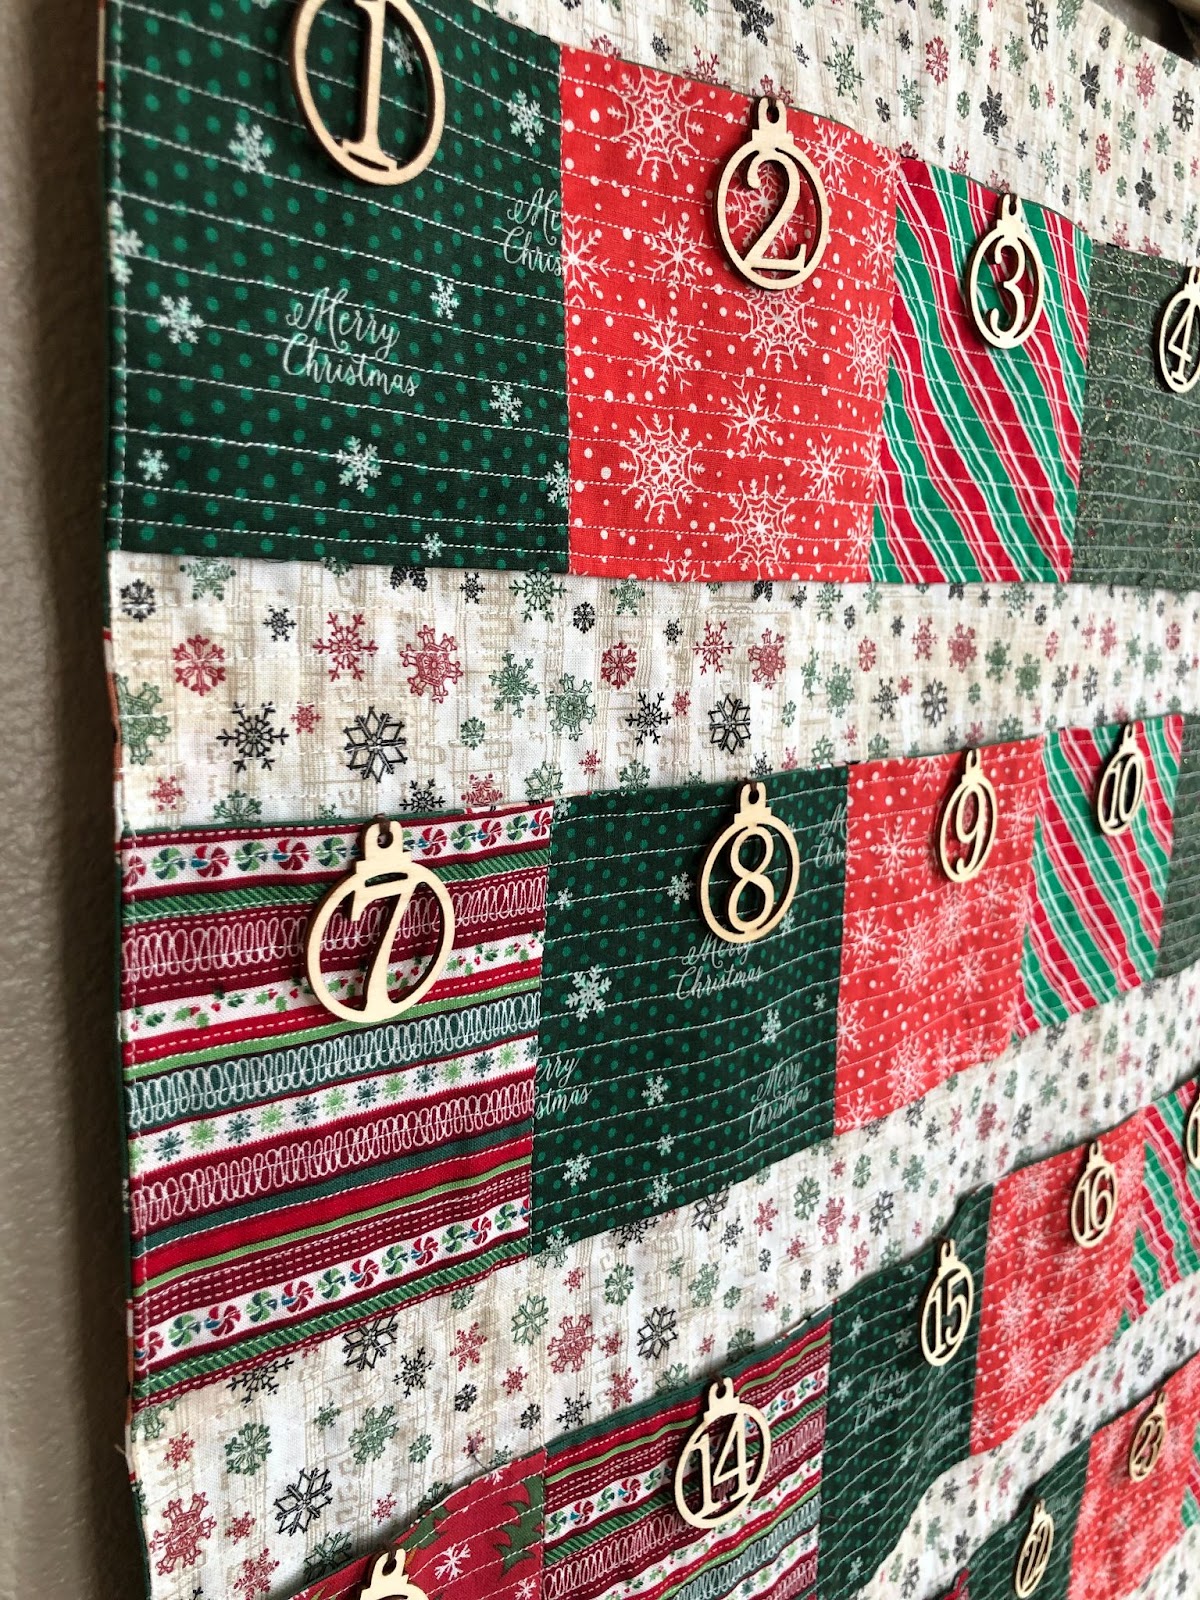
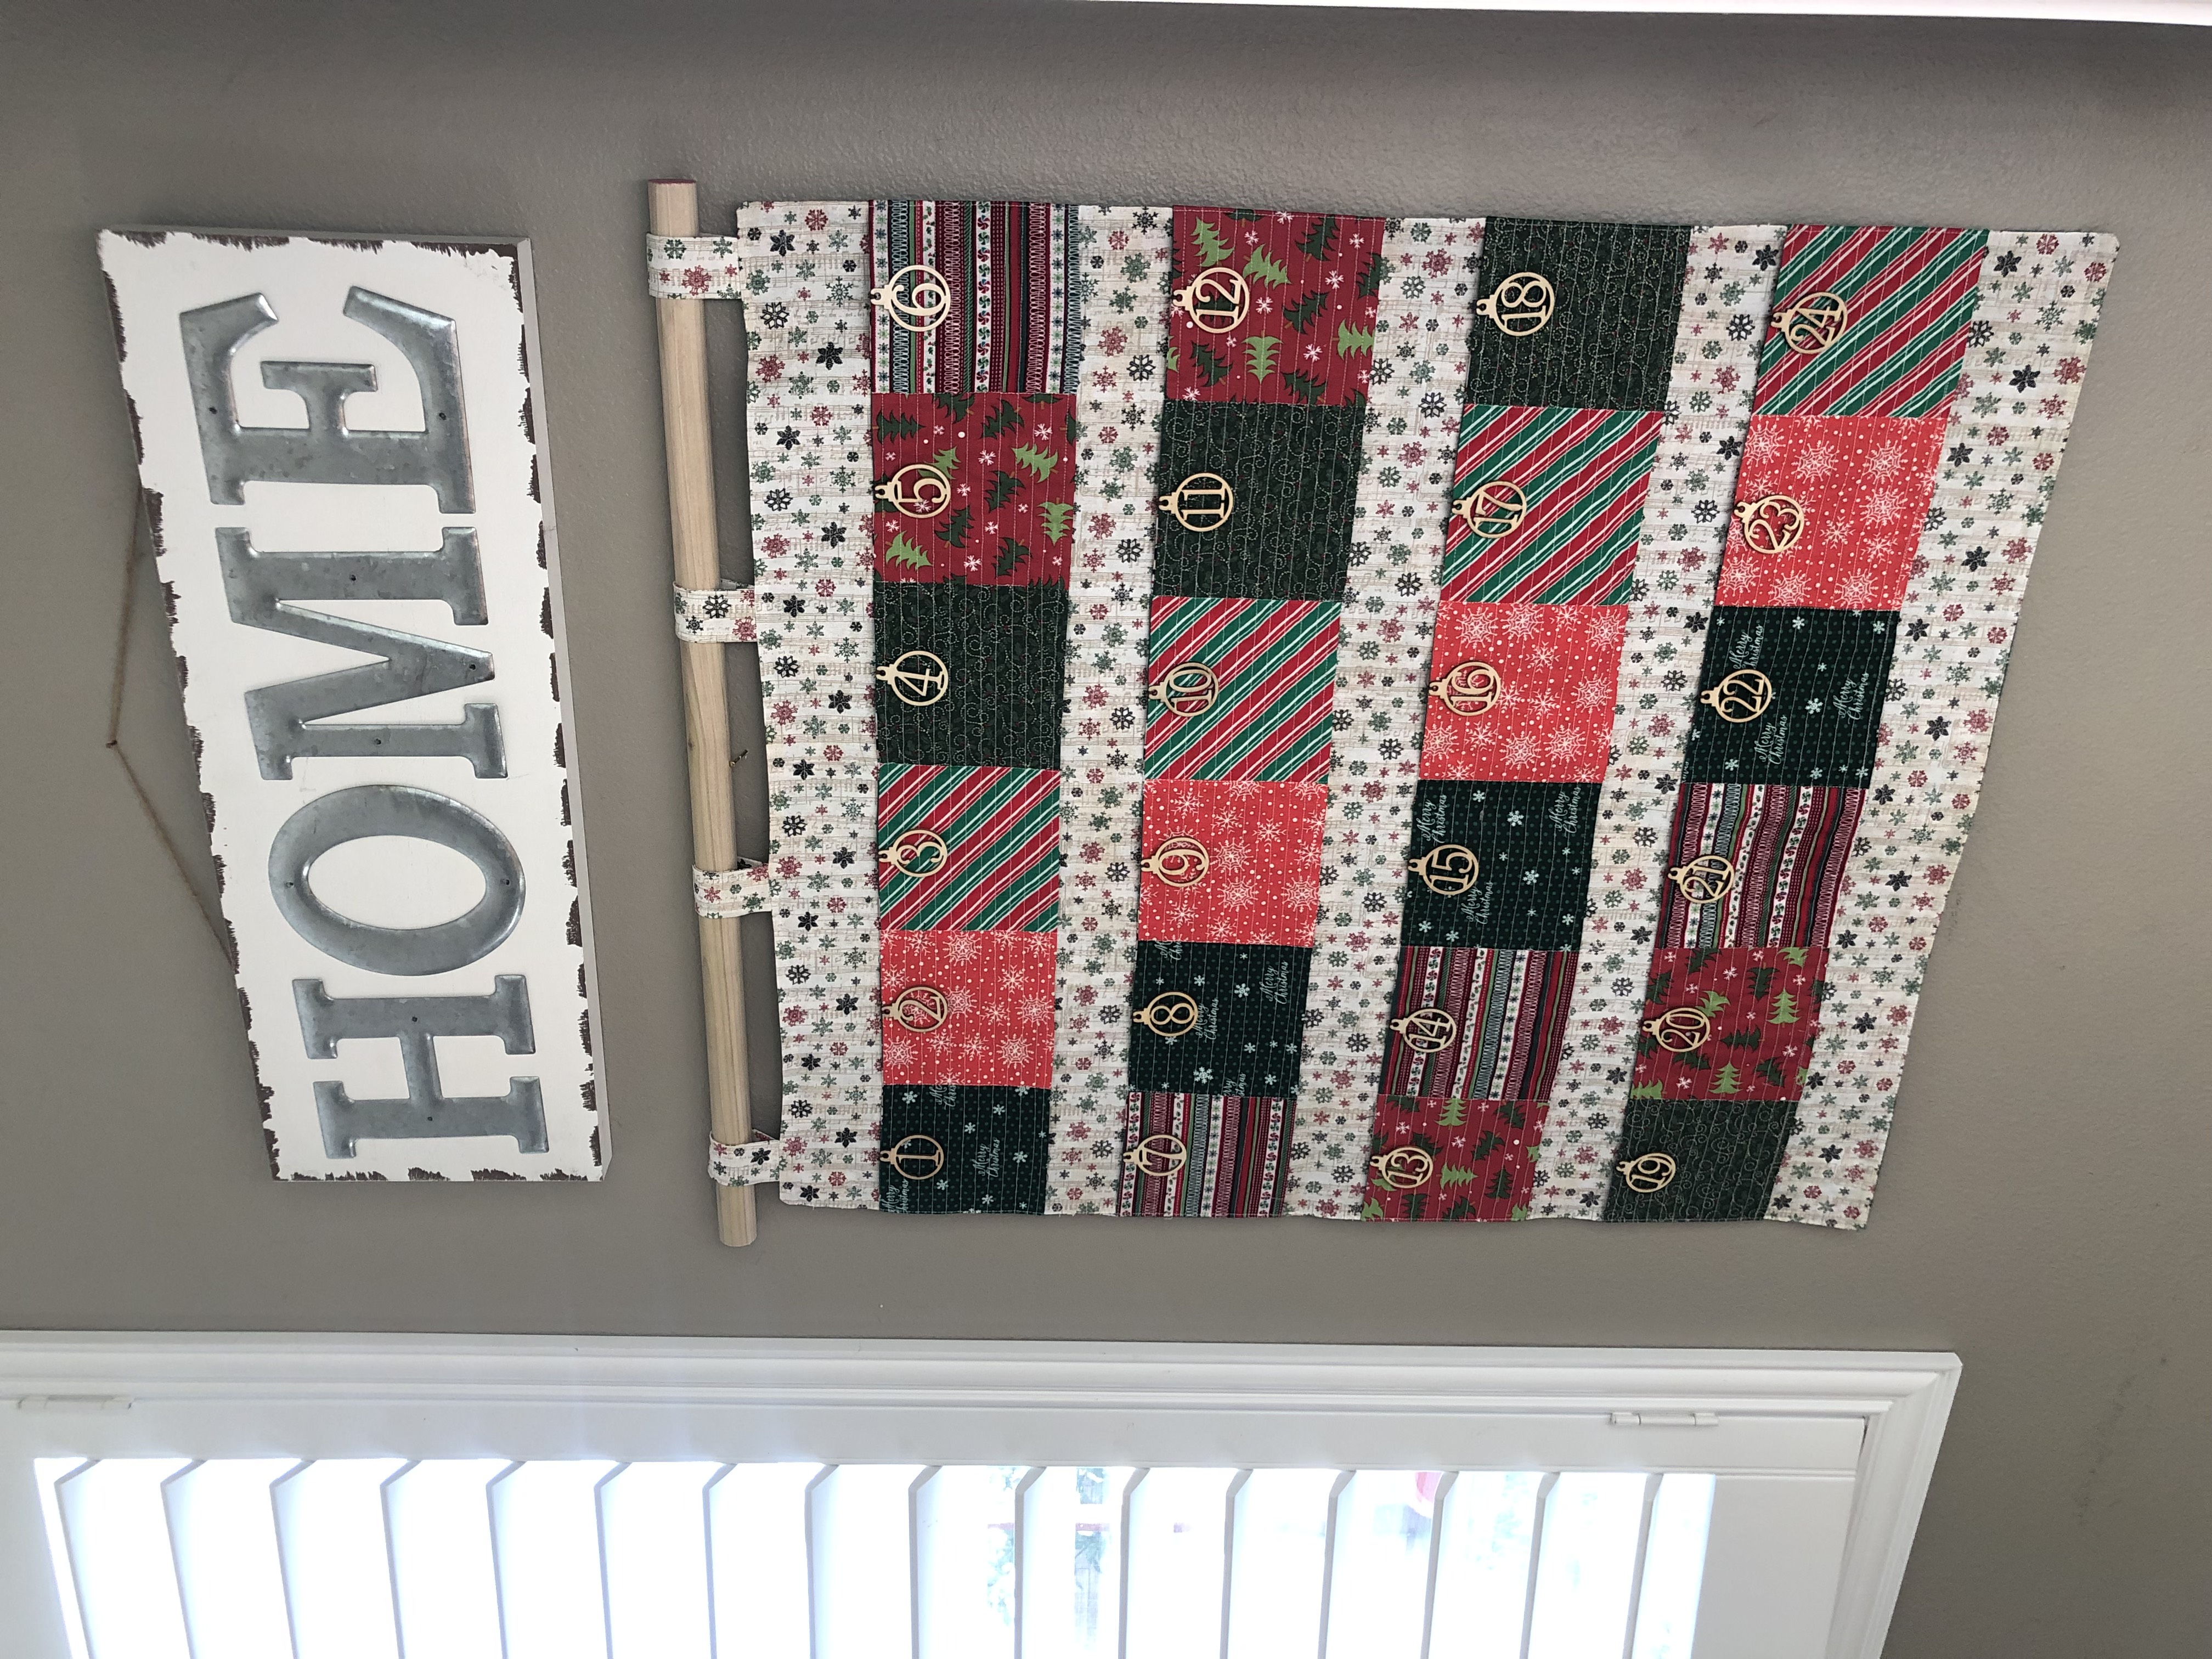
It’s almost holiday season which means it’s time for everyone to start planning how they wish to celebrate! One of my favorite things is the time leading up to Christmas, and using an advent calendar to build the family’s excitement as the time grows nearer. And of course, I can’t simply run out to the store to purchase one…I have to put my quilting skills to use! This advent calendar pattern is very beginner friendly and is also available as a free PDF download on my website if you’d like to print it out. The pattern is also a great scrap buster because all the pockets are 5” x 5”!
Fabric:
Front background fabric: 1 yd
☐ Cut to 27 1/2” x 30”
Backing fabric: 1 yd
☐ Cut to 27 1/2” x 30”
Inside pocket fabric: 3/4 yd
☐ Cut into 4 strips of 5” x 27 1/2”
Patchwork pockets and handle loops:
28 squares of 5” x 5”
OPTIONAL Calendar Batting: 27 1/2” x 30”

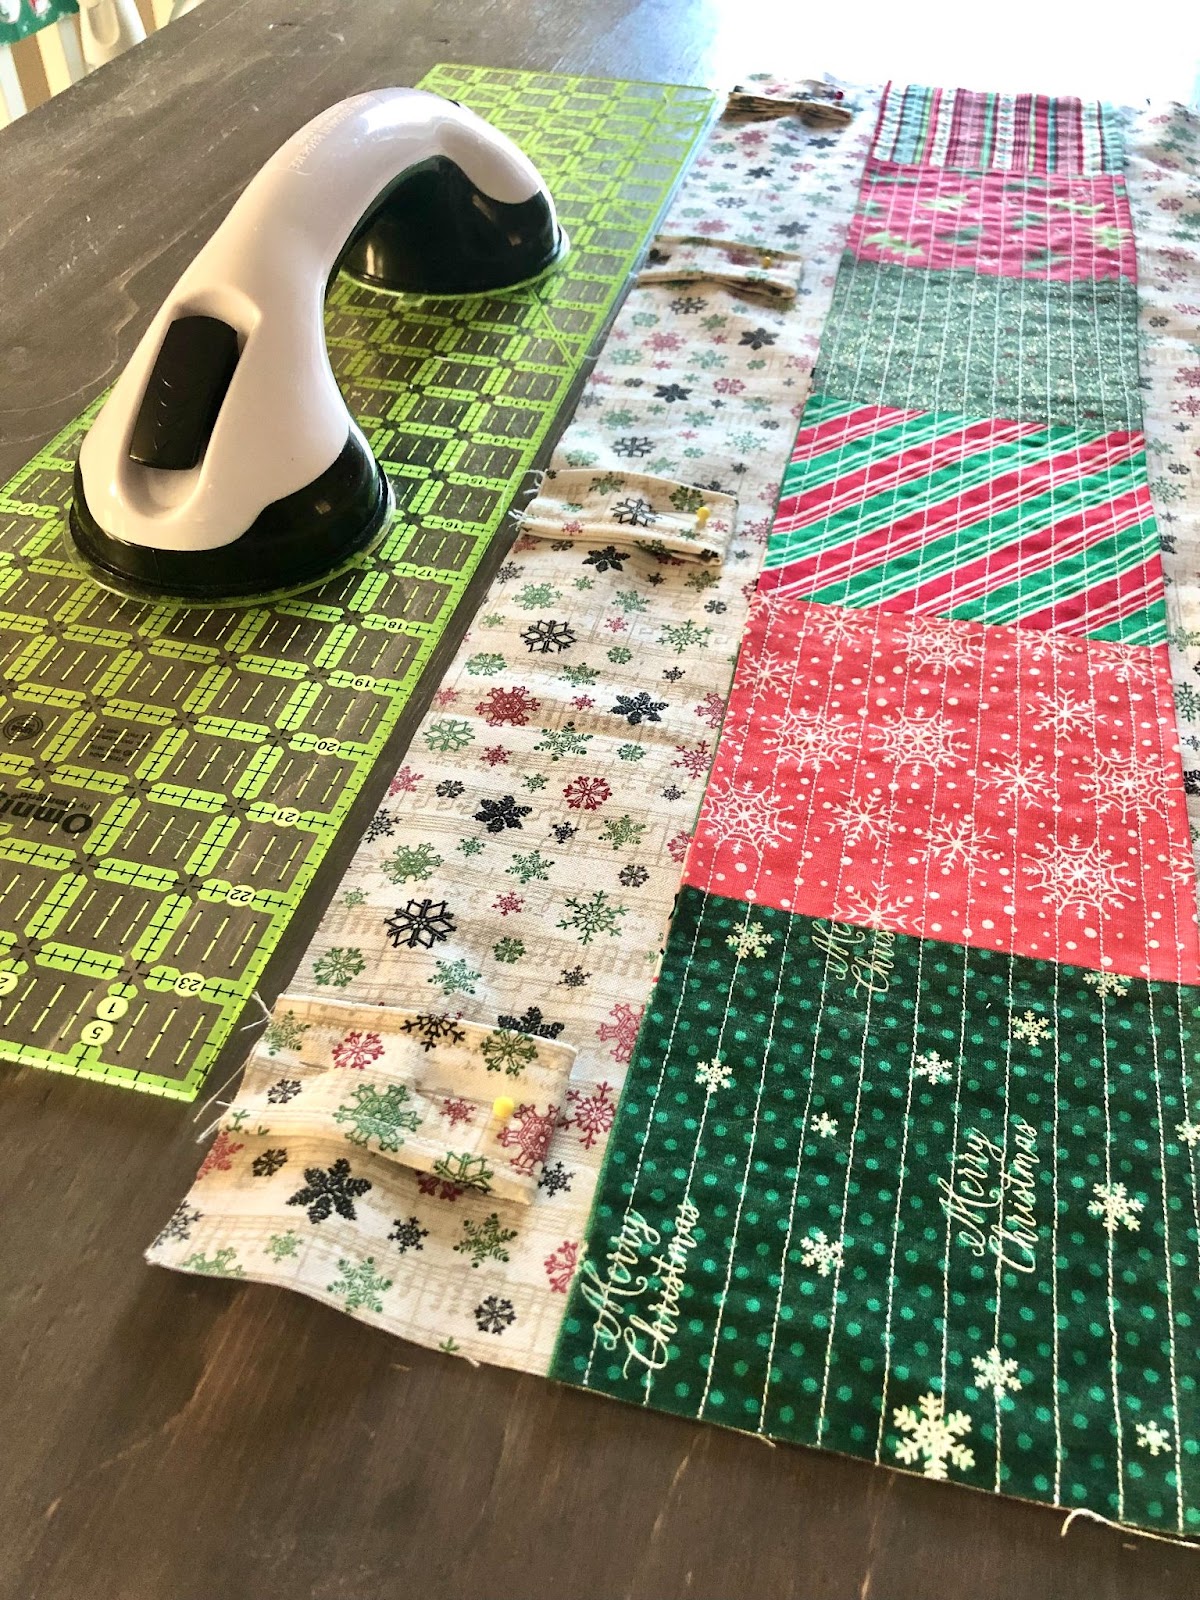
Step 1: Join together 6 squares of 5” x 5” to form a patchwork row. Press seams. Create 4 rows total.
Step 2: Place the patchwork row and inside pocket fabric right sides together and sew the top and bottom sides, creating a tube. Turn the tube right side out and press seams. (You can quilt the front and back sides together for a more decorative look.)


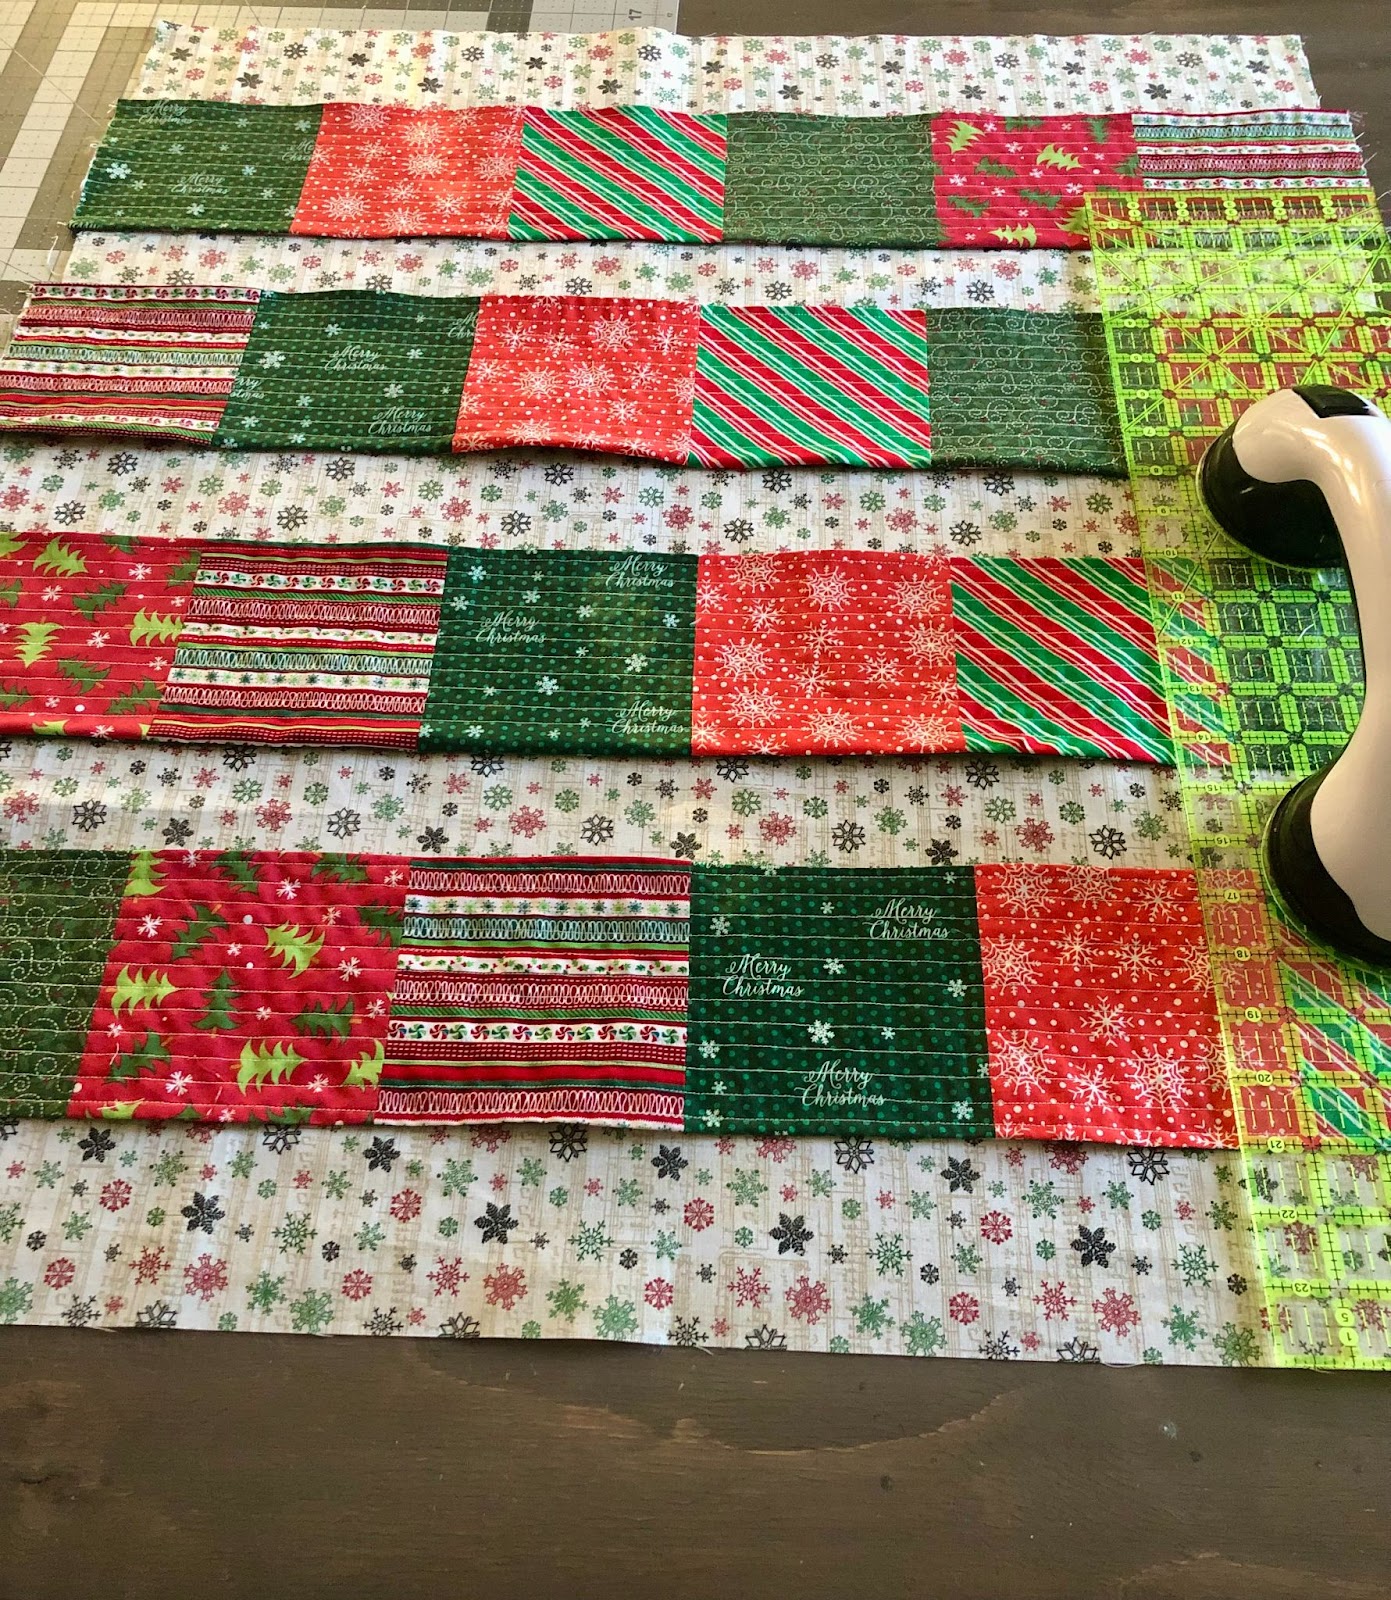
Step 3: Sew the patchwork rows onto the front background fabric along the bottom seam with a 1/4” seam. Be careful to leave 2” in between each patchwork row which leaves approximately 3” on the top and bottom.
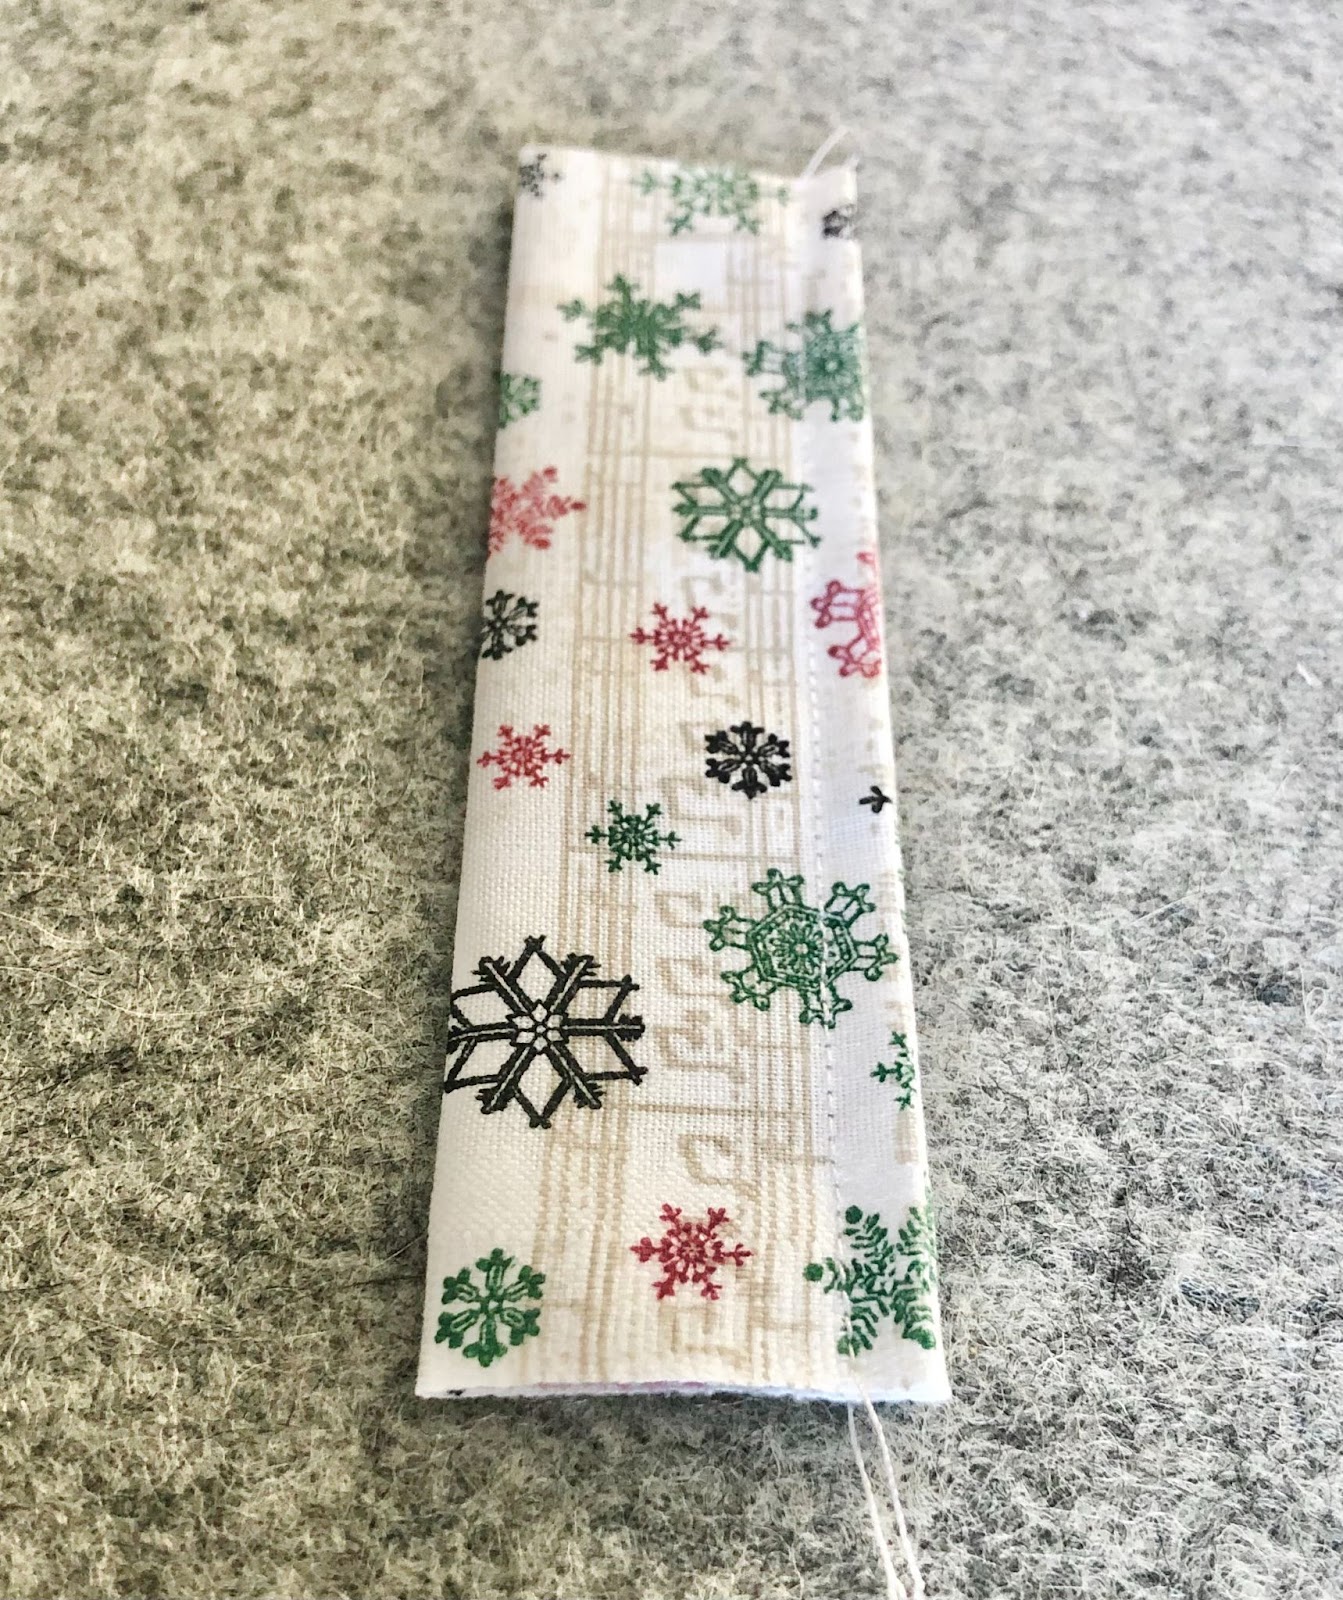
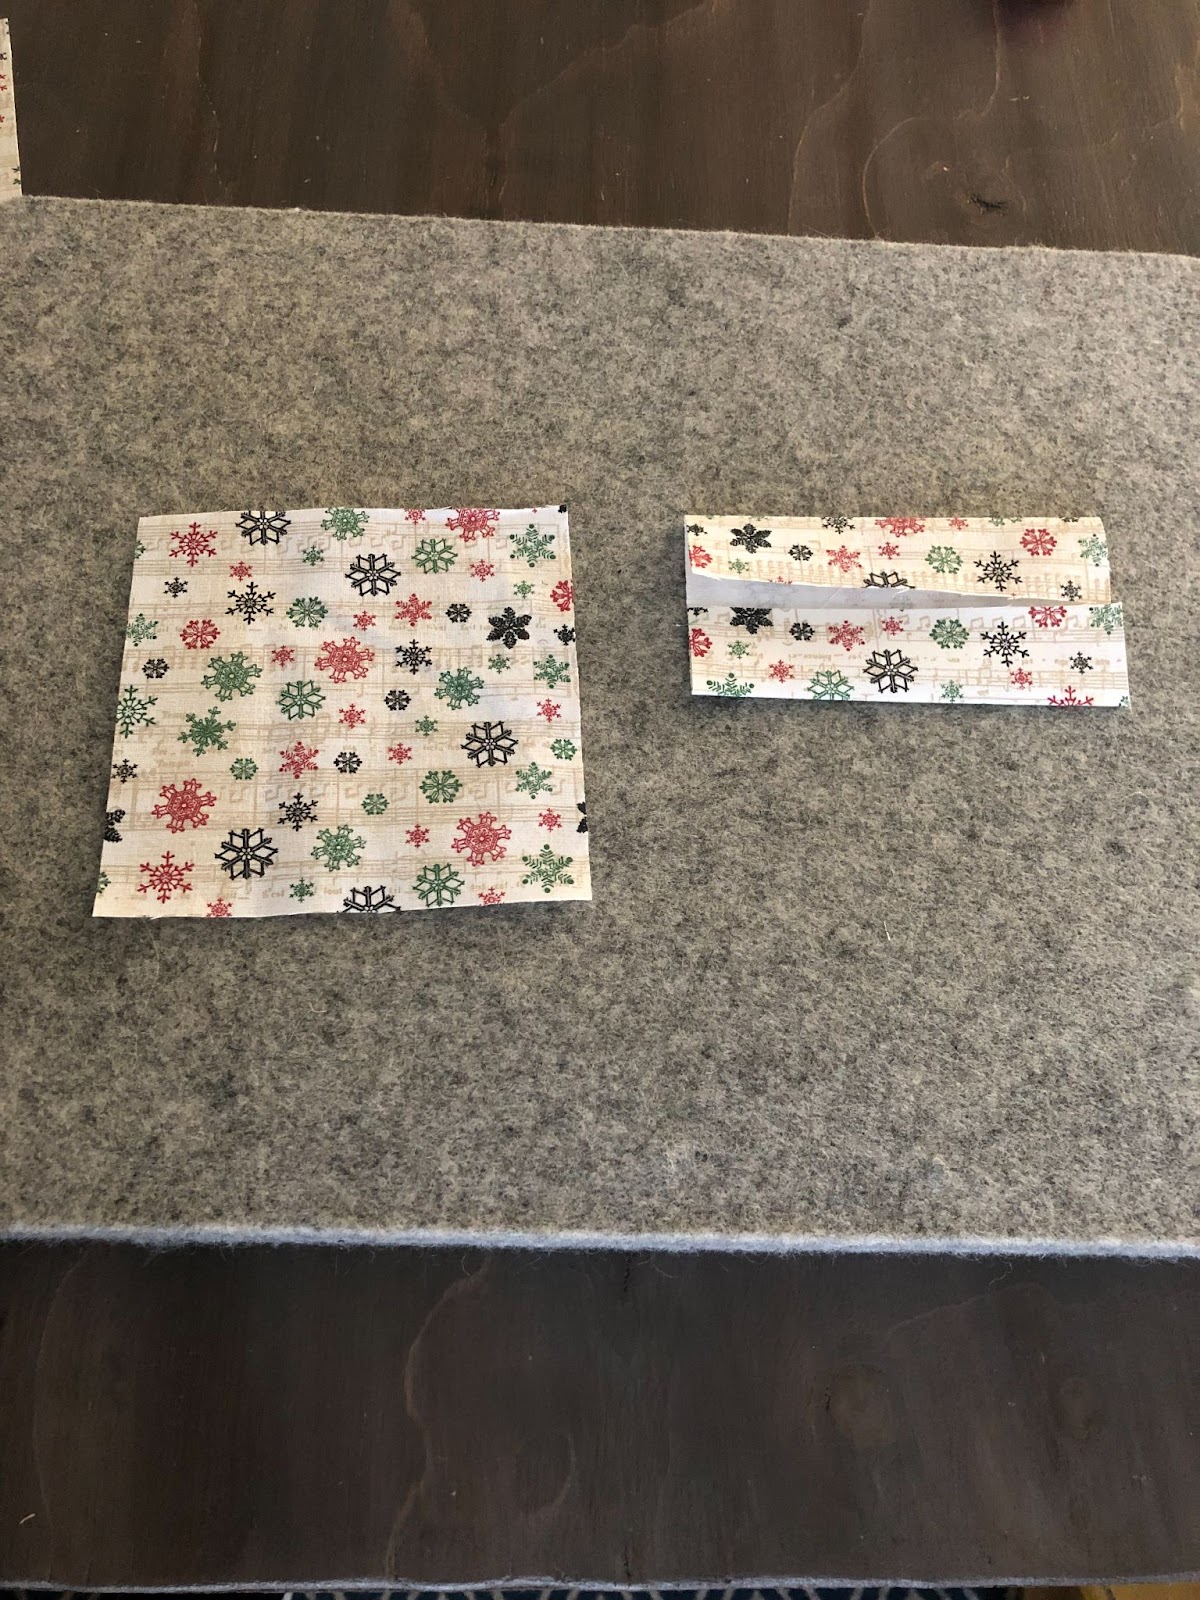
Step 4: To create hanging loops for a dowel rod, fold hook fabric in half lengthwise and press. Open up and then fold each side into the middle and press again. Fold in half again. Sew along the open side with 1/8” seam. (Create 4.)
Step 5: Fold the hook lengths in half and press. Evenly position loops along the top of the advent calendar front and pin or clip.

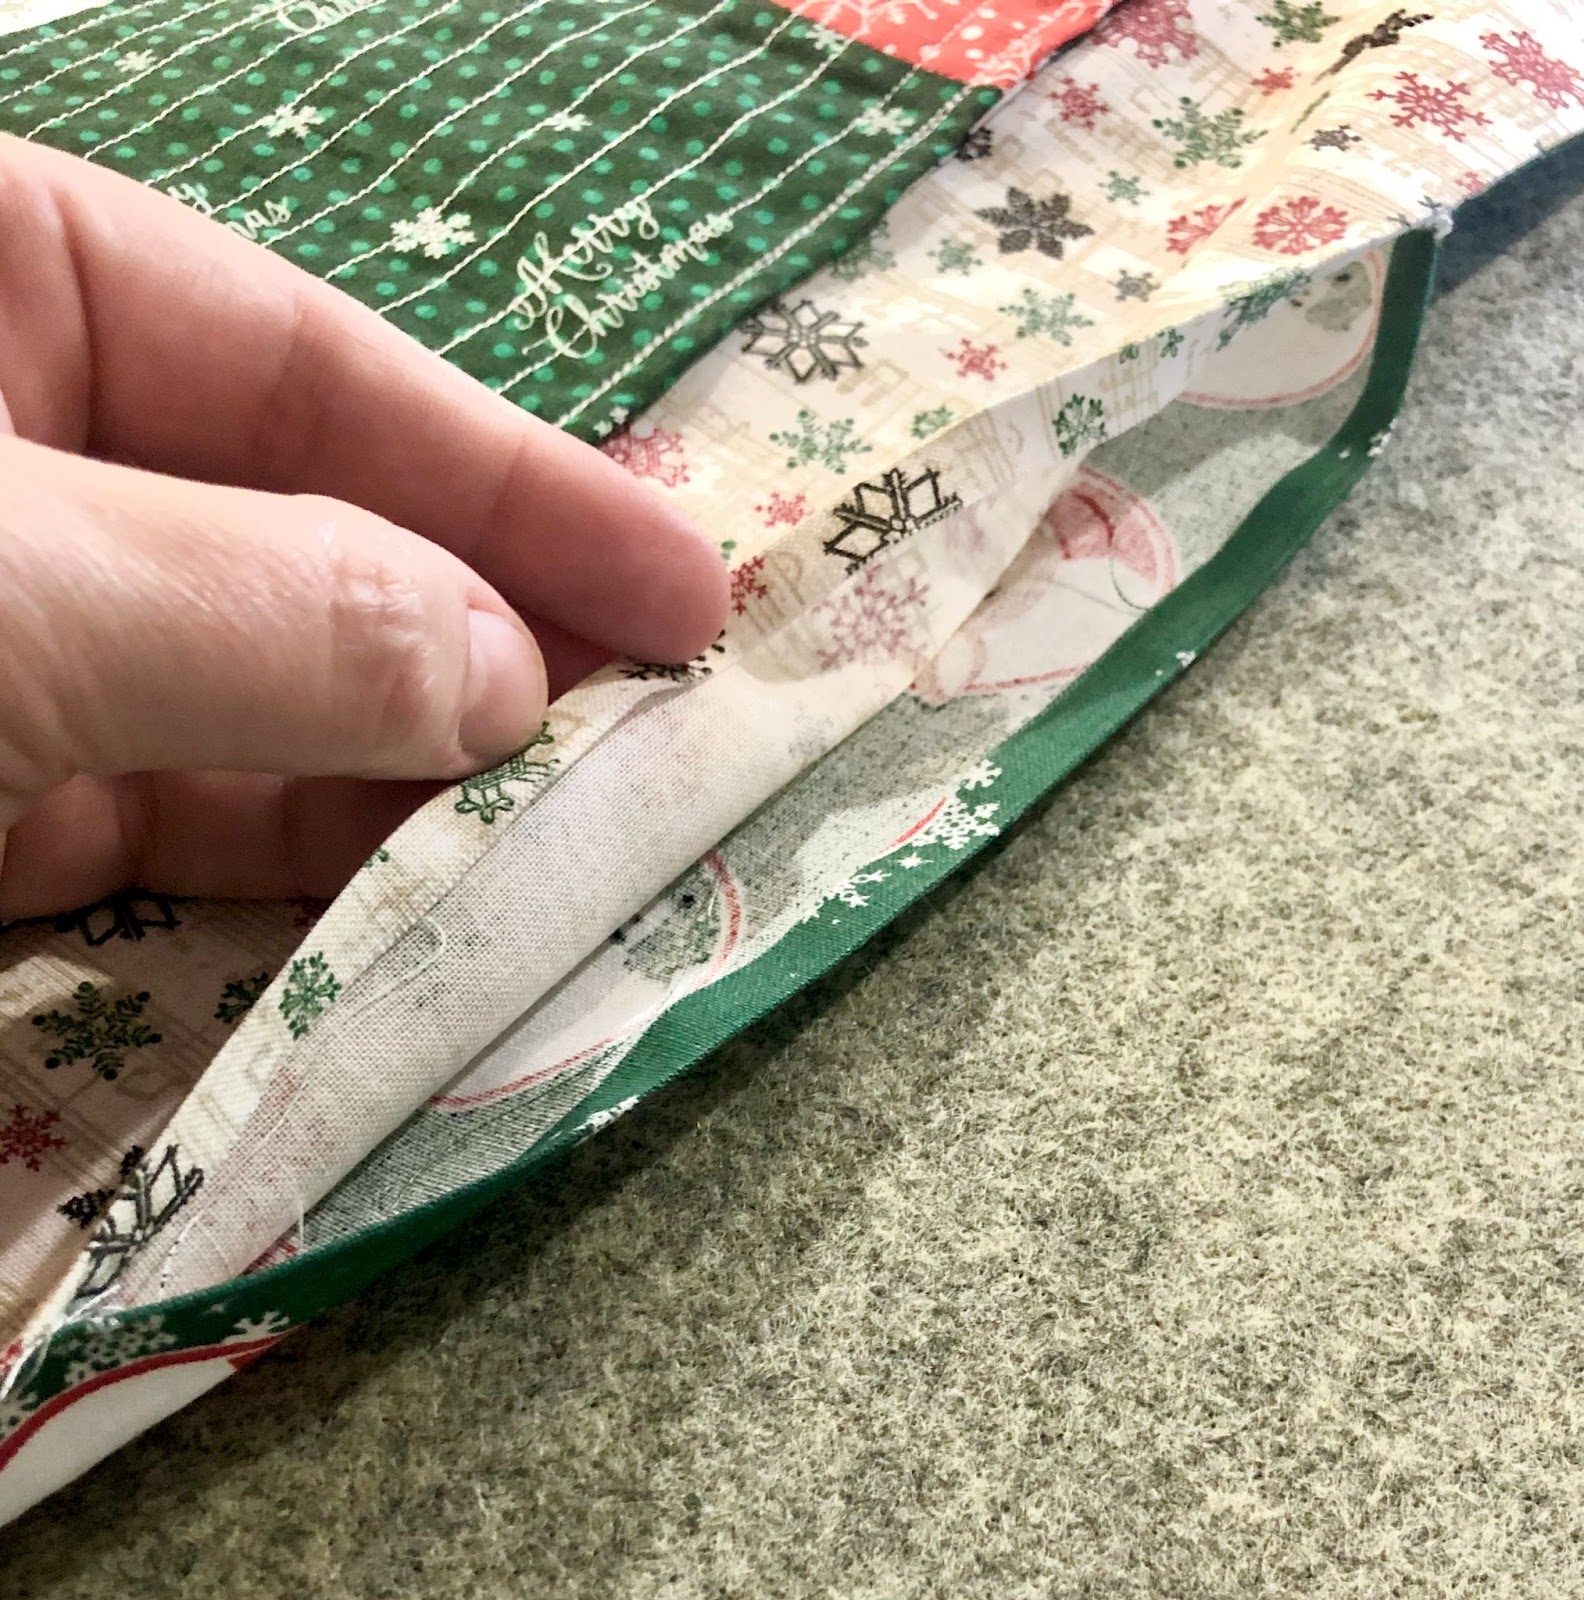
Step 6: Layer the three layers together and clip or pin around all 4 edges of the calendar.
Bottom: the patchwork row advent
calendar front right side up (with hooks still pinned)
Middle: the backing fabric right side down
Top: batting (optional)
Sew 3/8” seam around all 4 sides, leaving
approximately 4” open at the bottom for turning.
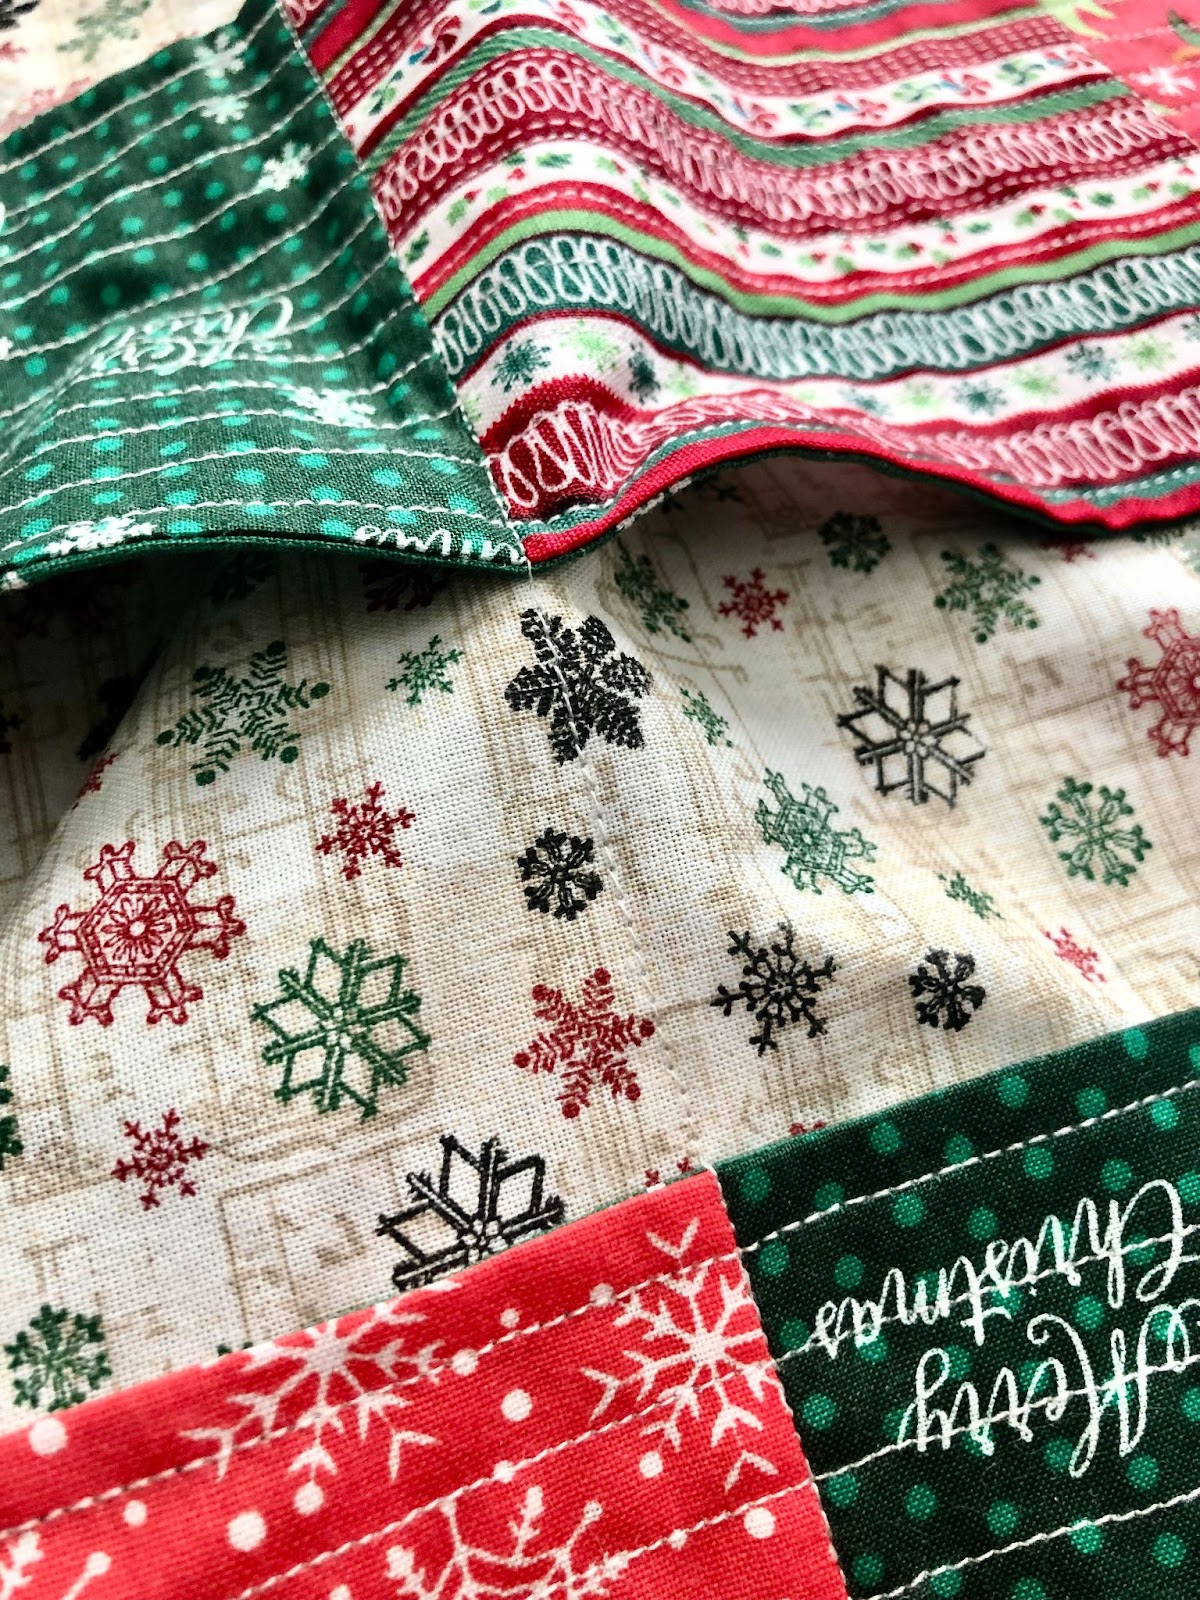
Step 7: After turning, press down seams and close up the turning hole using an invisible hand stitch, or by machine.
Step 8: Sew the individual seams of the patchwork rows down to create individual pockets. You can do this by quilting straight lines from the top row to the bottom row, or by sewing individual pockets.
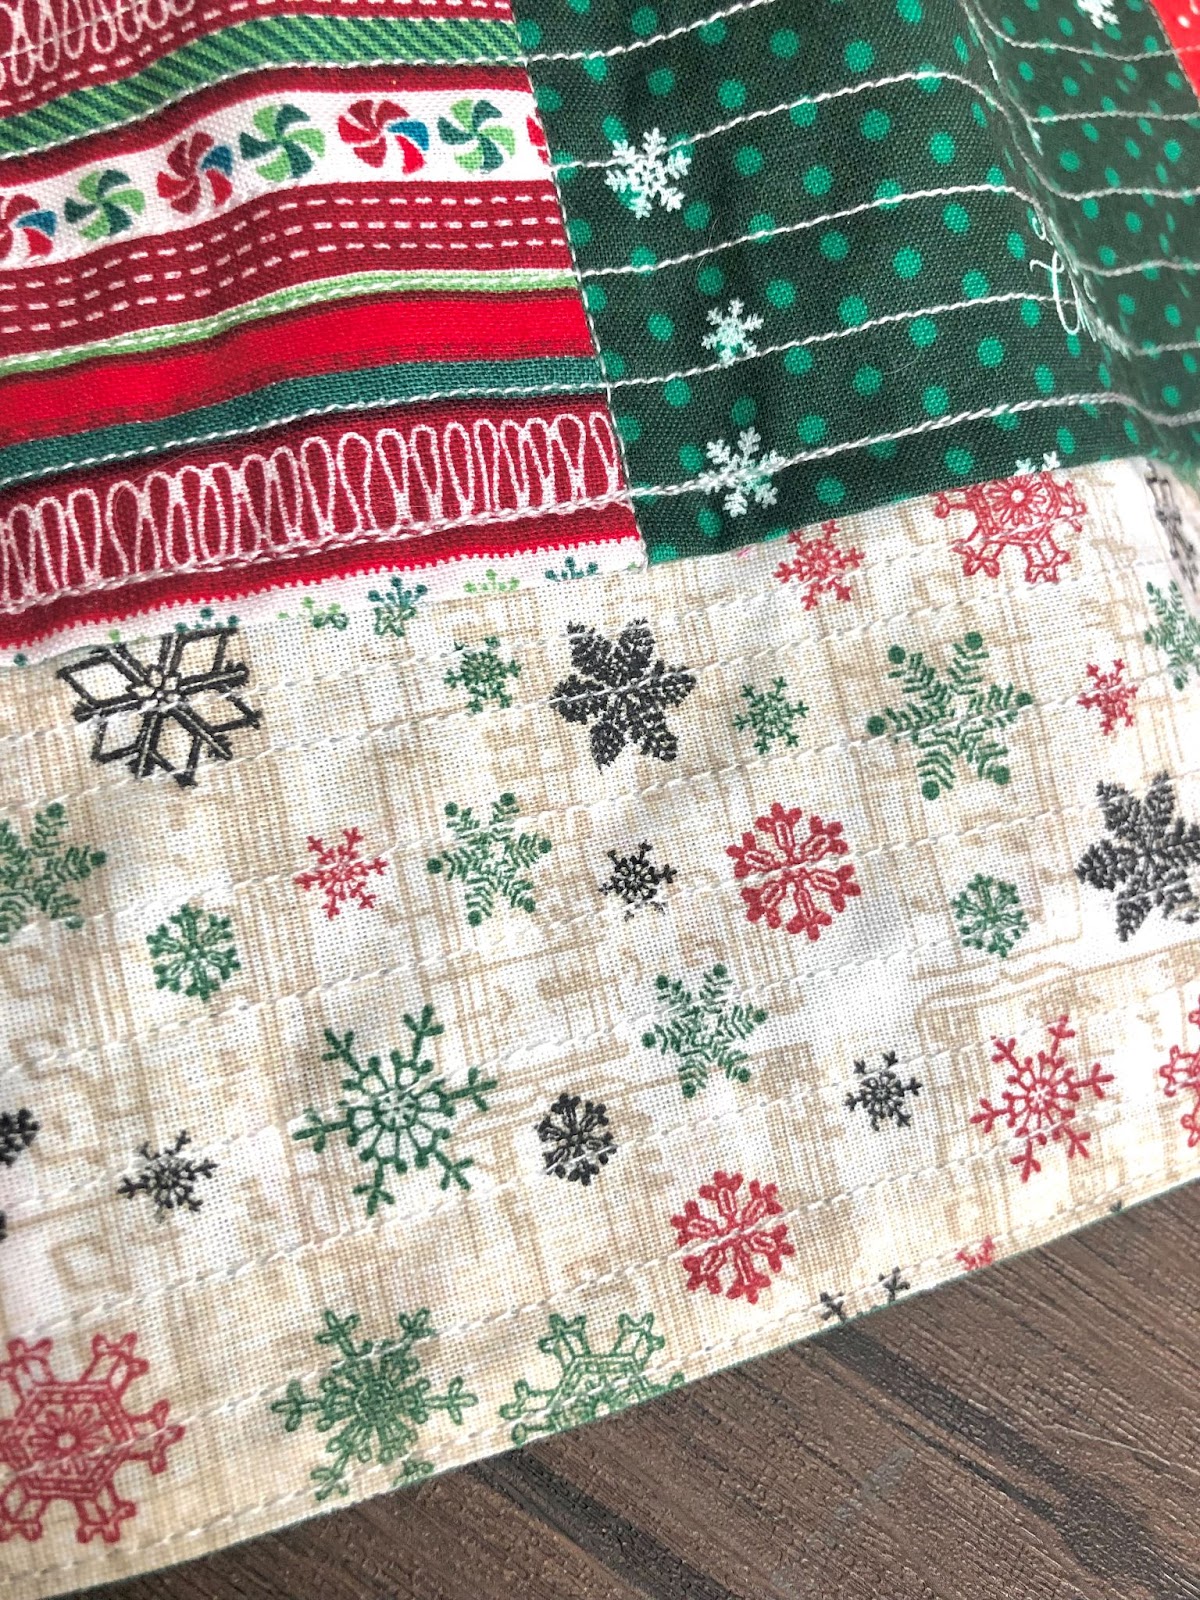
Step 9: If desired, quilt the background of the advent calendar, other than the pocket areas. Or as an additional option, quilt the backing fabric and batting together before layering in Step 6.
Step 10: Attach numbers of your choice to each pocket, from 1-24.There are many options, from applique fabric numbers, iron-on numbers, or even these adorable wooden ornament numbers I found HERE. Use a 1/4” - 1/2” dowel rod to hang up the advent calendar and celebrate!
For more freebie PDF downloads and patterns, you can visit Ellie the Quilter’s website HERE!