DIY Reversible Bucket Hats
27th May 2021
Bucket hats have been around since the early 1900’s. The simple design shields the face from the sun and rain and easily folds to fit in a pocket never goes out of style. This would be a great project to make for Father’s Day including one for the kiddos. Perfect for all your outdoor adventures this summer!
You can download the free adult size pattern from The Essentials club and the child size hat from Fadalisha Craft available in four sizes. For this bucket hat, I will show you how to make a reversible hat featuring Robert Kaufman’s fabric Warehouse District by Wishwell and Mystery fat quarters both available in our fabric shop.

Materials needed:
fat quarter of two coordinating fabrics
Fusible fleece interfacing
Aurifil thread
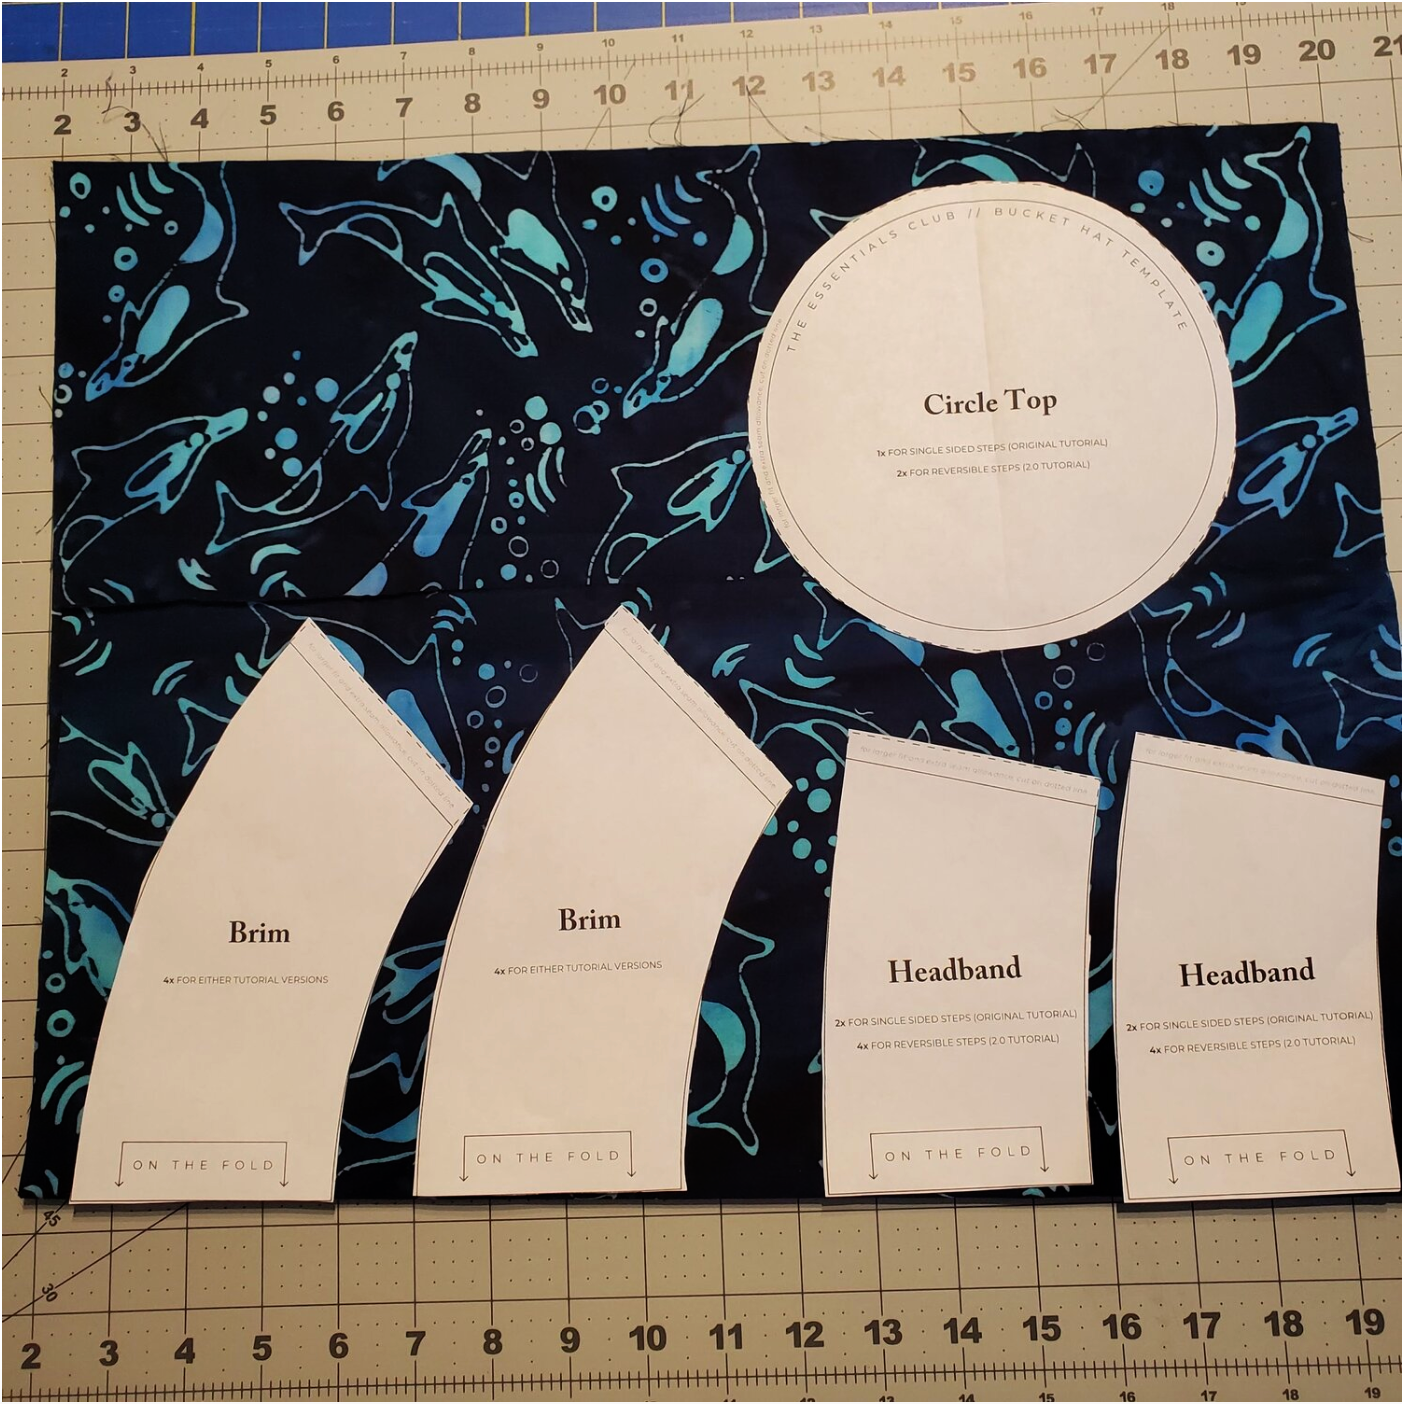
Download and print the pattern. For the child size pattern, be sure to add the seam allowance when cutting out the paper pattern. I used a ¼” seam allowance for child and adult patterns.
These hats can be made from large scraps or fat quarters. Here is how to lay out and cut the pieces for the reversible hat.
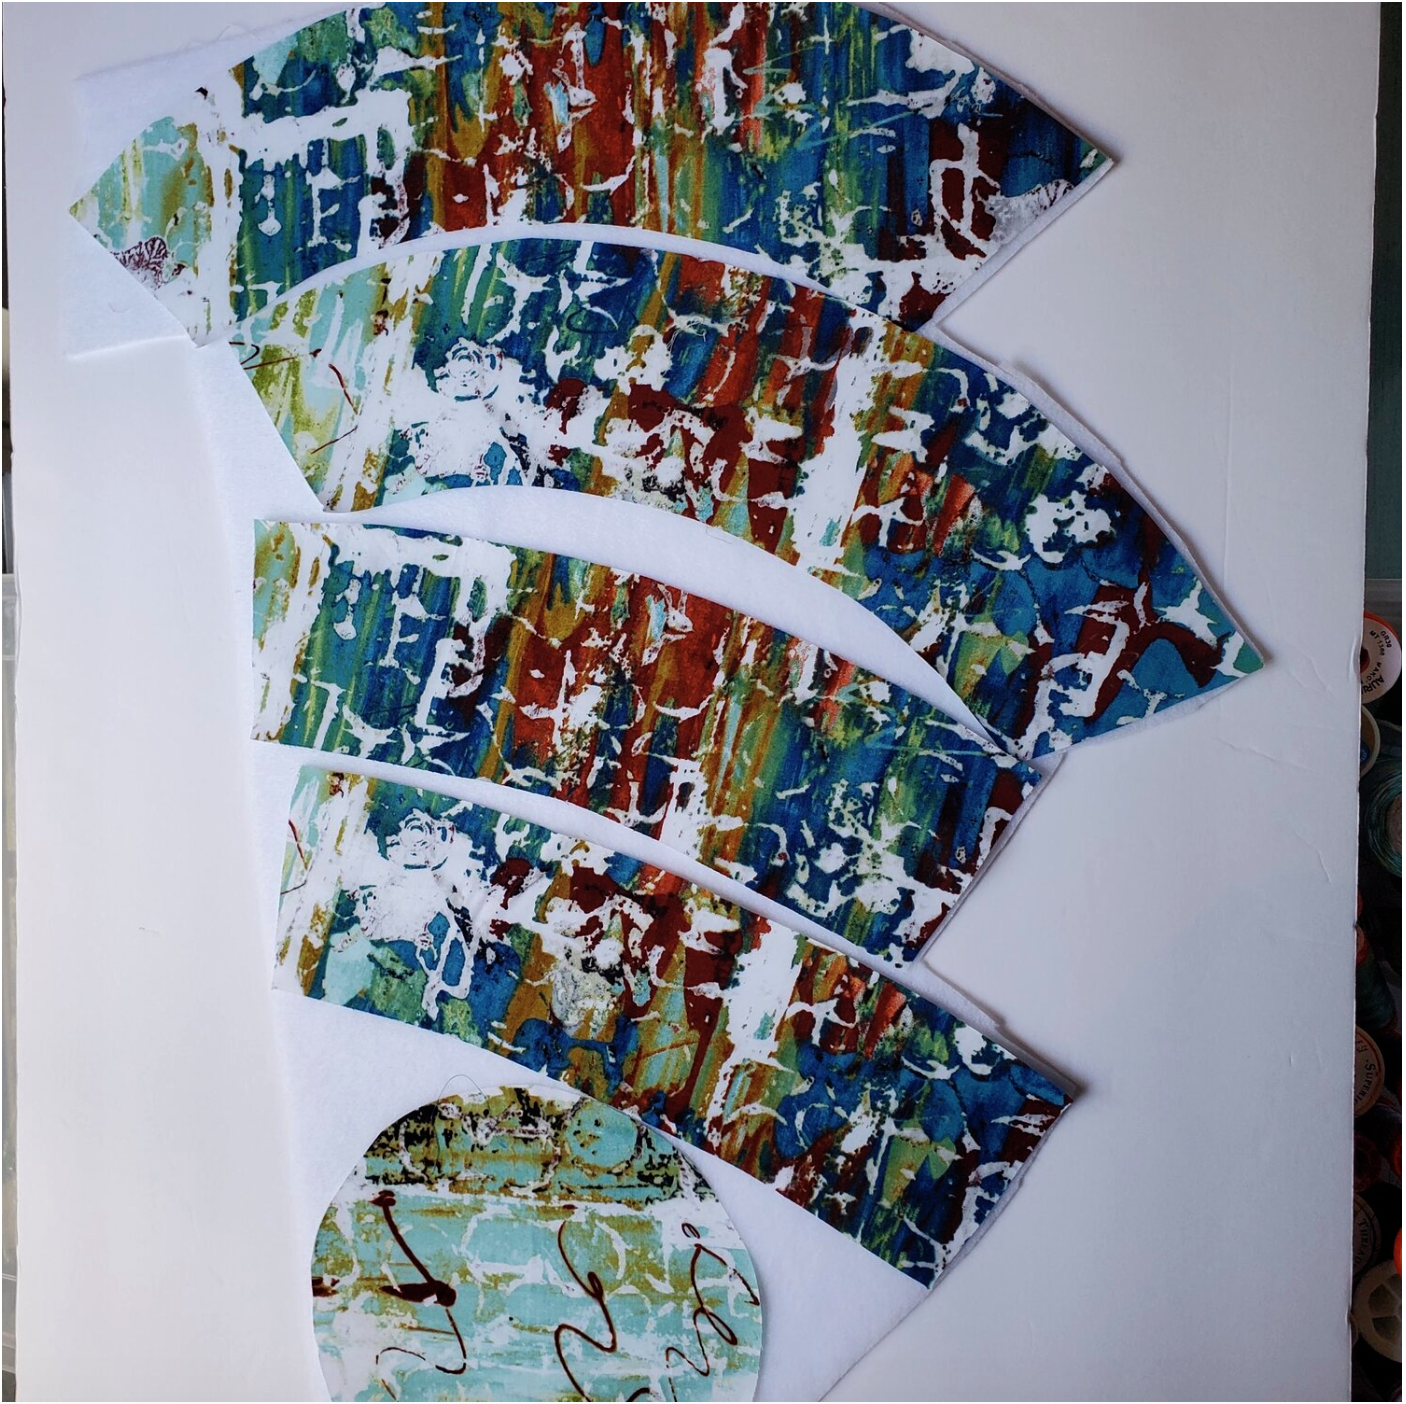
Next press the fabric pieces onto the fusible fleece using a Teflon sheet to protect the surface of the iron. Cut away the excess fleece.
Sew the two brim pieces right sides together. Do the same for the two headband pieces. Press the seams open.
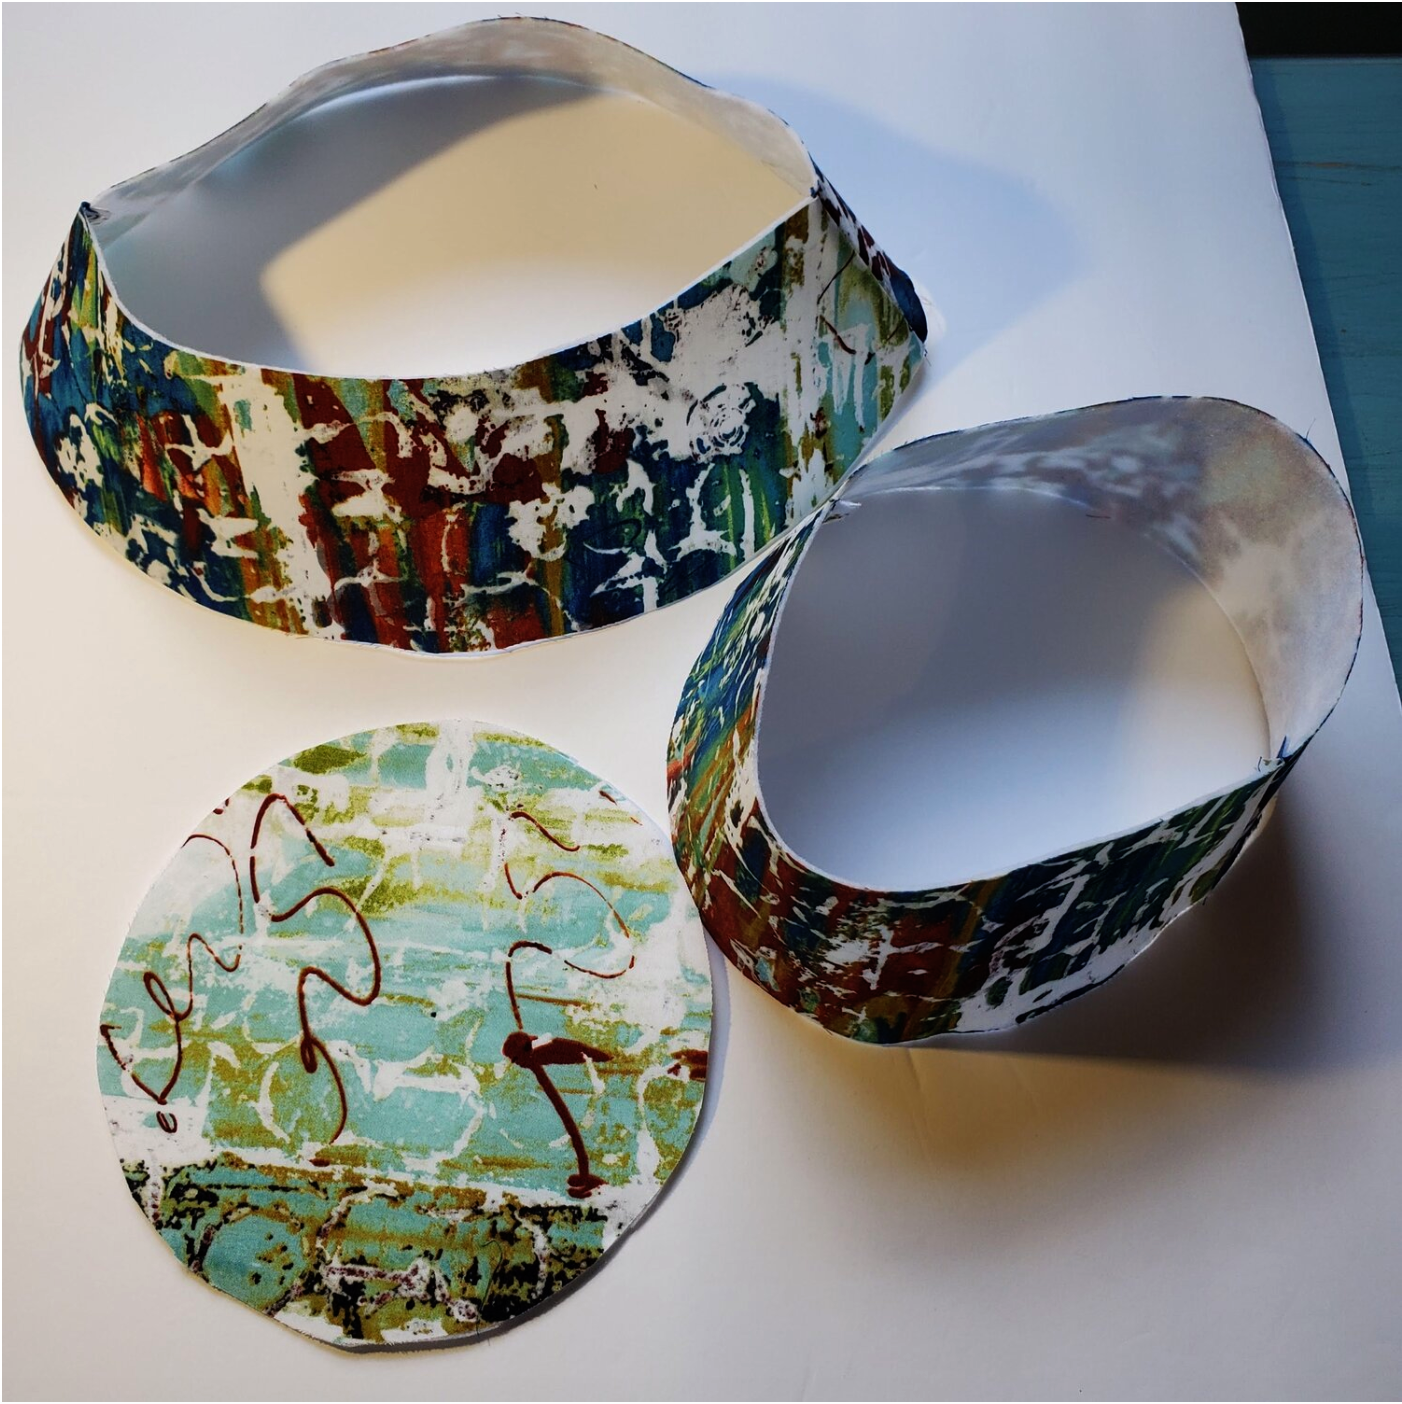
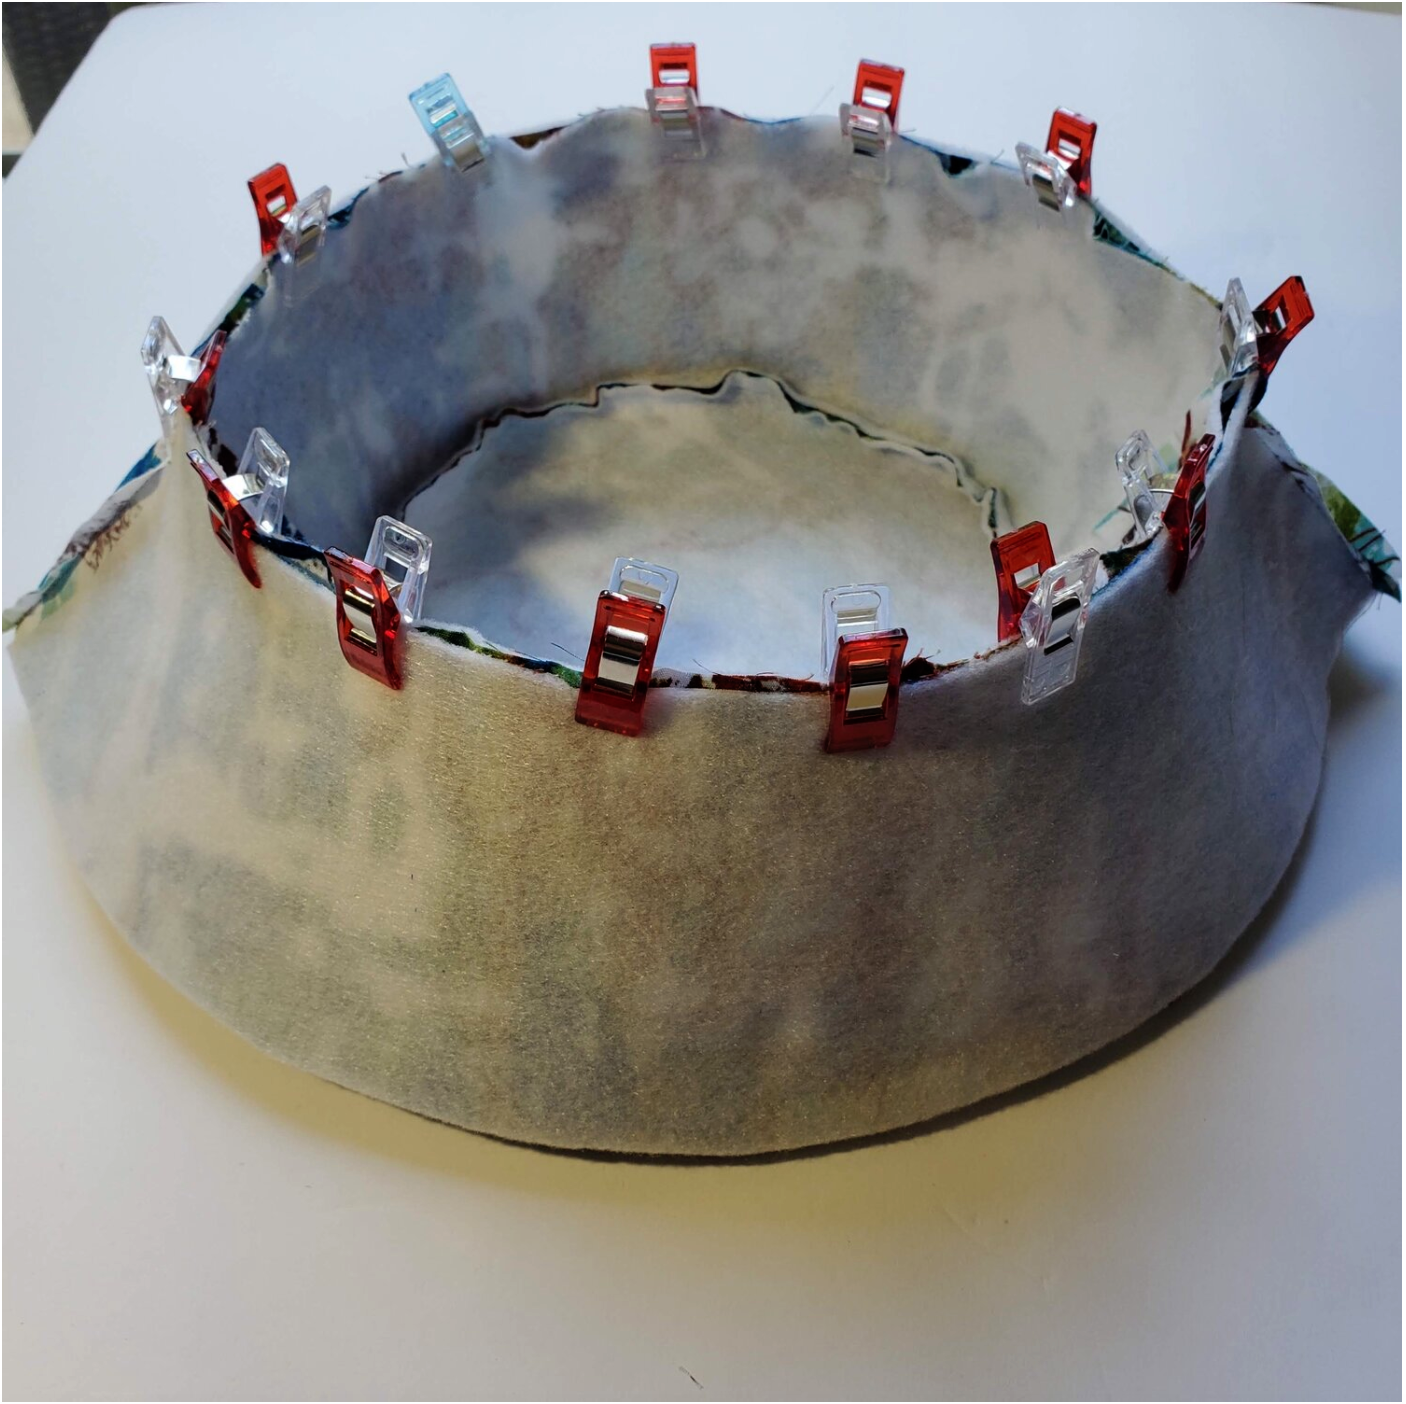
With right sides together, fit the top of the hat into the headband piece. I find it easier to fold the circle in half and mark the fold with a fabric marker to line up with the seams on the headband. This helps to distribute the fabric evenly around the circle. Be sure to match the smaller opening of the headband with the circle. If you look at it from the side you can see how it has a smaller opening at the top and wider at the bottom. It is helpful to use clips about every inch to hold it in place.
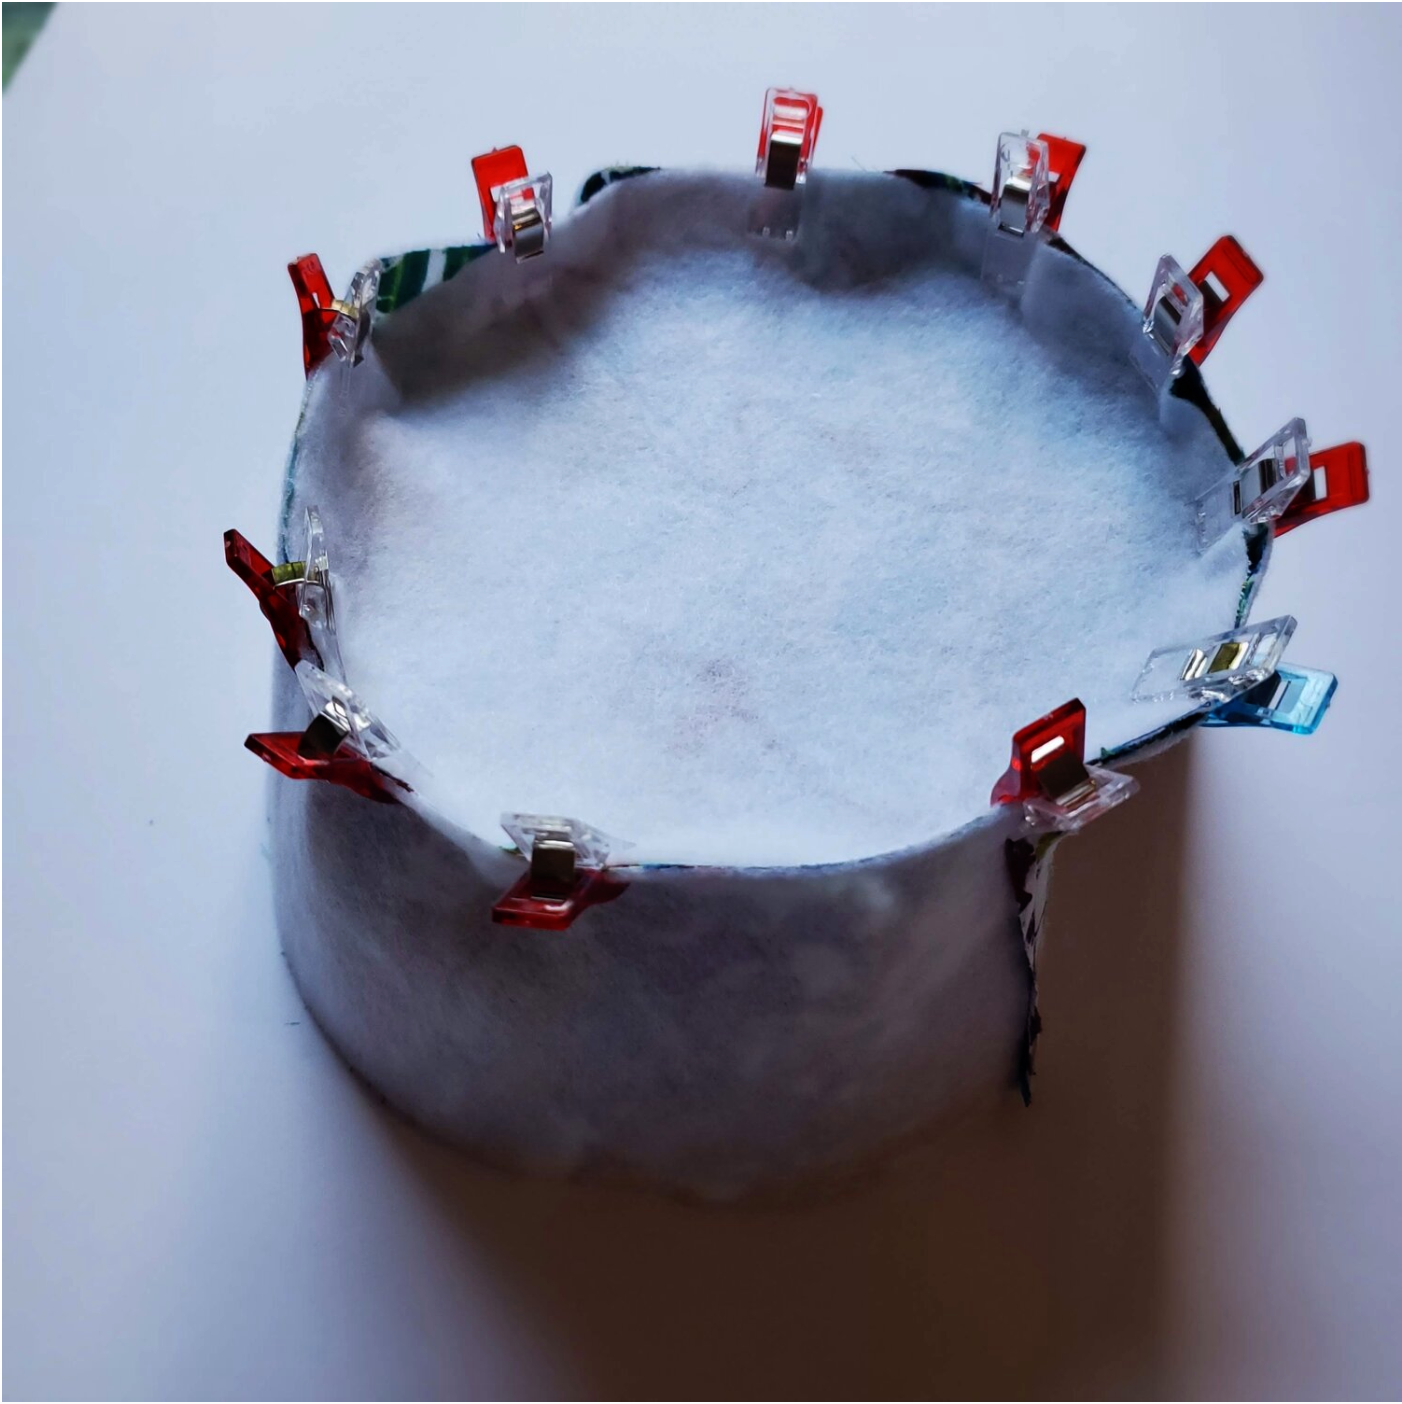
Sew all the way around the circle overlapping the stitching to secure the ends. You will use the same process to add the brim to the headband. Be sure to have the smaller circle of the brim to match the headband. Align the side seams. Using lots of clips will help ease the shape into place. Sew slowly and carefully easing the fabric in as you sew around the circle.
You now have one side of the hat completed. Repeat the process to make a hat in the coordinating fabric. You will not use the fusible fleece interfacing for the second side of the hat, omit that step. Place right sides together by placing one hat inside the other.
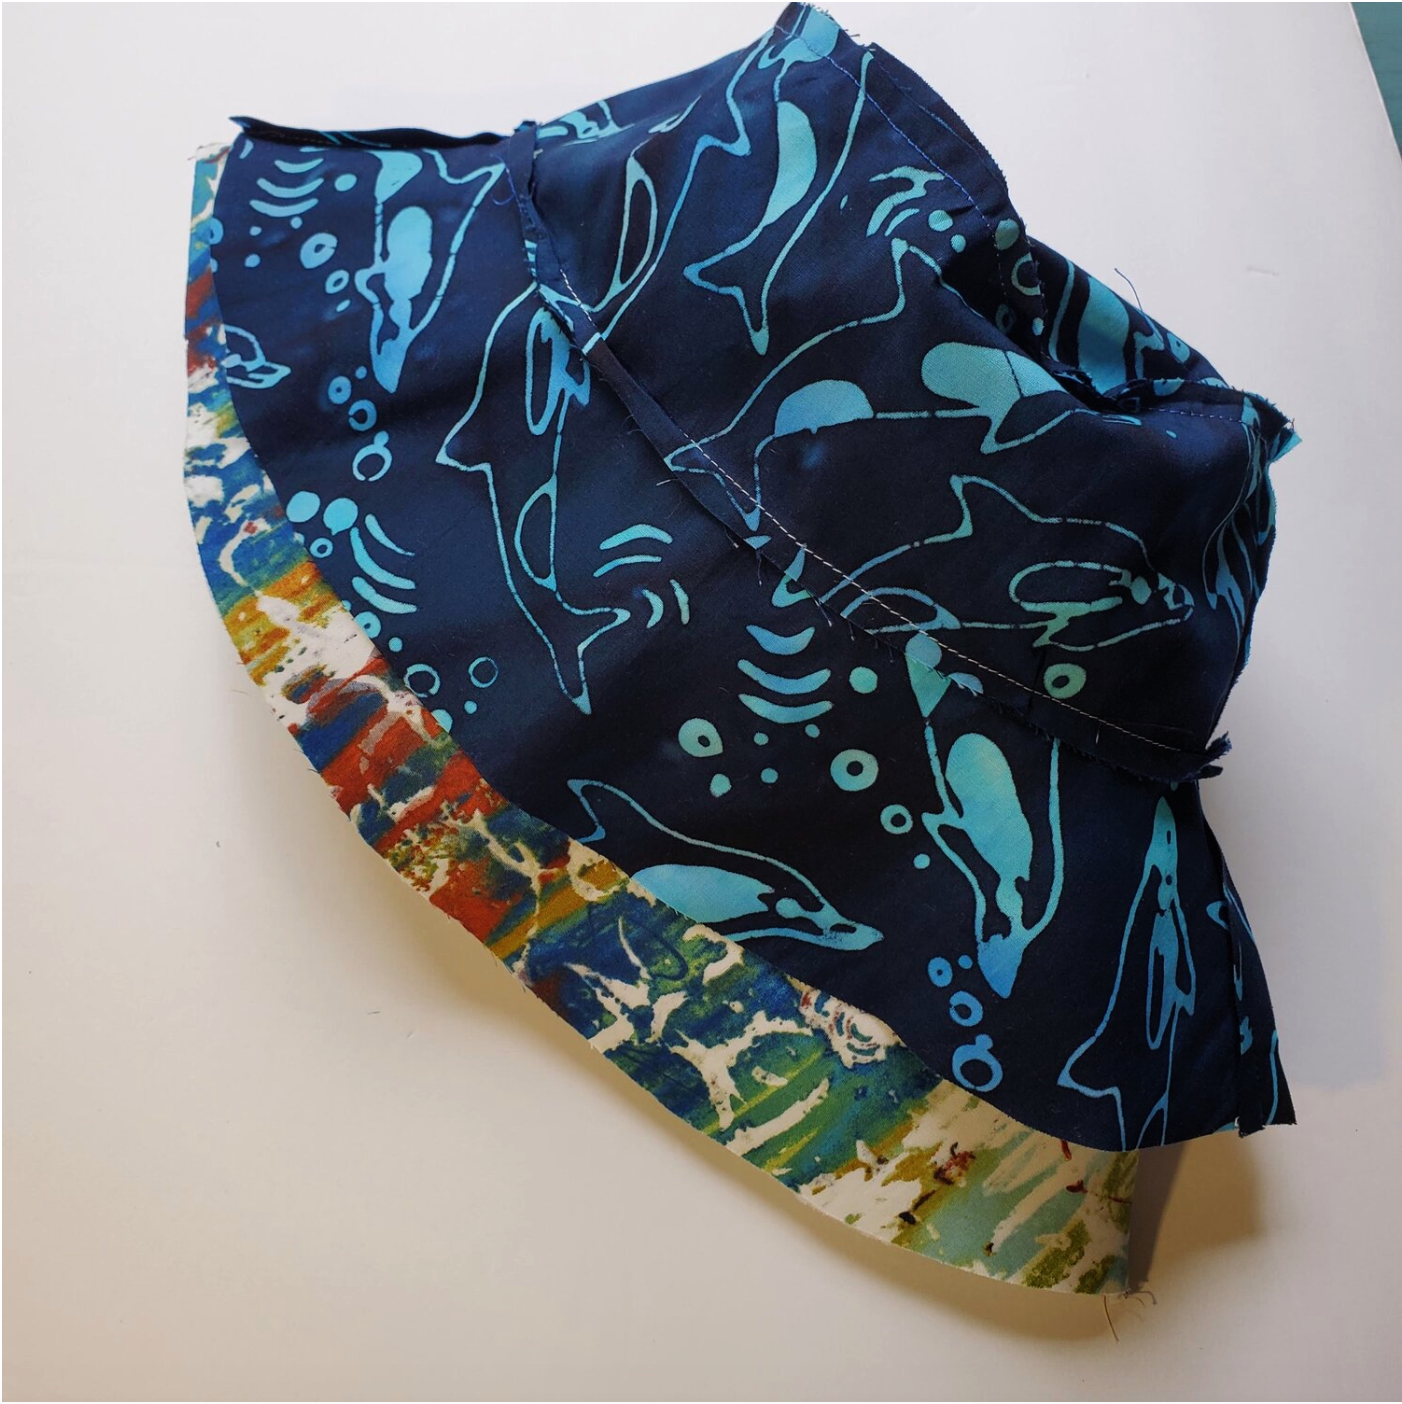
Carefully align the edges of the brim and pin or clip in place. Mark a 3 inch opening to leave open for turning. Sew all the way around to the marked stopping point. Turn the hat right side out and evenly press the edges of the brim. Turn under the edges of the opening and press. Using a coordinating thread to match both sides of the hat topstitch ⅛” from the edge of the brim. I topstitched around the brim four more times allowing about ½” between stitching lines.
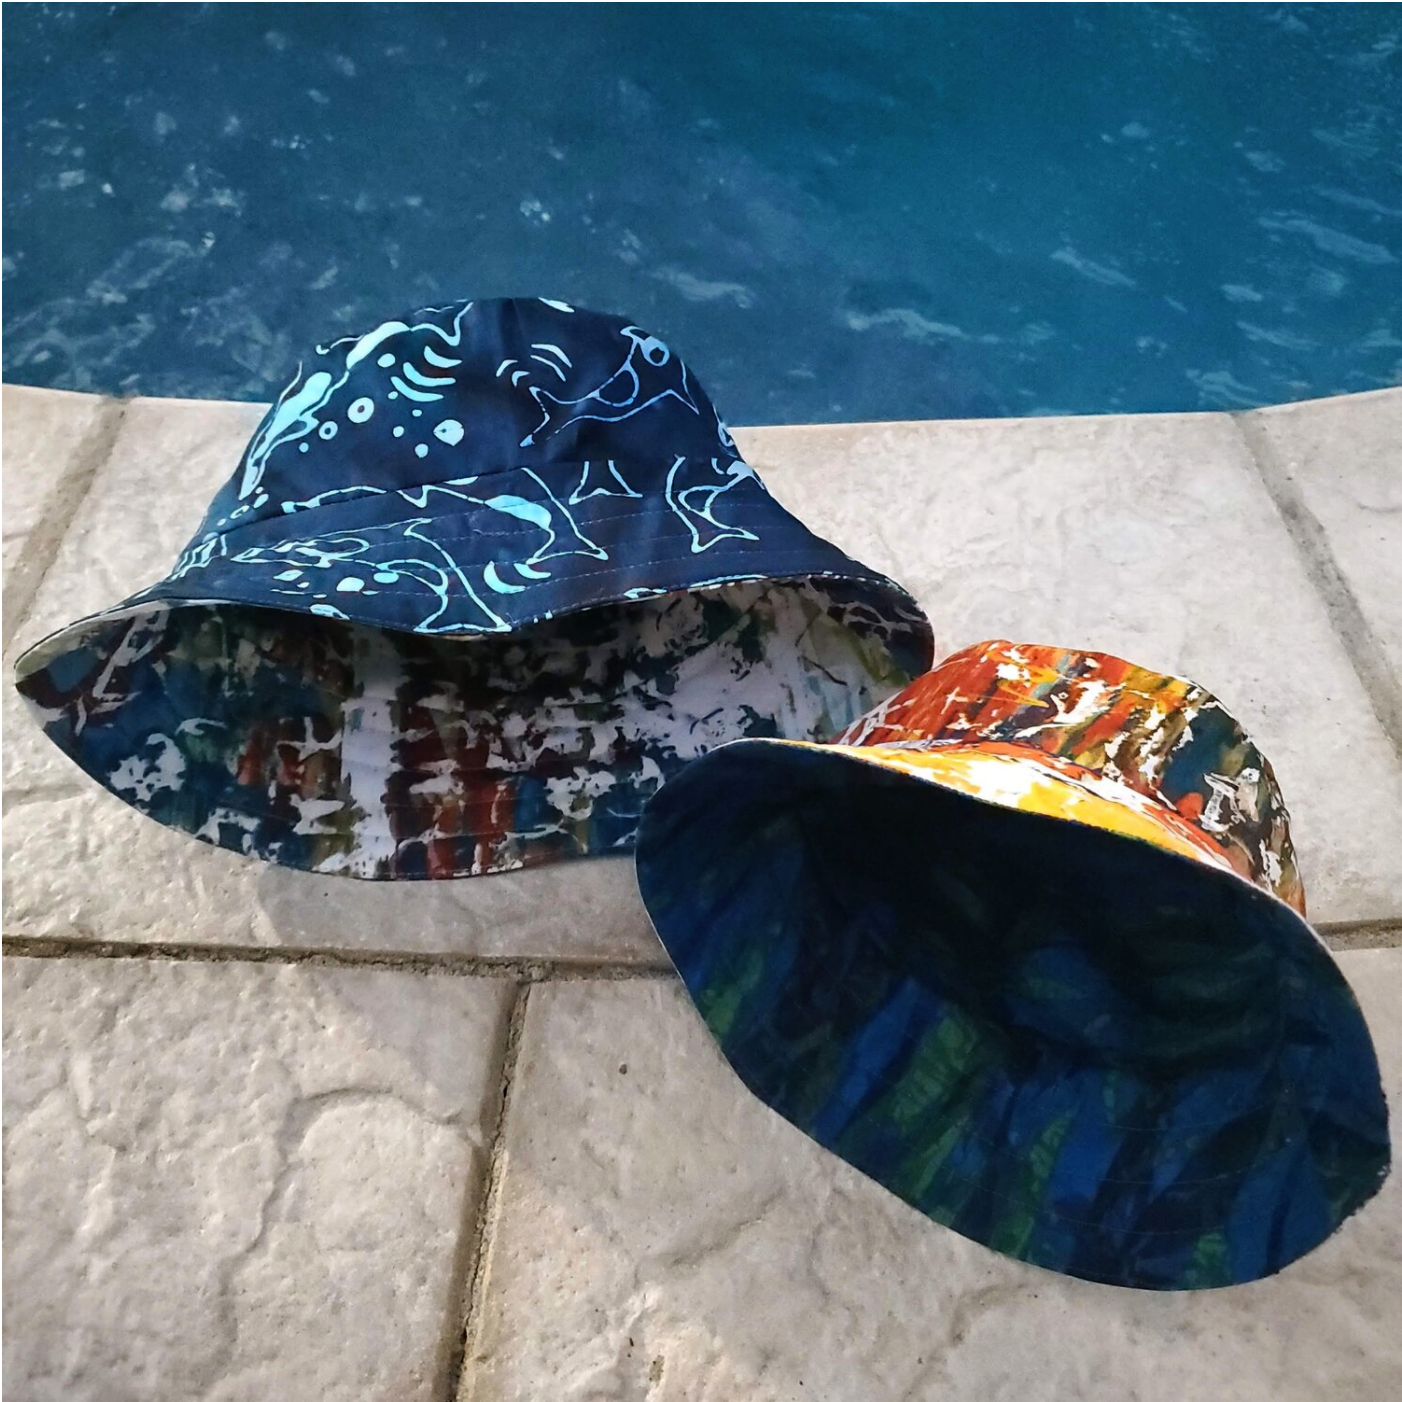
I used the same procedure to sew the toddler size hat using the smaller pattern. These would be fun to personalize with embroidery or Cricut iron on designs. Using different fabrics gives it a completely different look.