Quilted Oven Mitt
7th Apr 2022
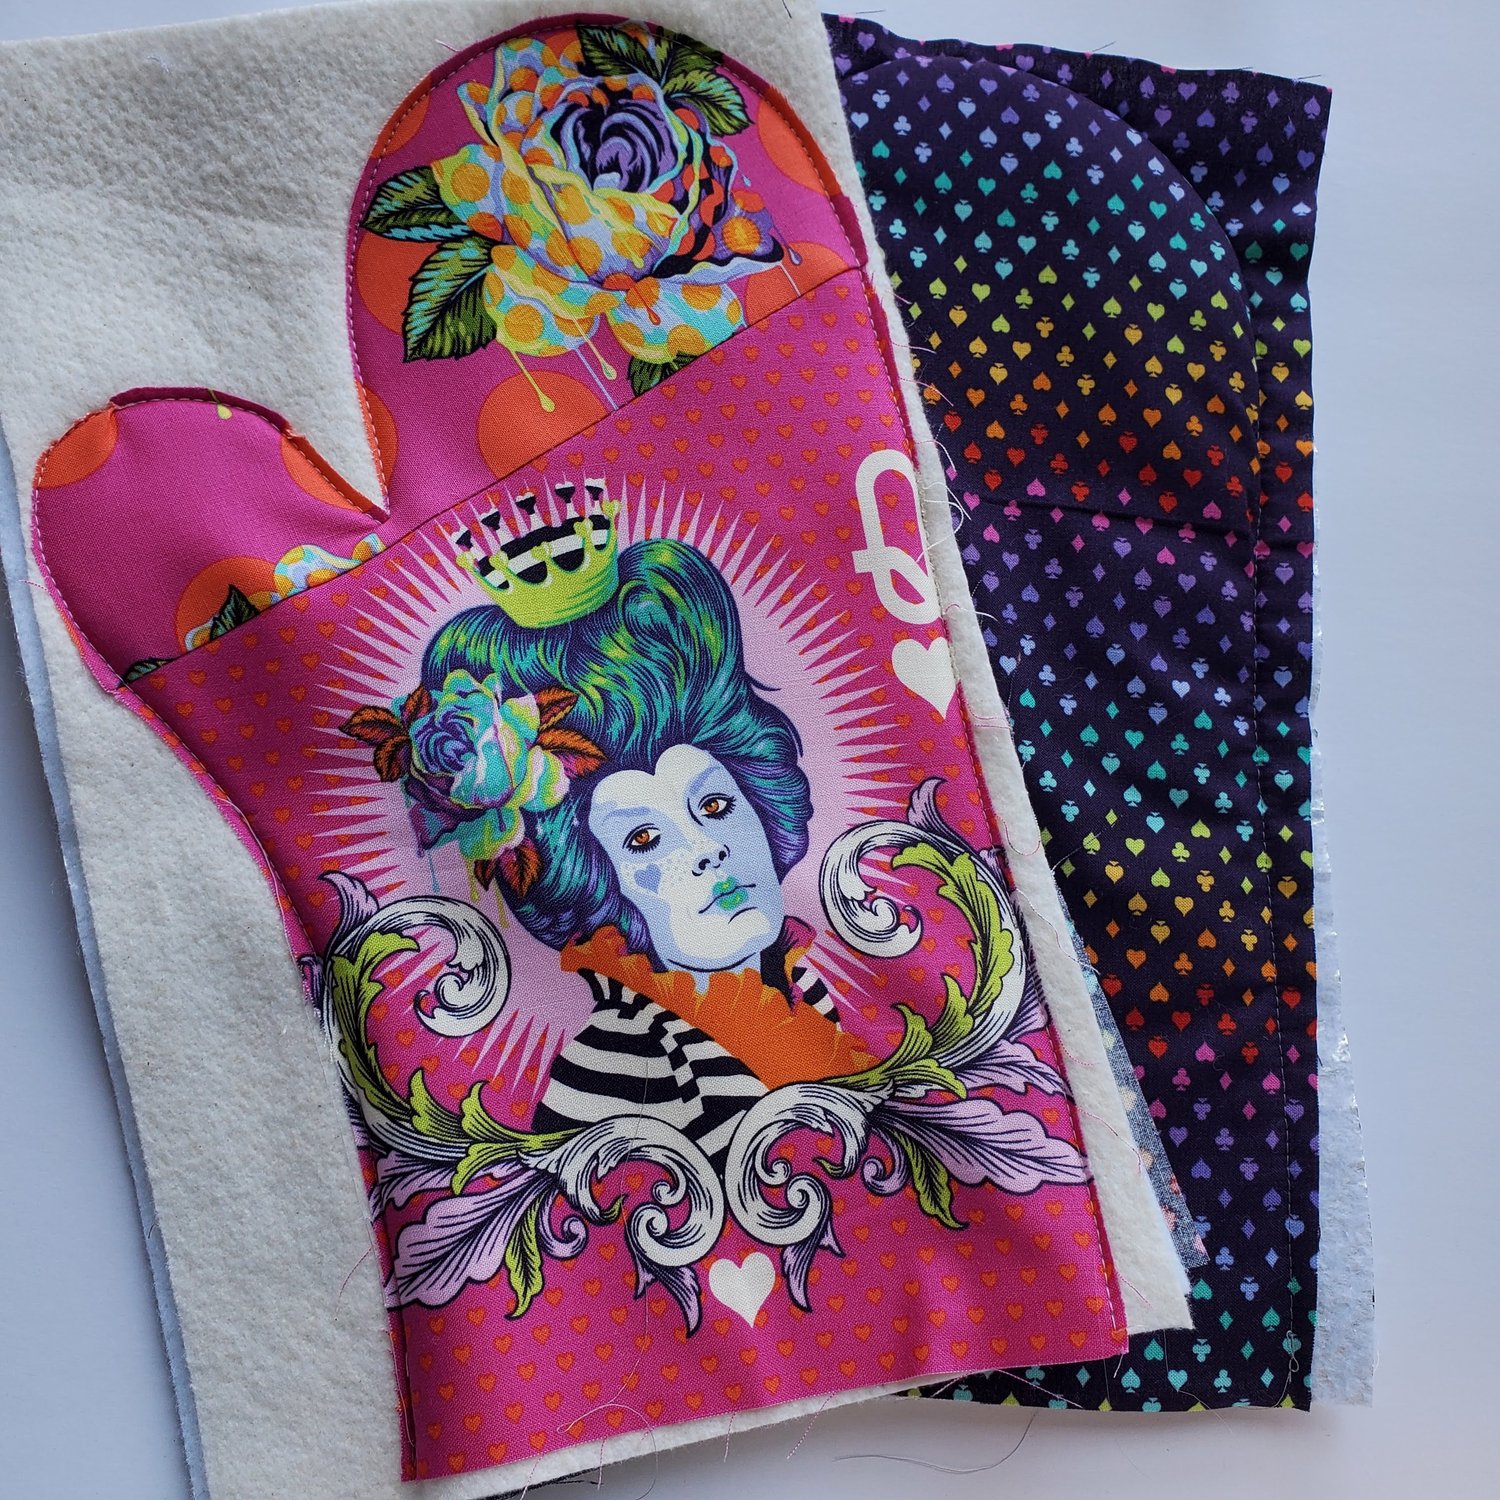
Surprise someone with a “Royal” oven mitt sewn with this fabulous Tula Pink fabric The Red Queen from her Curiouser and Curiouser Free Spirit fabric collection. Pair it with this Apron in a coordinating fabric to make someone special in your life feel like the Queen of the Kitchen! For the quilted patchwork oven mitt I used fabric from the March Modern Maker Membership featuring designer Crystal Manning’s collection Paisley Rose by Moda. These are a quick and easy project to make and would be great as a hostess gift or Mother’s Day gift.
Materials Needed:
- Two 9” x 15” cotton fabric rectangles for outer and two lining fabric
from Tula Pink Fabric Bundle
- Two 9” x15” rectangles of Pellon Insul-bright
- Two 9” x15” rectangles of Cotton Batting
- Binding fabric piece approximately 2.5” x 18”
- Coordinating Aurifil Thread from Chroma Membership
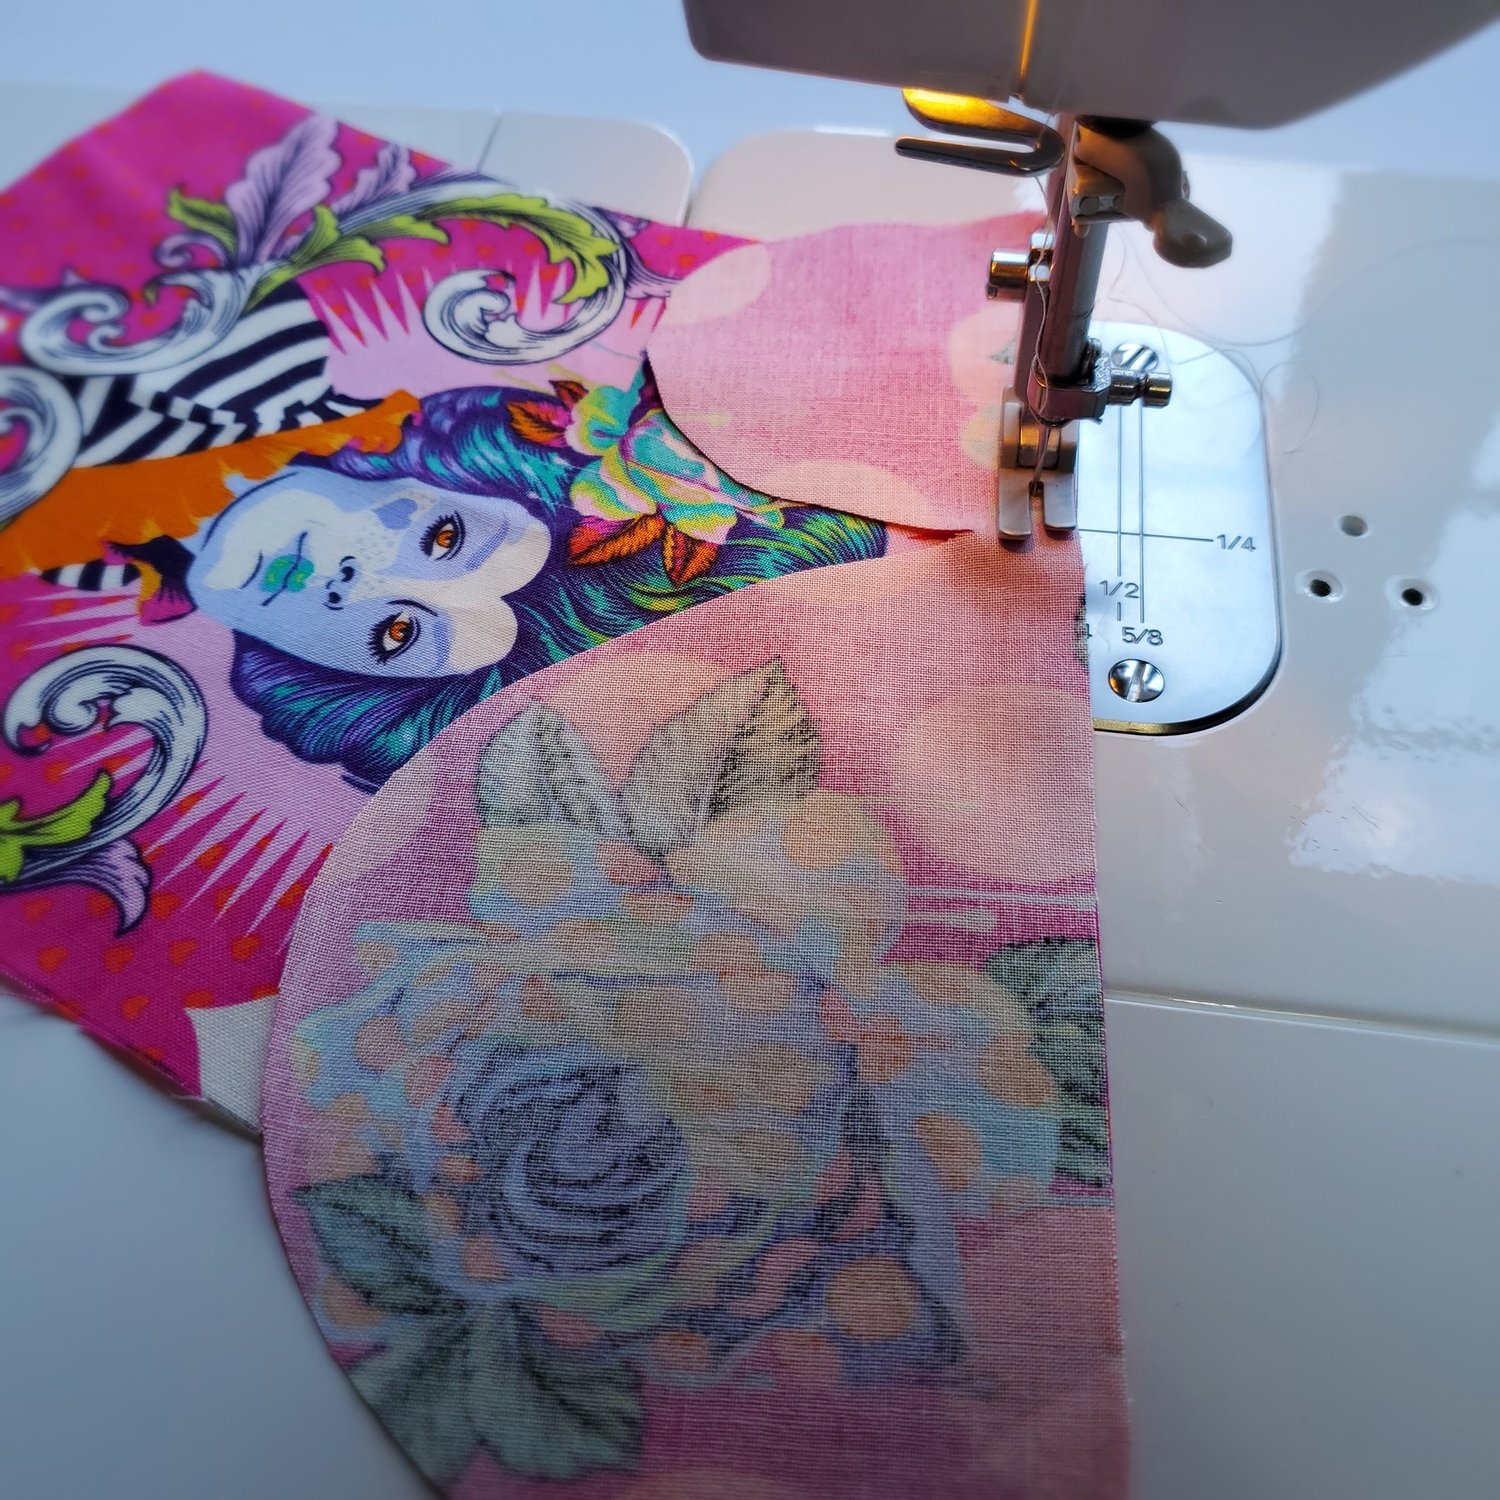
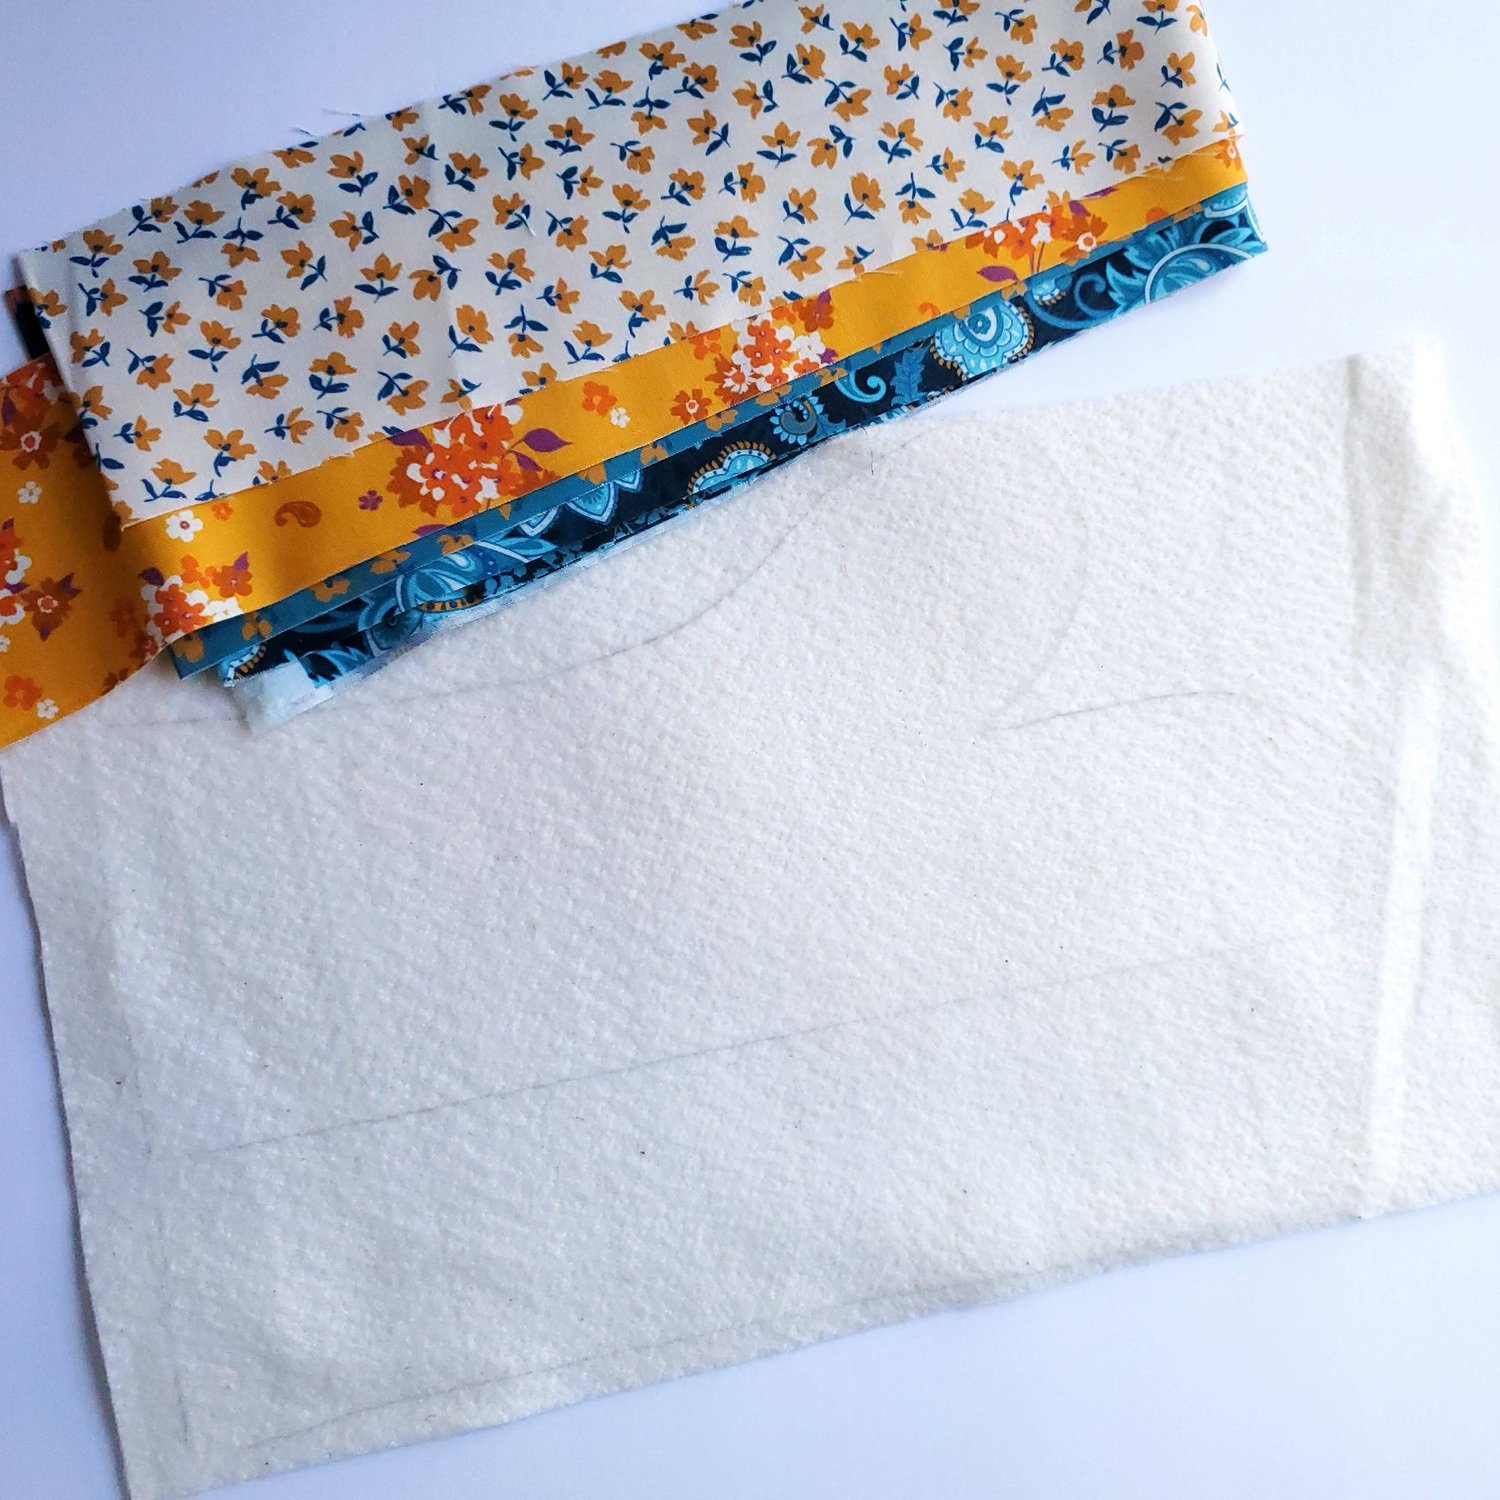
To get started download and print the free pattern from Skip to My Lou. Both oven mitts are made very similar. I will start with instructions for the Tula Pink fussy cut version. I traced the pattern onto vellum paper so I could easily see through the pattern to line up the fabric to center the Queen design.
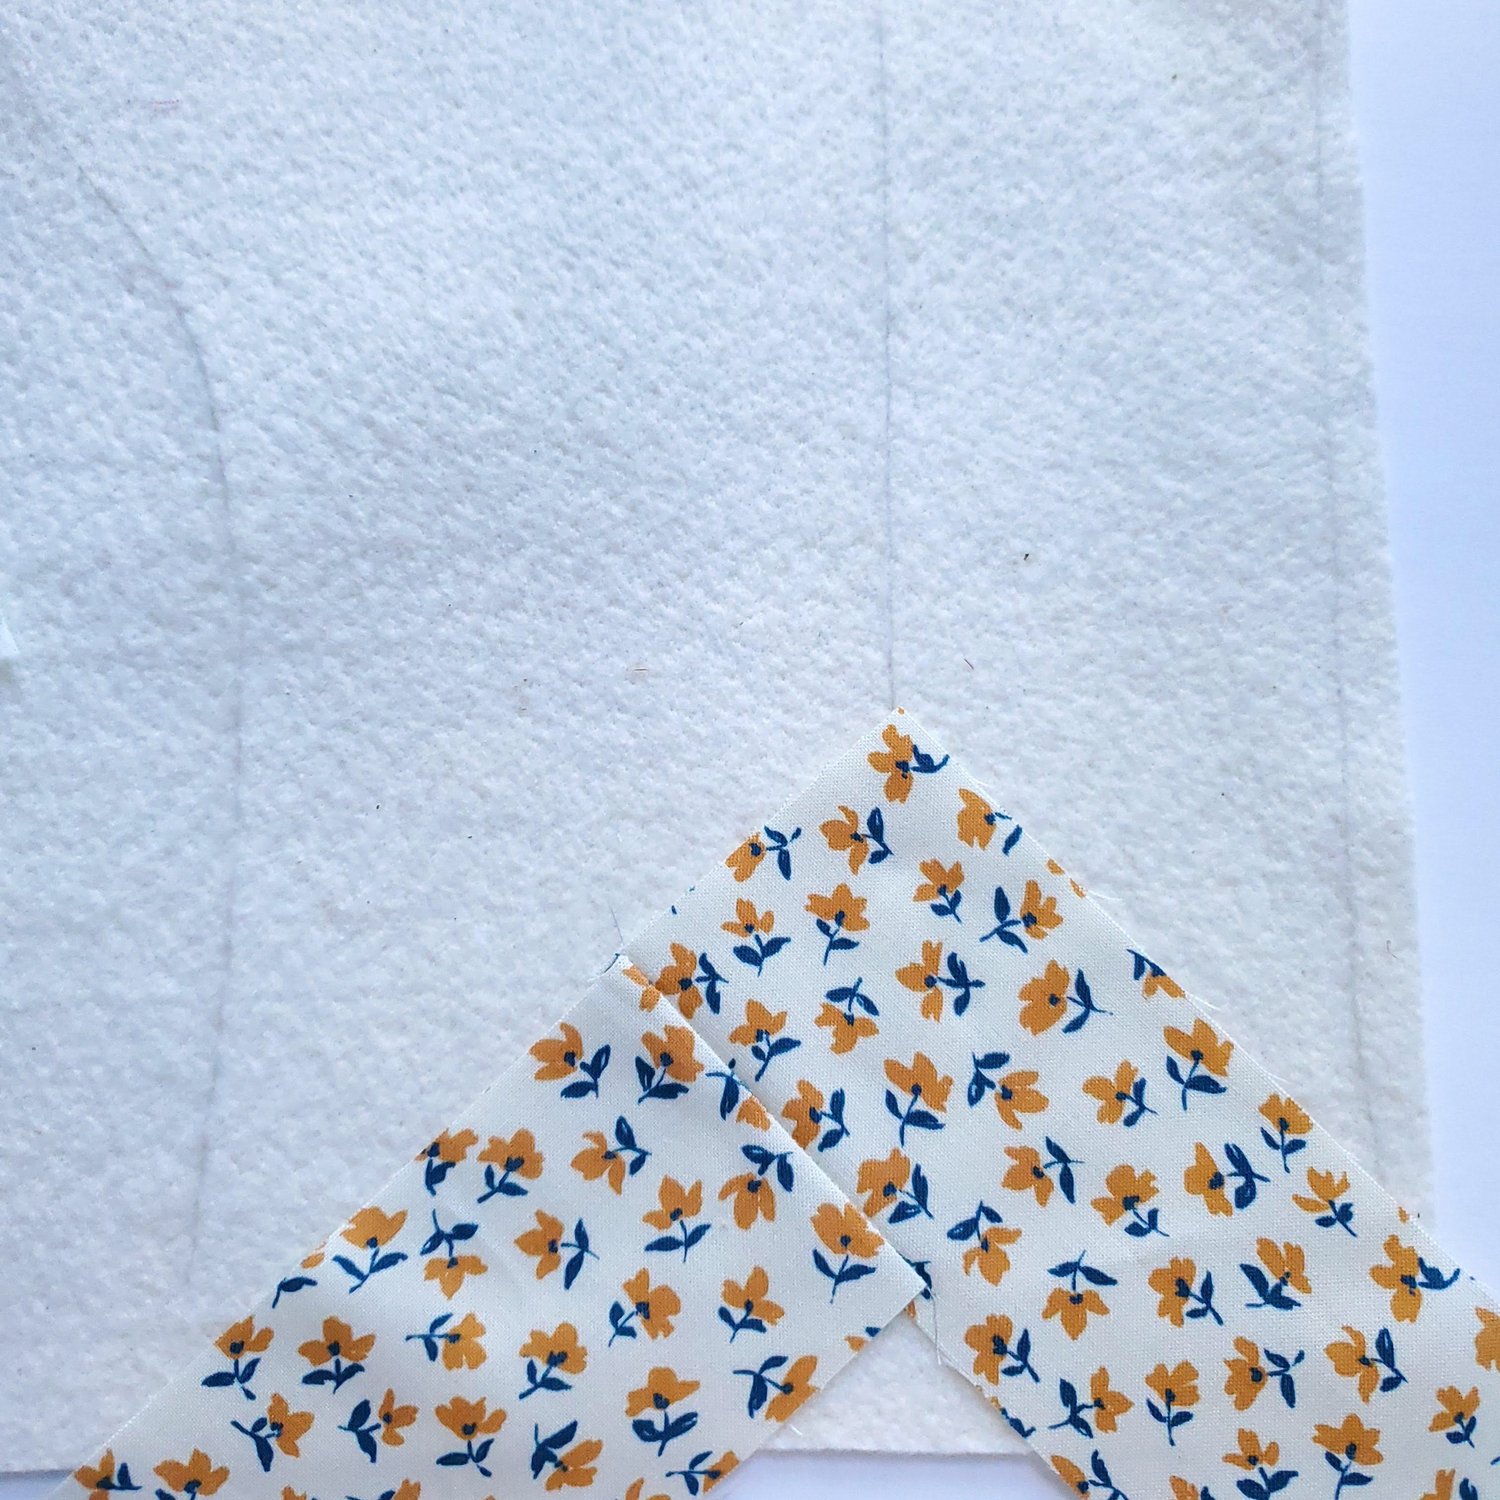
I drew the pattern outline with a Frixion pen. Next I lined up the coordinating rose fabric and added a ¼” seam allowance to sew it to the Queen piece. Press the seam.
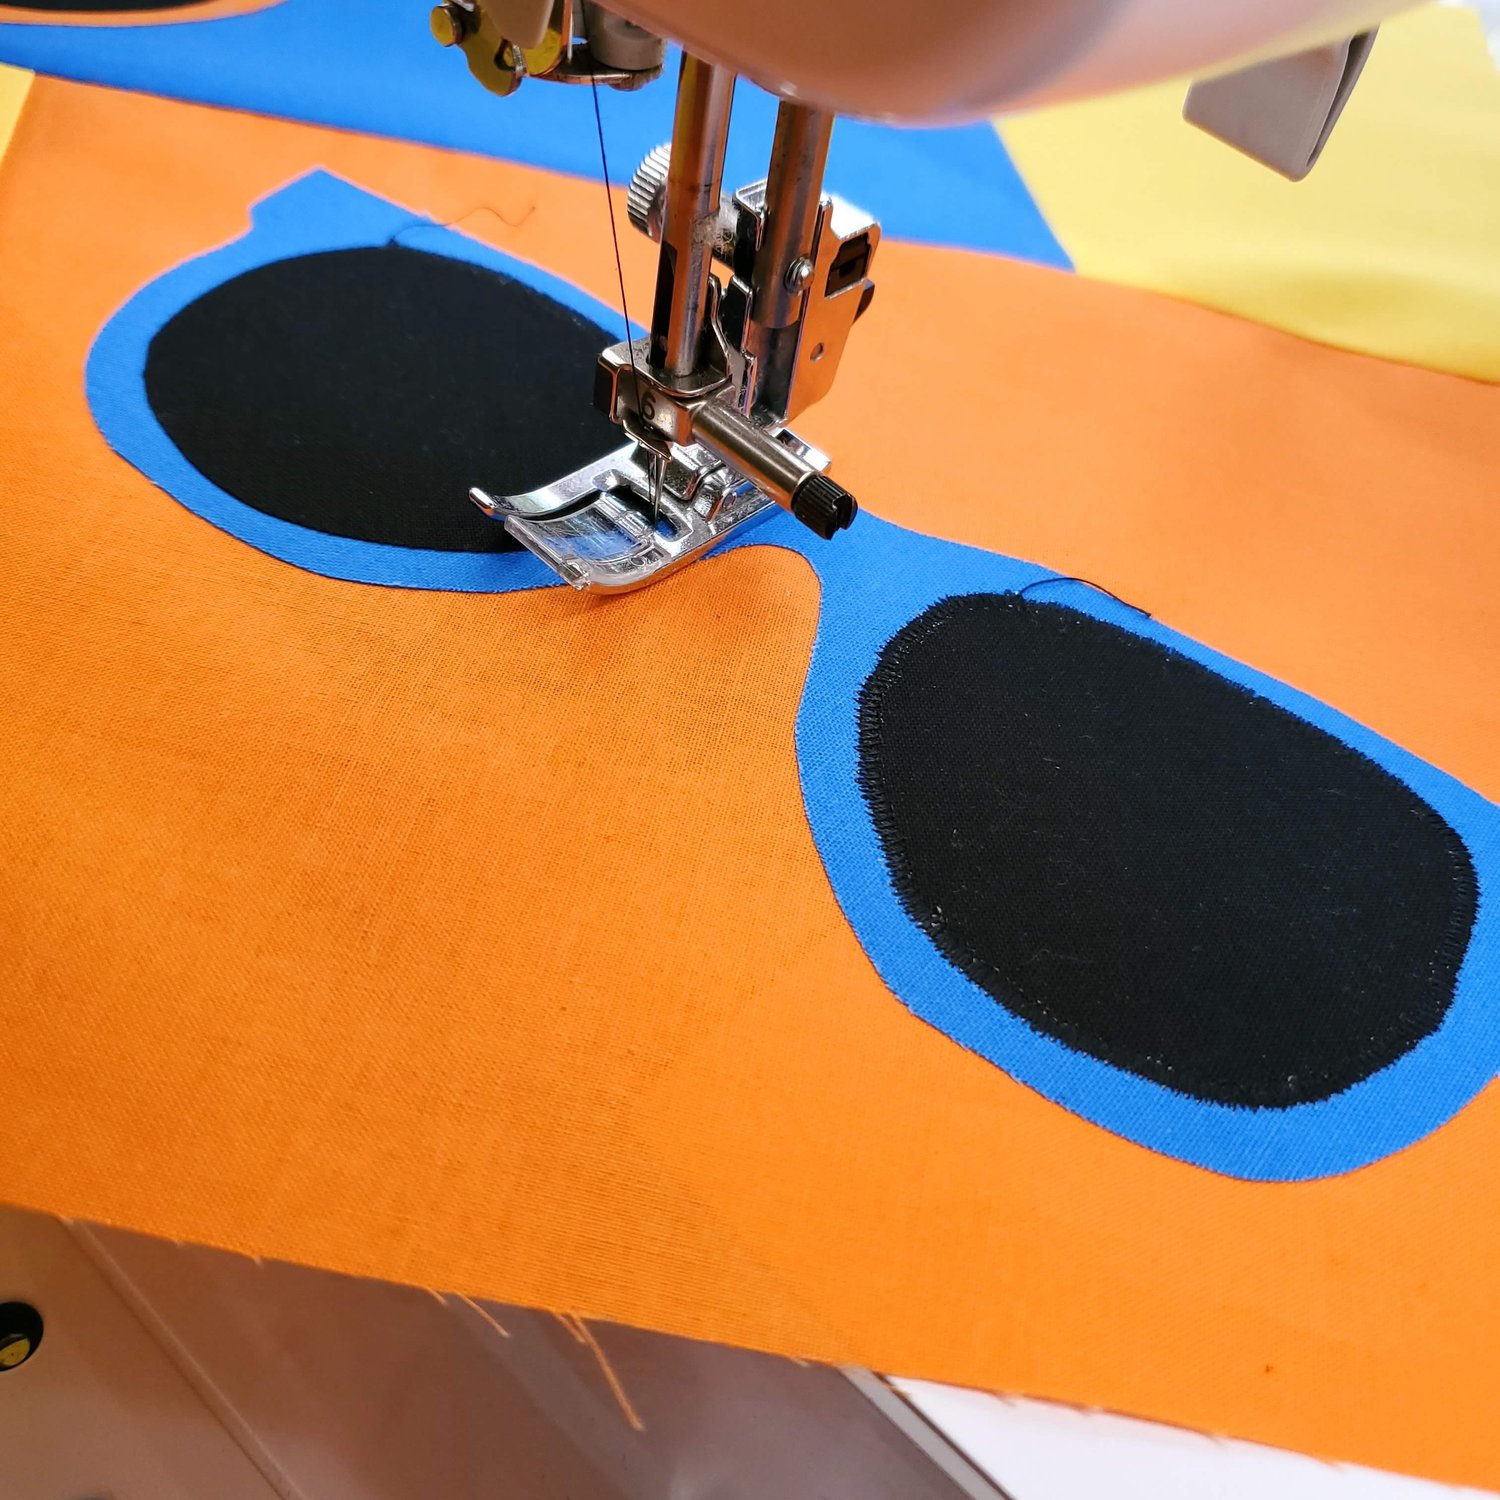
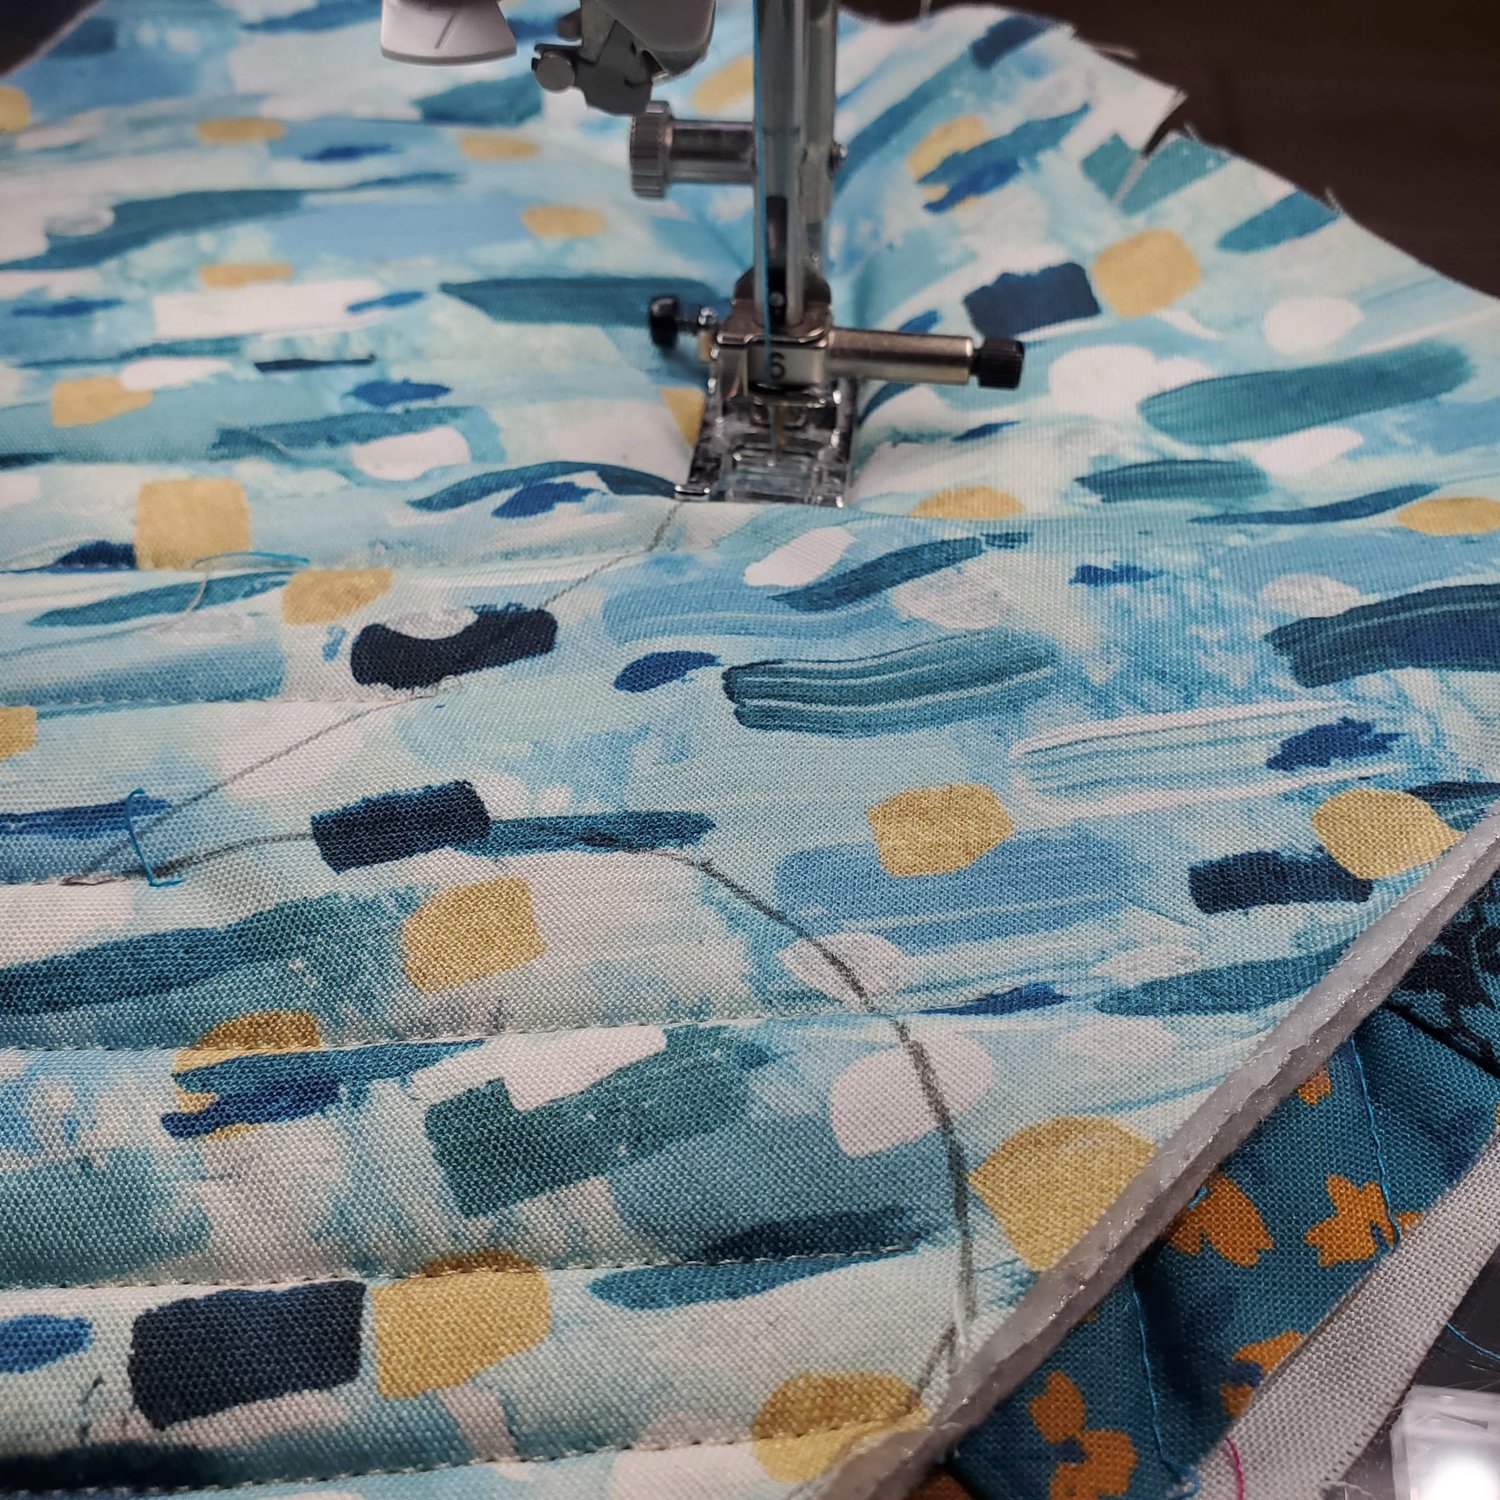
Layer the outer fabric with the 9”x 15” rectangles of cotton batting, Isul-bright and lining fabric. Using a longer basting stitch sew around the mitt about ⅛” from the edge. (This would be a great time to practice some free motion quilting around the printed design. I would suggest just quilting the outer fabric and the cotton batting then add the remaining two layers to continue on with the construction of the mitt.)
This will be fairly thick and it is a good idea to use a larger 90/100 topstitch needle and a walking foot. The Baby Lock machine I use has a pin feed feature to help guide the thick layers under the needle. It is easier to keep the layers aligned if you do not cut the mitten shape from all four layers before sewing them together. Repeat this process for the back side of the oven mitt.
Trim all the layers to the shape of the pattern piece. It is helpful to use a nice sharp pair of scissors like the Karen Kay Buckley scissors. These are my favorite because they cut cleanly and are sharp to the very point.
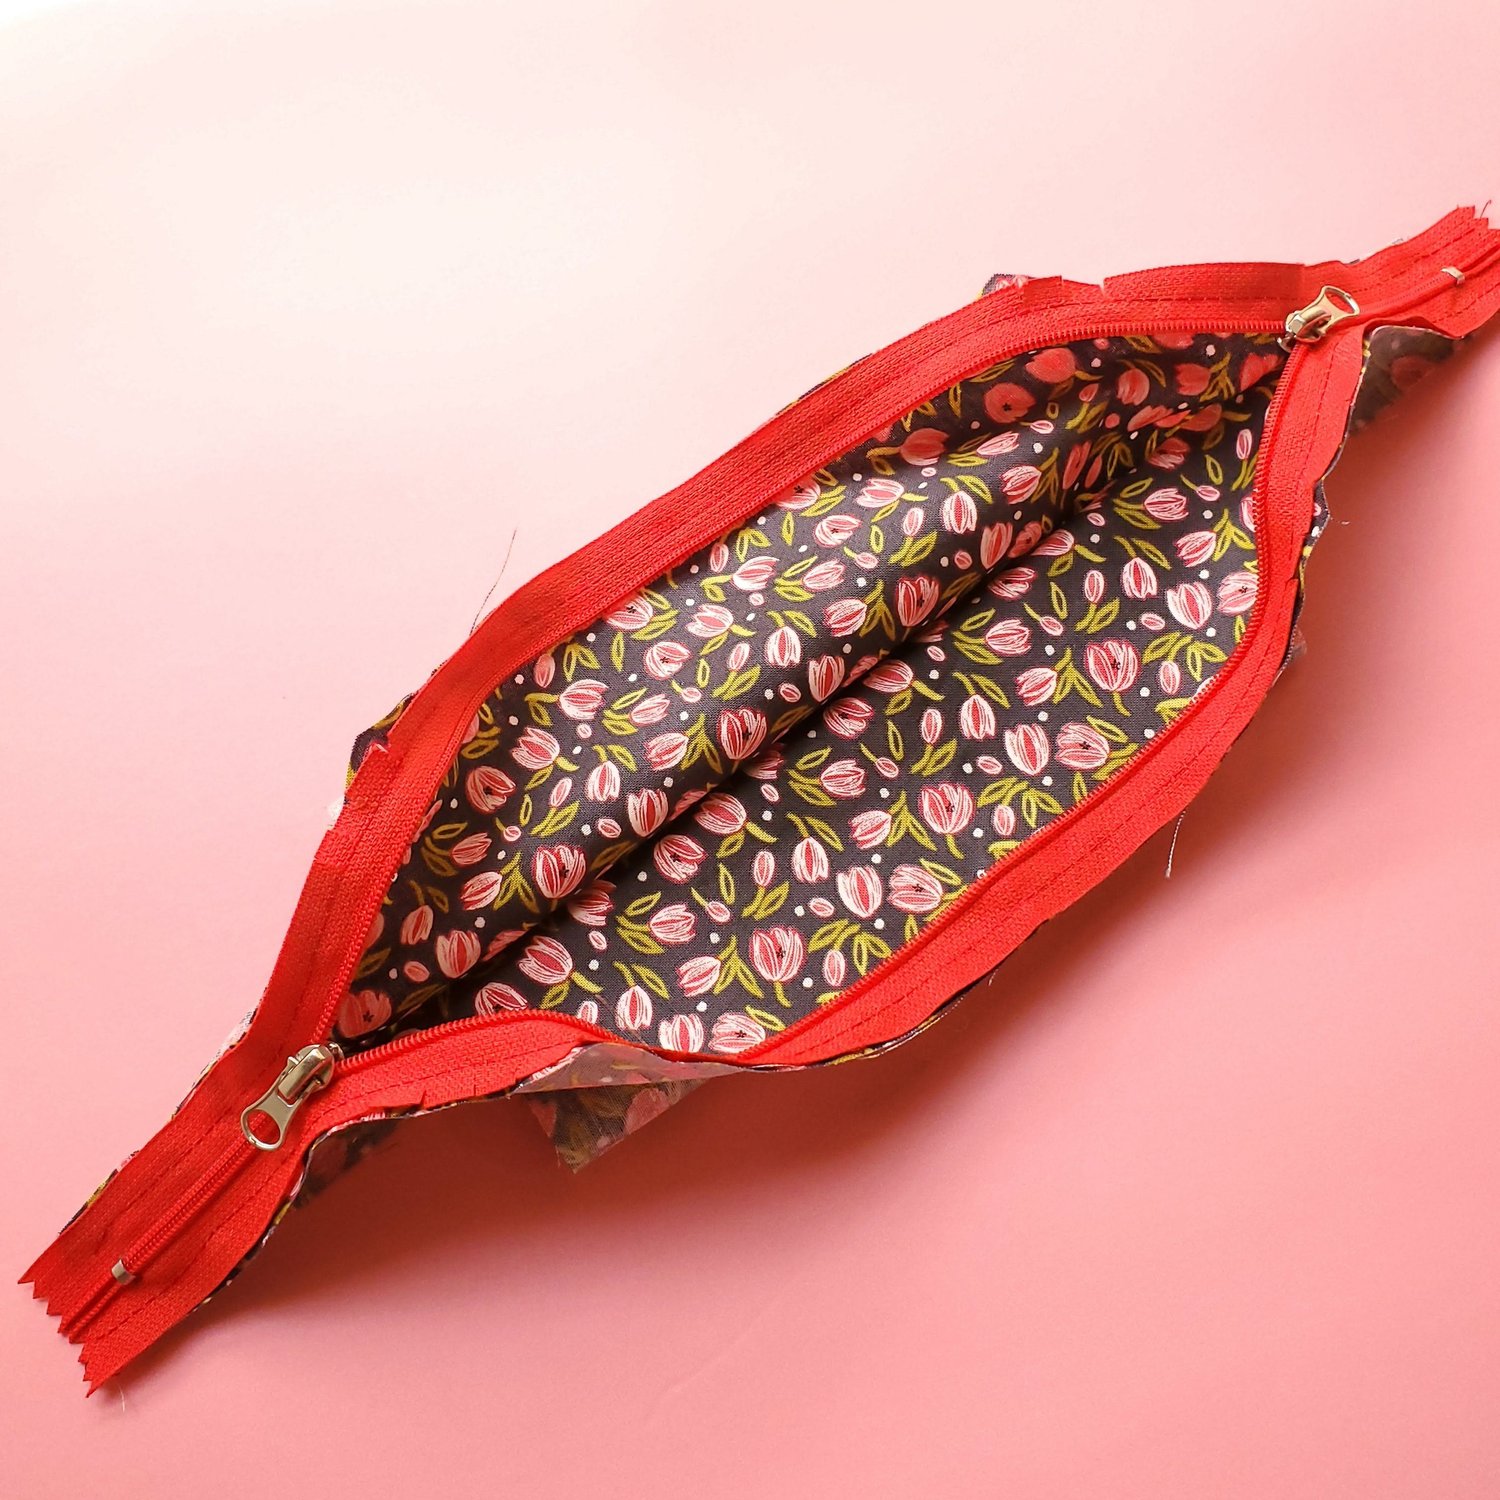
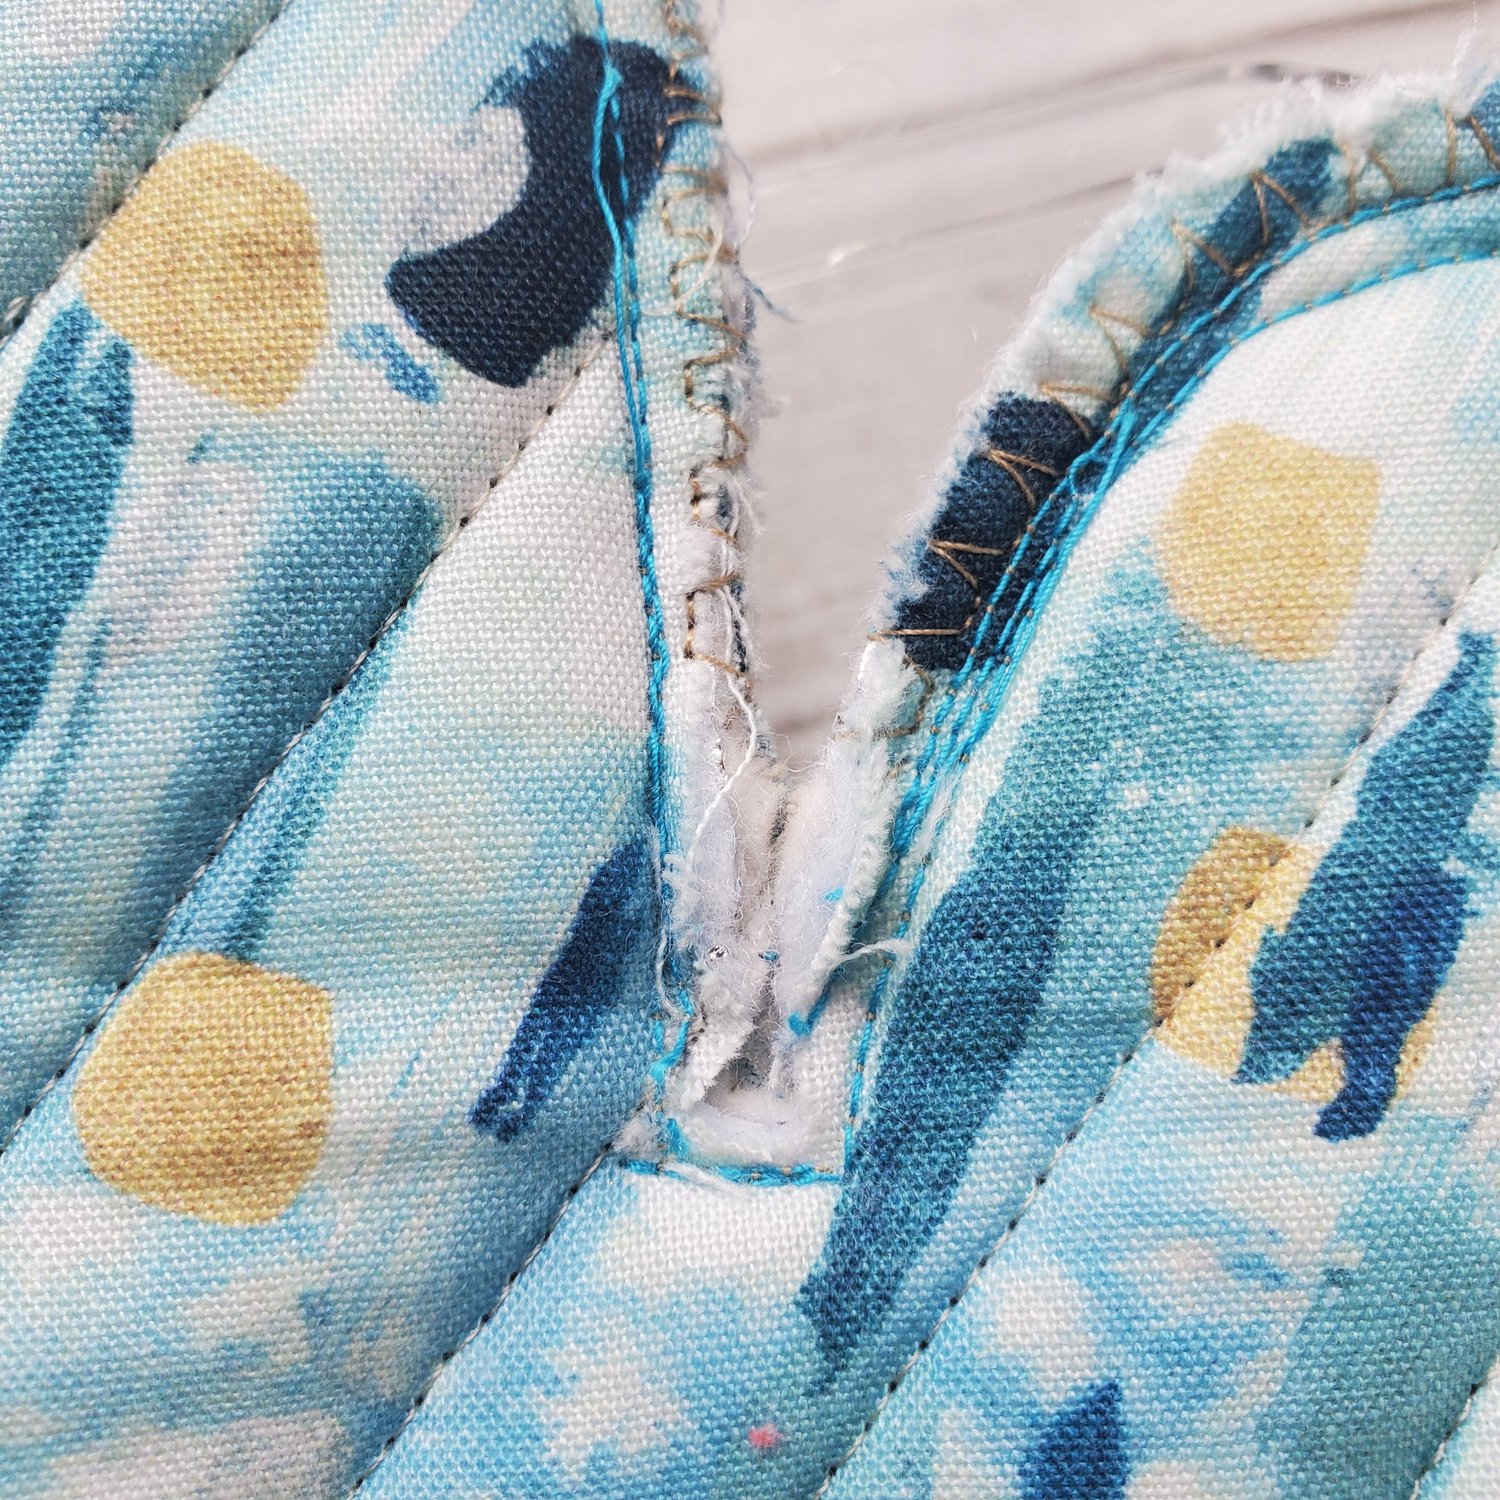
Align the layers with right sides together and stitch with a ¼” seam allowance. Be sure to sew a rectangle around the deep indentation for the thumb. I sewed around this area twice to reinforce the seam. Clip close to the stitching in the thumb area to help it lay flat. I used an overlock stitch in a coordinating thread to finish the raw edges on the inside of the mitt. Turn right sides out and press. The final step is to take the 2.5” x 18” piece of coordinating fabric and press in half lengthwise, open the fold and press each side to the center creating the binding. Clip the binding on the raw edges and secure into place.
I prefer to sew the binding on with topstitching about ⅛” from the edge catching all the layers as you stitch slowly around the cuff.
You could also stitch in place by hand to hide the stitching
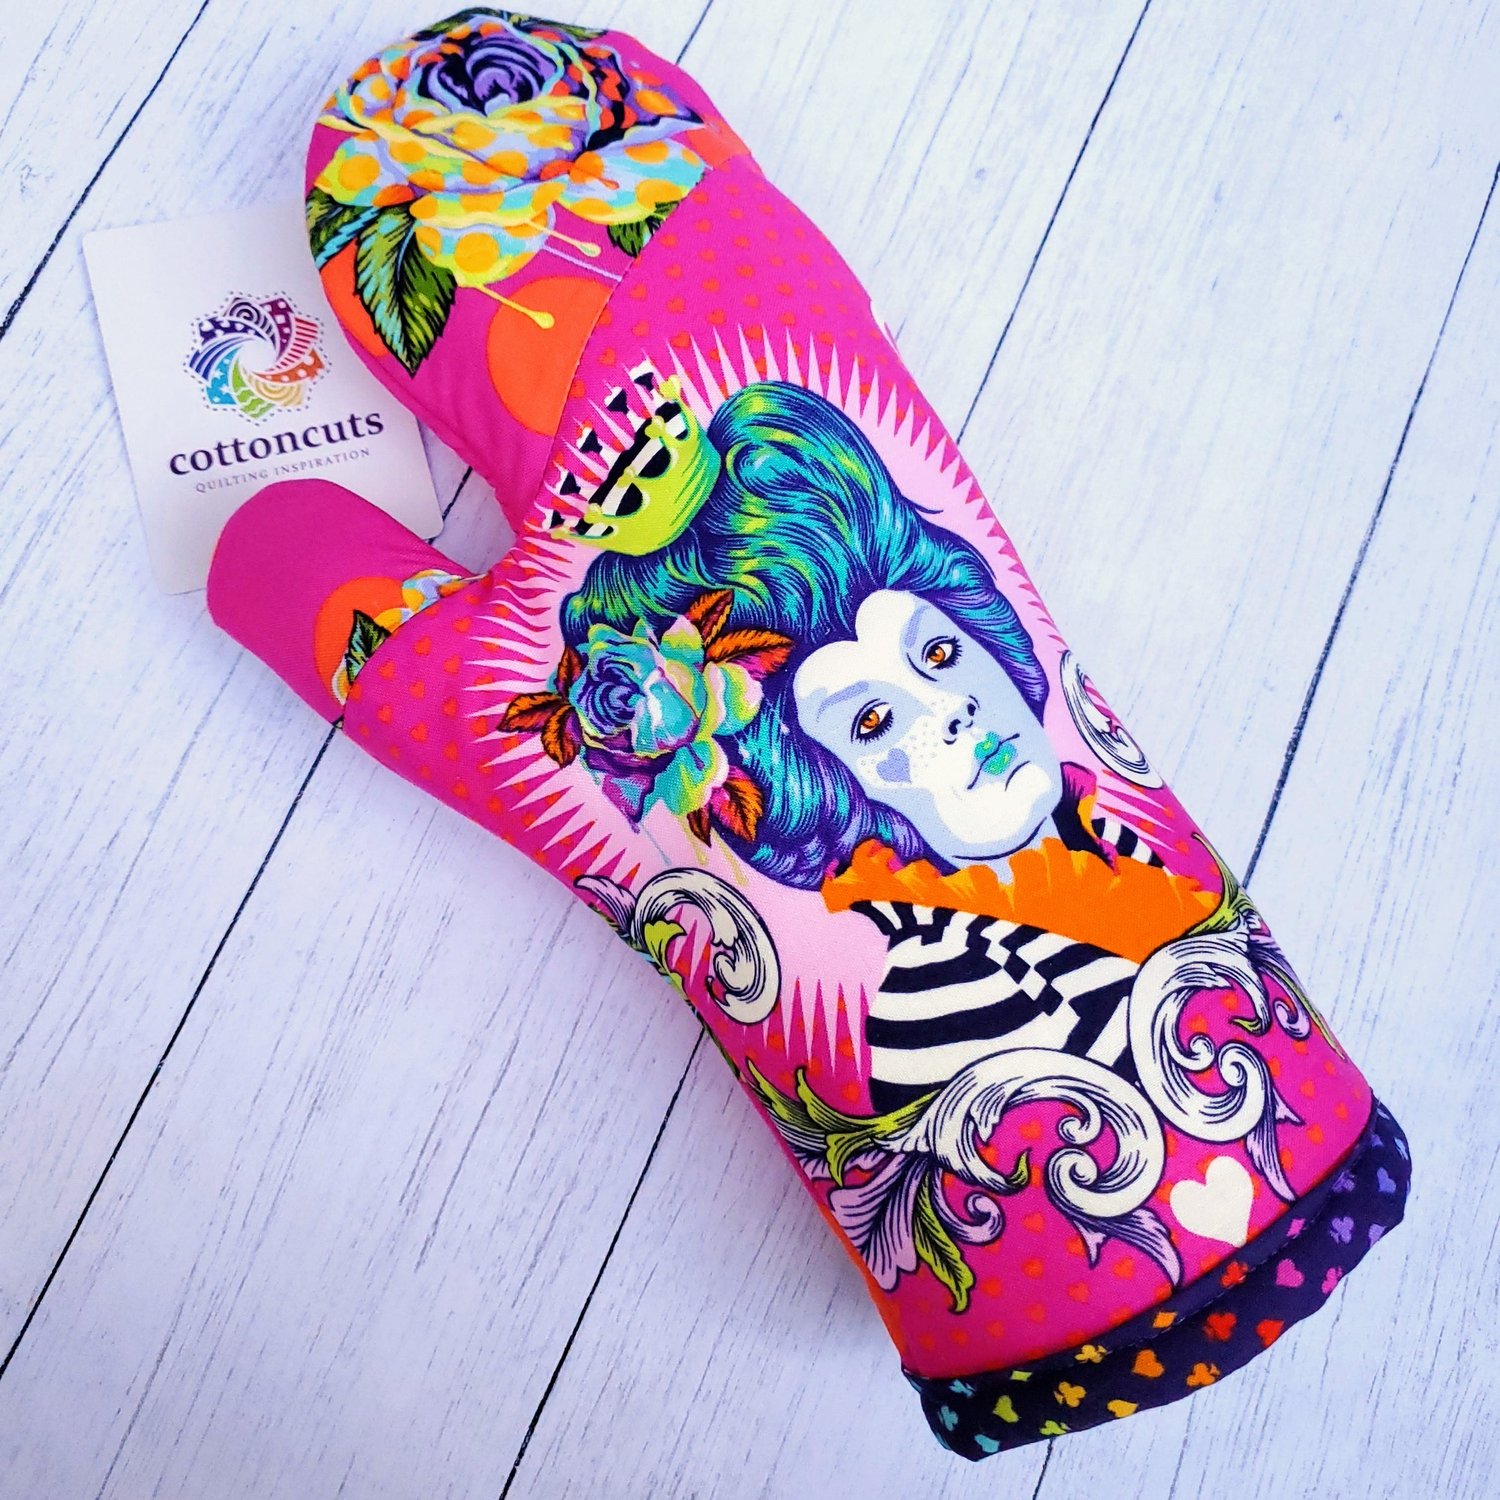
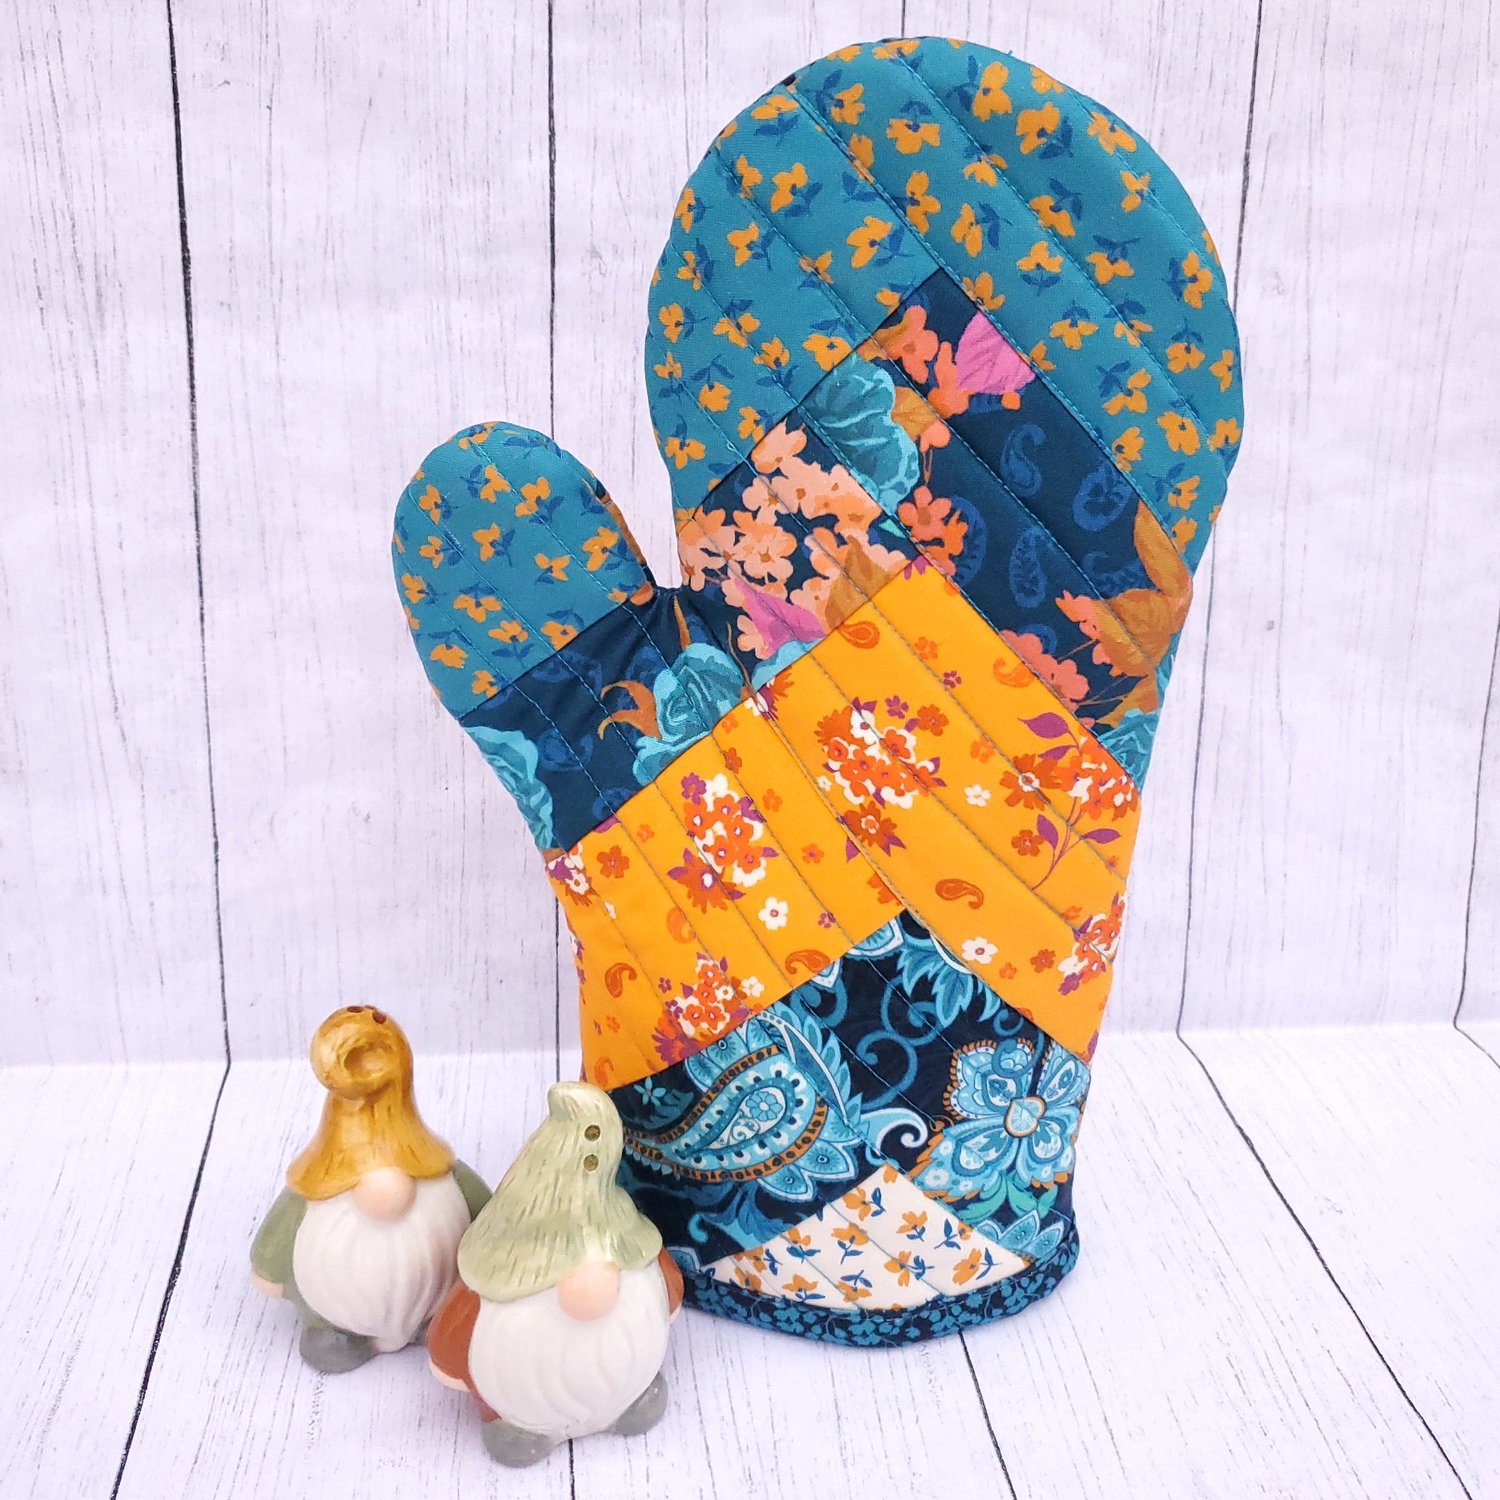
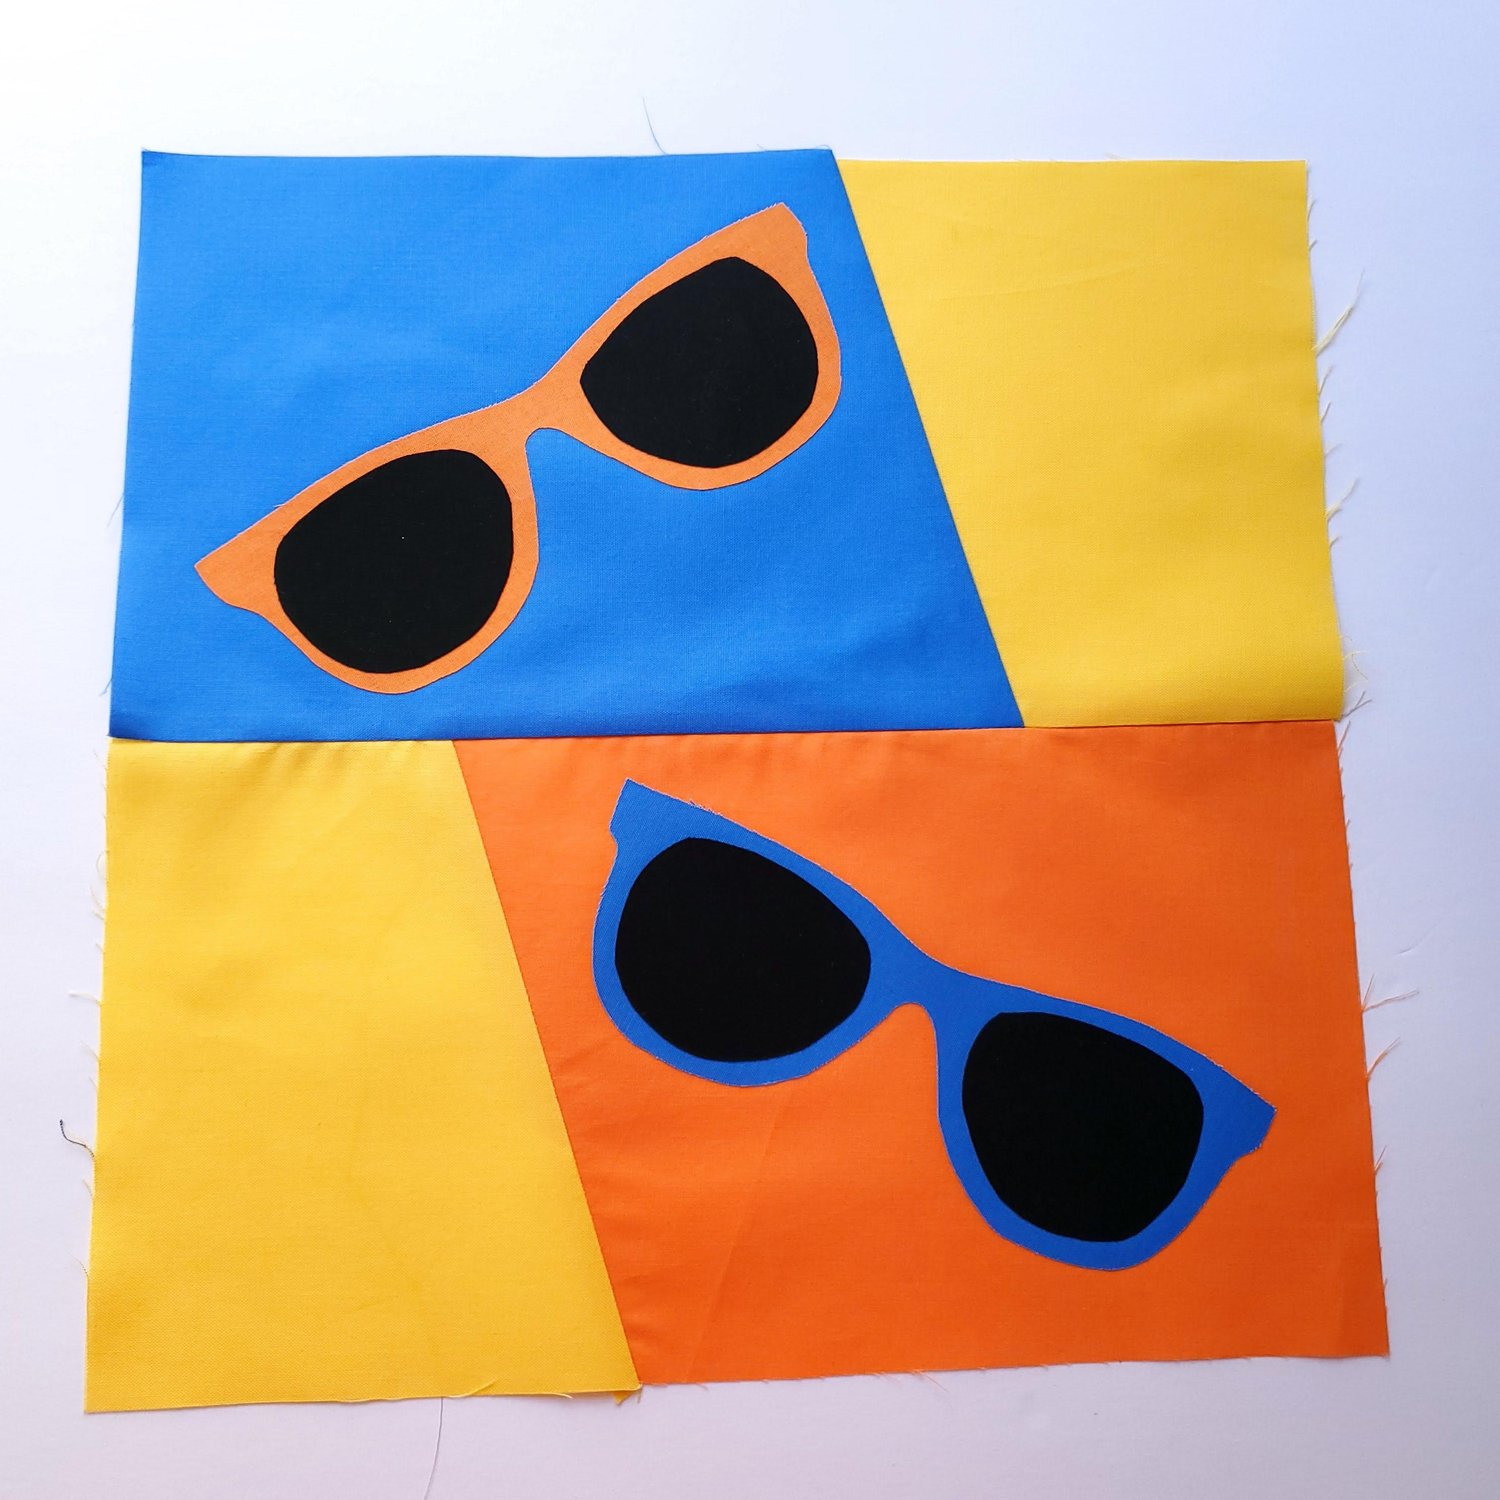
This oven mitt is sure to add a fun burst of color to your kitchen!
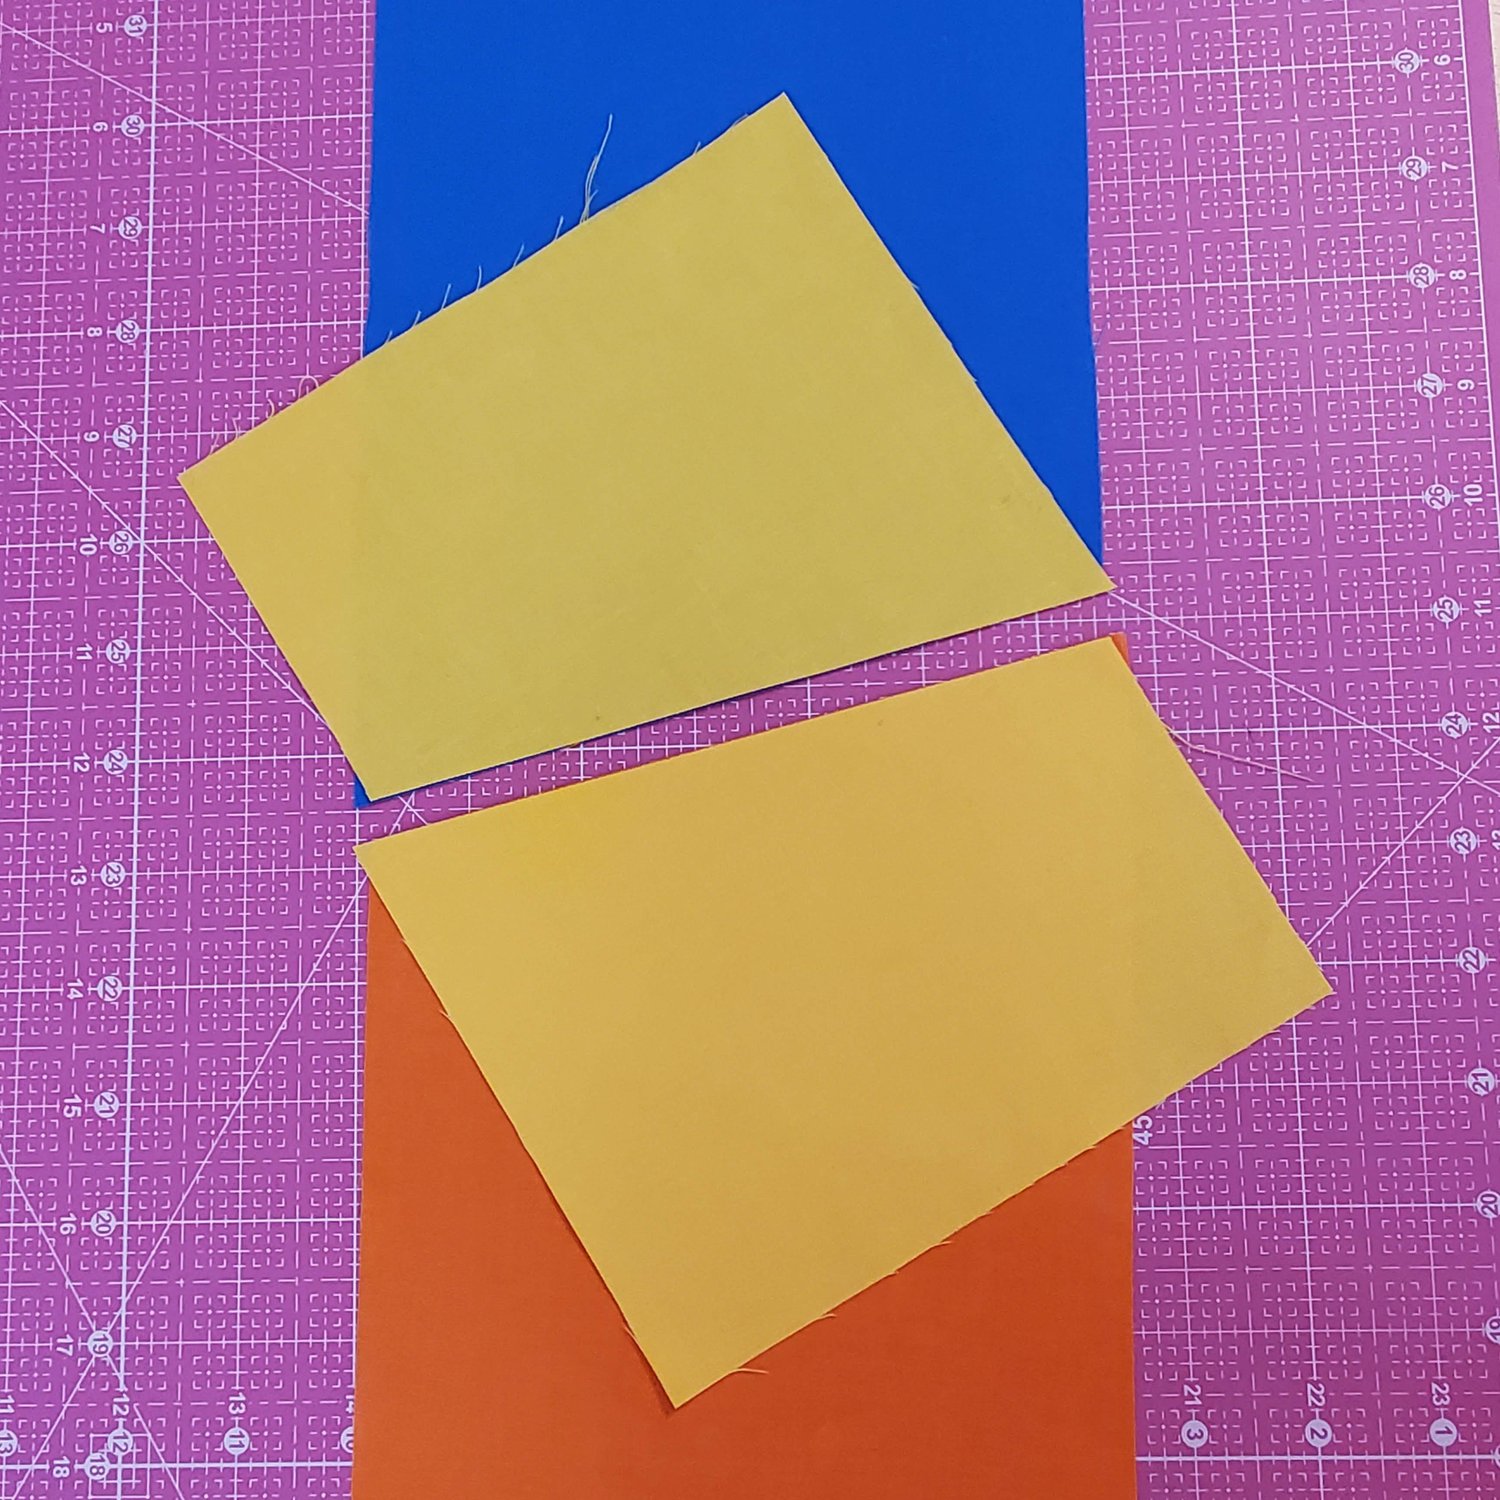
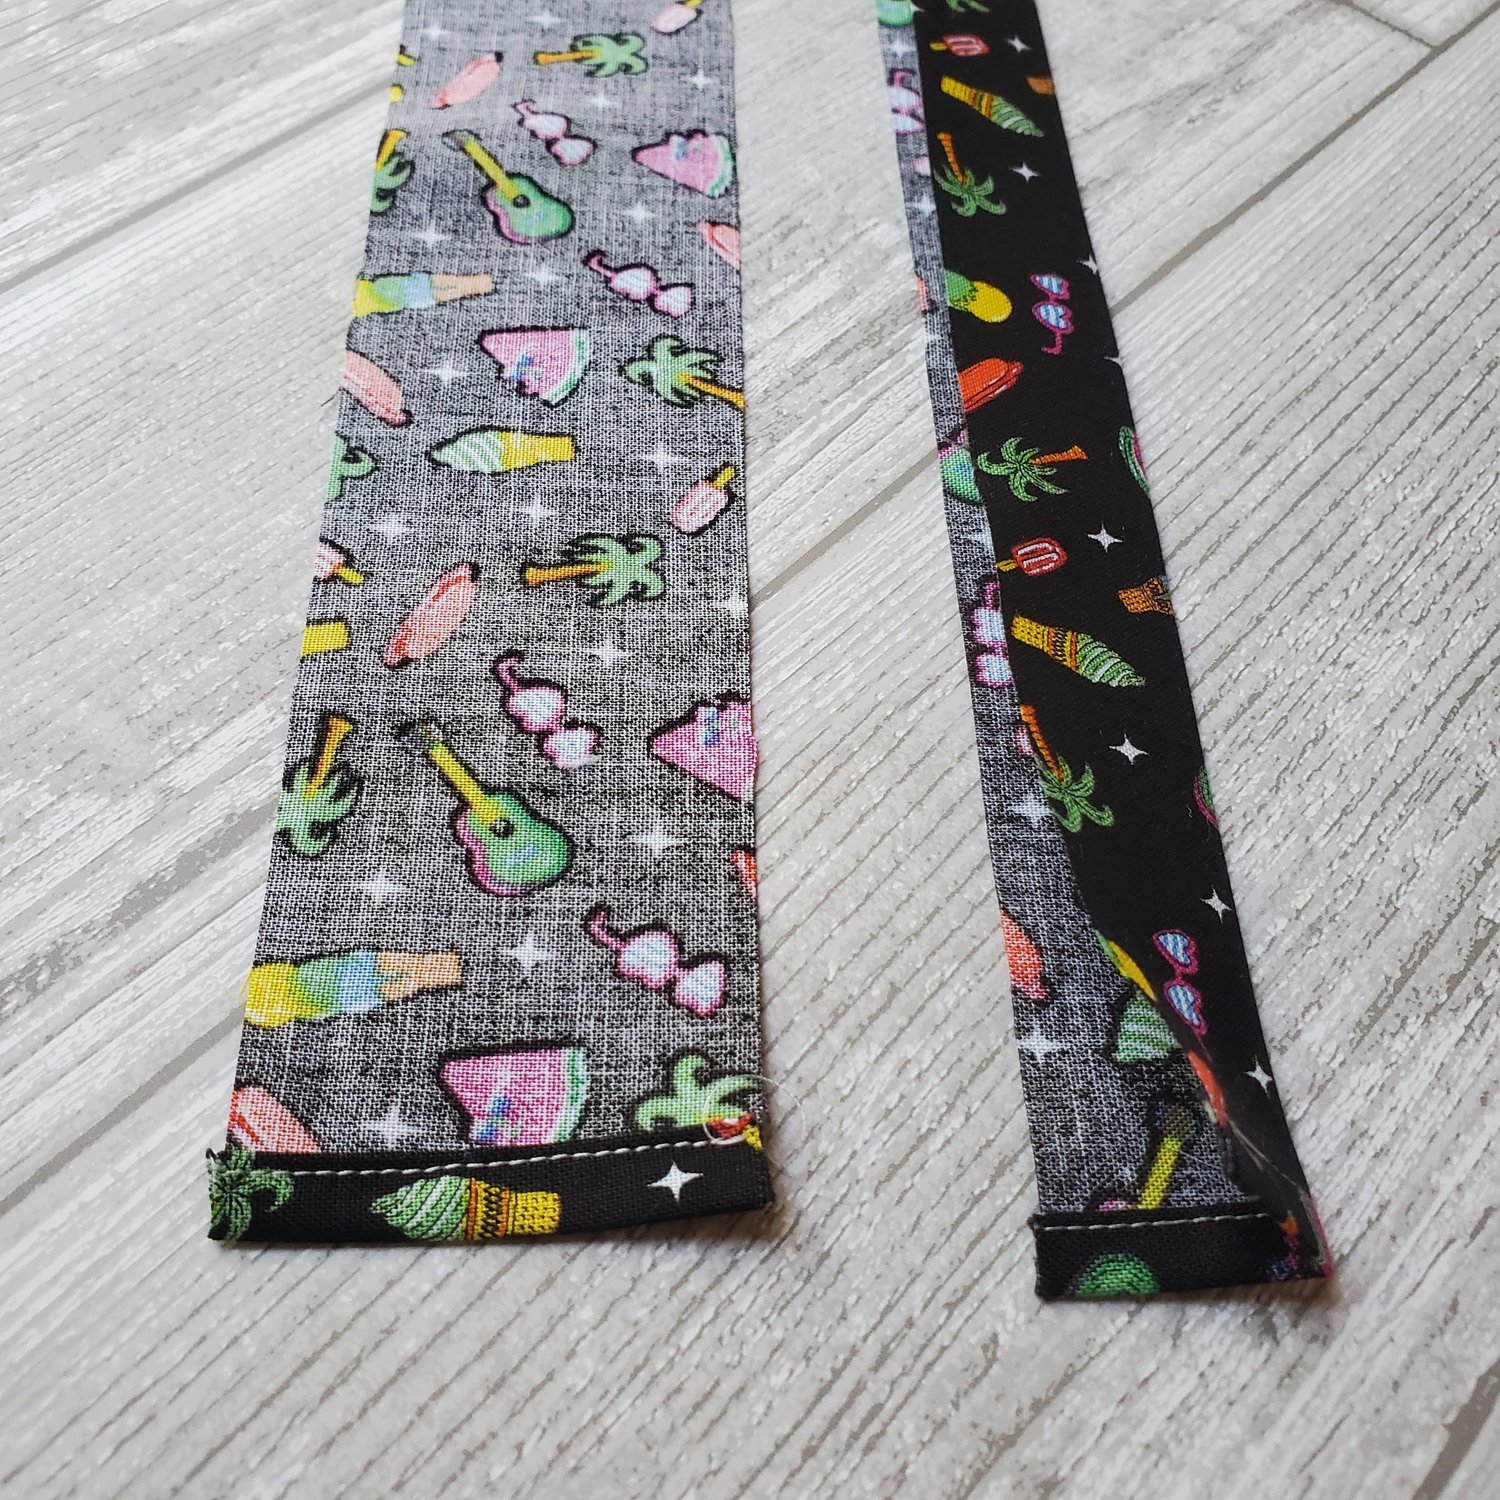
I did a very similar process for the quilted oven mitt. To get started I drew the pattern shape on the cotton batting with a center line and gathered some strips of fabric about 2.5” wide.
To get the first section started I sewed an “L” shape and placed it on the center line. I used the same method to make the Quilted Glasses Case in this recent blog.
Once you have this sewn in place you continue to add strips to the left then the right side sewing it in place onto the batting.
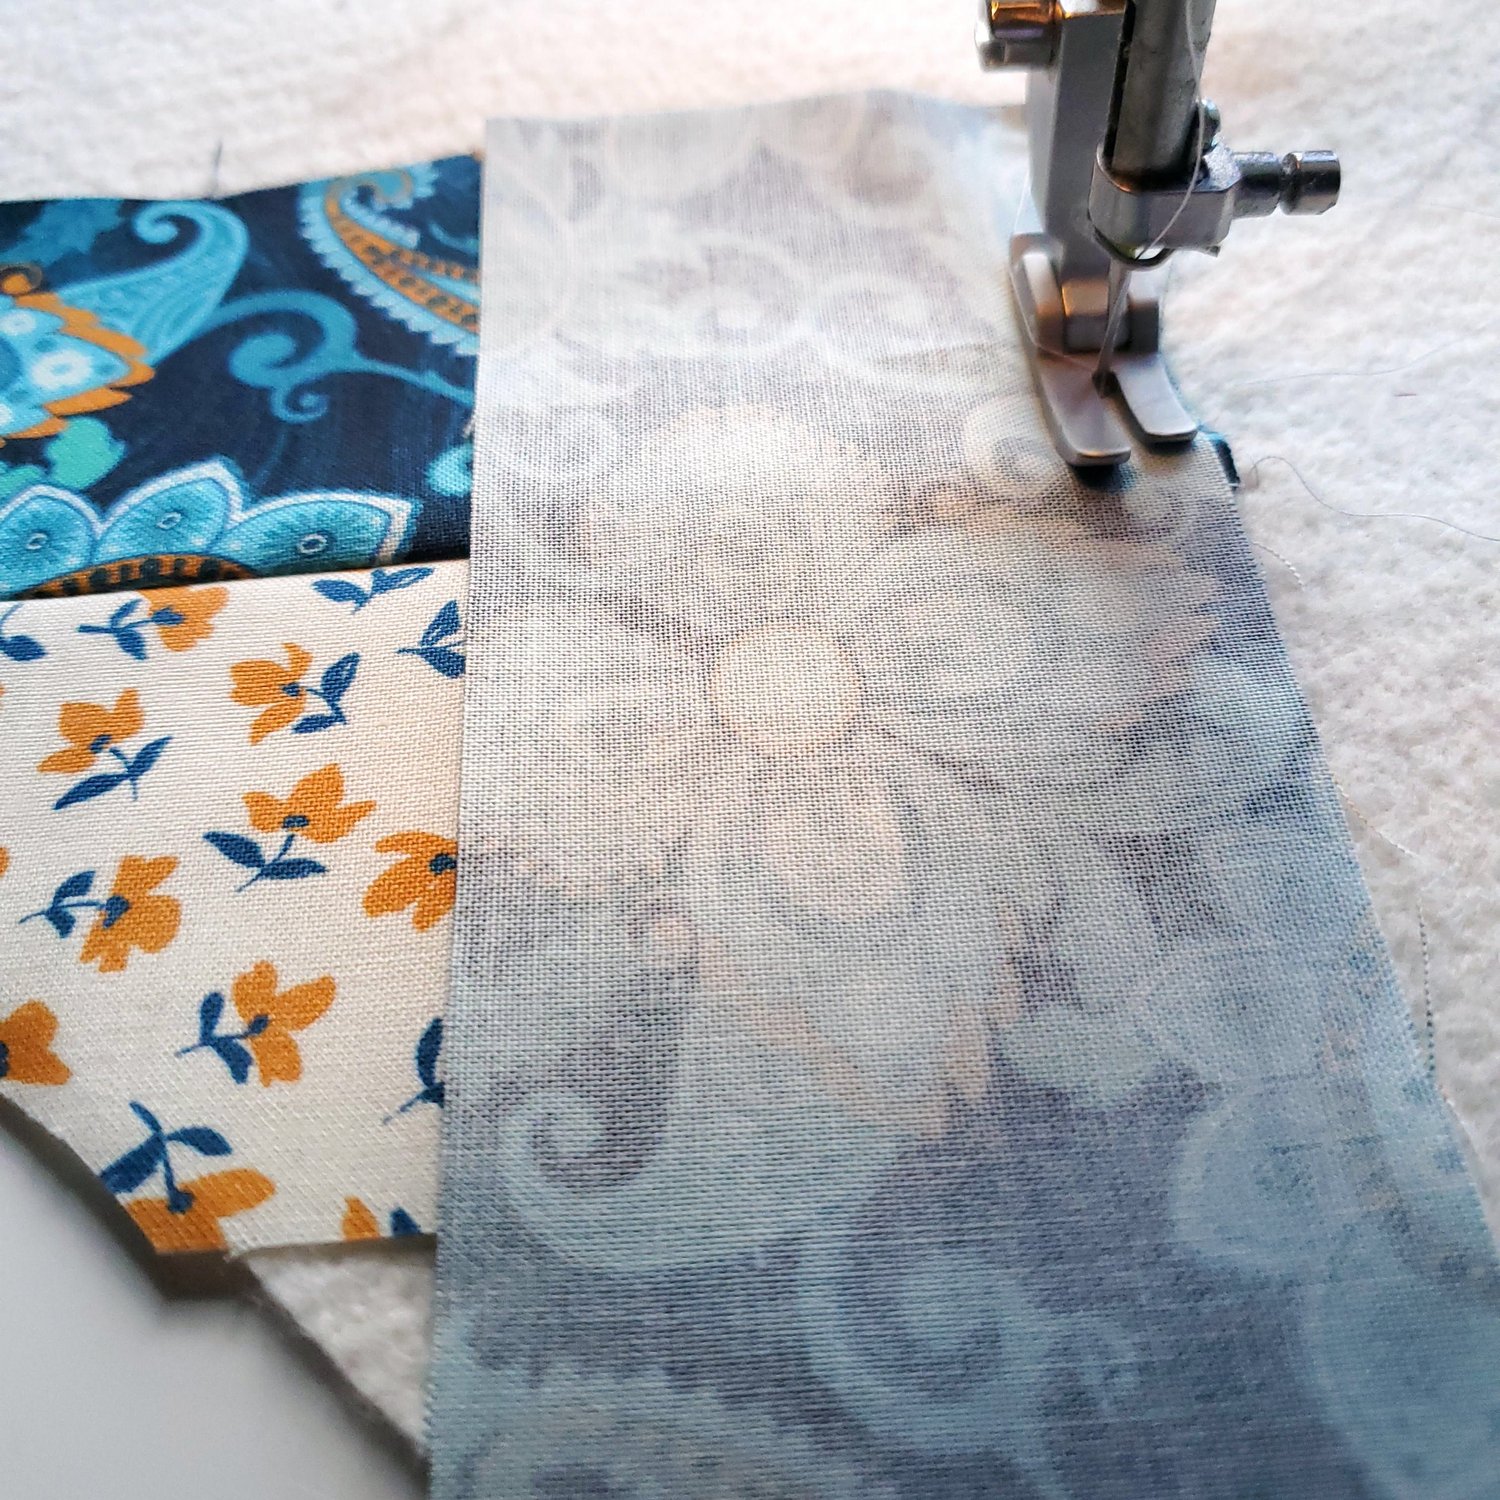
Press each seam as you go along filling in the mitten shape. Trim the excess fabric hanging over the edge of the batting piece.
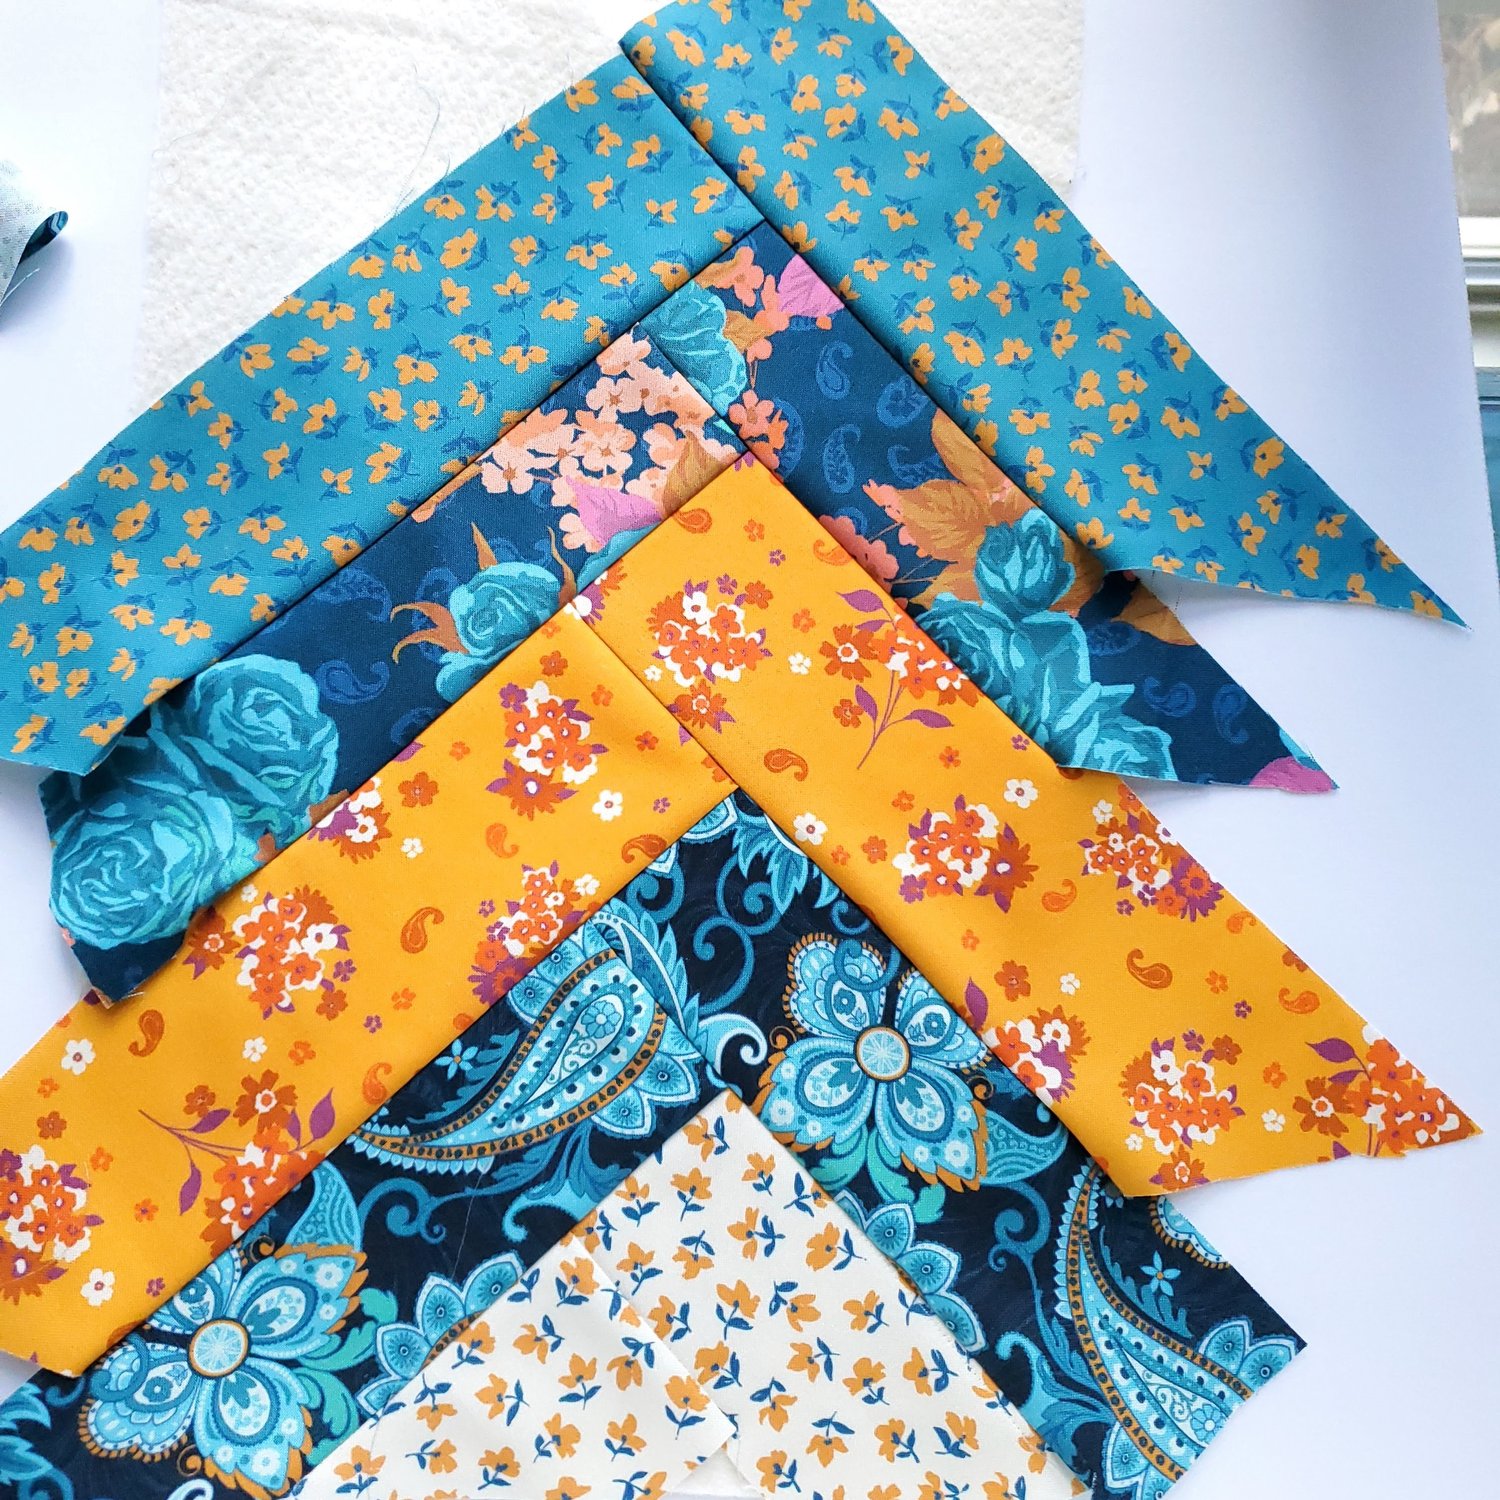
Next line up the top piece with the Insul-bright and lining fabric rectangle and quilt straight lines about ¾” apart.
Do the same for the other side of the oven mitt.
Trace the pattern onto the lining fabric and align the rectangle pieces with the right sides together and stitch on the drawn line.
Be sure to give attention to the thumb area, sewing it twice to reinforce and in a rectangle at the point.
Cut away the excess fabric about ¼” from the seam. Use an overlock stitch to finish the raw edges. Turn right sides out and finish with binding in the same fashion as described above for the Queen oven mitt.