Quilted Fanny Pack
7th Jul 2022
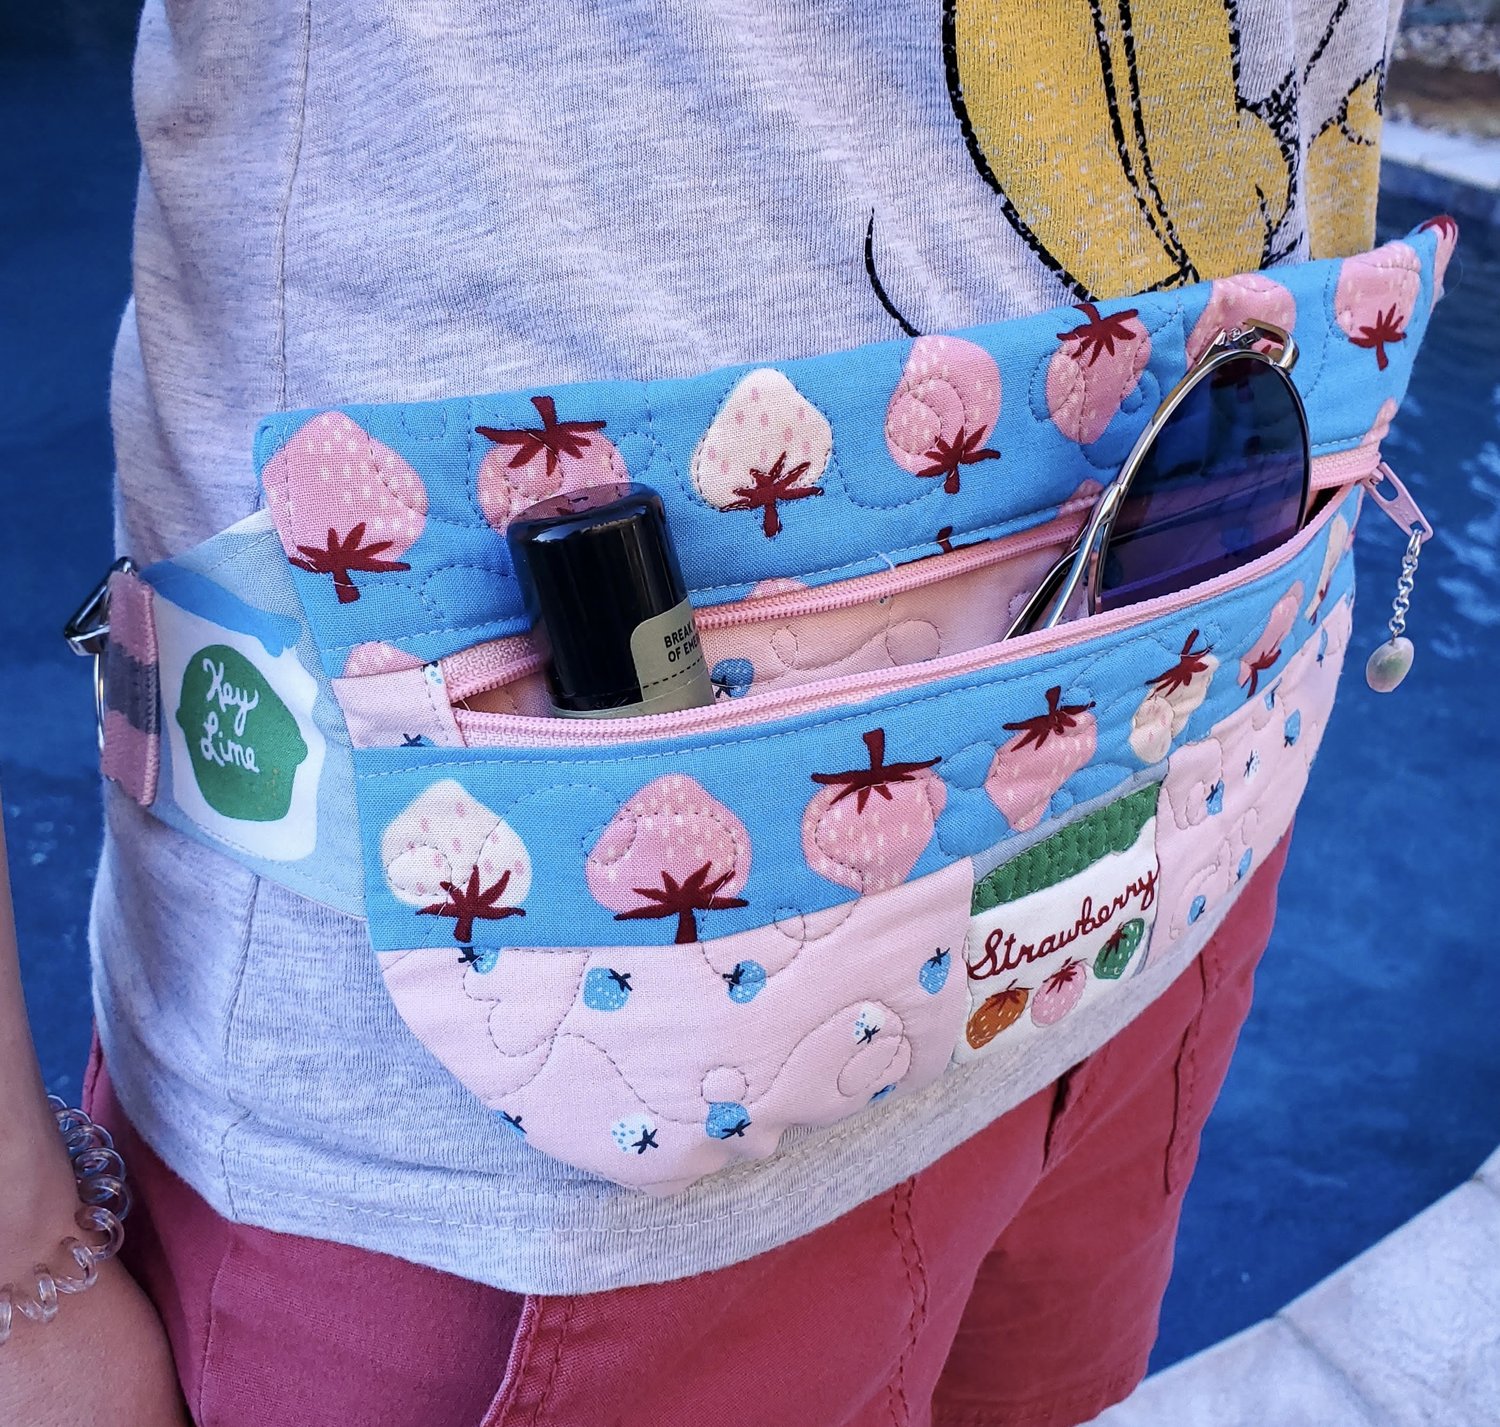
It has been so interesting to see so many different fashion trends show up with a new “Quilted” look. The latest I came across was this free Flat Pack pattern from the Riley Blake Designs blog. Paired with this Strawberry & Friends fabric by Kimberly Kight for Ruby Star Society it was fun to plan the fussy cutting to show off the fabric design elements. This would also be a great project to use some scrap fabrics to make a patchwork design or just some colorful strips sewn together.
Materials Needed:
- Fat Quarters or scraps of fabrics from your Modern Maker Membership
- Pellon Fusible Fleece or cotton batting scrap 10” x11”
- 9” or longer coordinated zipper
- 36” of webbing for strap (you may need more depending on how you wear it.)
- 2 ‘D” rings, buckle and clip to fit the width of the webbing
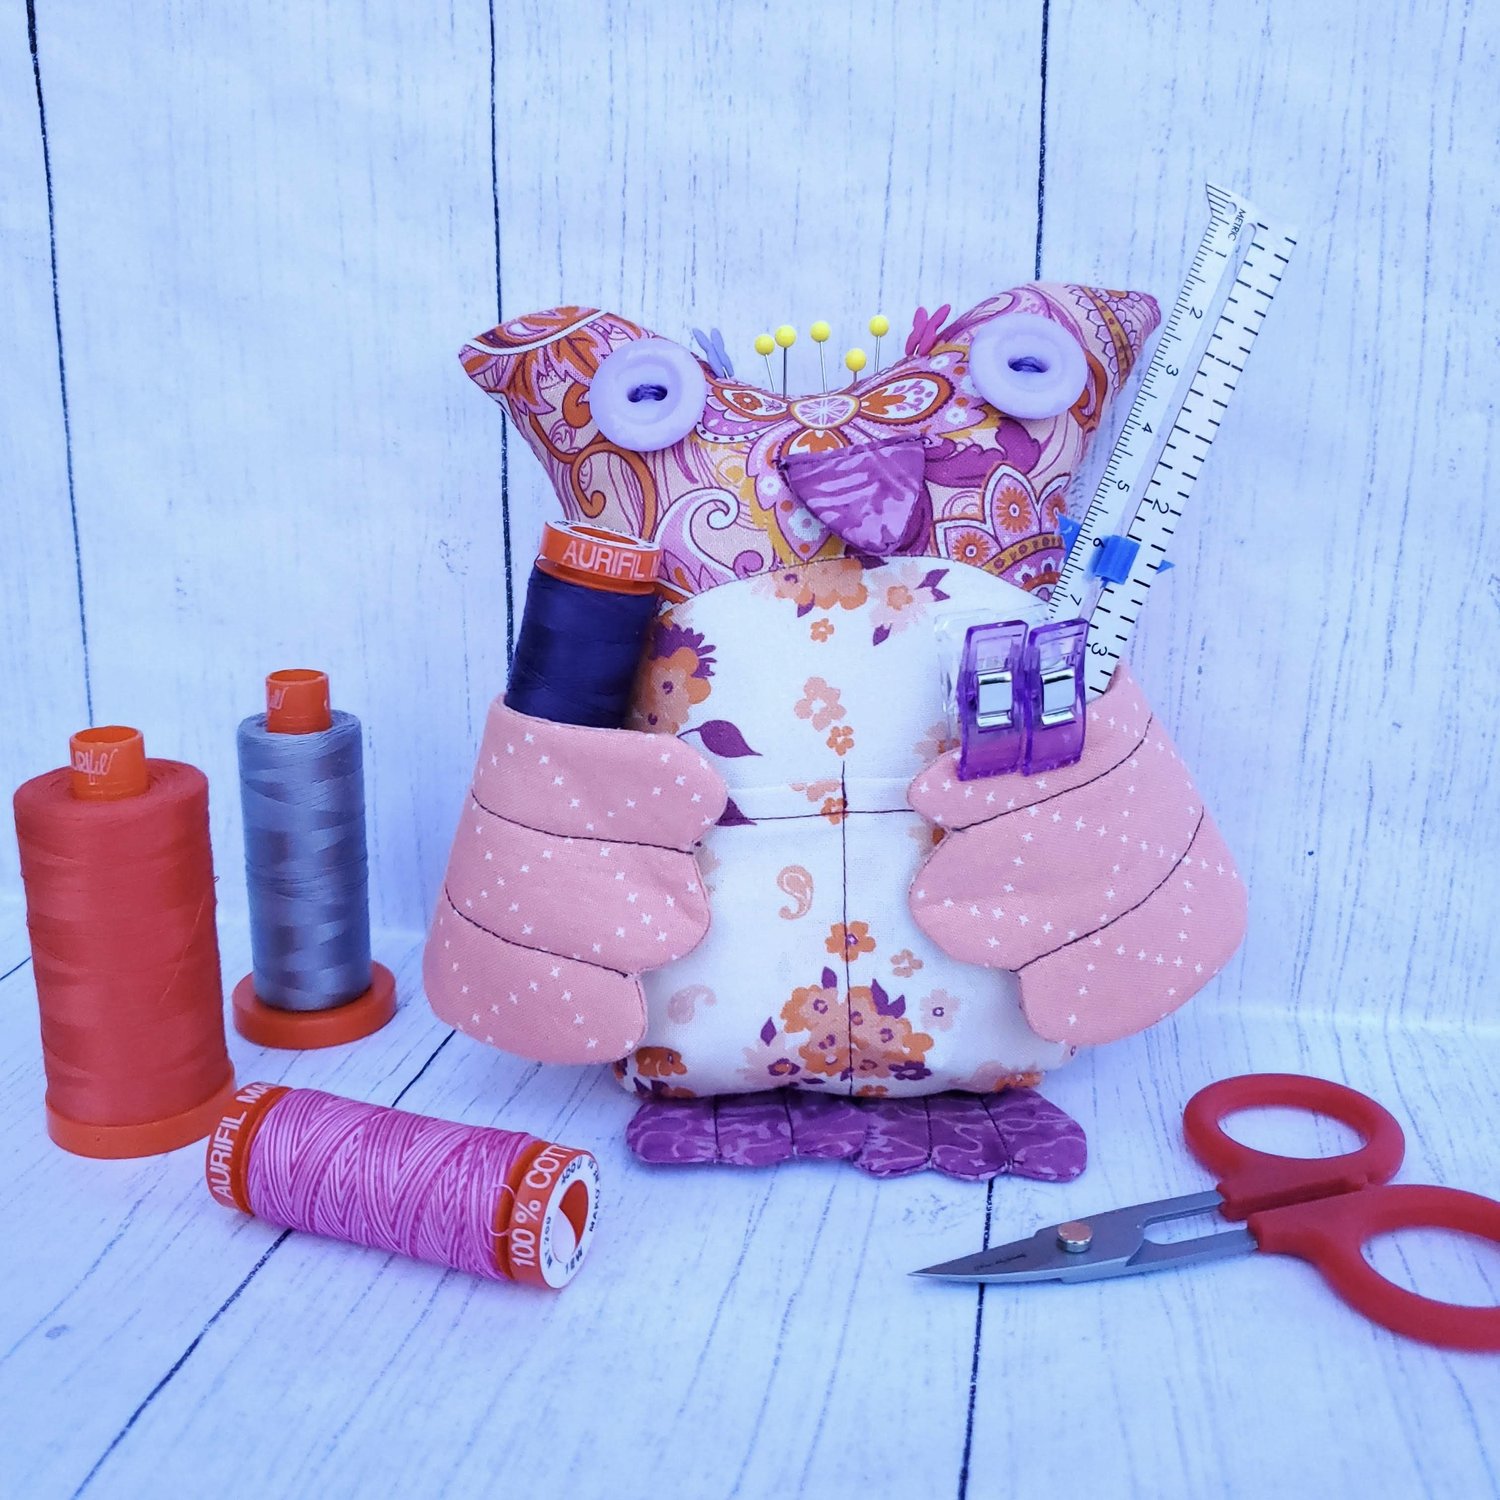
- Coordinating Aurifil Thread from the Chroma Membership
To get started you will need to download the Flat Pack pattern designed by @Handremadeco and print the templates for the side piece and curved front edge. Since I was planning to fussy cut the fabric to fit the pattern I started with planning the front section. Keep in mind the orientation of the directional fabric as you sew the pieces together.
By laying the template in place I could see the size I needed to cut the pieces that would show on the front. I added the pieces to the bottom and the top to accommodate the back of the bag and the top of the zipper.
This piece was approximately 10” x 11” before quilting. I layered the lining with cotton batting (you could use fusible fleece). Then I did some free motion quilting in a coordinating Aurifil thread. These small projects are a great way to practice and gain confidence to work on a larger piece in the future.
Mark an inch at the top and bottom area with a crease to remember not to quilt that area to make it easier to install the zipper. Trim away any excess batting before the zipper installation. At this point you may want to use a serger or an overlock zig zag stitch to finish the top and bottom edges of the rectangle that will have the zipper sewn in place in the next step. It will give your bag a more finished look when completed by covering the raw edges.
To prepare the zipper cut out two pieces of 2” x 3” fabric folded in half and sew onto each side about ½” from each end of the zipper. If you are using a longer zipper, trim the zipper to 10 ¼” inches after adding the tabs.
The tabs help to minimize the bulk giving a flat finish on the front of the hip pack.
With right sides together lay the zipper in place along the top edge, pin in place and sew about a ¼” from the edge. Turn right sides out and press the seam open. Topstitch in place with a coordinating thread about ⅛” from the edge.

Fold the bag in half, with right sides together, align and pin the zipper in place. Sew about ¼” from the edge.
Turn the bag right sides out and press. Open the zipper completely to allow space to topstitch ⅛” from the edge. You will need to do this in two sections, going as far as possible, then cutting threads and stitching from the opposite end to finish.
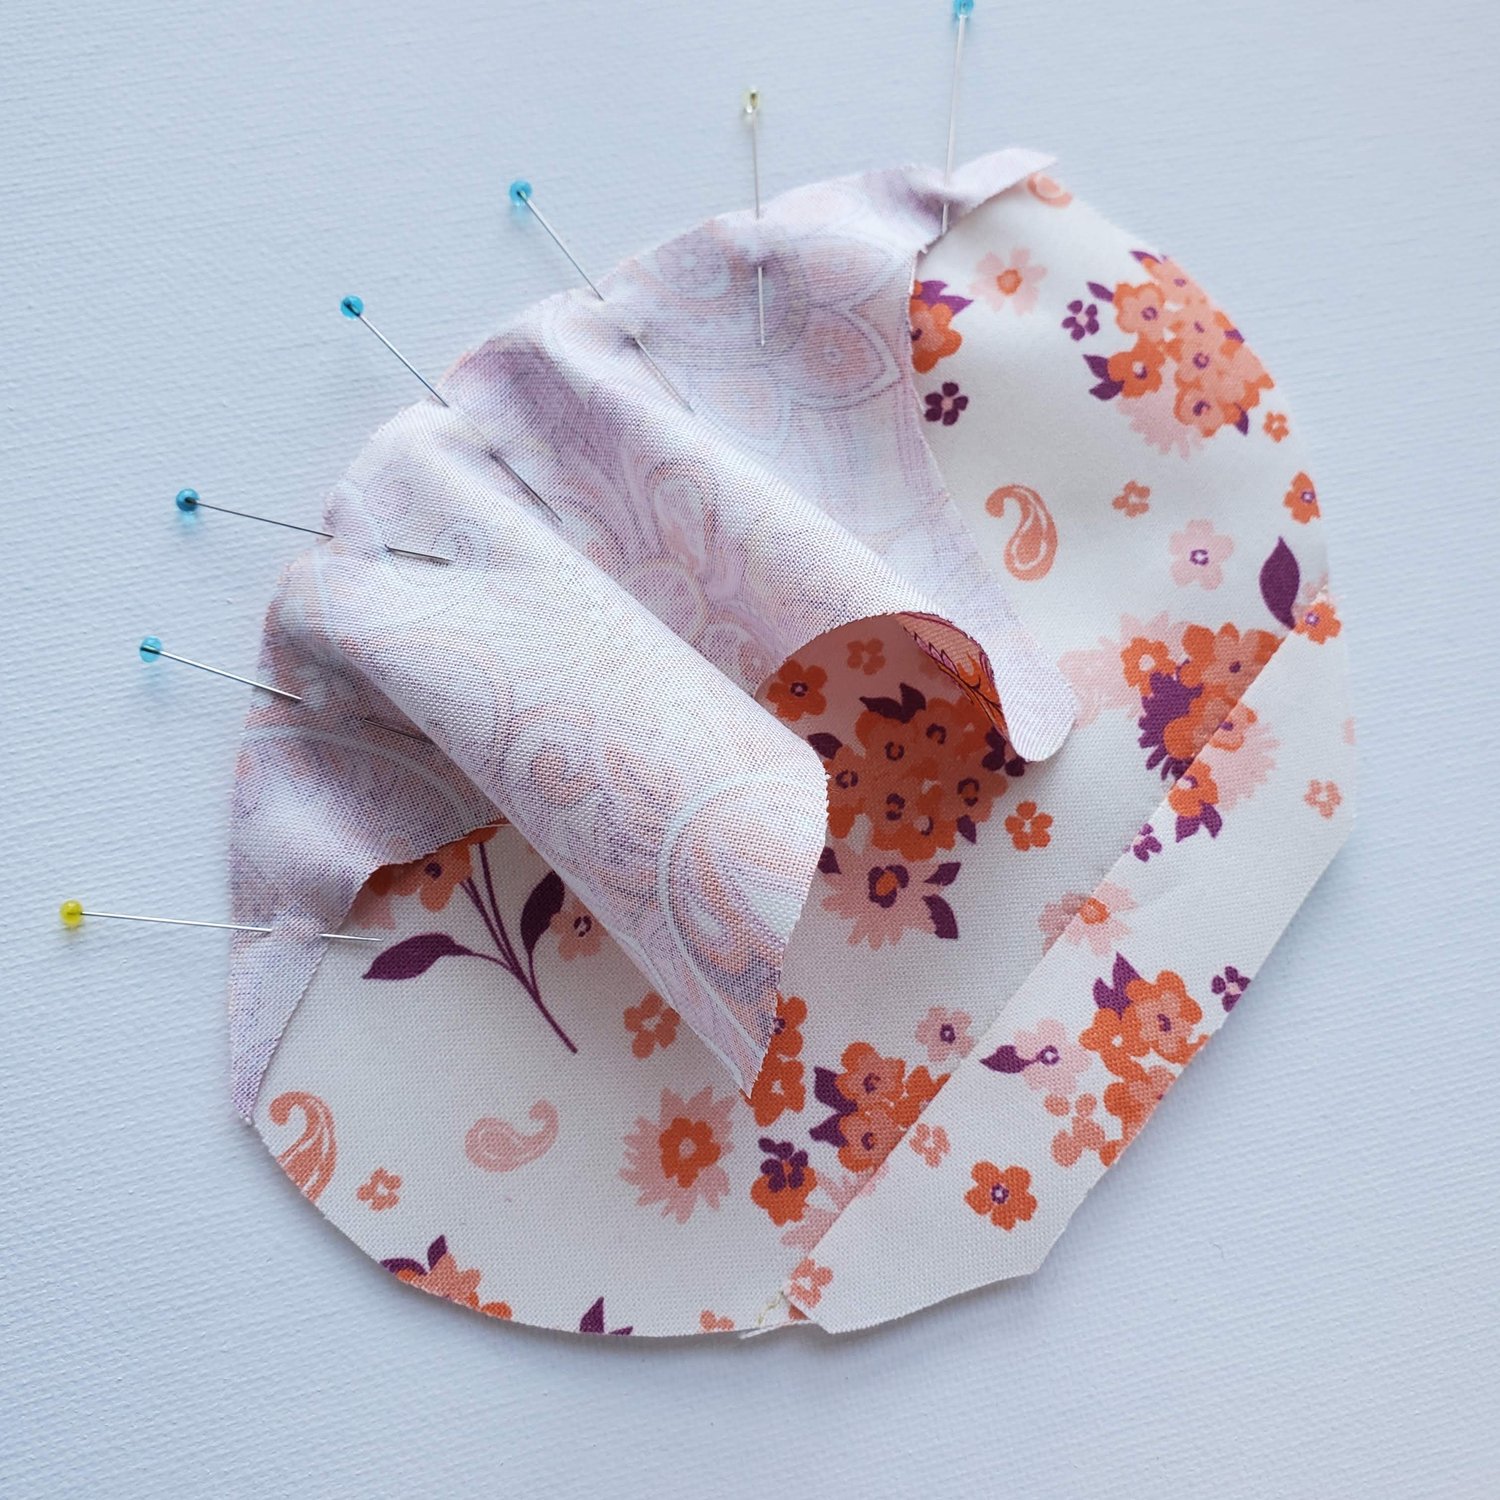
Set aside. Cut out the side flaps, fussy cut the design and a lining piece. With right sides together sew ¼” top and bottom seams. Turn right sides out and press. Topstitch ⅛” from the edges with a coordinating thread.
Turn the bag inside out and place the side flaps in place aligning the sides and clip in place. Be sure to have the zipper open and in its proper position when you place the clips.
Sew ¼” side seams. Use the curve template to mark the curve and sew along that line. Trim the curve ¼” from the seam. Turn right sides out and press.
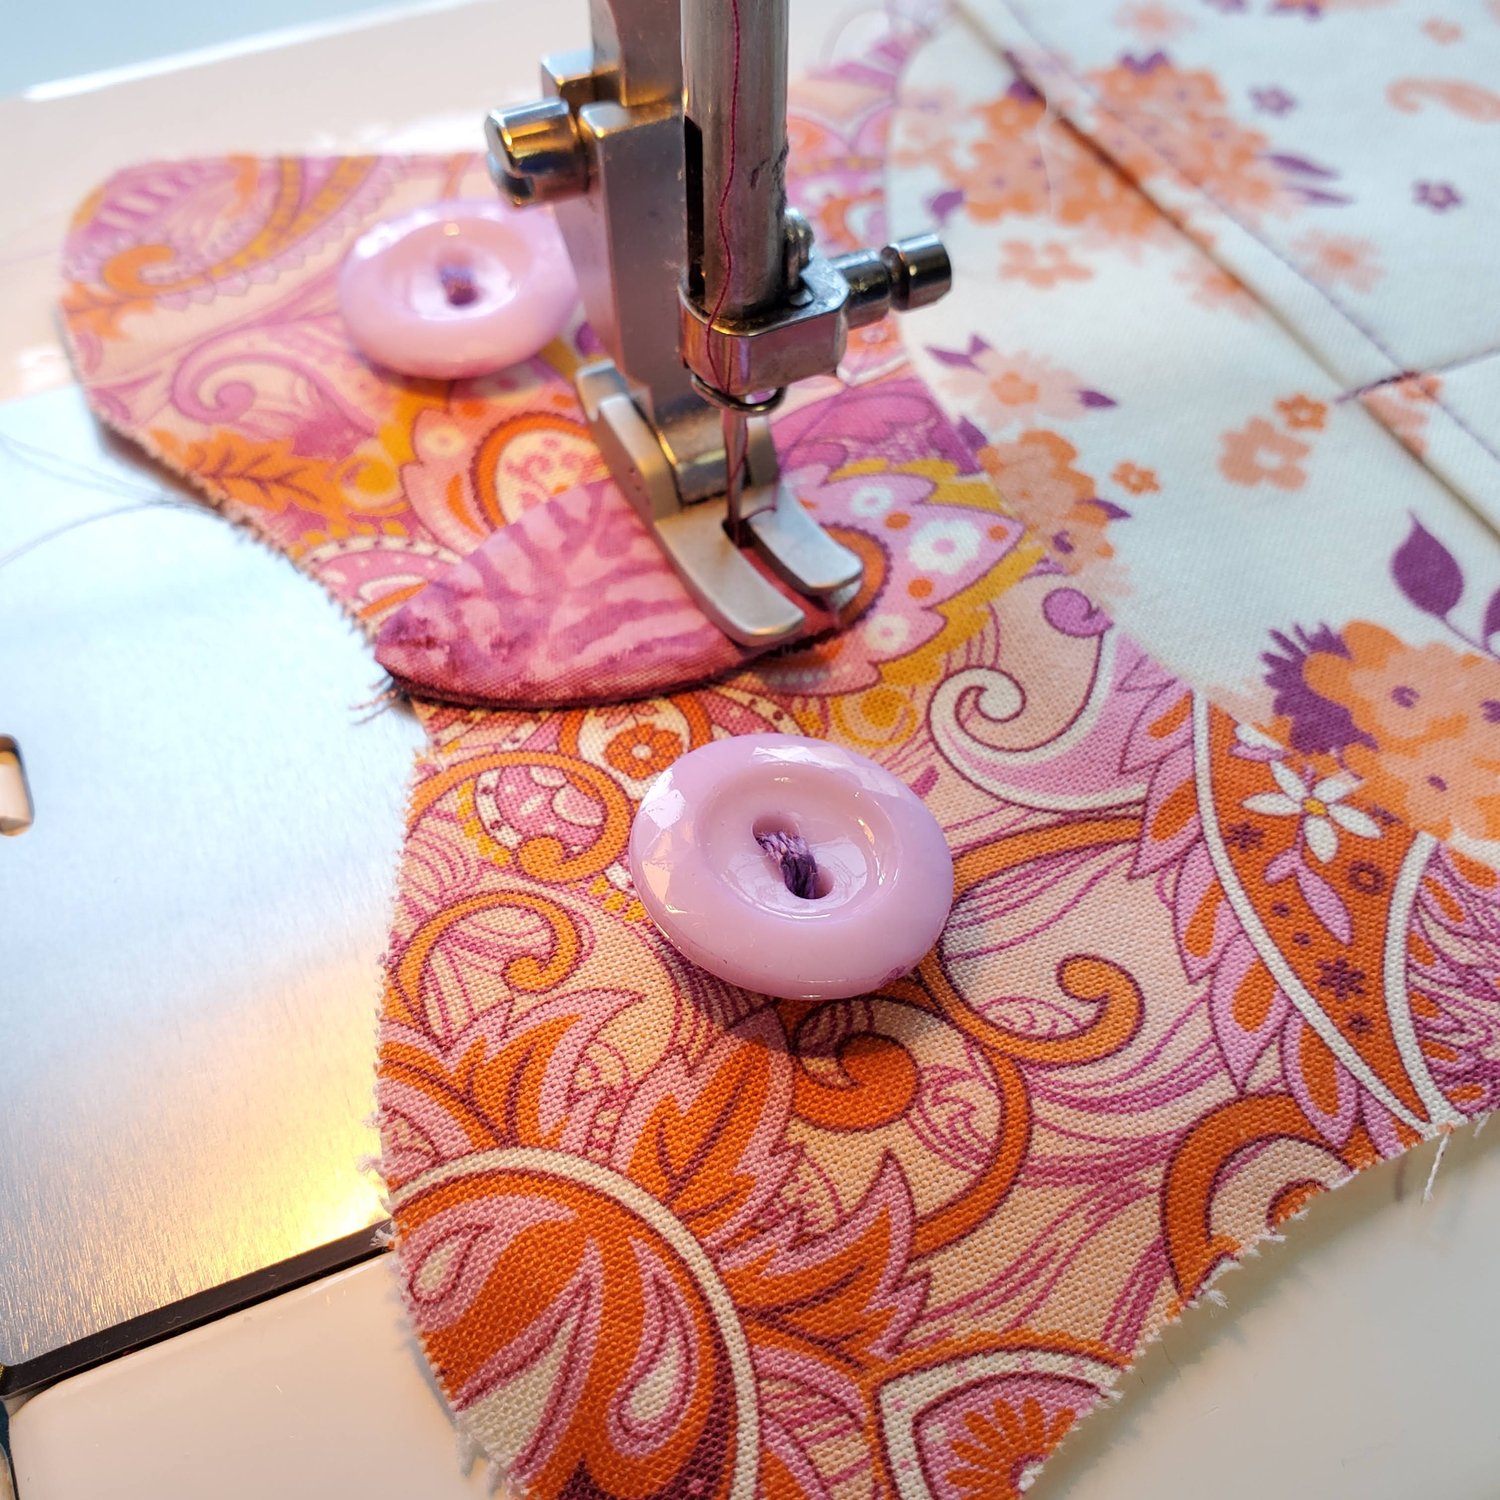
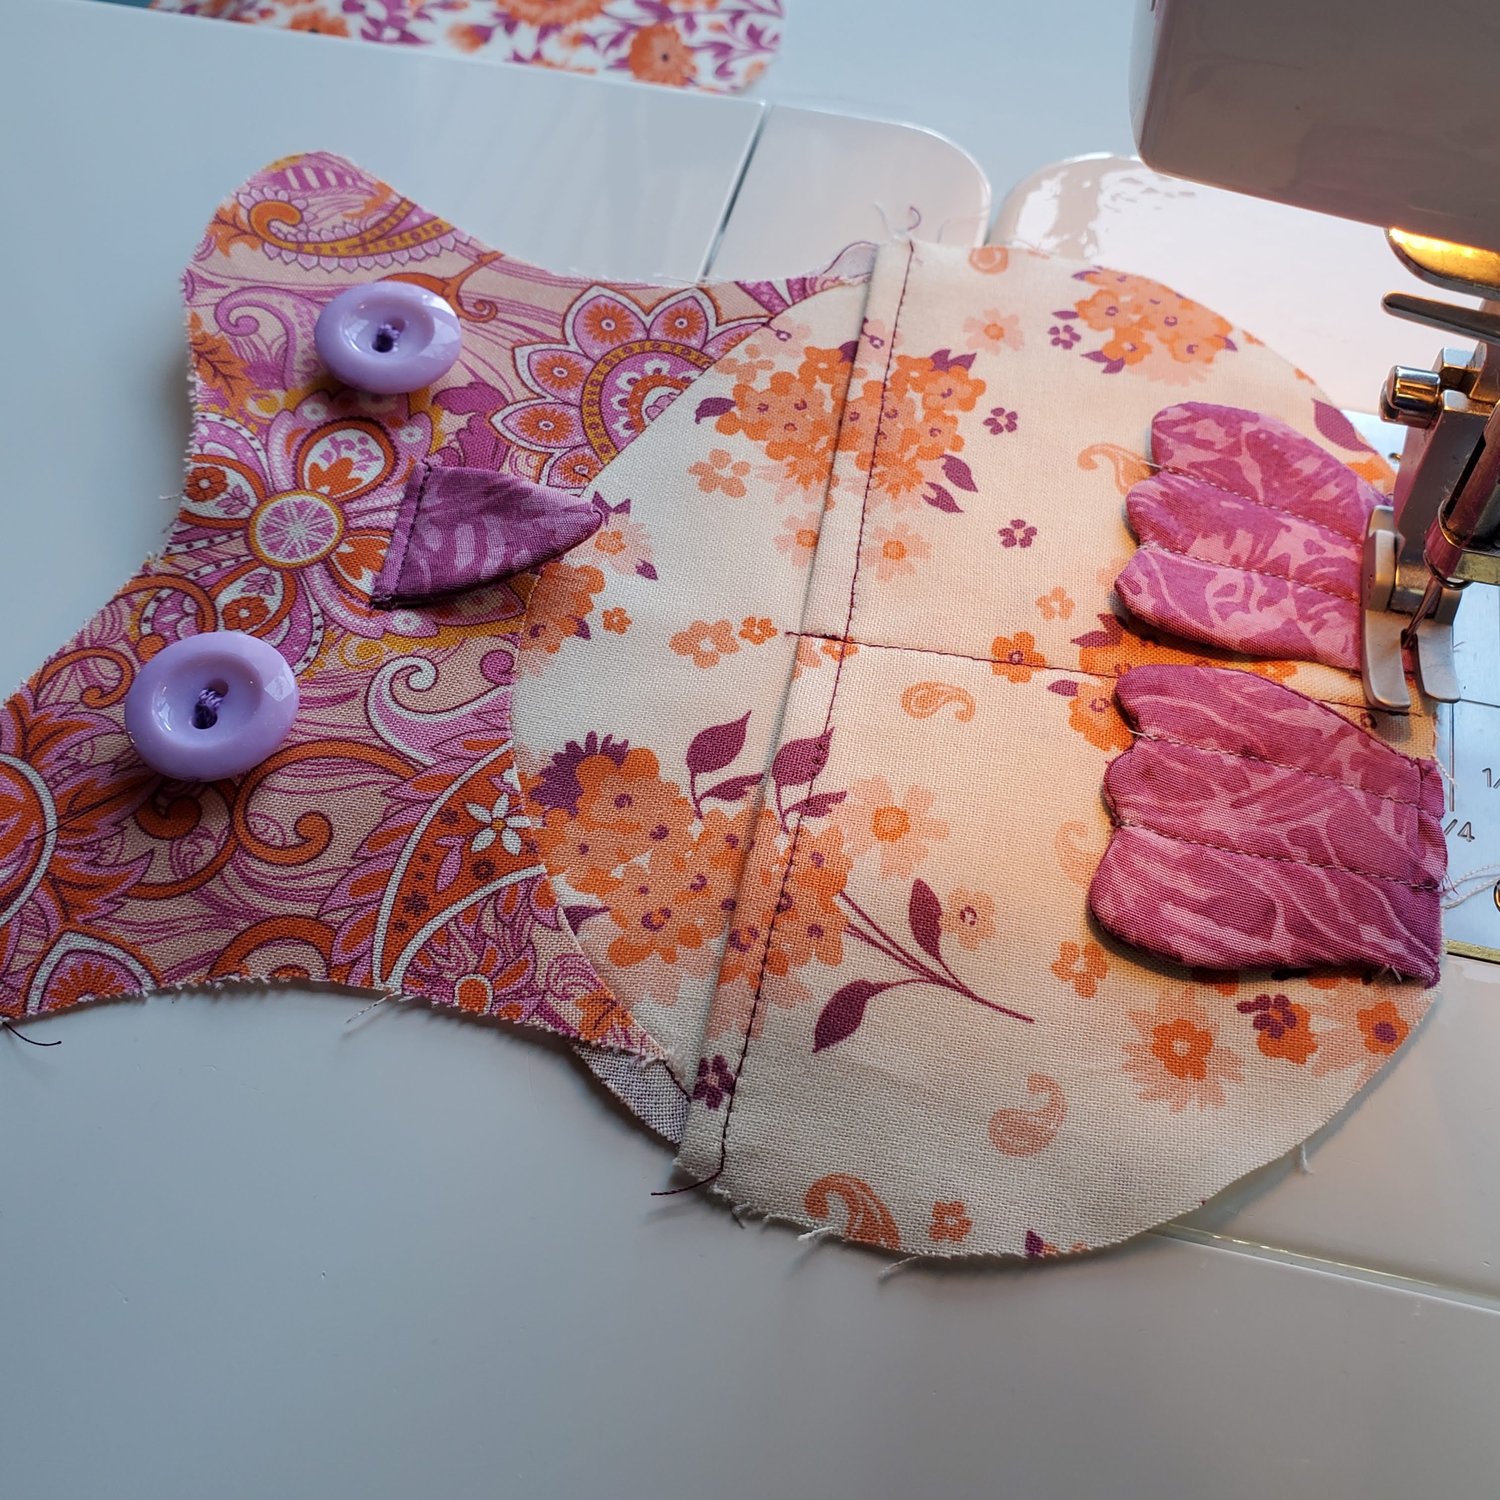
The final steps will be adding the webbing. I used 1.5” wide webbing that matched the bag color. Cut a piece of webbing 3” long. Turn the edges of the webbing under a ¼” on each side, slide the “D” ring on and topstitch to the side flap covering the raw edges of the flap.

Repeat on the other side. Cut the main piece of webbing with plenty of length to adjust with the buckle to change from waist pack to cross body style. Sew the swivel snap to one end of the long piece of webbing turning under the raw edges of the webbing and topstitching in place.
The last step is to add the sliding buckle. I found this helpful YouTube video from Sew Hungry Hippie to guide me through the process. Slide the webbing through the “D” ring, then slide the buckle on the webbing keeping a loop on top allowing space to thread the webbing through the buckle one more time. I pinned it before sewing to be sure the buckle was facing the right direction and to make the final length adjustment.
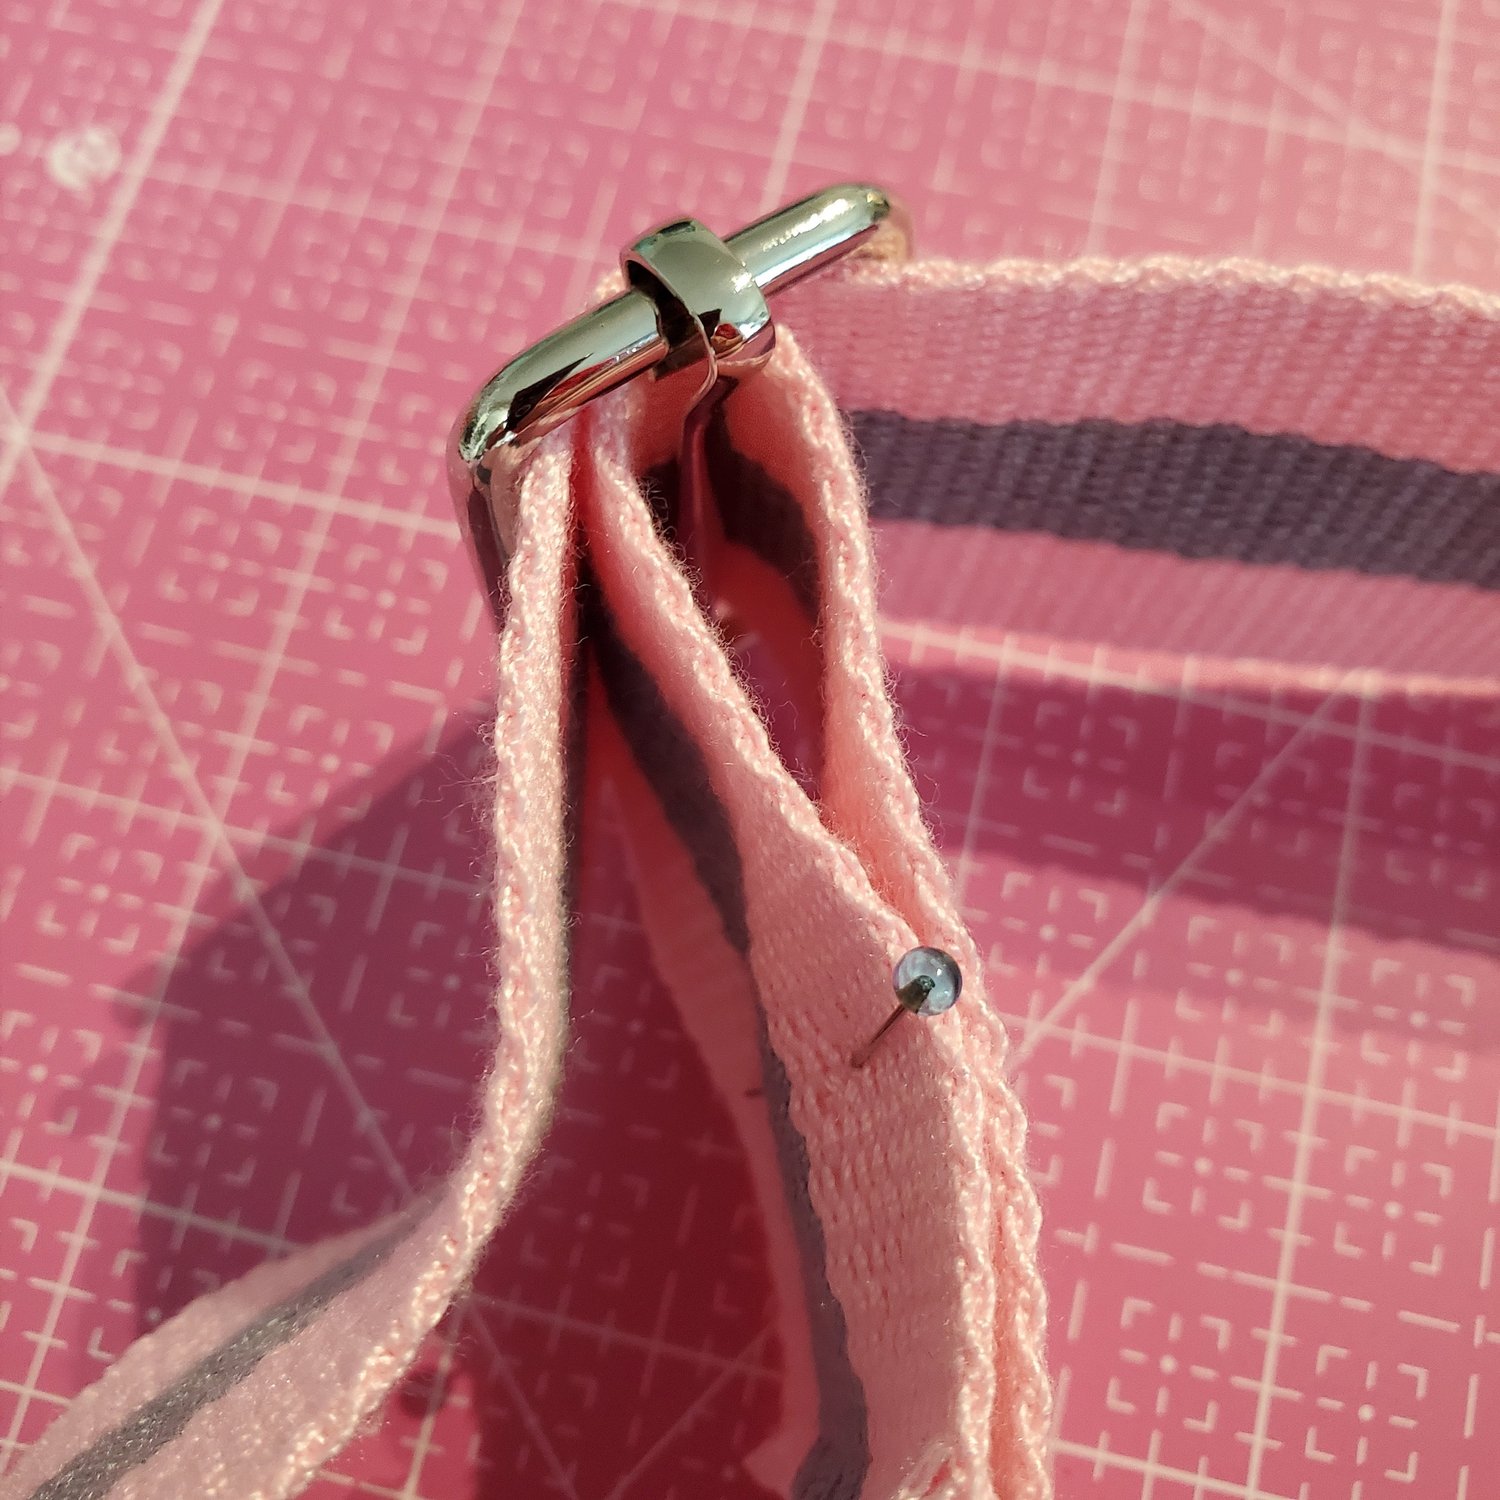
Sew the webbing to the buckle turning under the raw edges and topstitching in place.
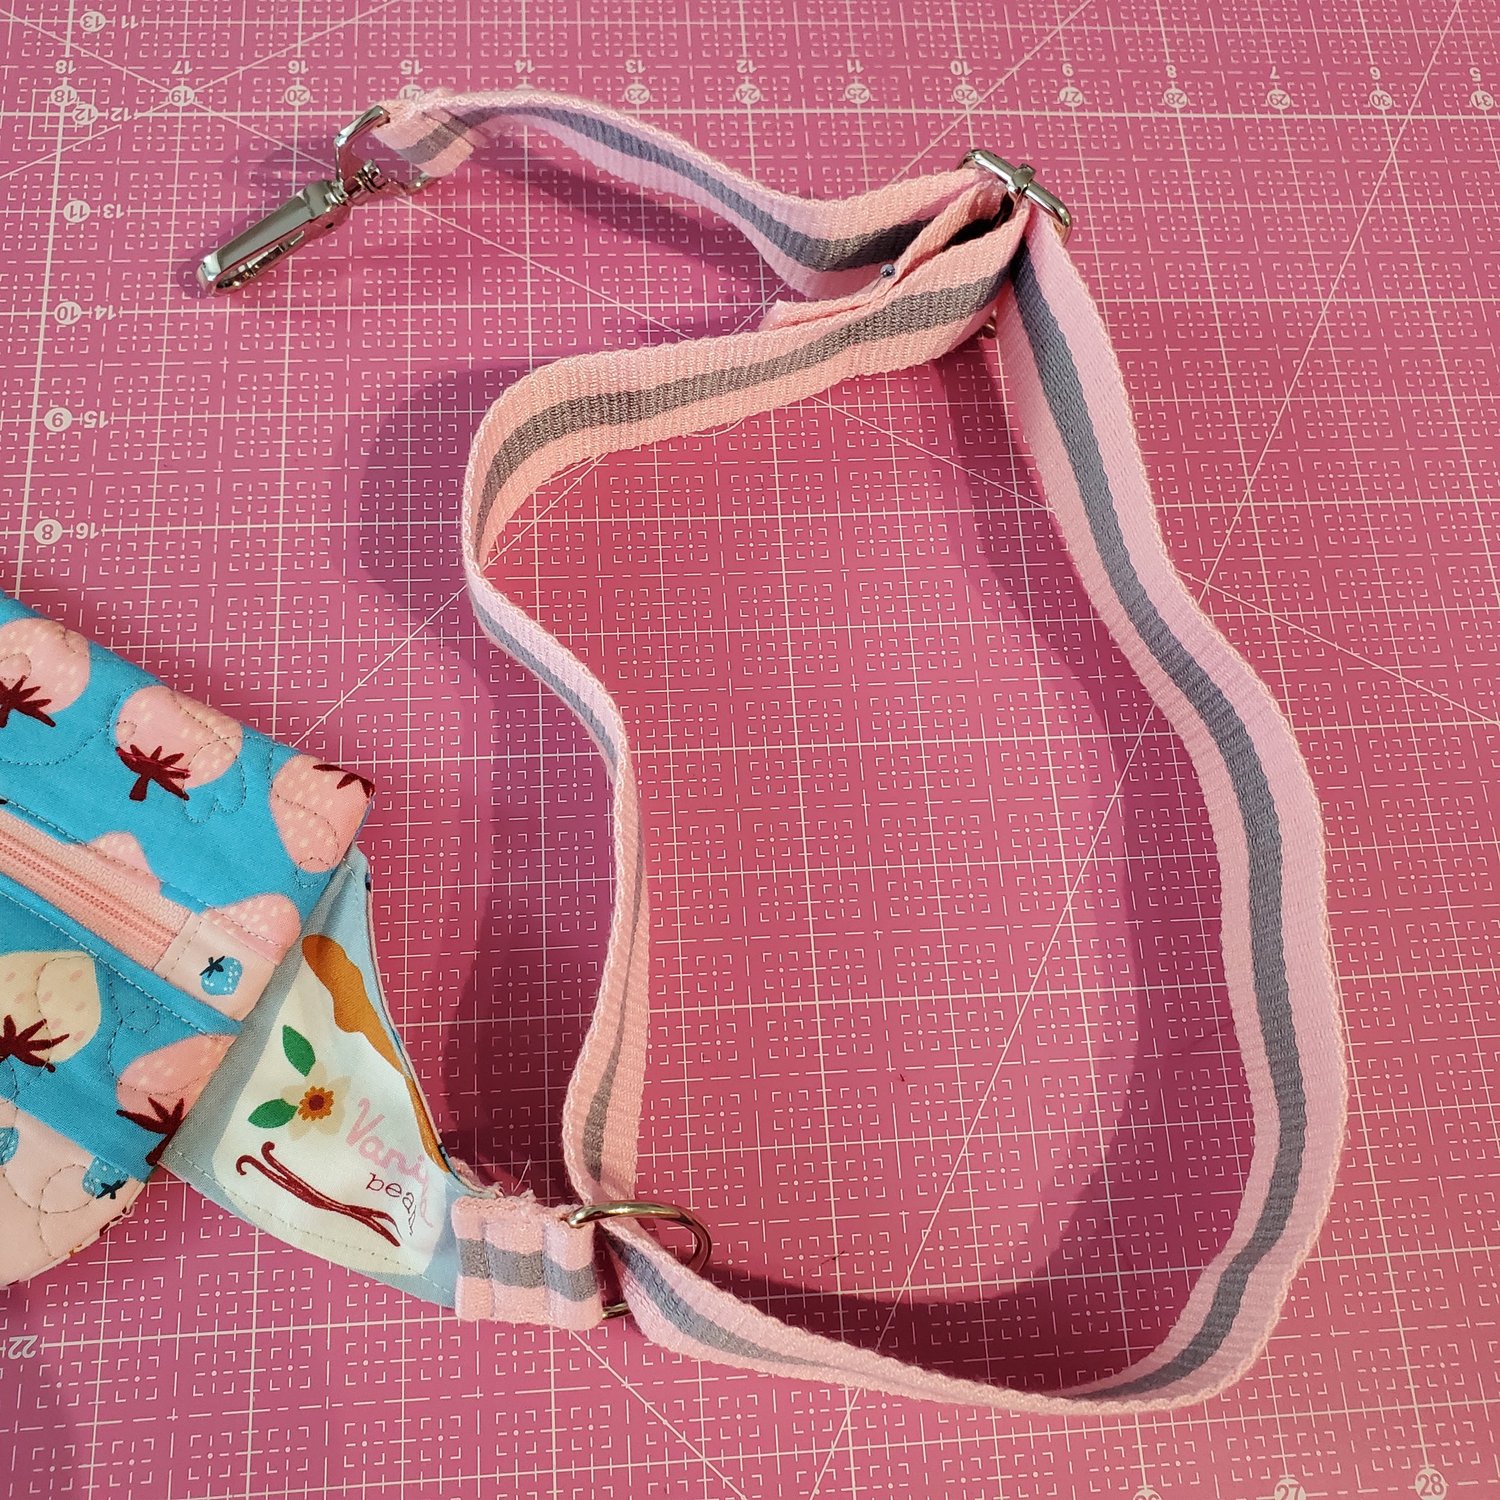
With the adjustable buckle slide you can easily adjust the length to give you options on how to wear this adorable accessory.