Pumpkin Placemats
29th Sep 2022
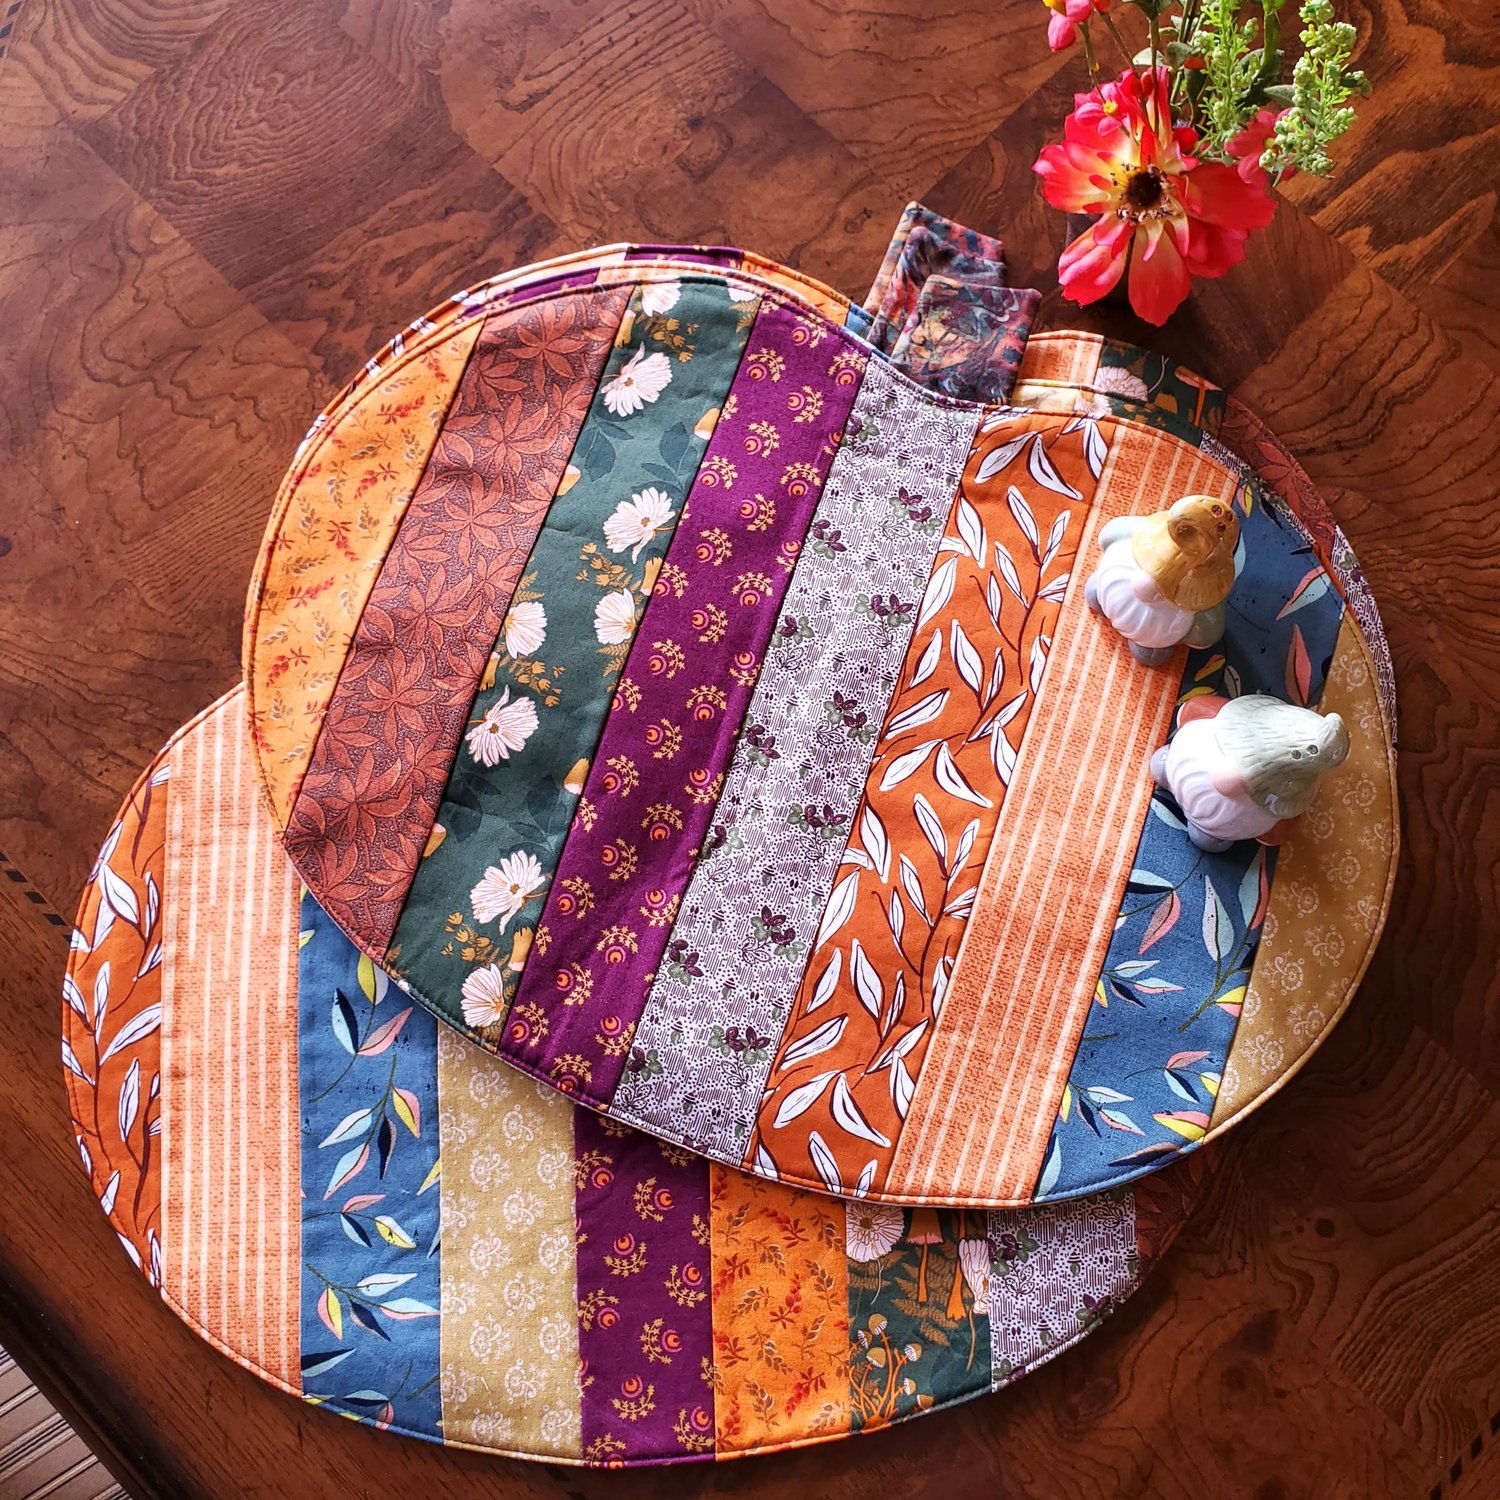
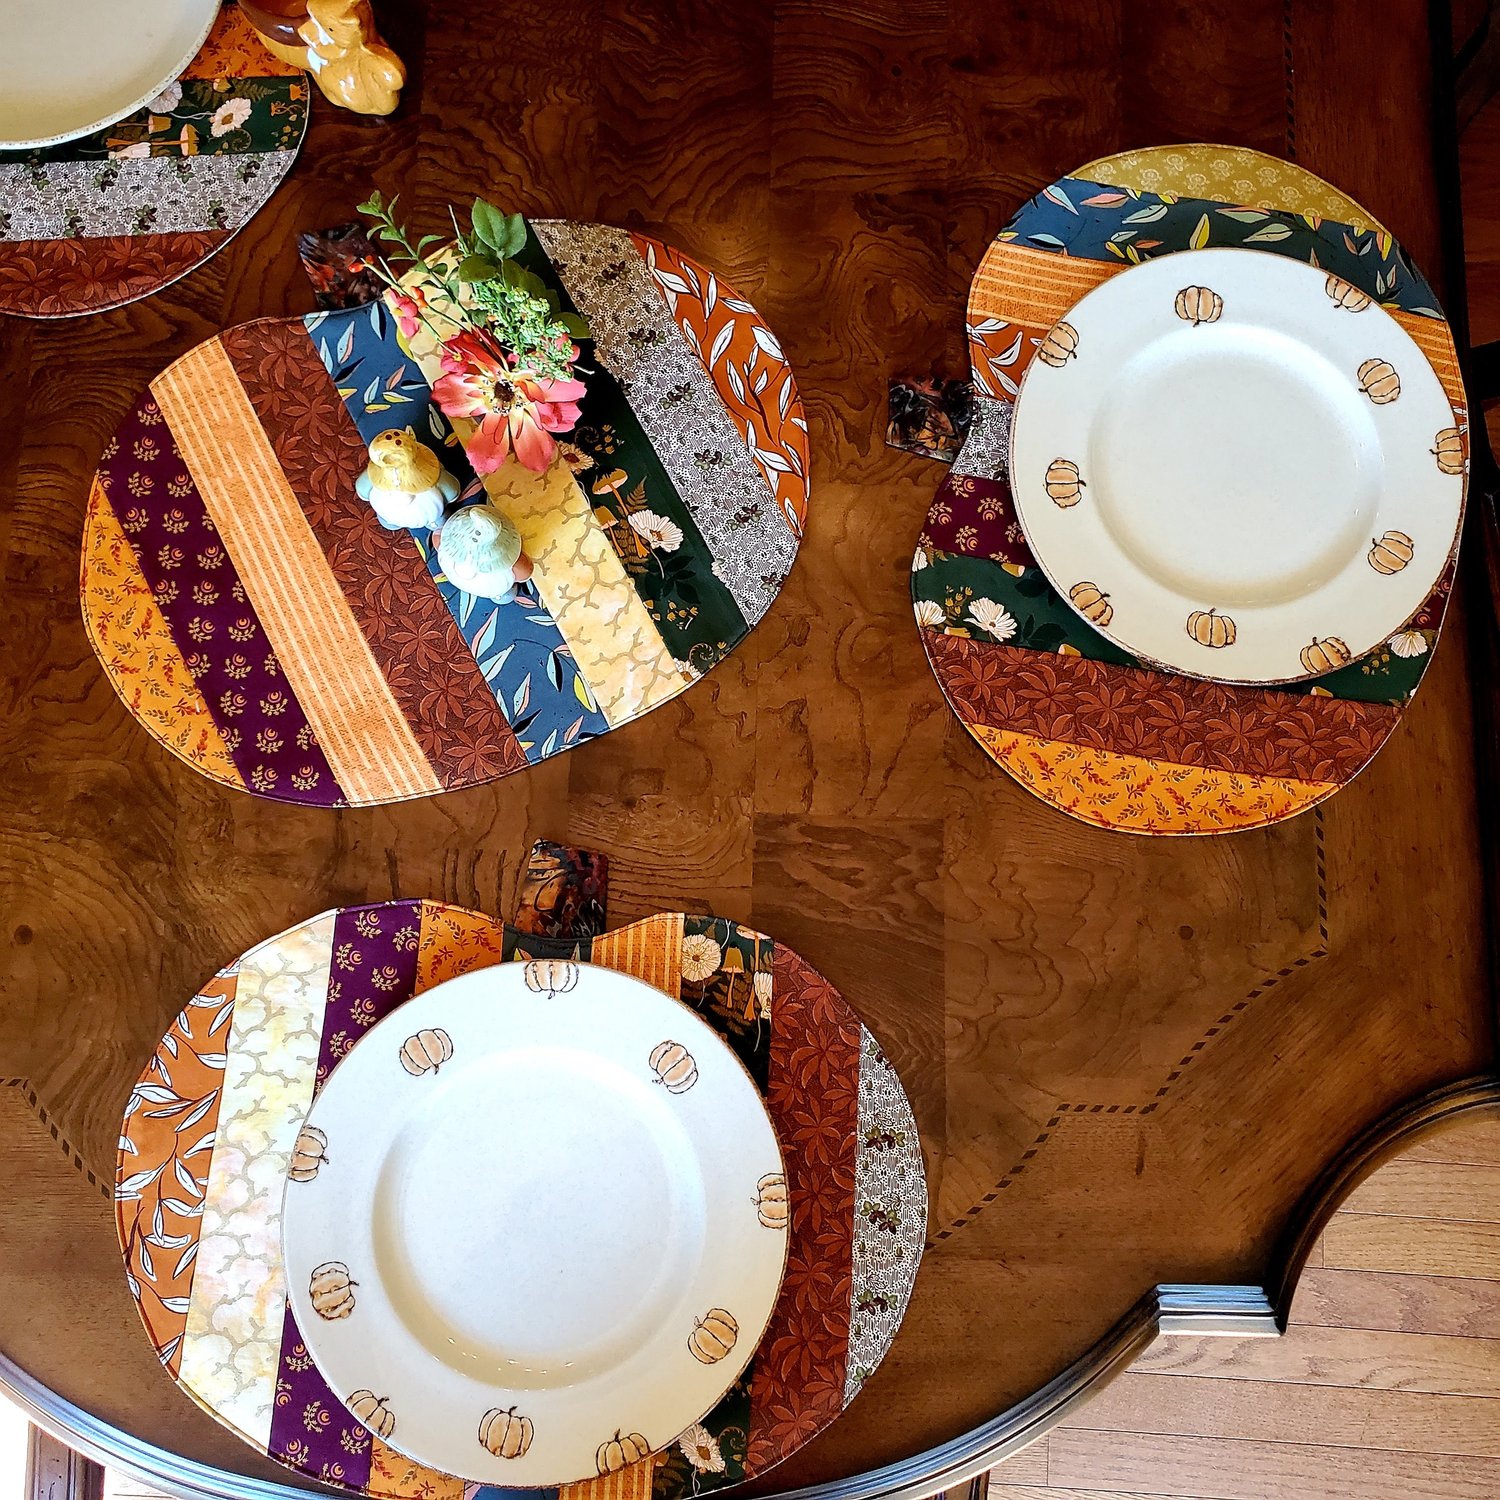
It is finally Fall! These Pumpkin shaped placemats are a fun and easy project to make to celebrate the change of seasons. These will look beautiful on your table as you serve your favorite fall recipes. You can use an assortment of scrap fabrics in the fall colors to mix and match to create the fabric to cut out the pumpkin shape.
Materials Needed:
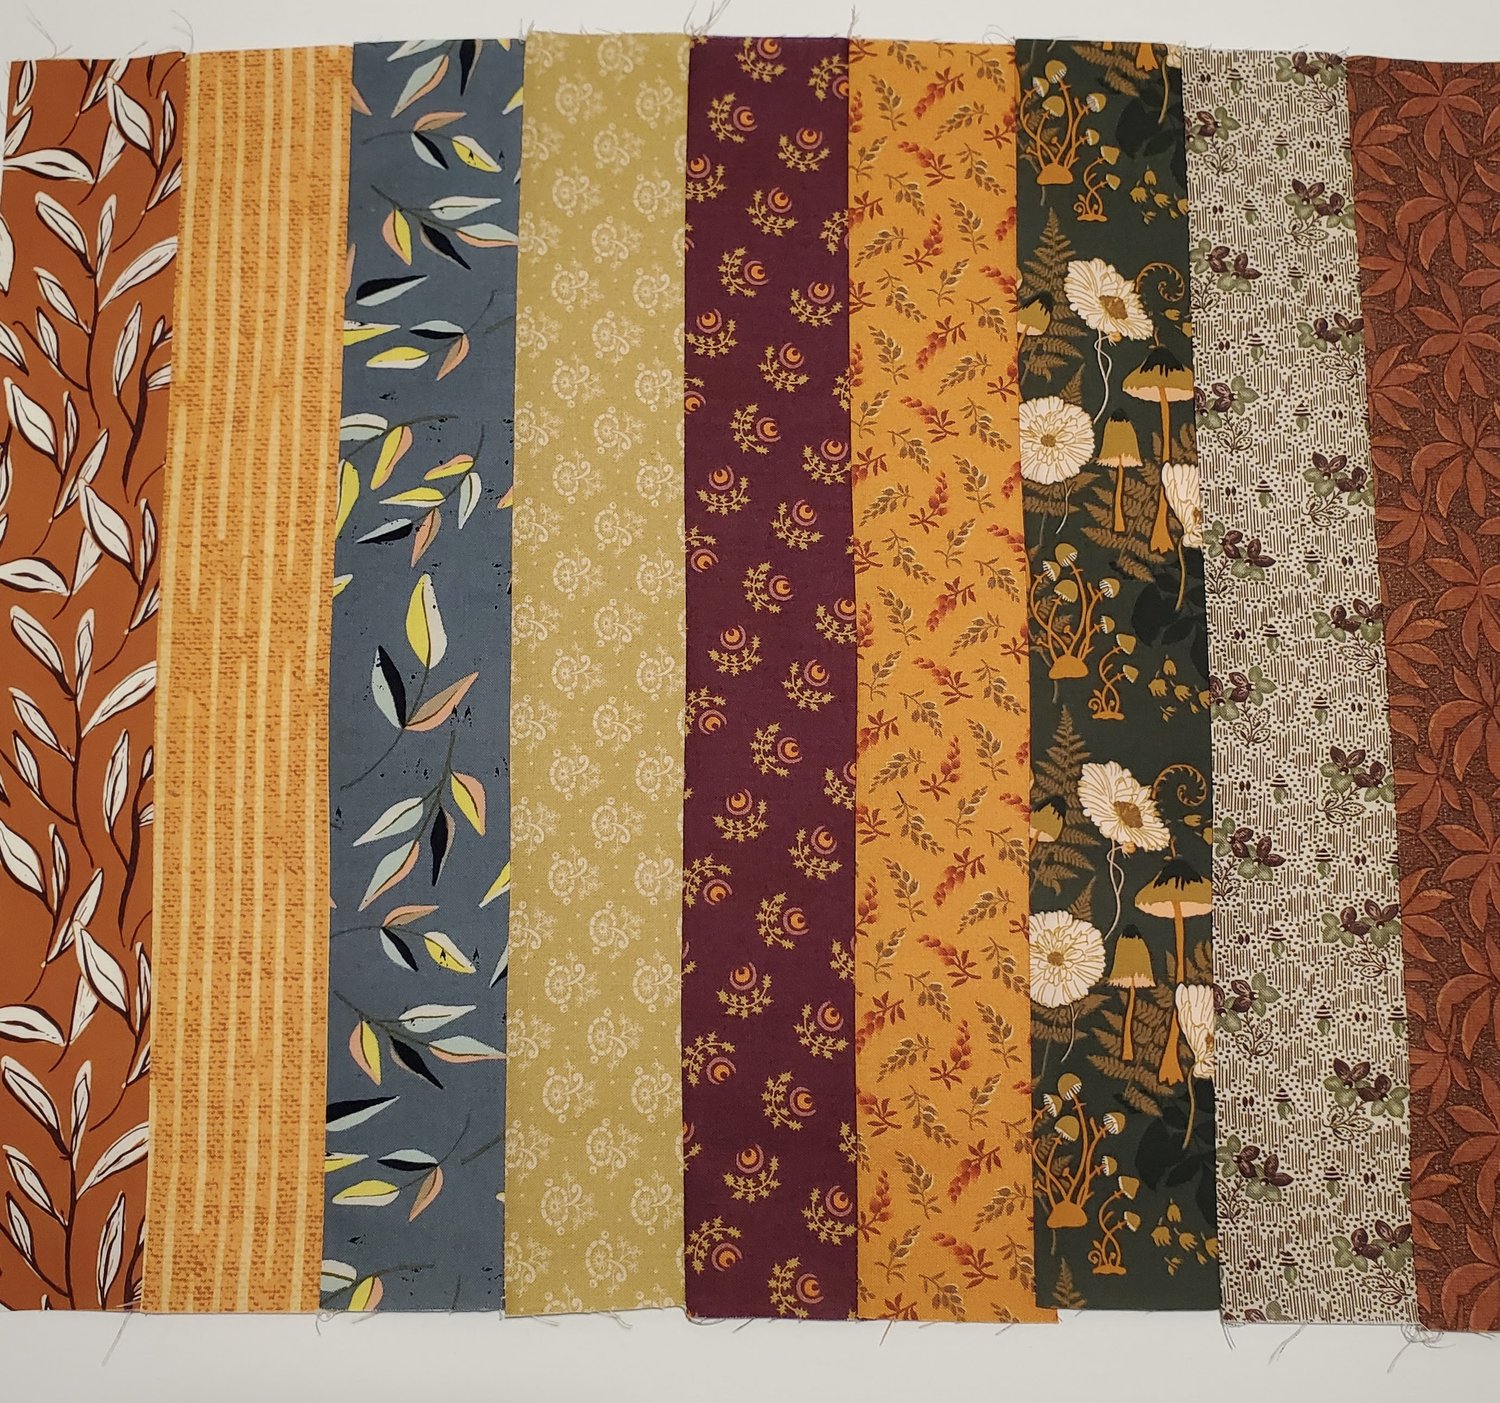
- Approximately nine different Fat Quarters from Mystery Bundles
- 1 yard of Pellon Fusible Fleece
- Coordinating Aurifil Thread from the Chroma Membership
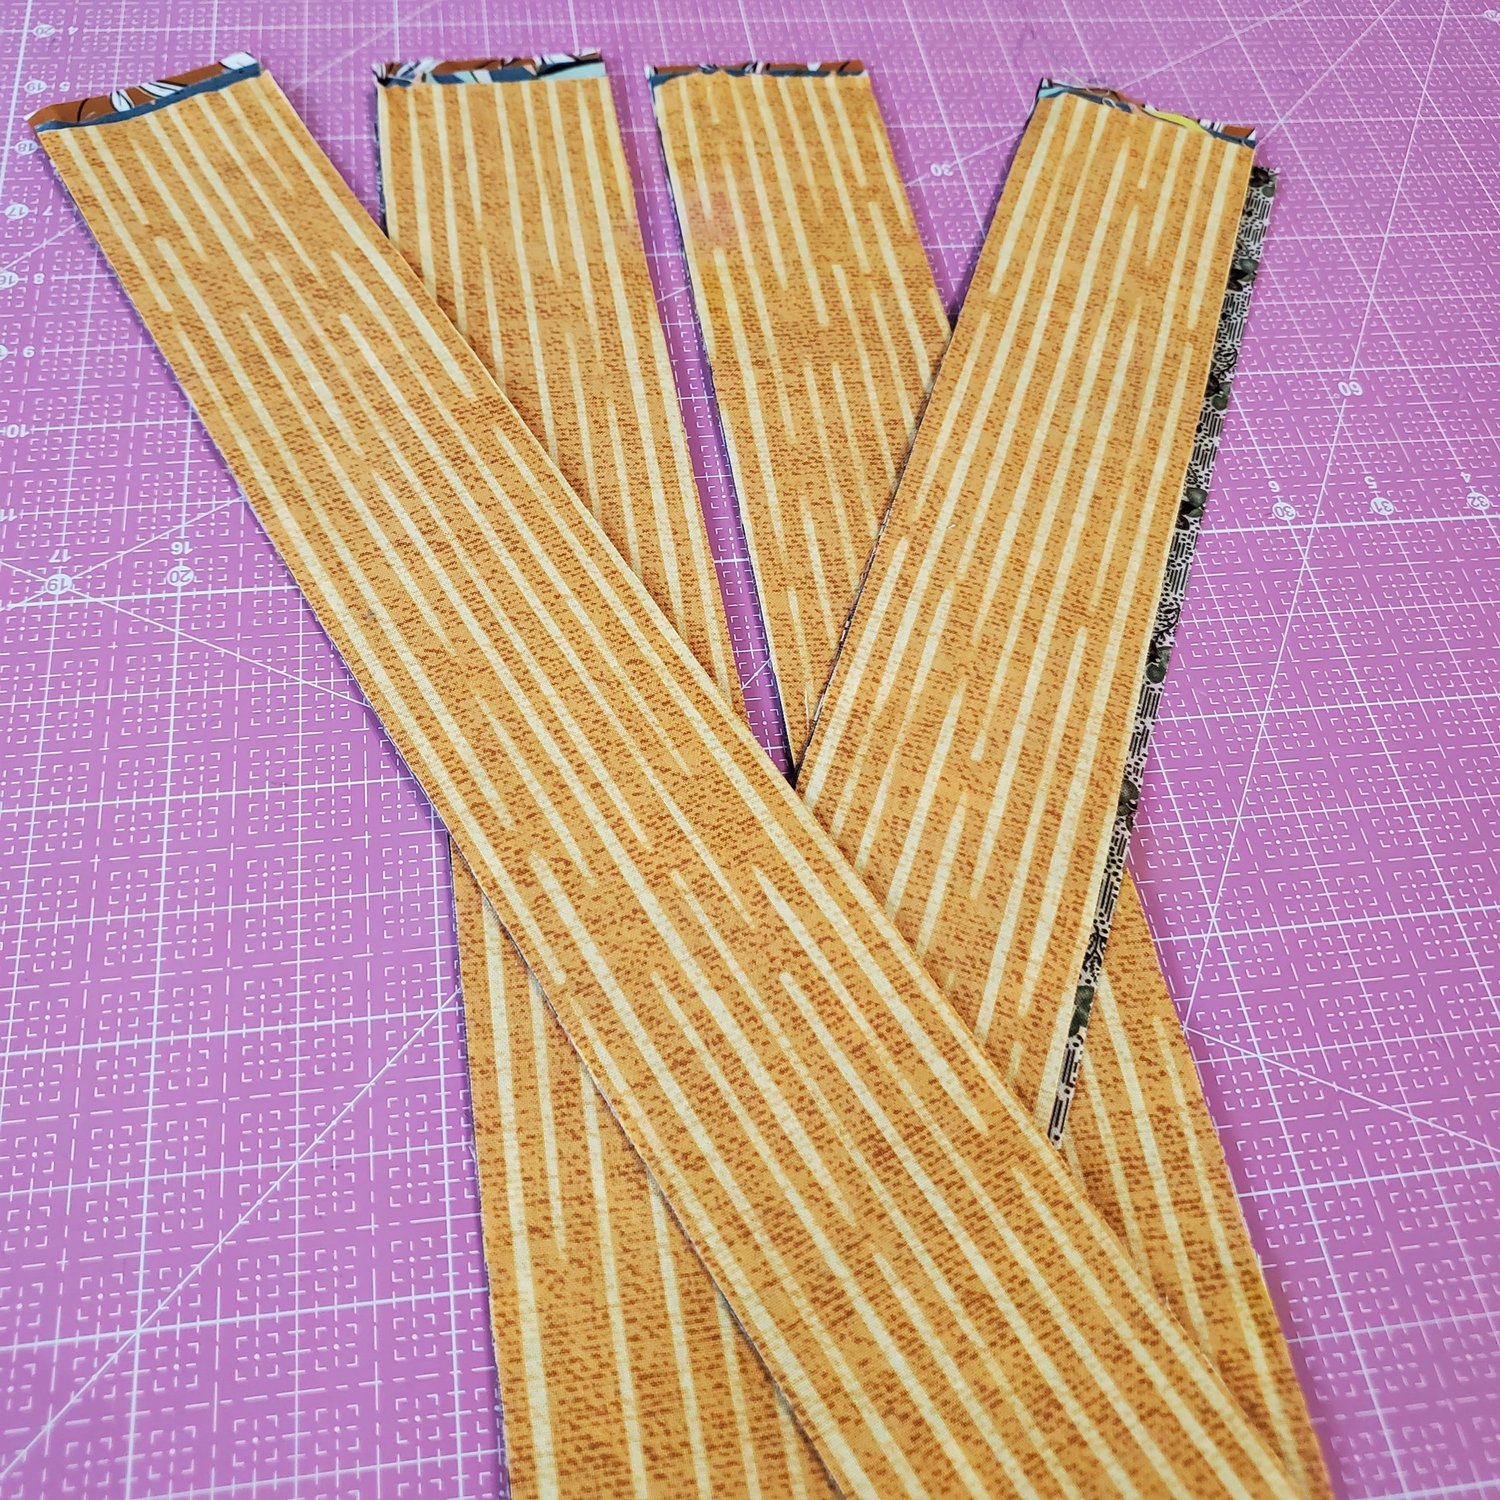
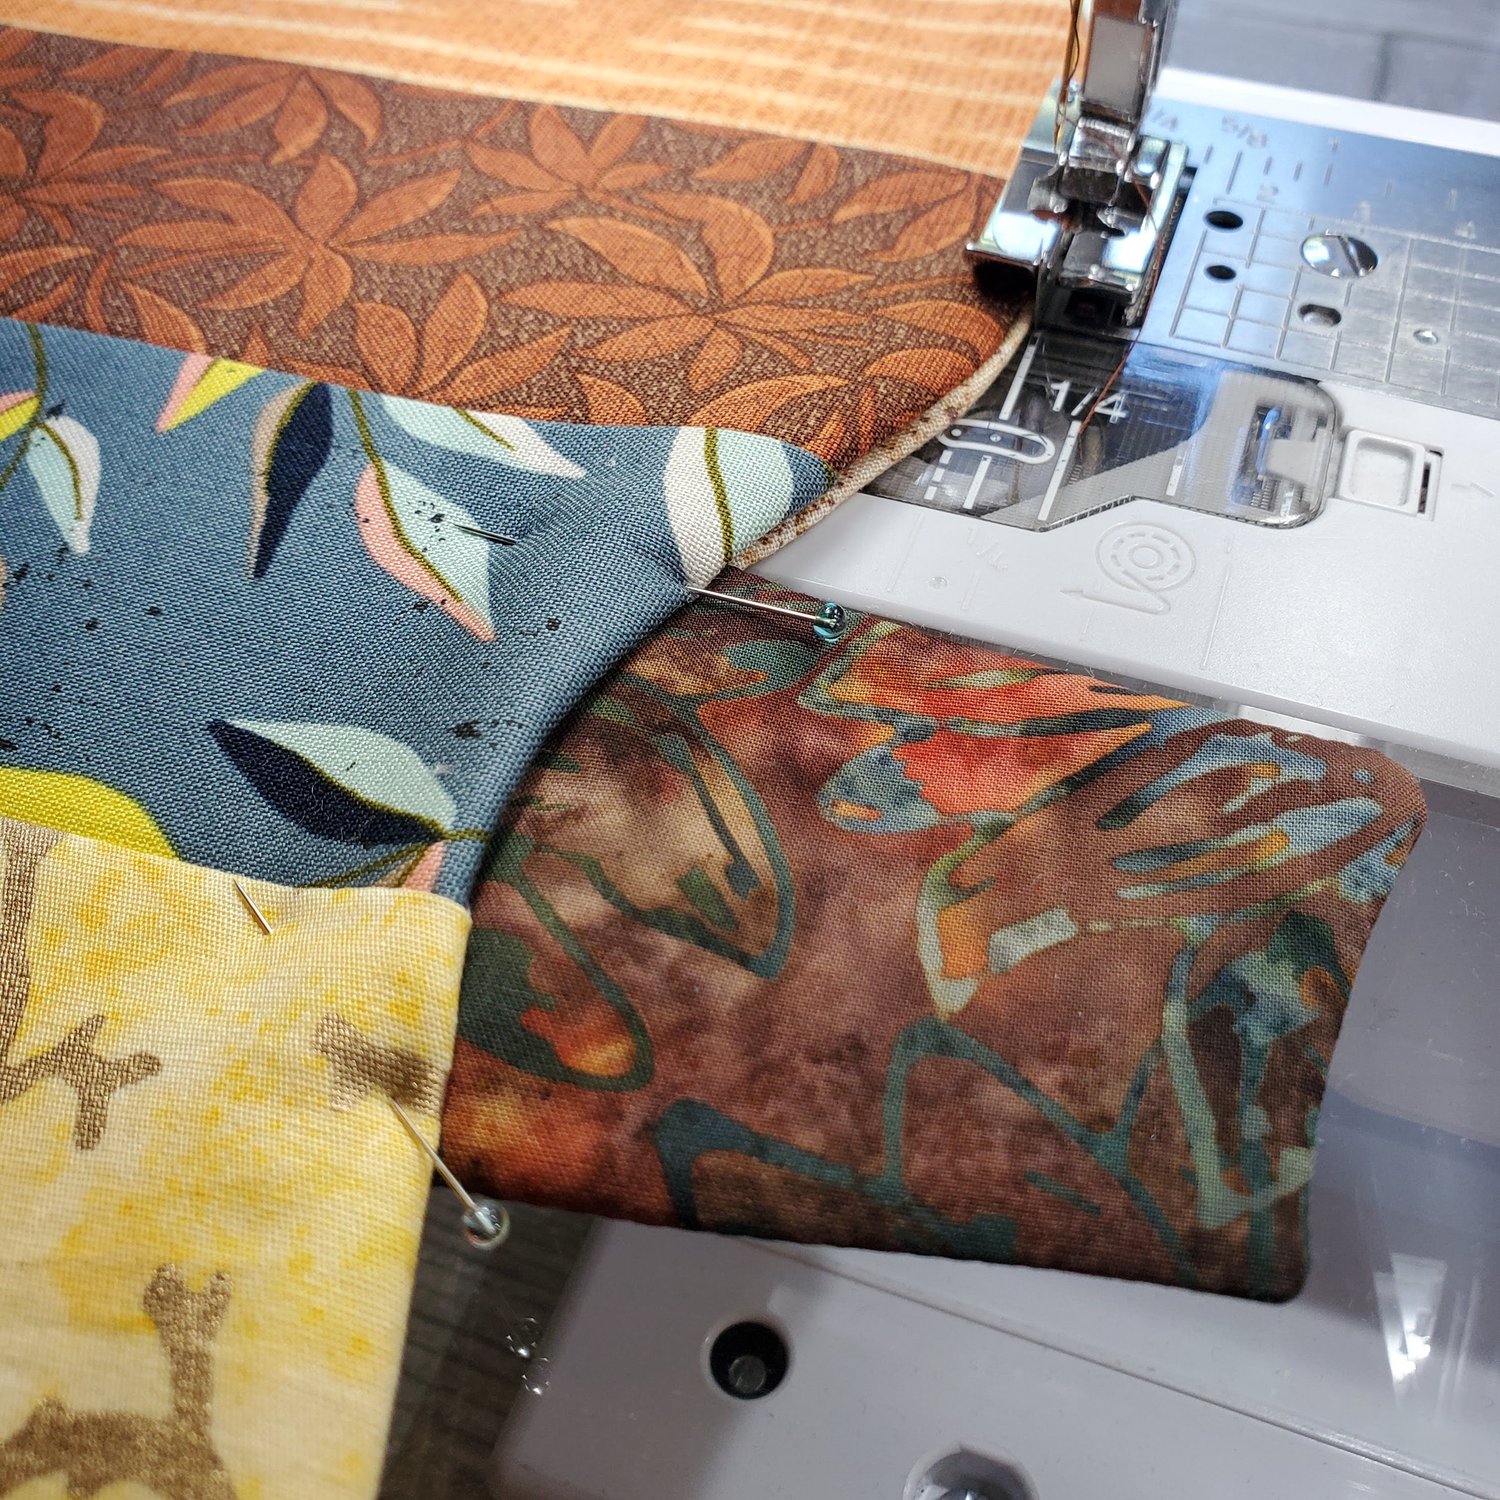
Start by cutting 2.5” strips from nine different fabrics at least 15” long. You will need nine strips to make one placemat, so I cut four sets. I like to press and starch the fabric first and layer up the fabric to cut several layers at a time.
Plan your layout of the strips and sew together two at a time then sew the pairs together and add the final strip to the end of the row. Your final rectangle should be about 15” x 19”.
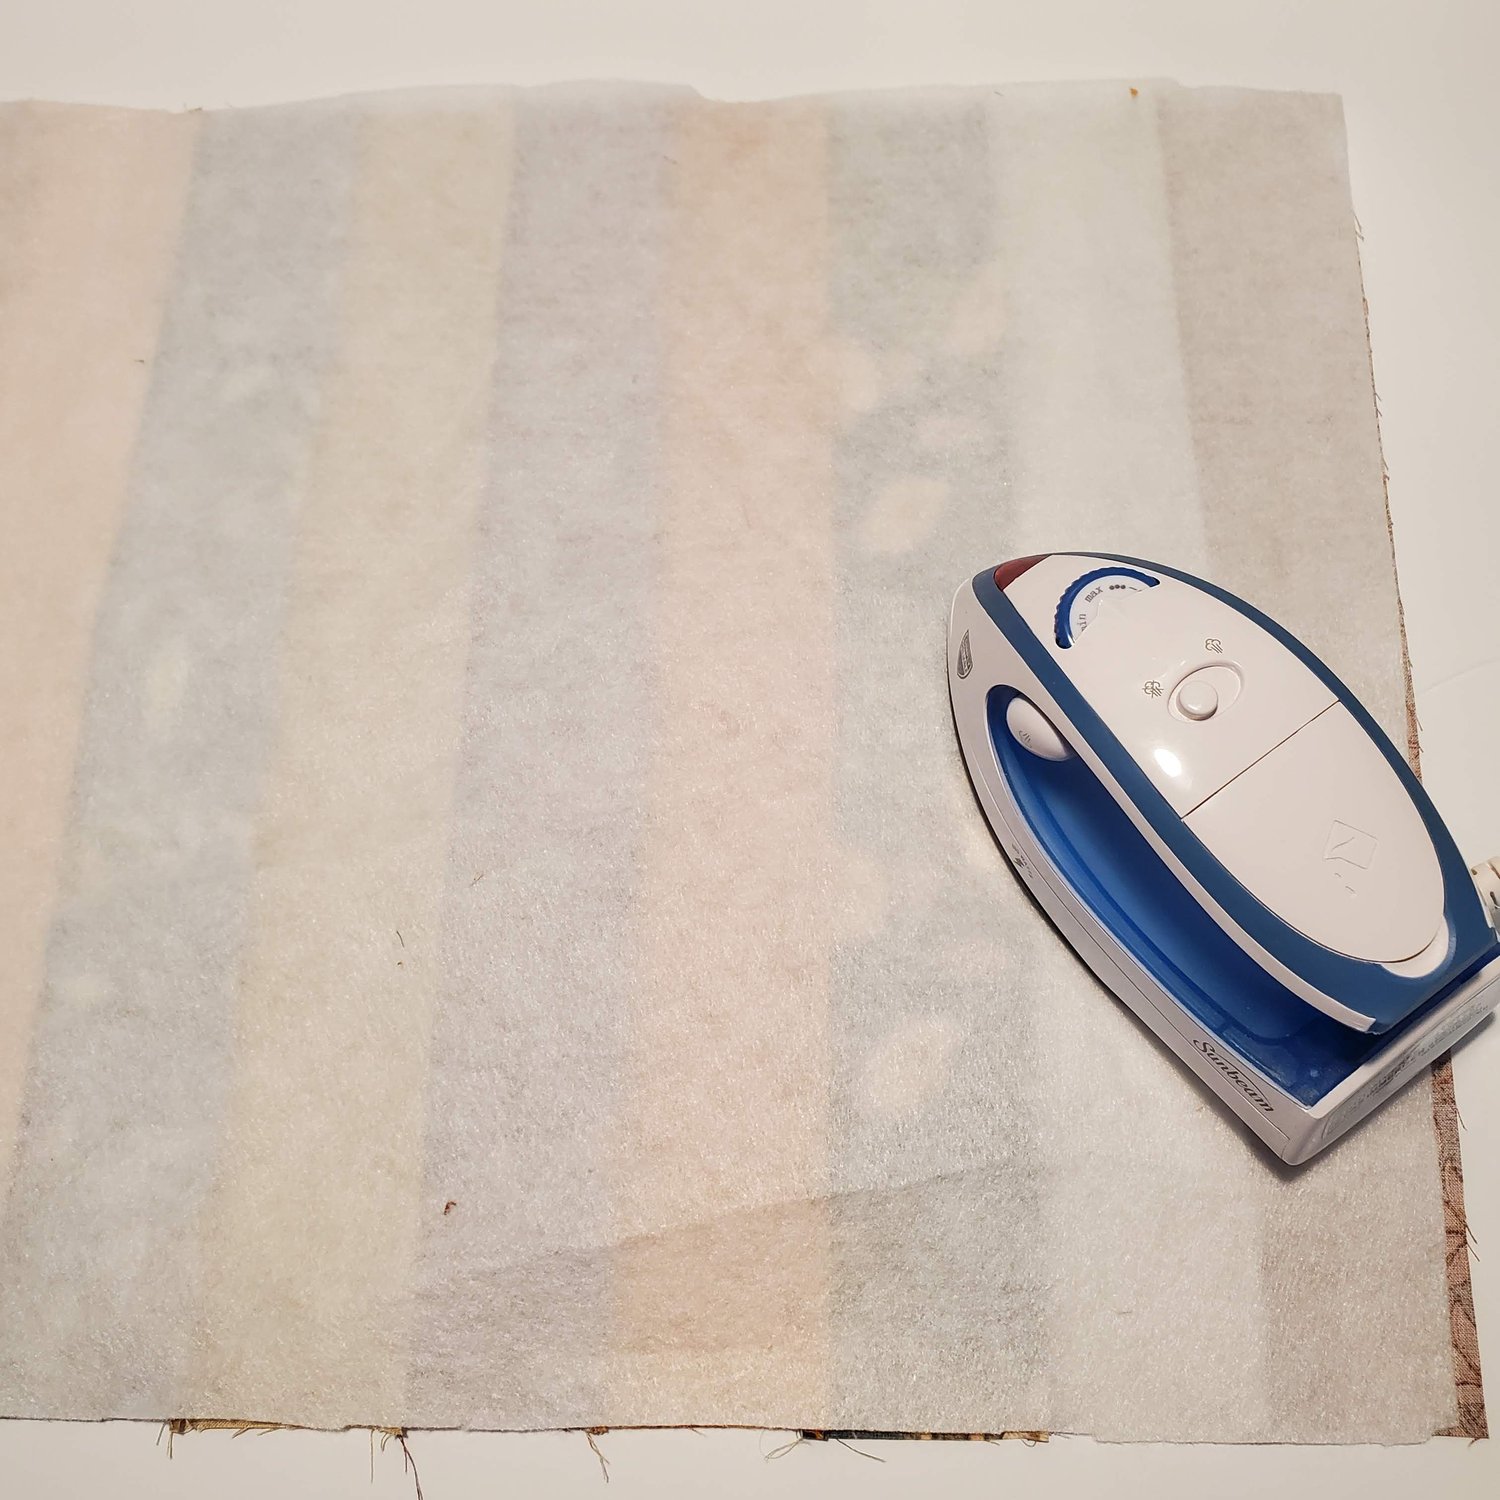
From the wrong side press the seams all in one direction. Iron the Pellon Fusible Fleece to the wrong side of the fabric strip piece. I find it helpful to flip it to the fabric side and use some steam to be sure it adheres completely to the fabric.
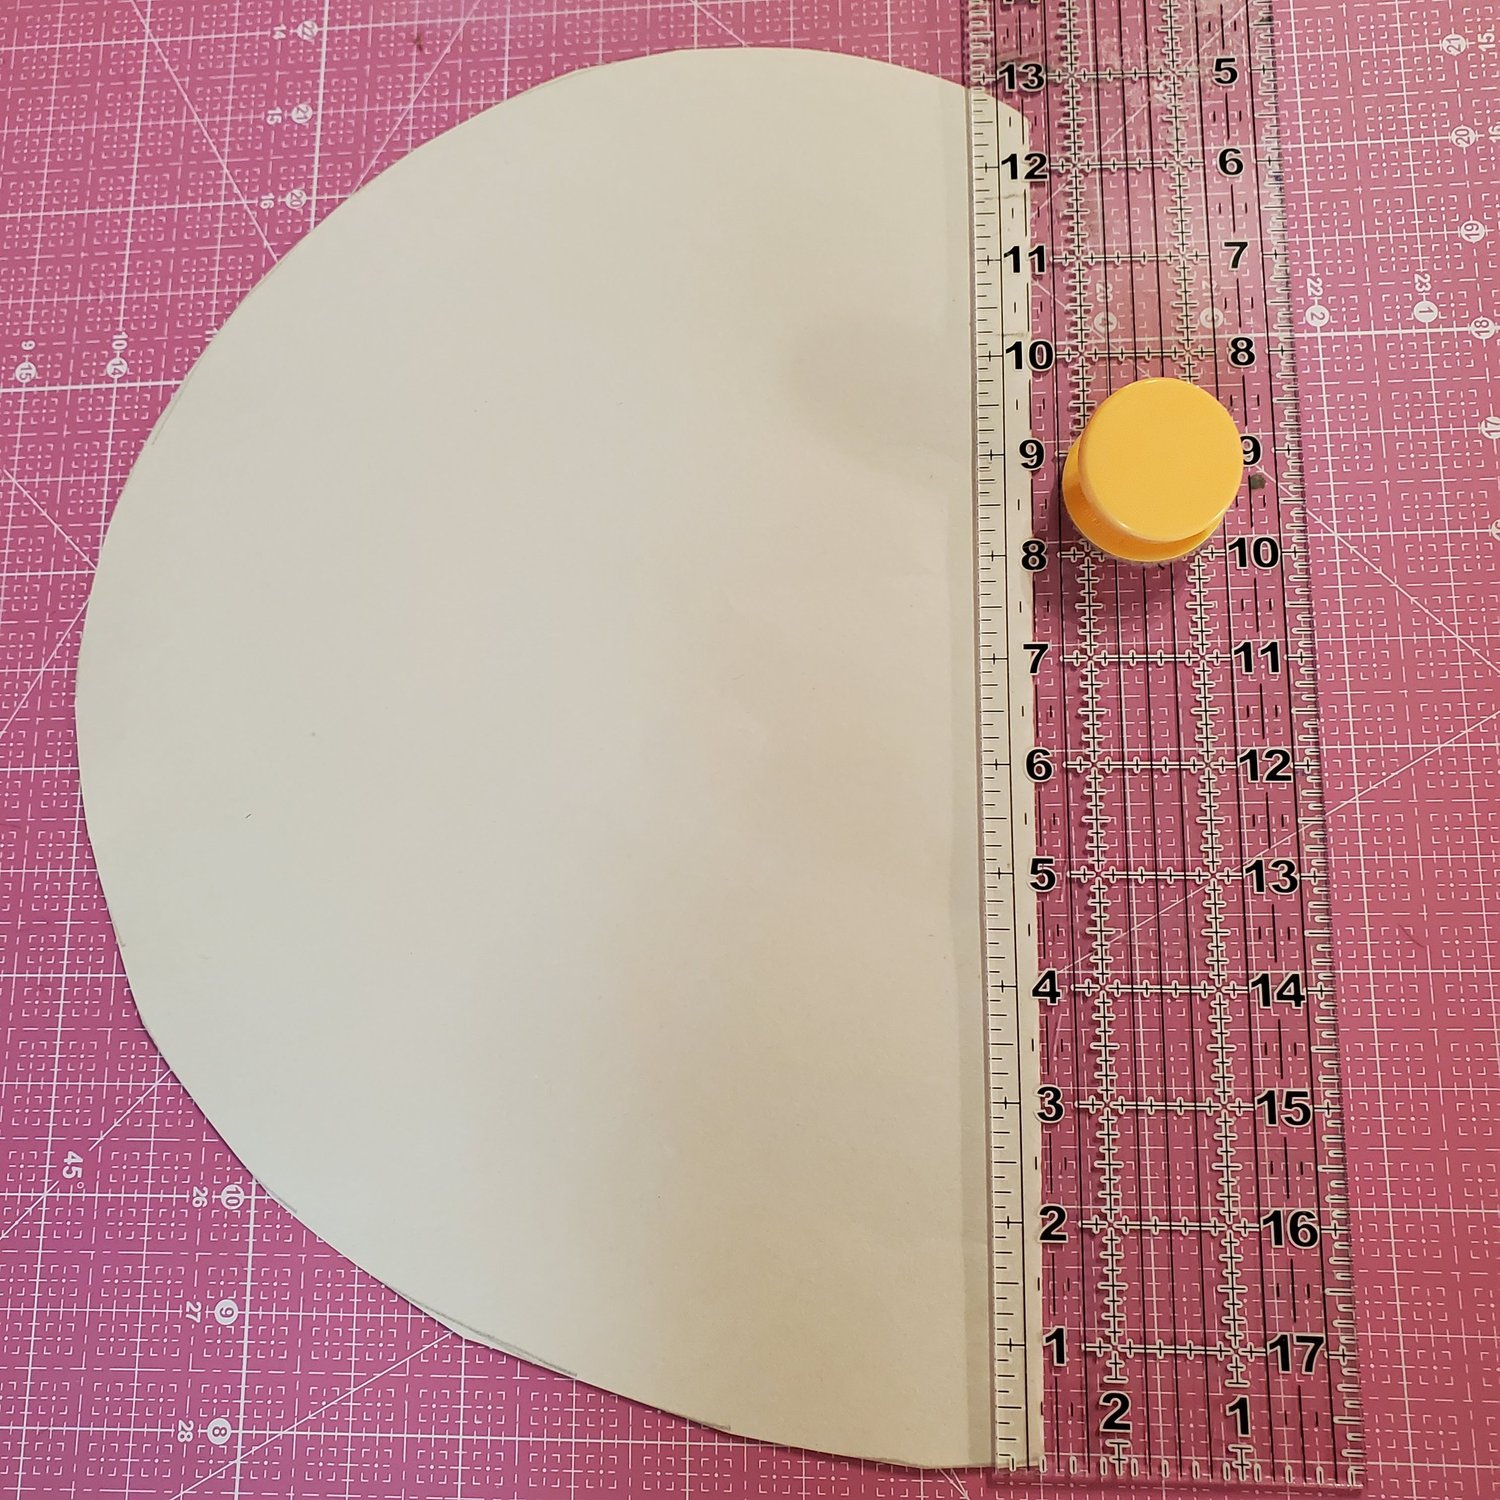
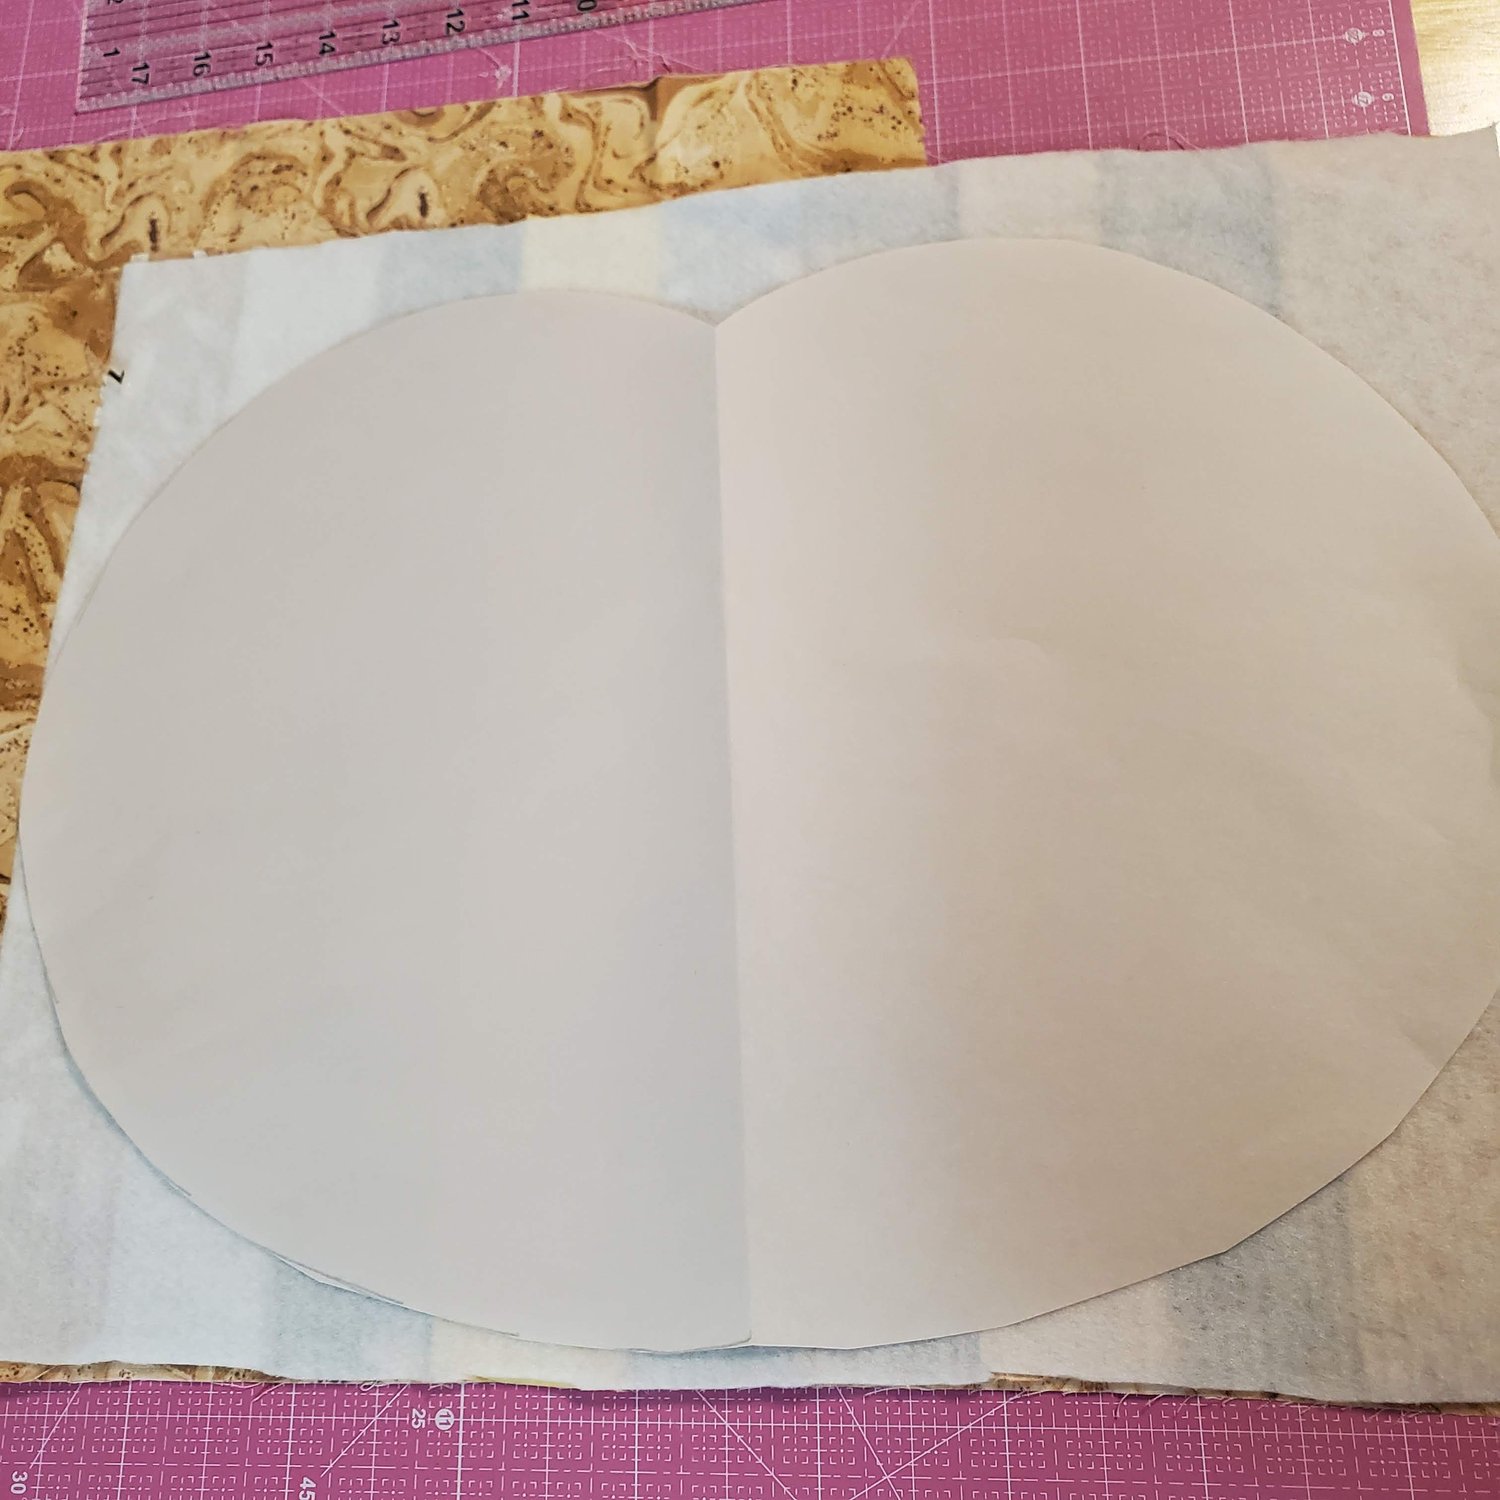
Draw out your pattern in a pumpkin shape. I usually fold the paper in half to draw the shape to keep it symmetrical. It is basically an oval with a curved in section at the top.
Place the right sides together with the pieced front aligned with backing fabric and cut out the pumpkin shape.
Starting just past the stem area at the top, sew about ¼” seam all the way around leaving a 4” opening at the top for turning and to add the stem. It is a good idea to back stitch to secure the seam as you start sewing and to end the stitching.Trim the curved edges with pinking shears to help it lay flat. Turn right sides out and align the edges of the seam and press. Turn under the ¼” edge at the opening and press.
Next you will make the pumpkin stem. I drew a pattern piece to fit the top opening and added ¼” for seam allowance. I chose the same fabric for all four pumpkin stems. I love using the Hoffman batiks from the Java Membership.
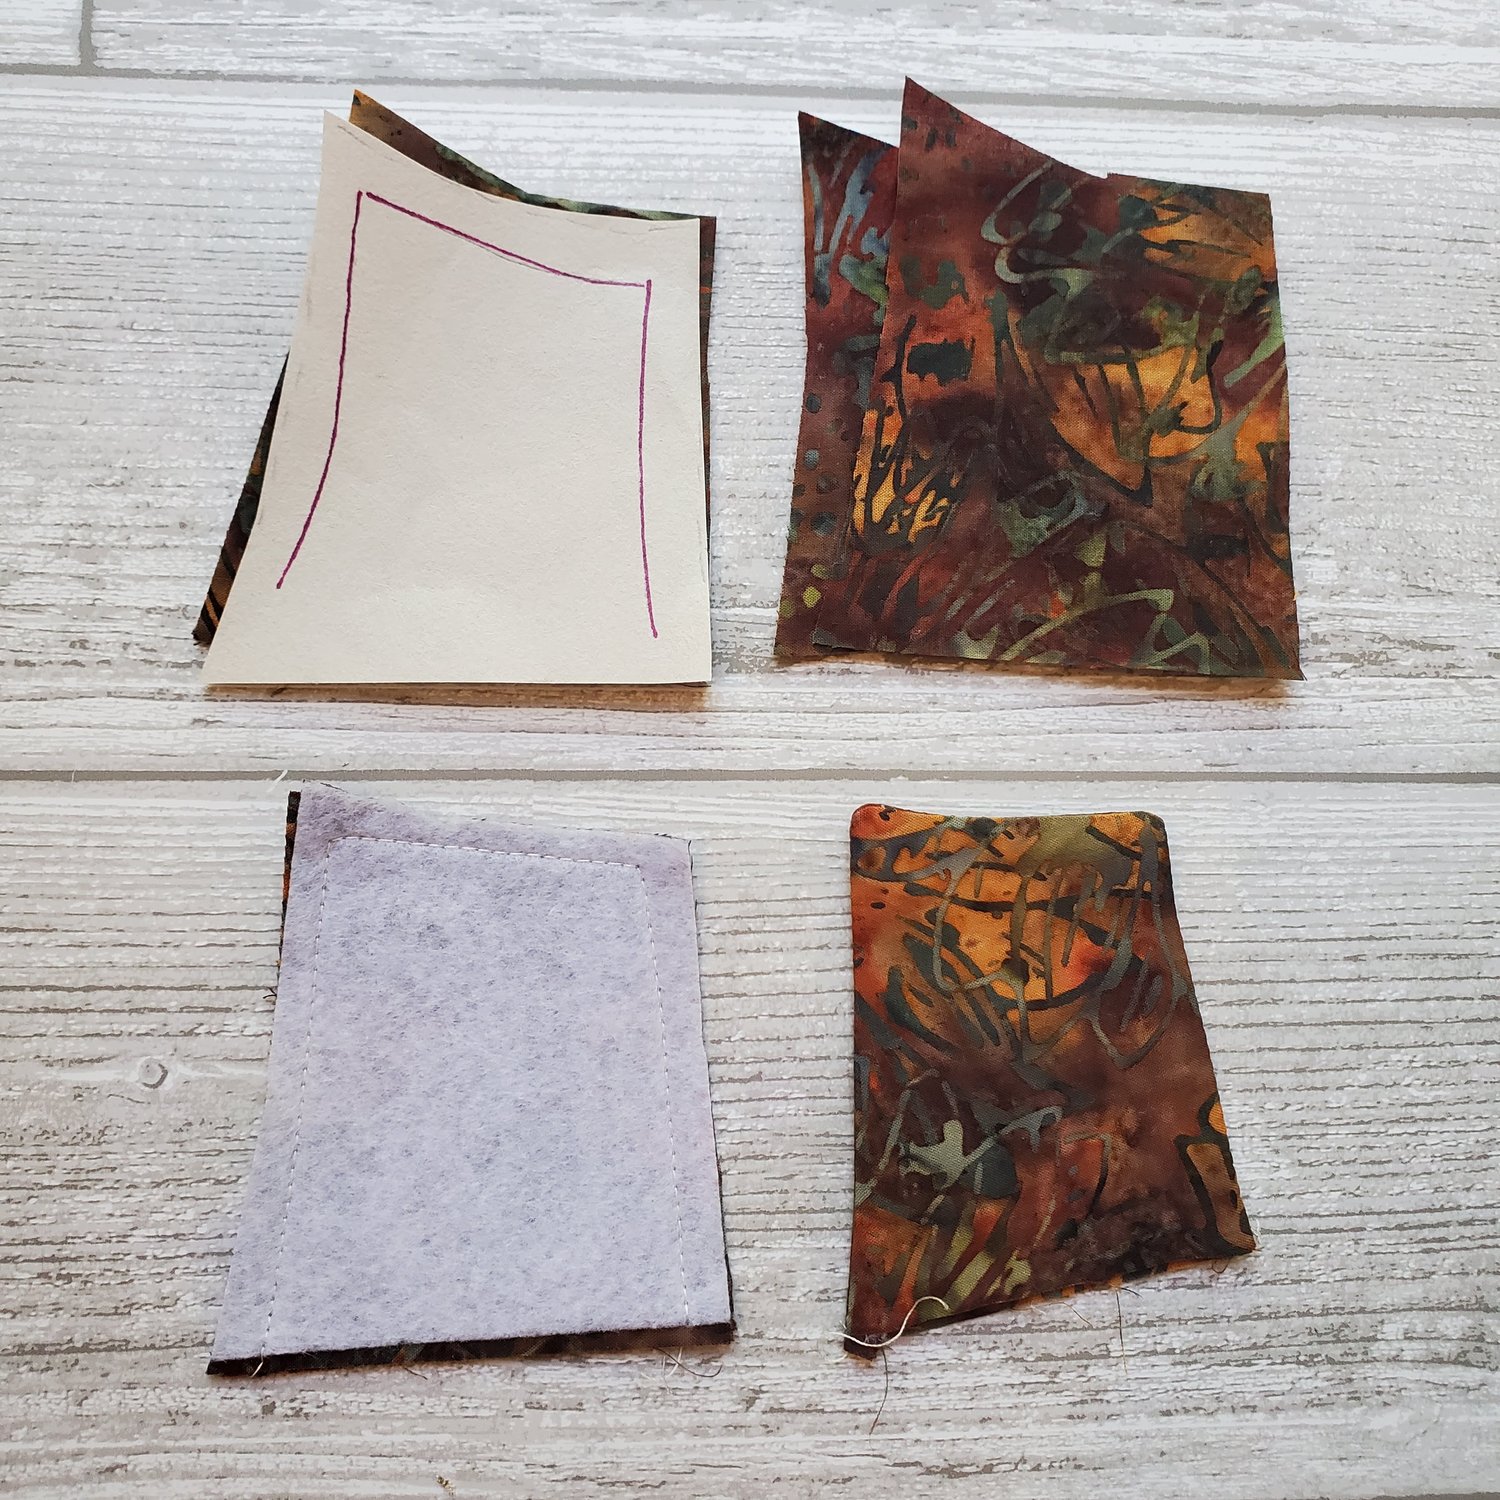
Take a strip of fabric for the stem and press the Pellon fusible interfacing to the wrong side. Match it with another strip of stem fabric and cut out four pairs for stems. With right sides together sew with a ¼” seam leaving the bottom edge open. Trim the corners and turn the right sides out, be sure to push out the corners.

Insert the stem into the opening at the top of the pumpkin and pin in place. Topstitch about ⅛” form the edge of the pumpkin. This will close the opening and secure the stem at the same time.
Give it a final press and you are finished! You could add some quilting by stitching in the ditch between the strips or practice some free motion quilting to add some interesting texture.