Paper Piecing Bird Block
28th Apr 2022
Paper piecing quilt blocks has been on my Quilting To Do list this past year but I set it aside thinking it was just too complicated to learn. What I discovered is once you get the hang of it you can create some really awesome designs with points that line up accurately. I was inspired by the interesting designs in the Kaffee Fassett fabrics from the Classic Membership box that reminded me of feathers. I found this simple paper pieced Bird pattern free from McCalls and decided this would be the perfect project to use the colorful fabric.
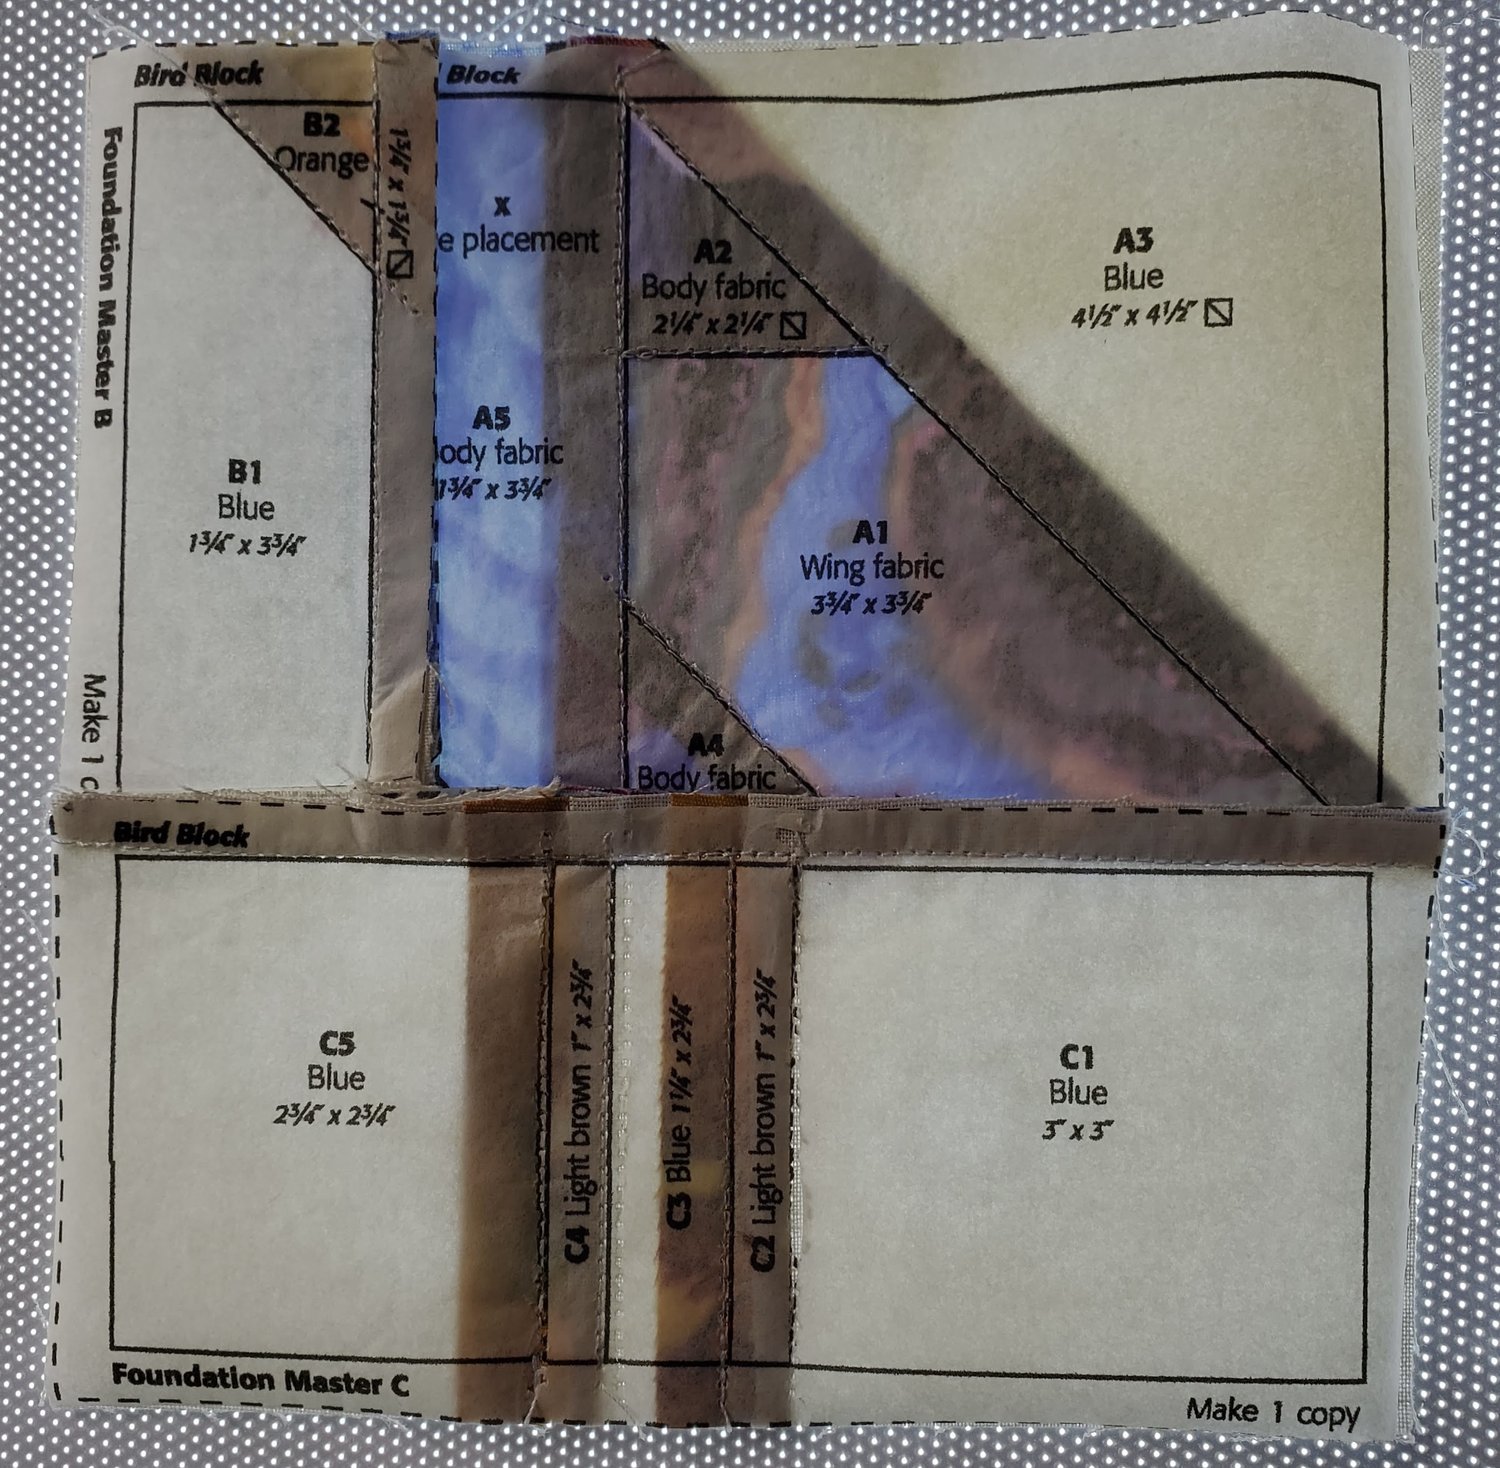
To prepare, print the Bird pattern on tracing paper or newsprint to make it easier to tear away when you are finished sewing. Gather some scrap fabrics for the background, body and legs. It is better to have bigger pieces of fabric to be sure to cover the pattern piece with an ¼” seam all around.
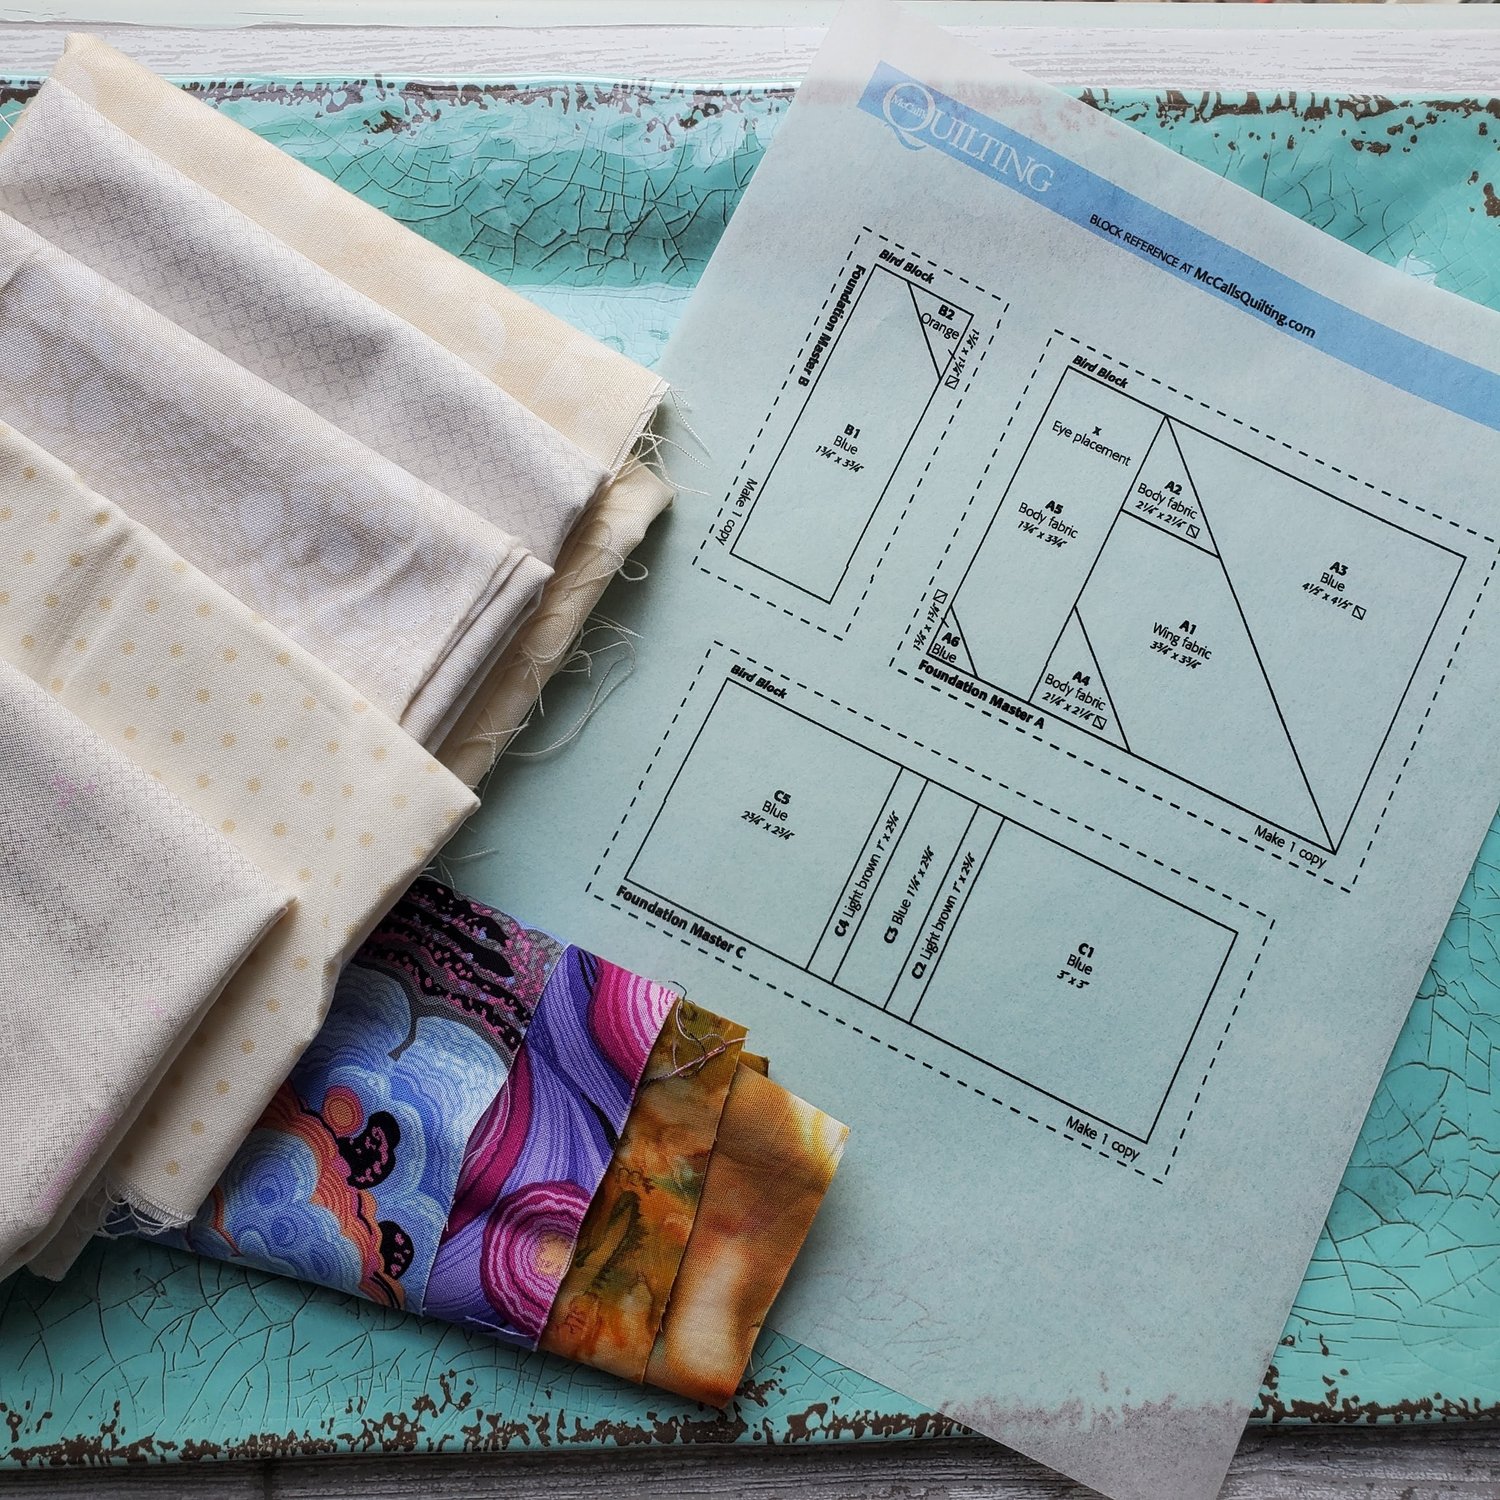
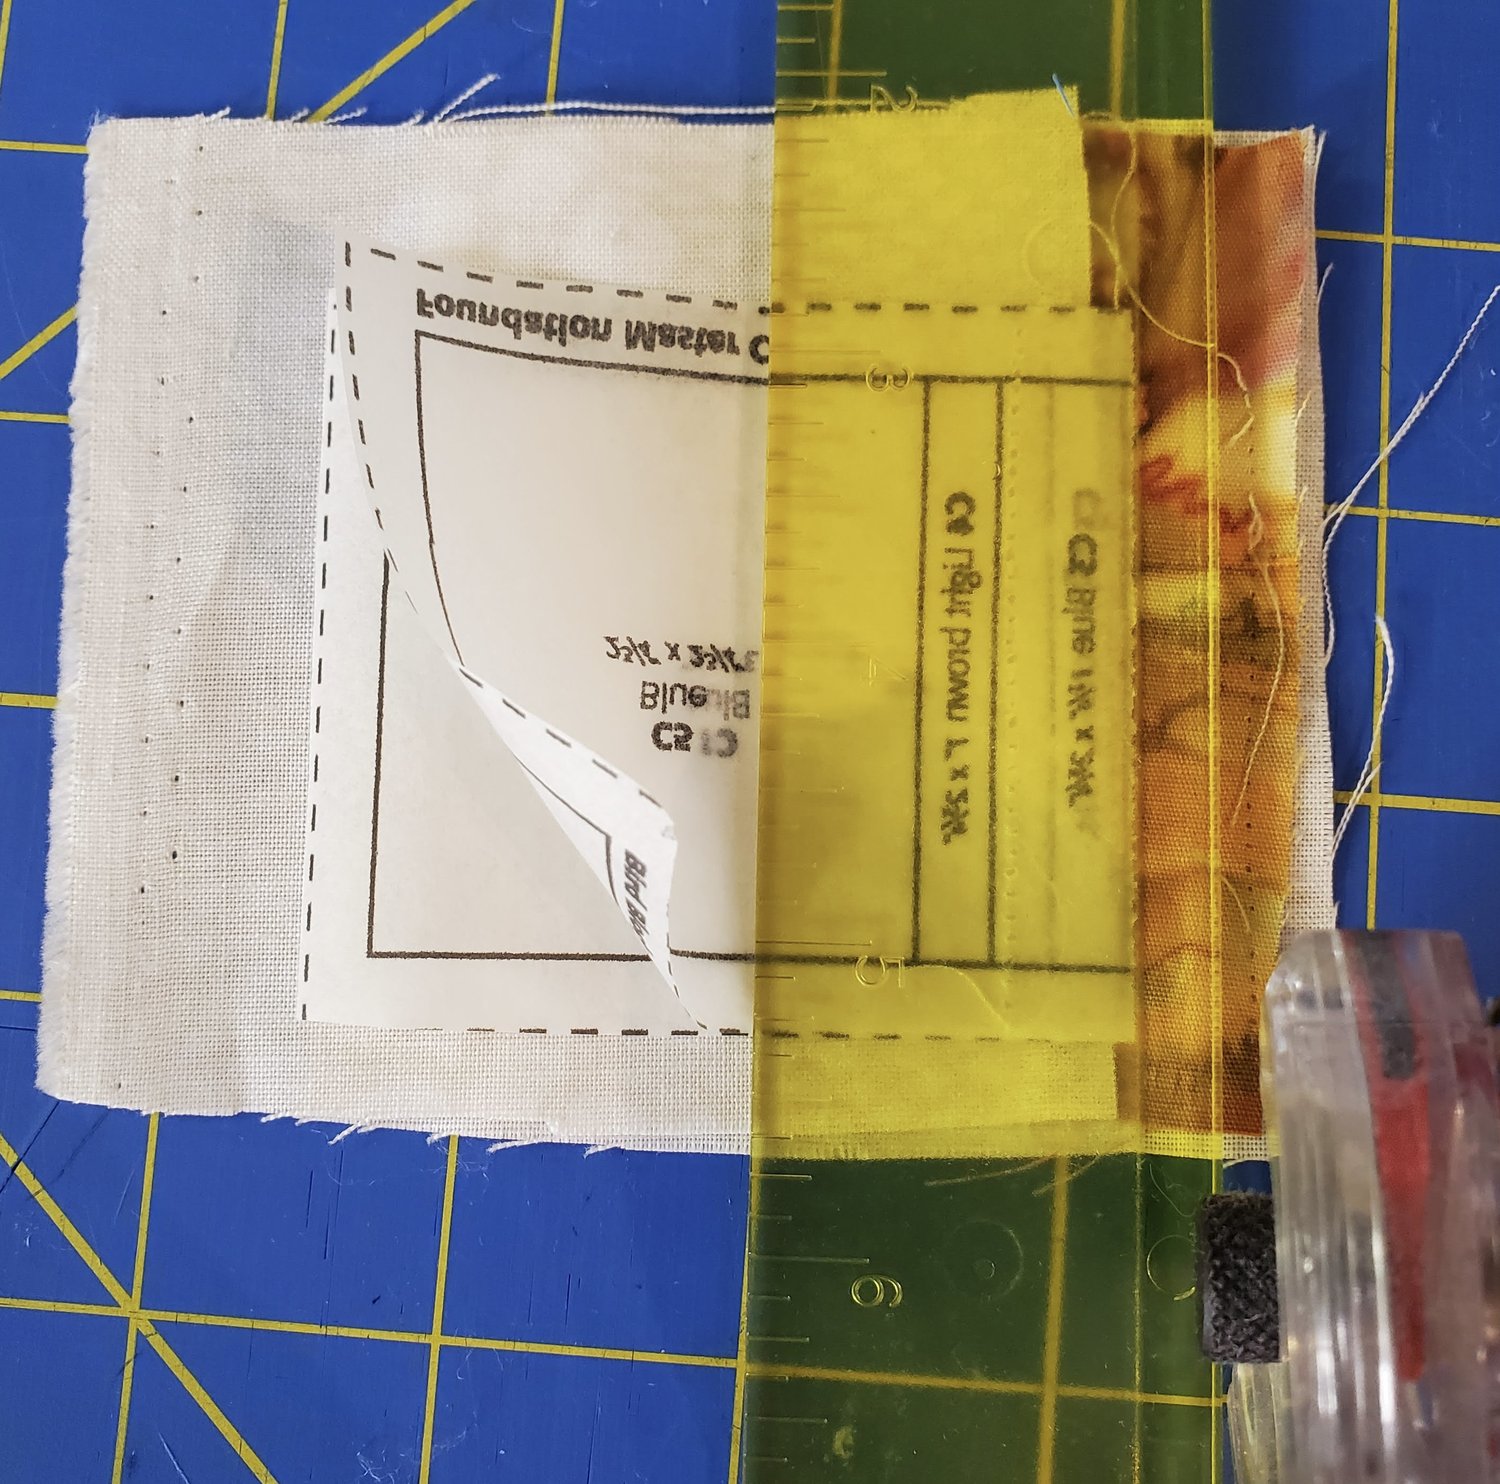
As a beginner it is helpful to use batik fabric since it is the same on both sides. I watched this YouTube video from Mary Fons Paper Piecing to learn some helpful hints. She suggested using a new #80 sewing needle and set stitch length to 1.6 to make it easier to tear the paper away. To secure the seams she recommended back stitching 3 stitches at the start and end of each seam. I started with the bird legs section thinking it was easier since it was all rectangle shapes. A light box or a bright window is helpful to be able to see the fabric behind the pattern to be sure it is lined up properly.
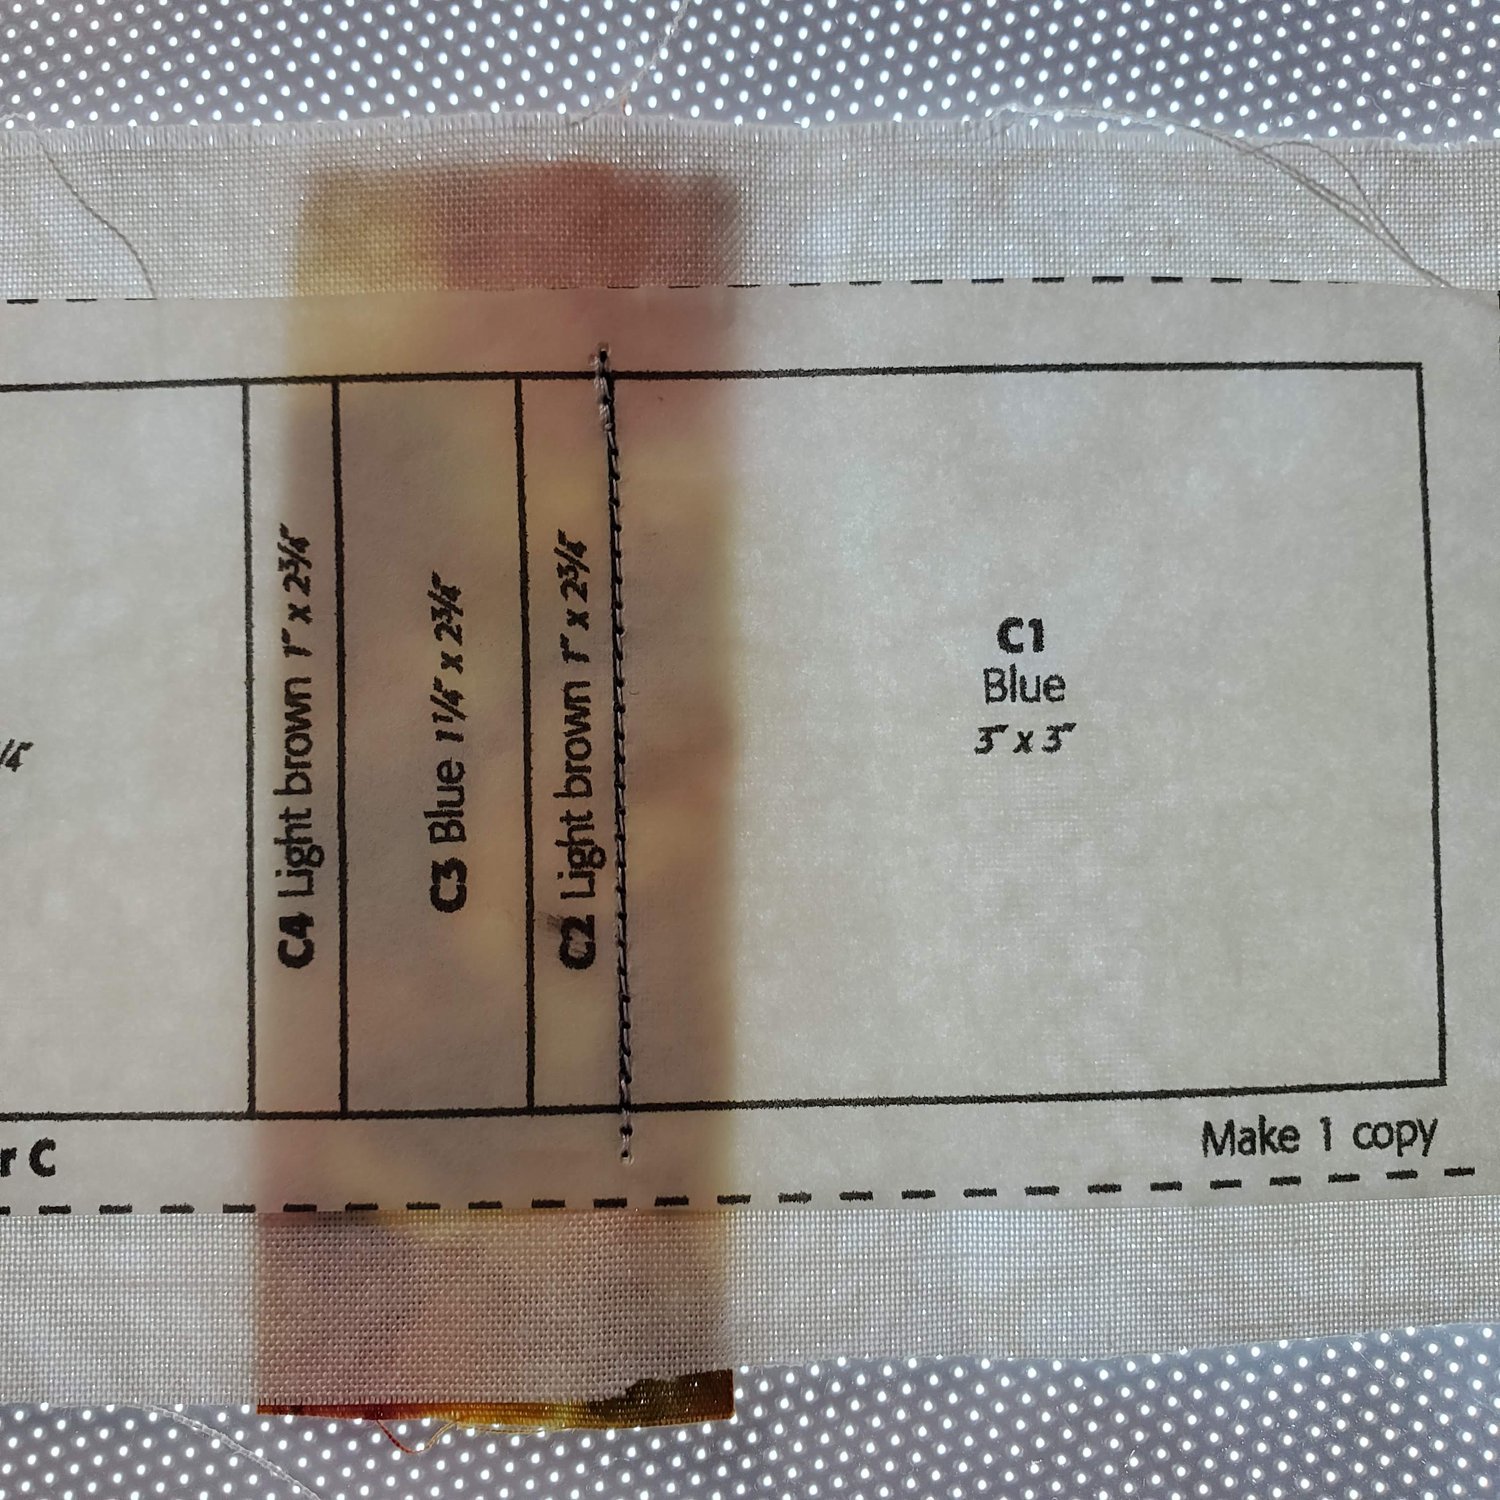
I layered by pattern right side up with the wrong side of the fabric underneath for the first piece labeled C1 and added the batik fabric for the bird legs C2 and sewed on the solid line. I will say it took me a few times to get it right and used the seam ripper. It was helpful to watch the video again as I was laying the pieces out to get it right. I also read this great article from Suzy Quilts to help me understand the basics of paper piecing. After each seam I pressed the seam open with a dry iron, folded the paper back on the seam and trimmed using the Add a quarter inch ruler.
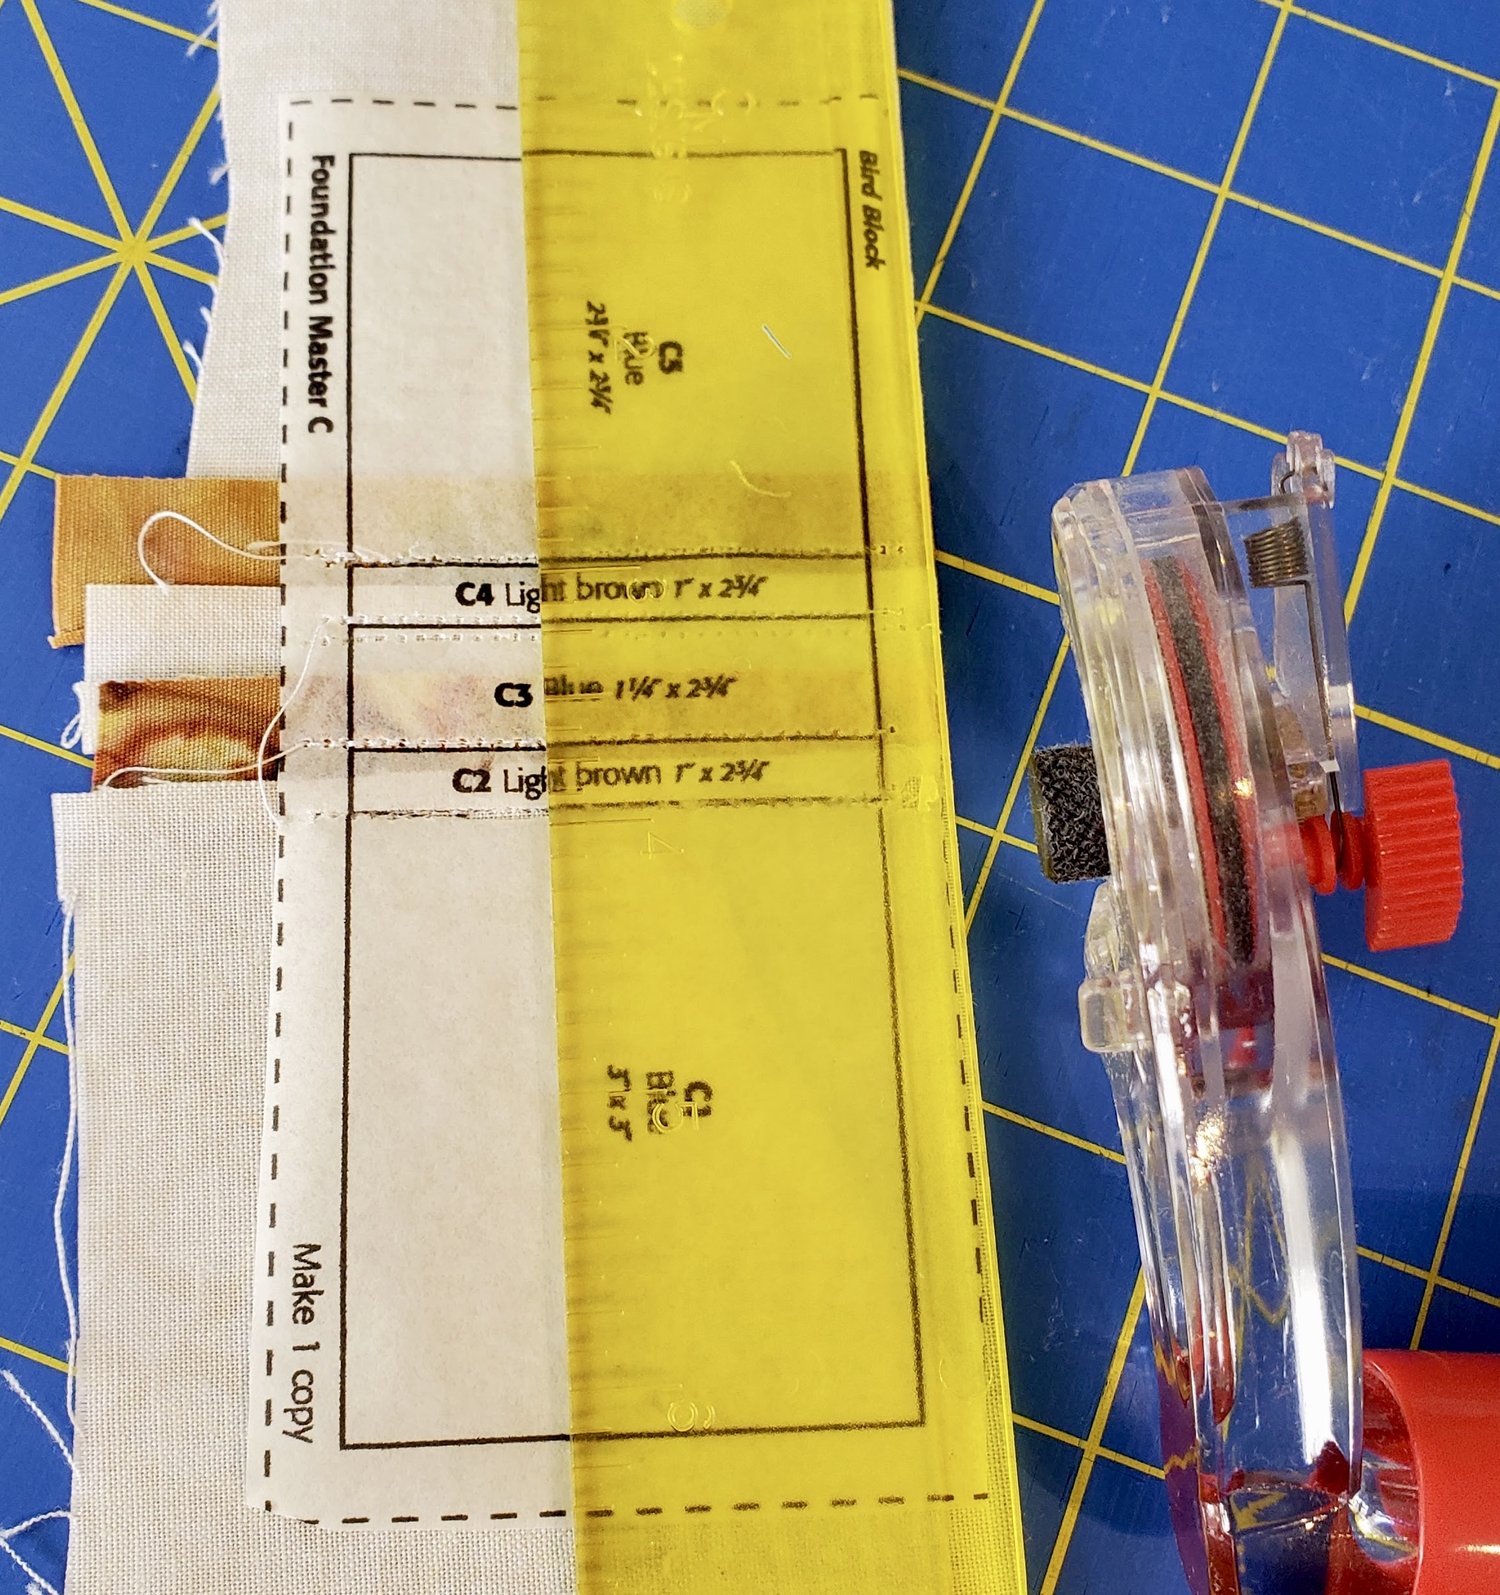
I followed the same method to complete my first section of the block and trimmed all the excess fabric on the outer dotted lines.
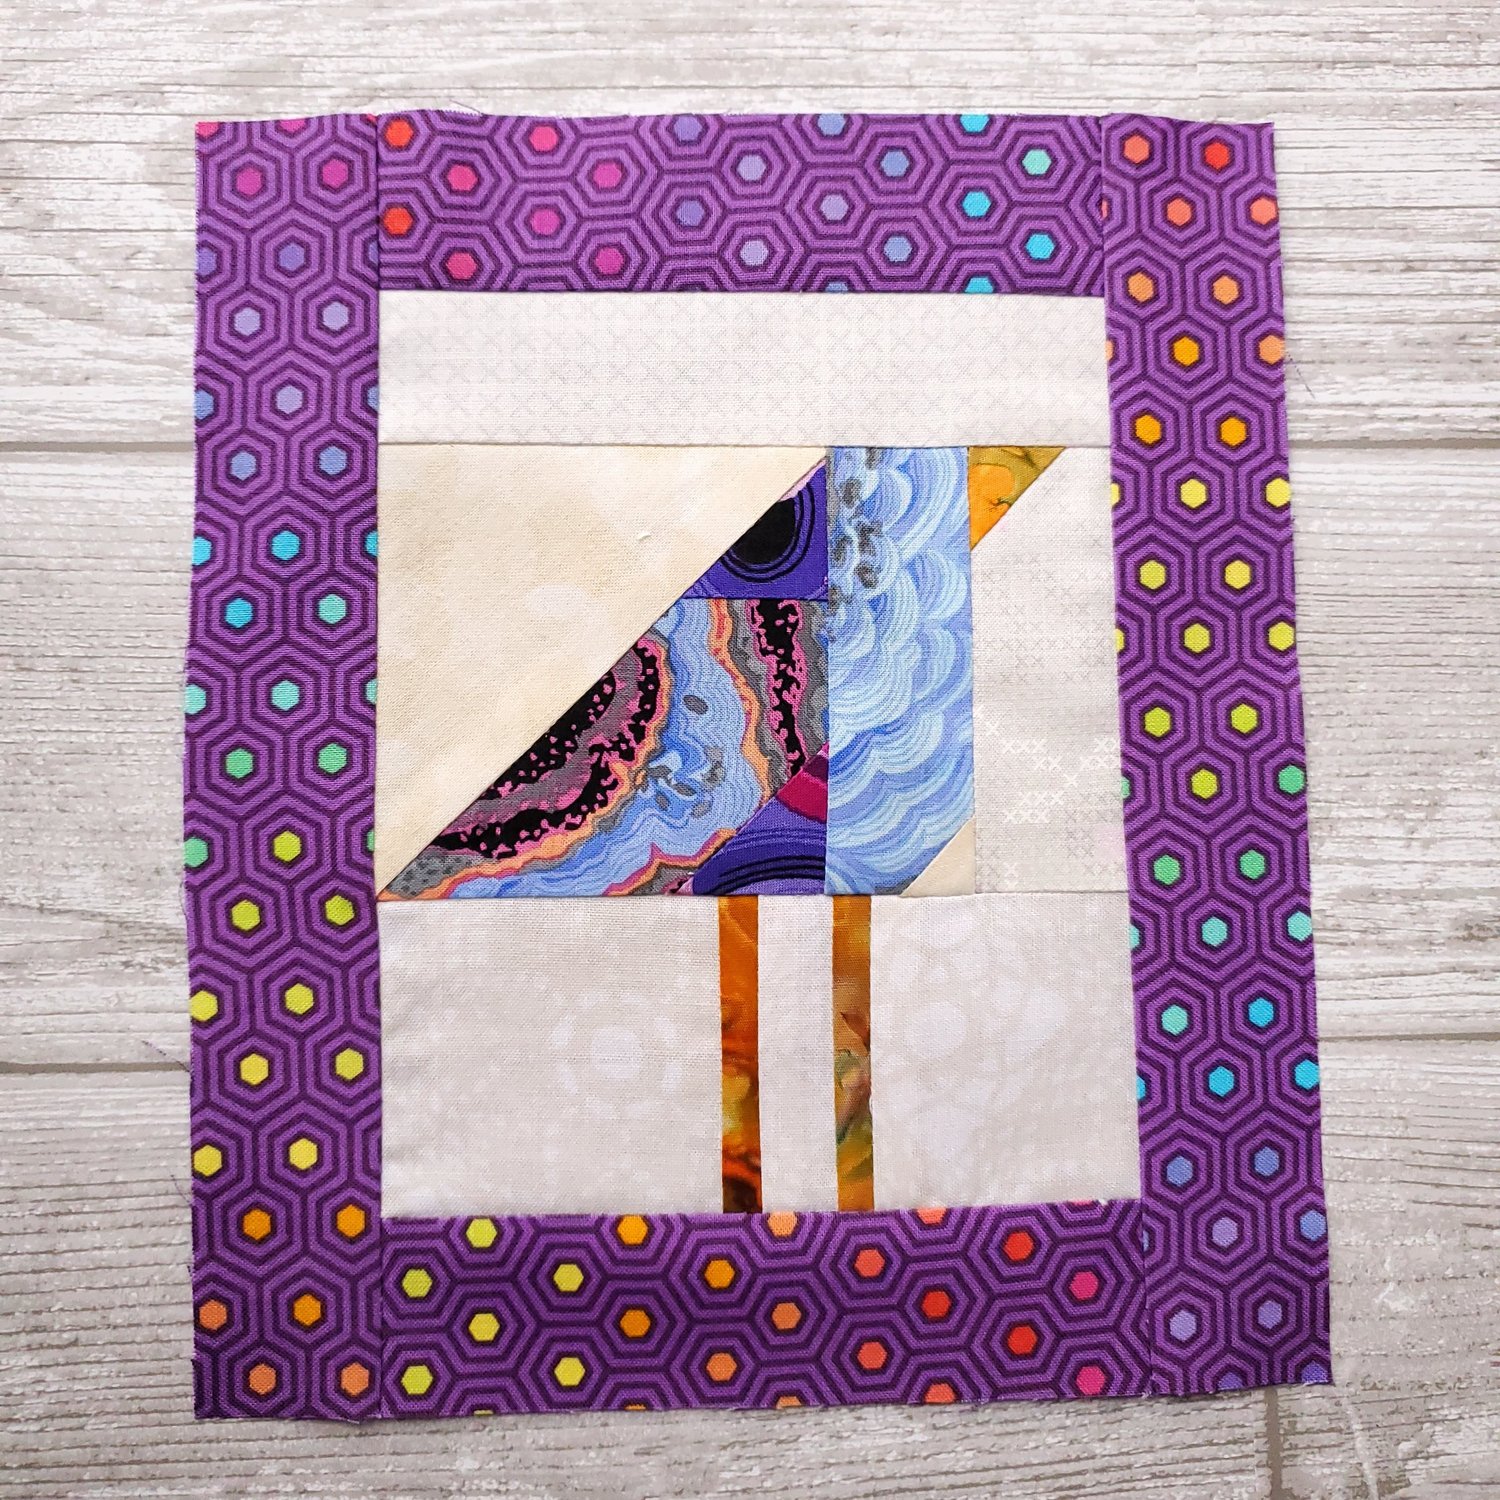
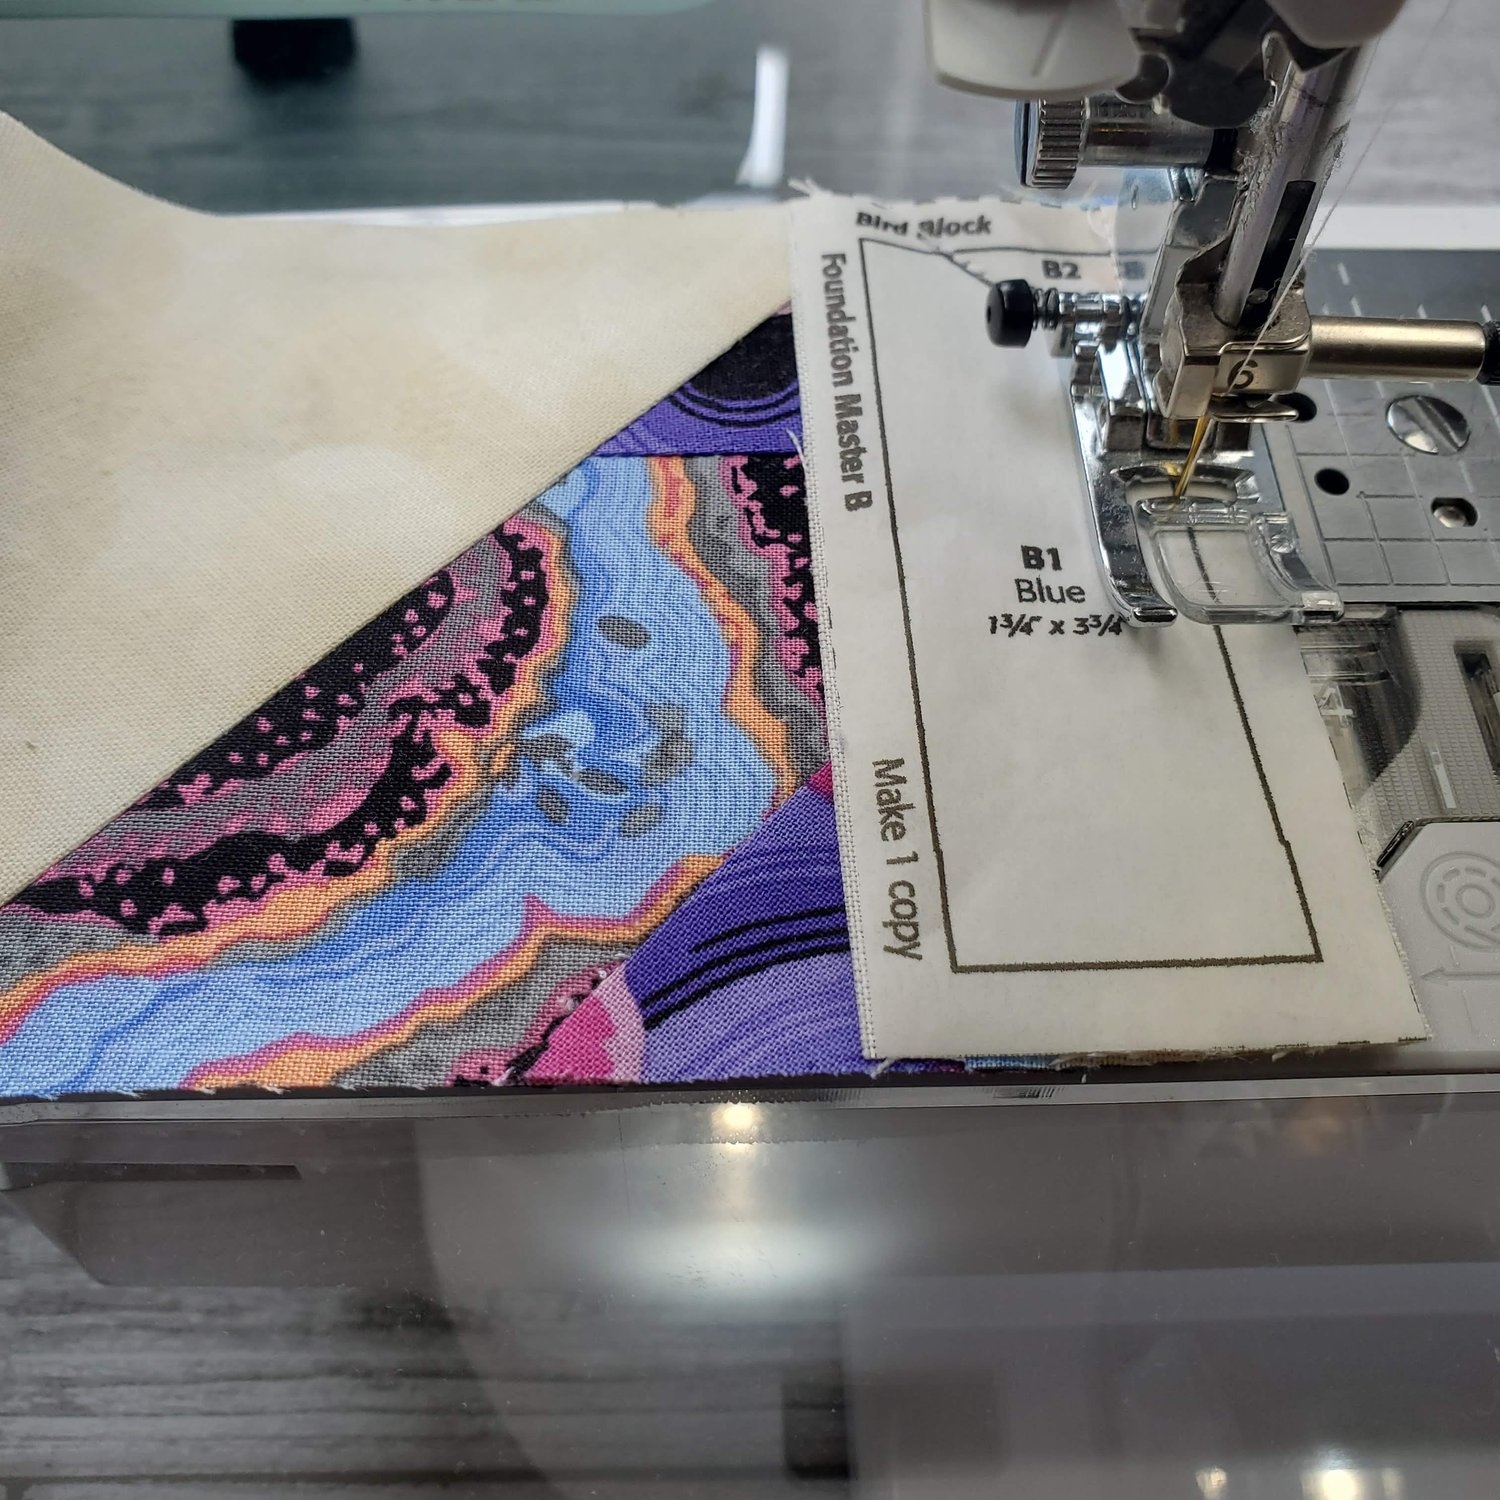
I then made the B block with bird’s beak and trimmed it using the same techniques. For the A block with the body of the bird I wanted to fussy cut the fabric to look like the feathers on a wing. It was helpful to lay it out on the light box to get the right piece of fabric cut.
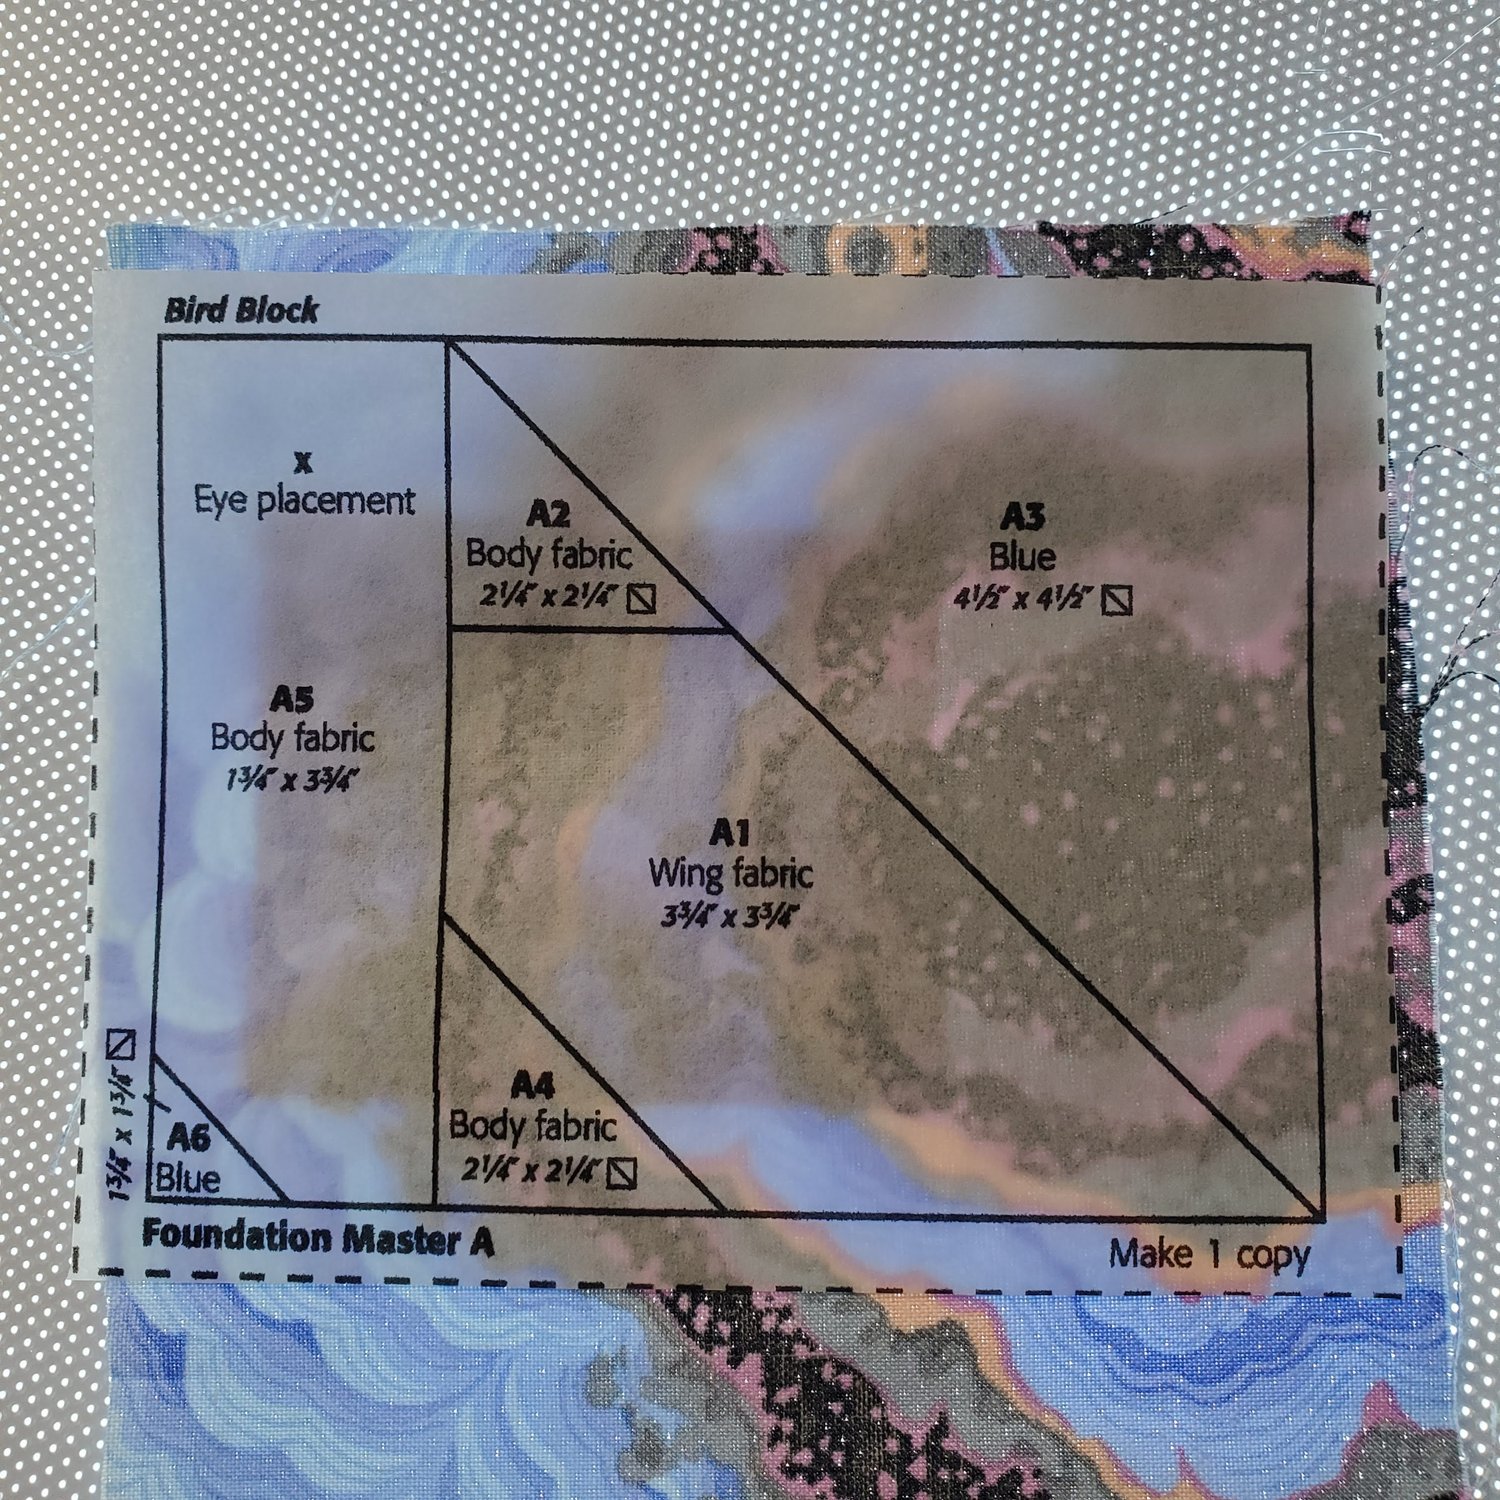
You may want to add a pin in the center to keep the placement as you are sewing the small triangle A2. Continue adding the pieces to complete the A block. When I finished sewing the three components of the block I gave it a final press and proceeded to sew A to B matching the seam lines.
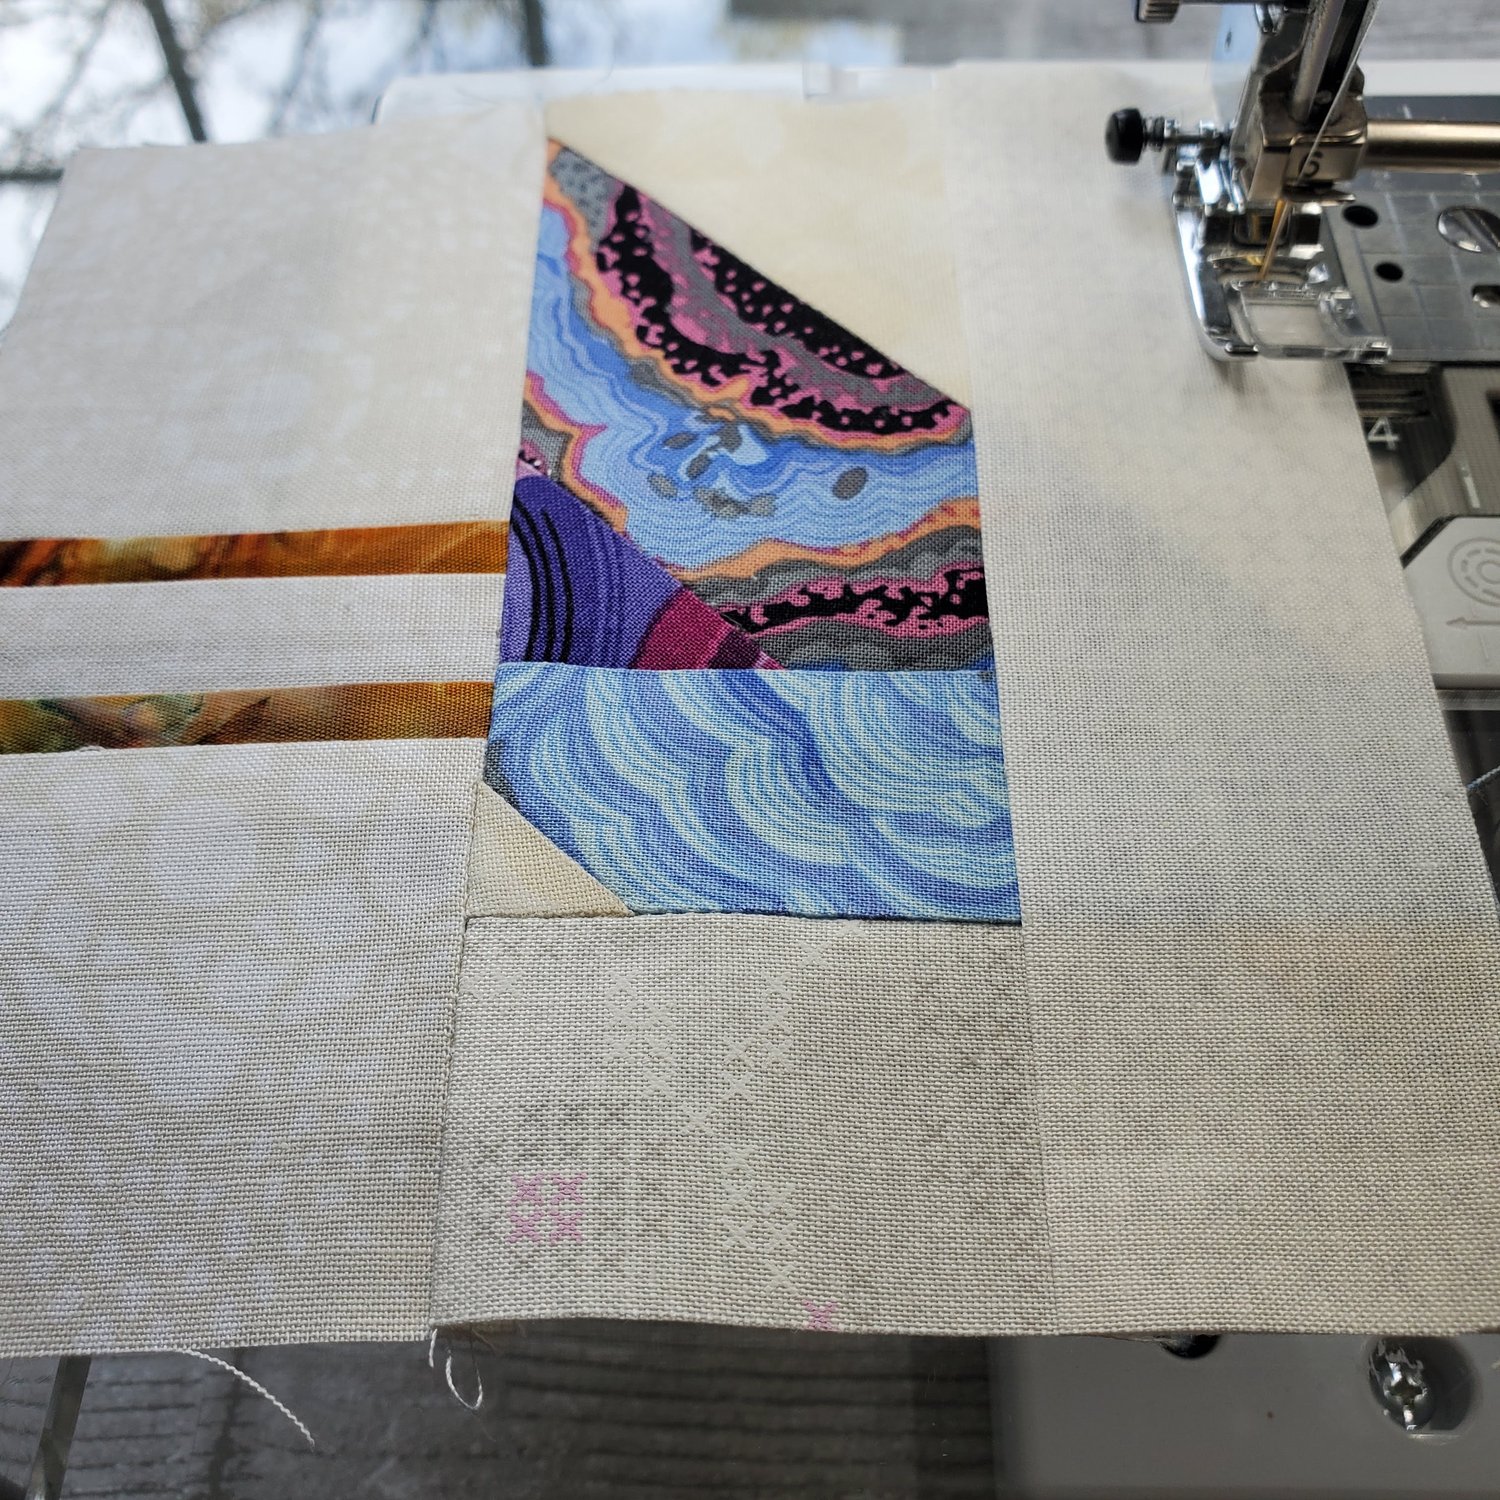
Sew the C block to the bottom. Here is how it looked from the back before removing the paper.
Tear away the tracing paper from the back. Add a 1.5” x 5.5” background fabric piece to the top edge finishing the block at 5” x 6”.
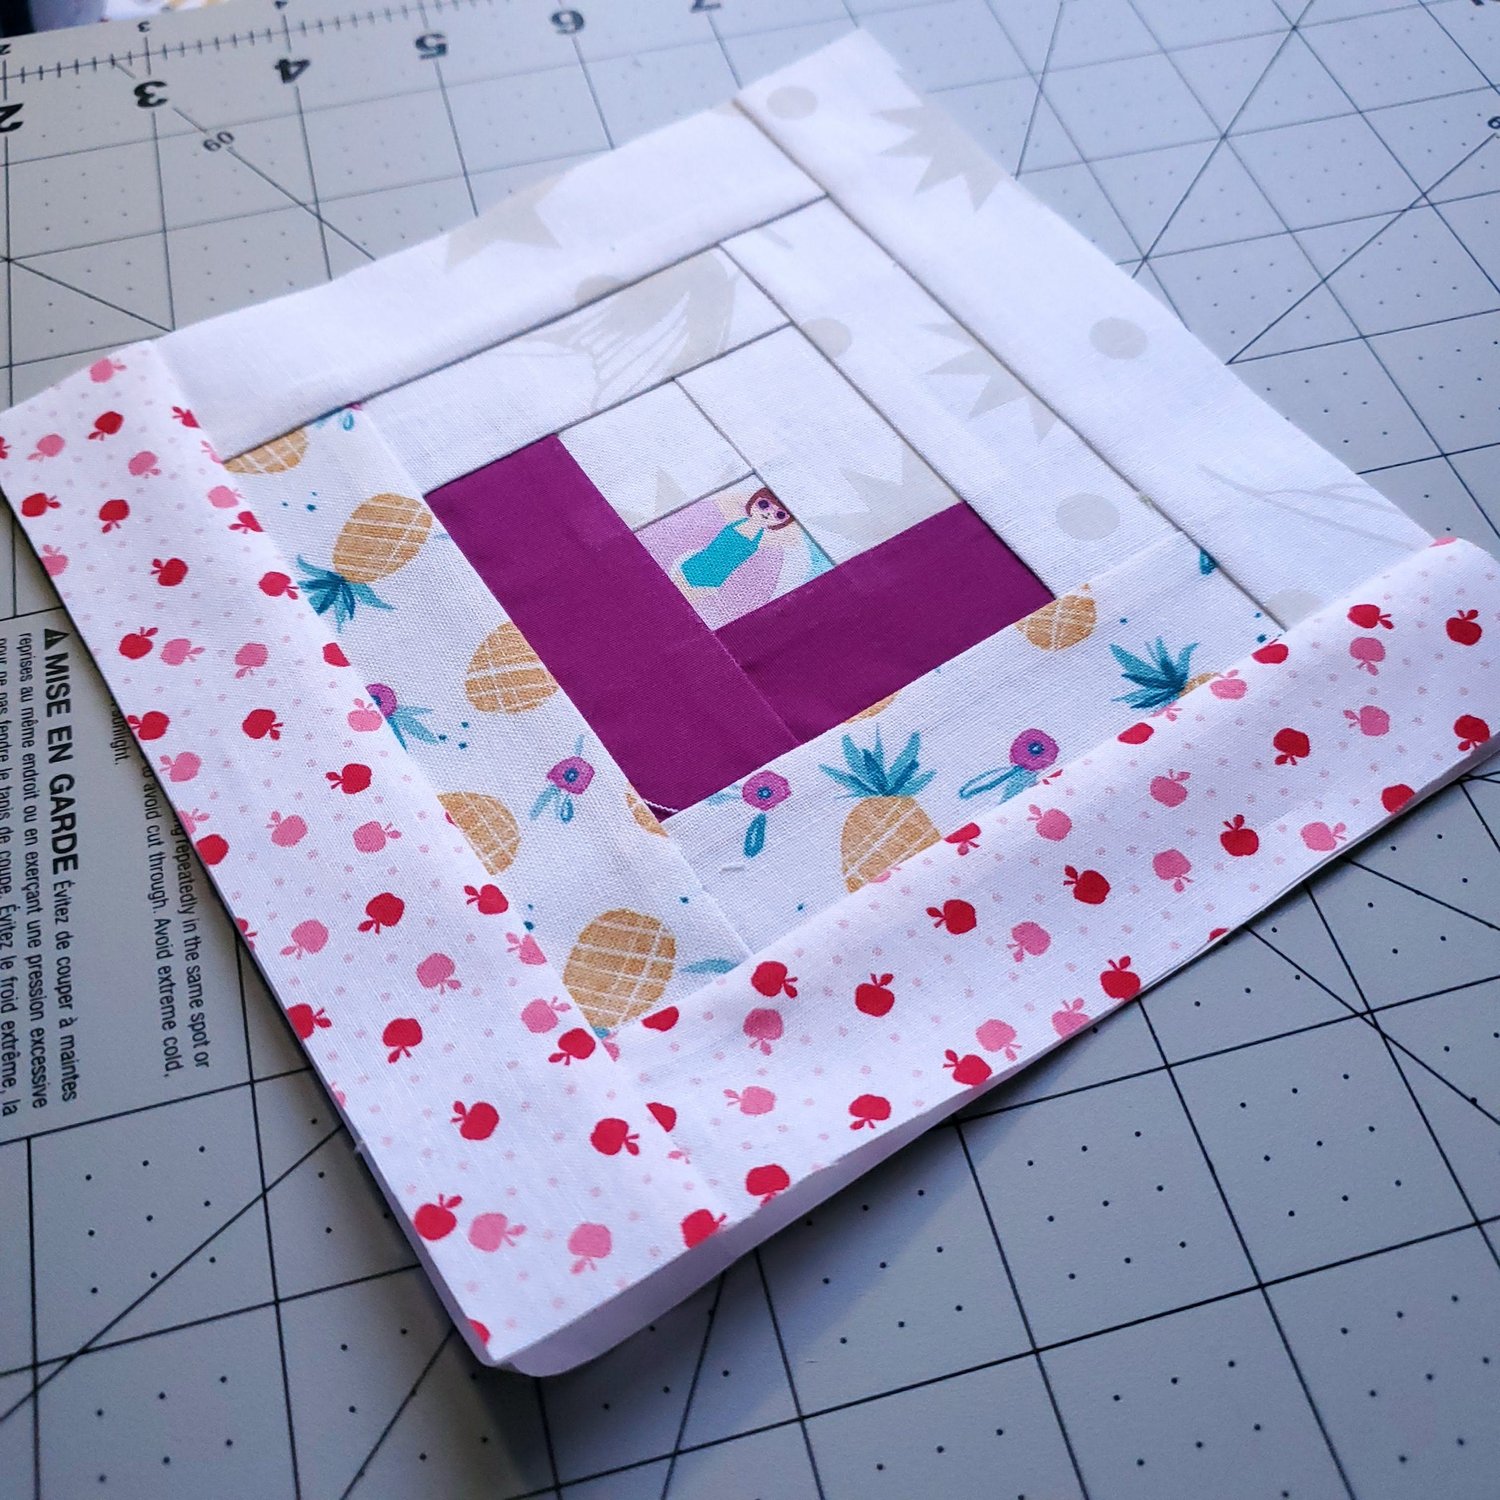
To finish the block I added a 1 ¼” strip on the top and bottom and then to the sides to give a nice border around the block. I plan to use this block to make a tote or zipper bag in the future. I feel much more confident taking on more paper piecing projects after I successfully completed this small bird block. I encourage you to give paper piecing a chance, here is a past blog about Paper Piecing Log Cabin using these It’s Sew Emma foundation paper tablets.