

Halloween Gnome and Pumpkin
29th Sep 2021
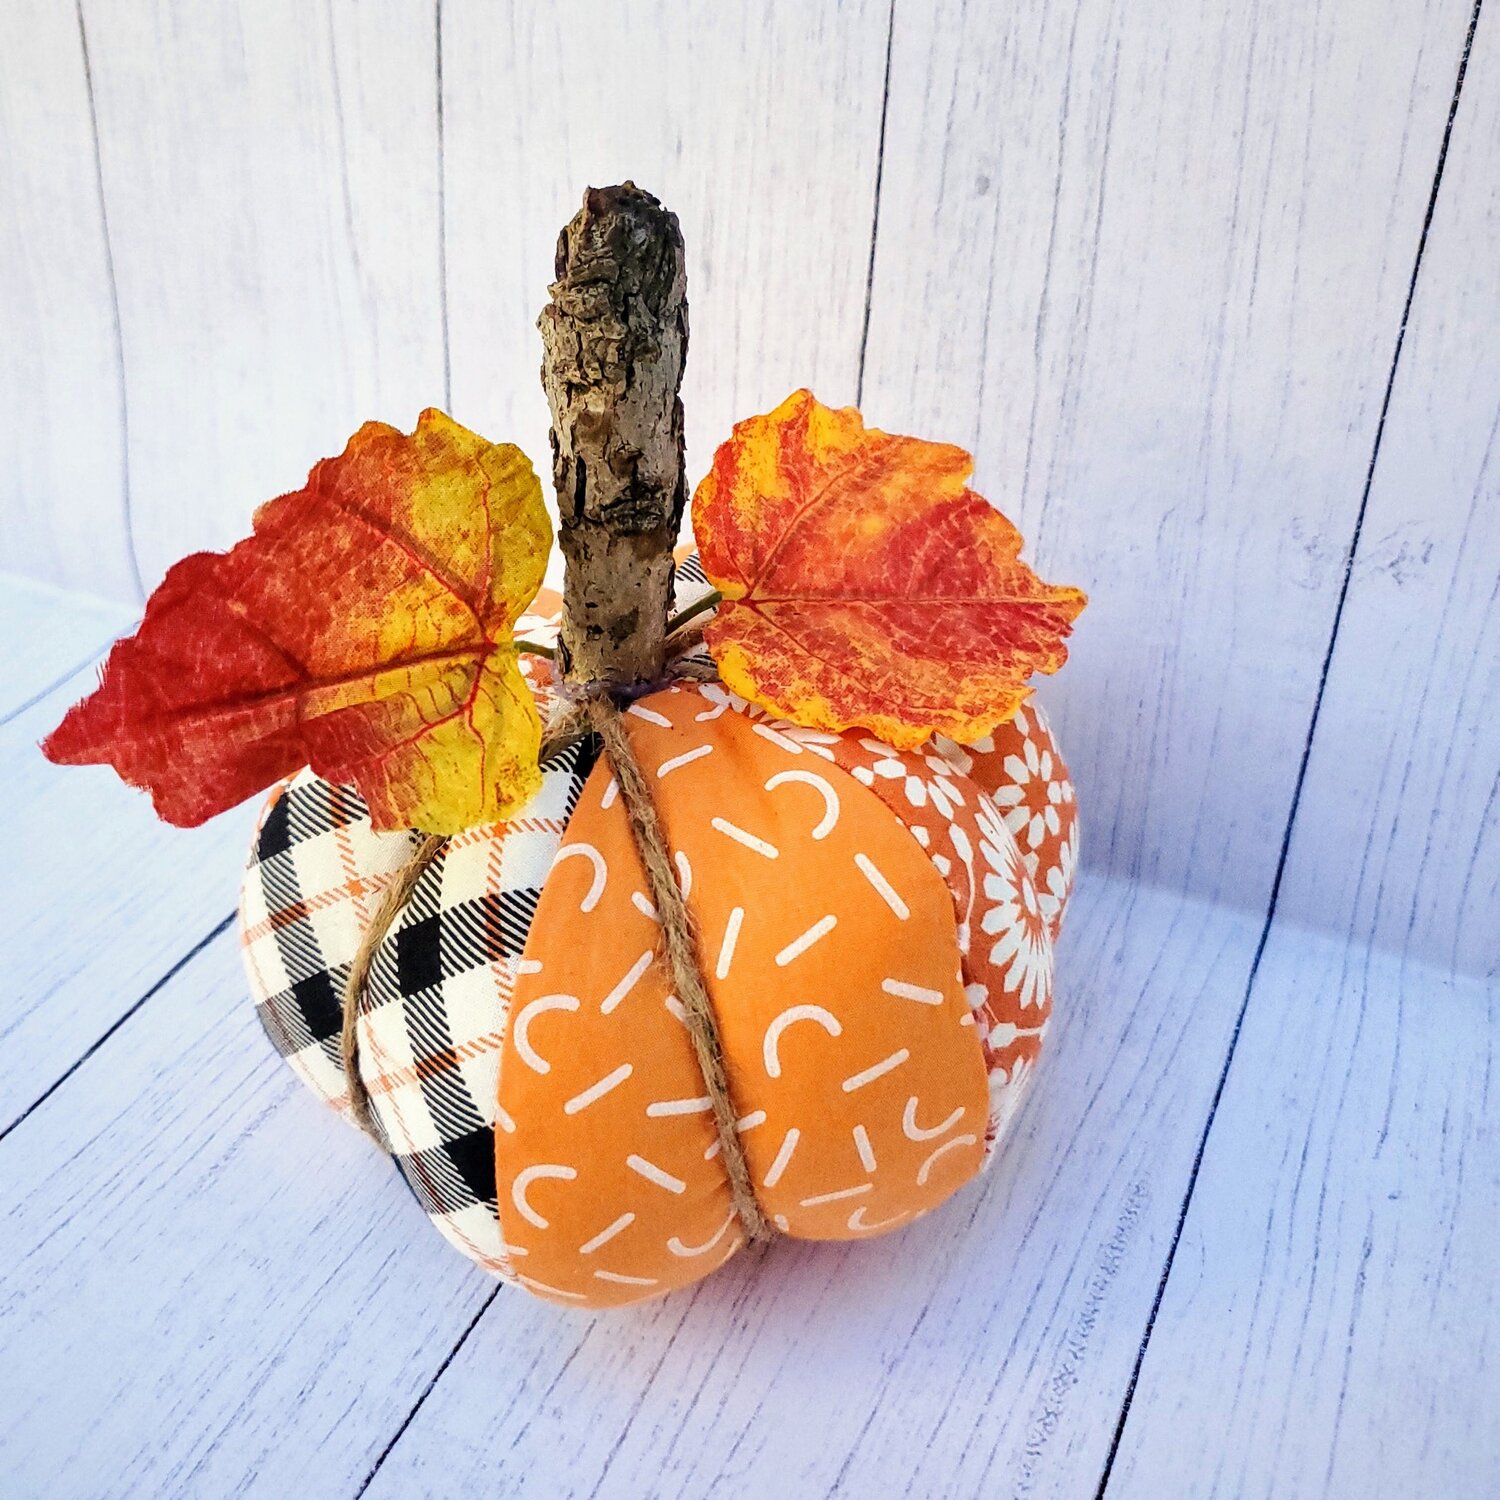
These quick and easy Halloween decorations would be a great project to do with the kids or to give as a surprise gift for a friend. The pumpkin can be made from scraps of fabric or coordinating fabric for different looks. I found this free pumpkin pattern in three sizes from Positively Slpendid I made the small pumpkin and topped it off with fall leaves and a tree branch for the stem. You could use a cinnamon stick and a bow or cut out felt leaves for different looks on the assorted sized pumpkins. These cute fabrics were part of the holiday fabrics found in the Classic box.
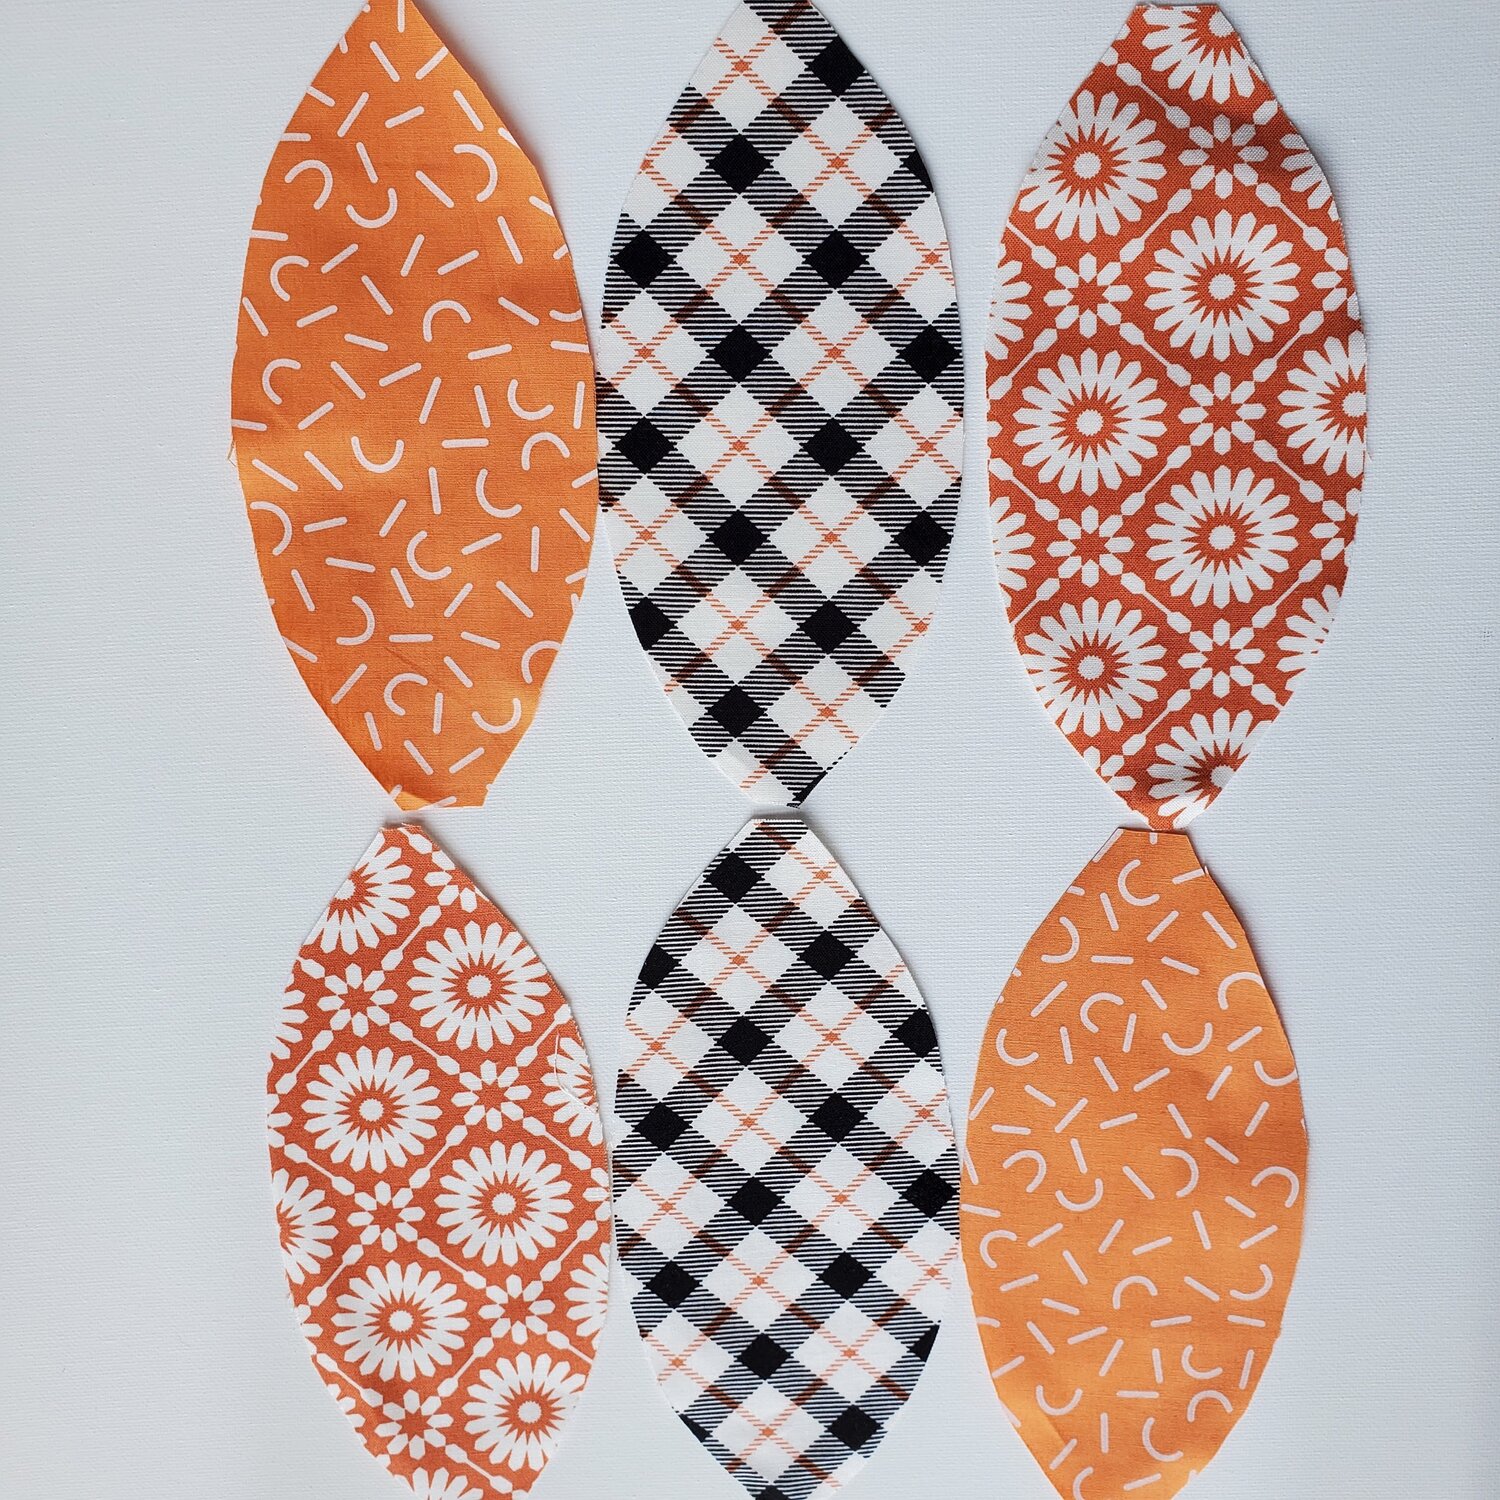
To get started download and print the pattern for the pumpkin. To make the small pumpkin you will need six pieces of fabric 3 ½” x 7 ½”. I used three prints alternating the pieces as I sewed them together.
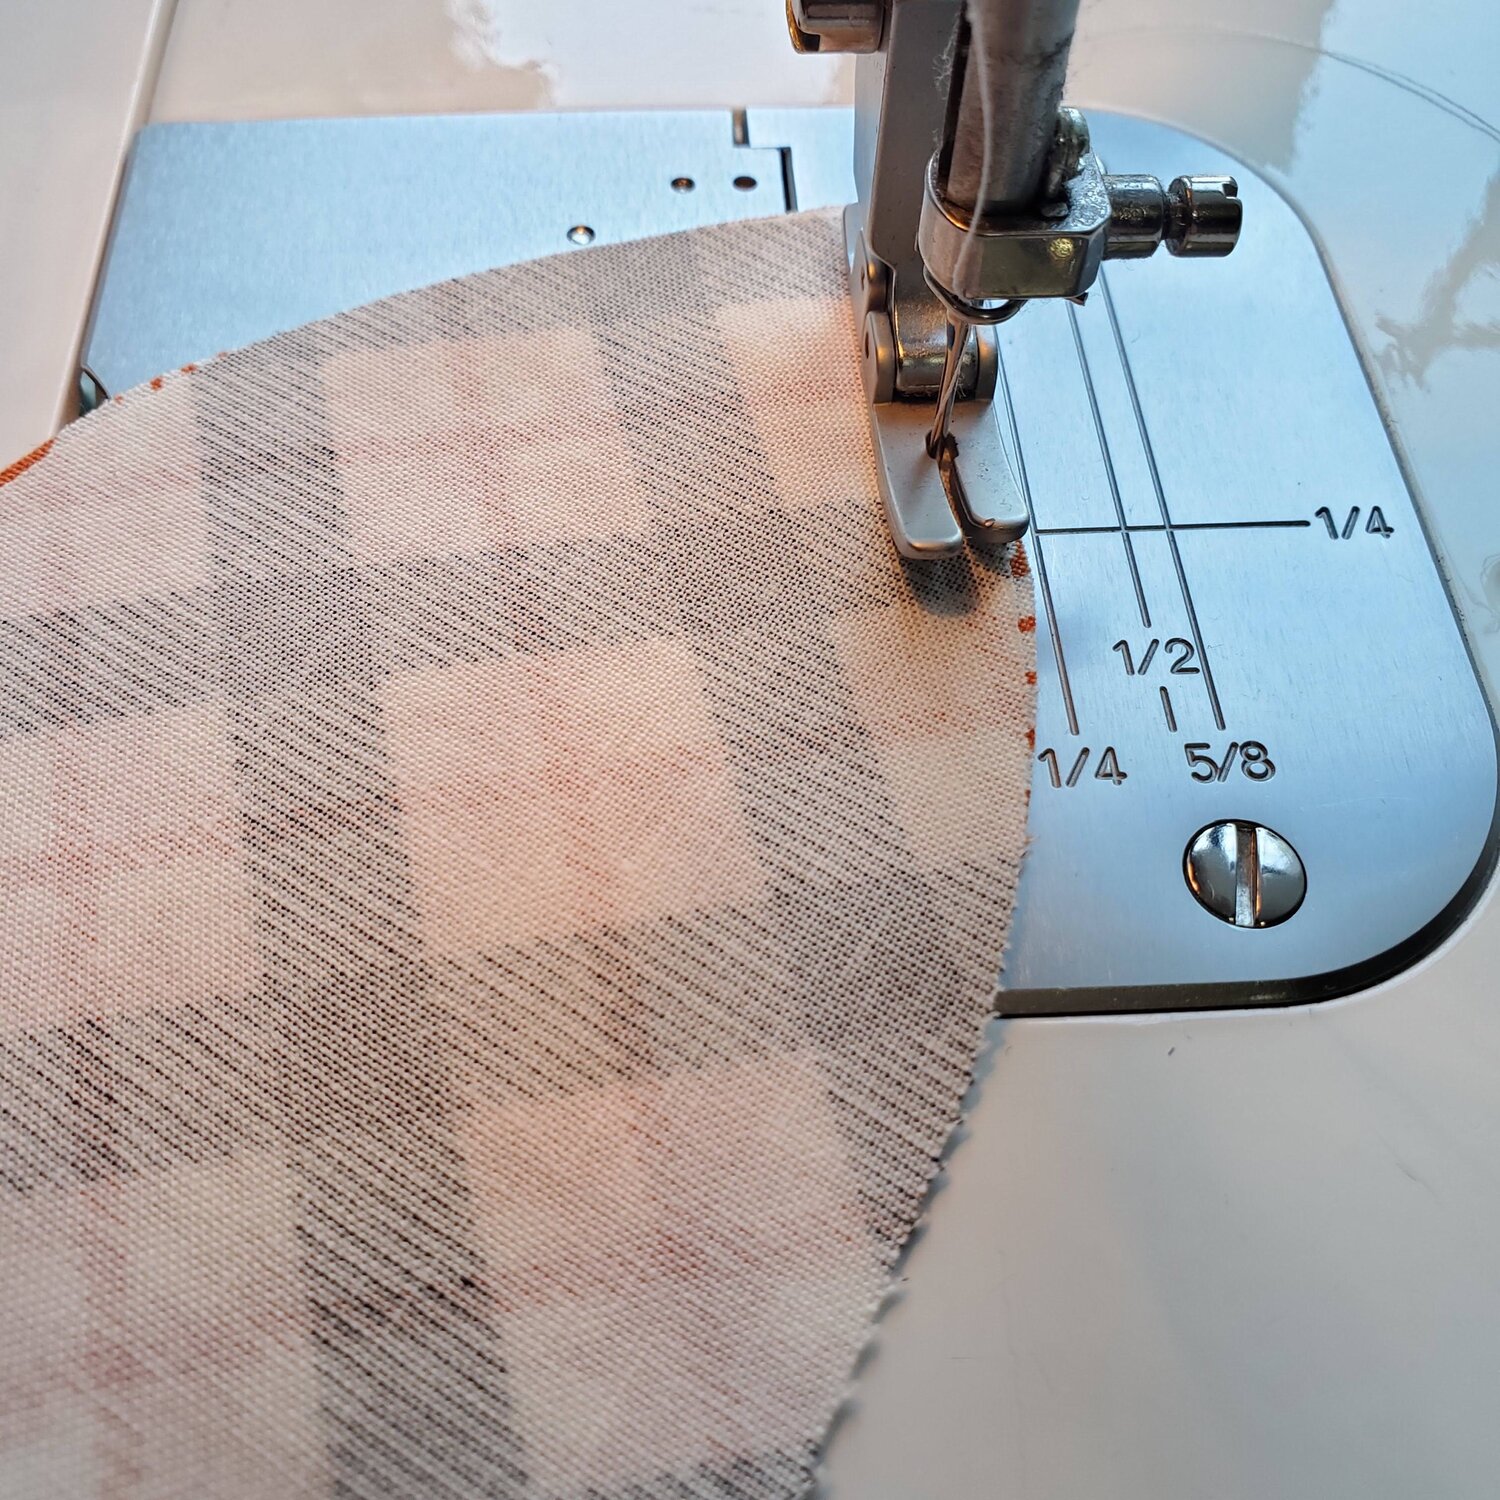
With right sides together sew two pieces together from one point to the other, back tacking at the start and end of stitching.
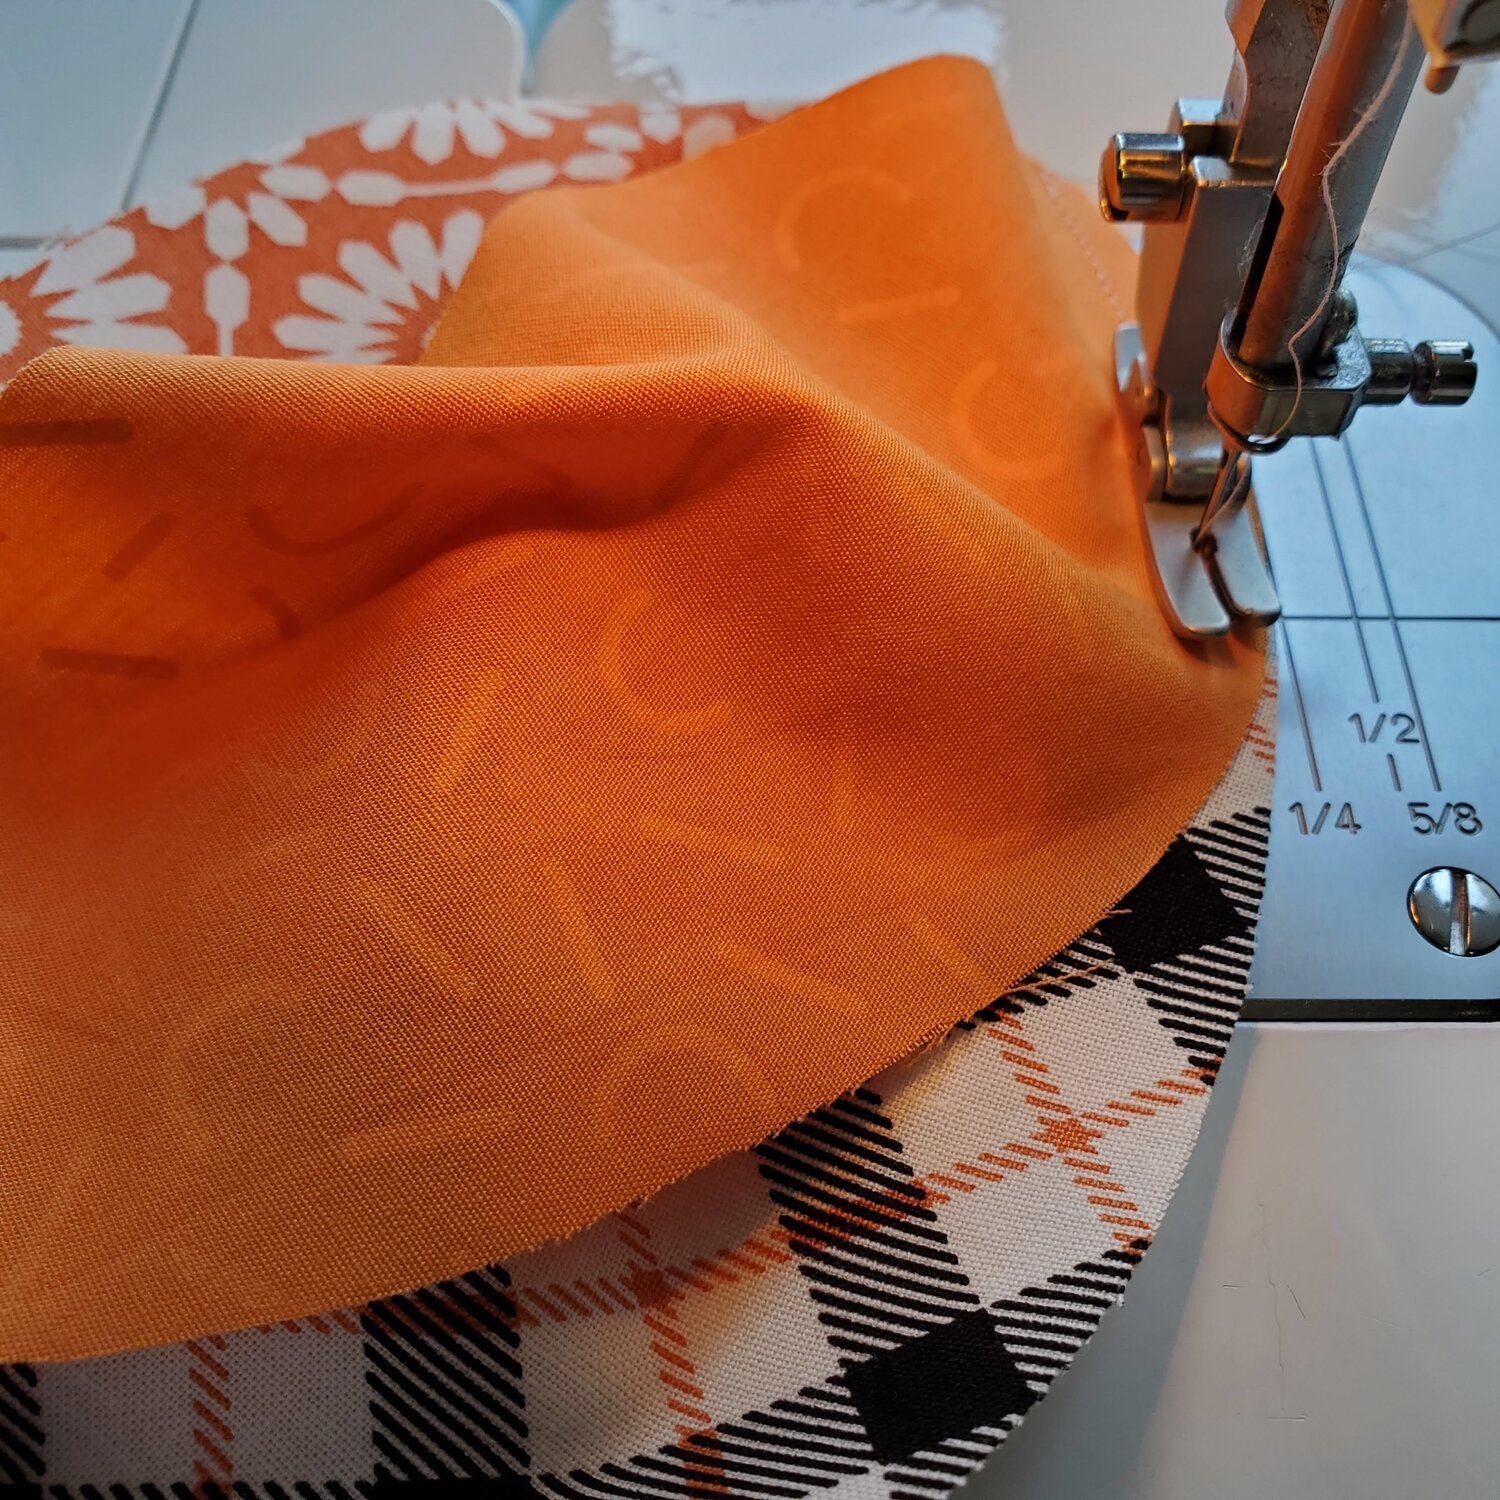
Open up the pieces and line up the third pumpkin piece with the first two and stitch in the same manner.
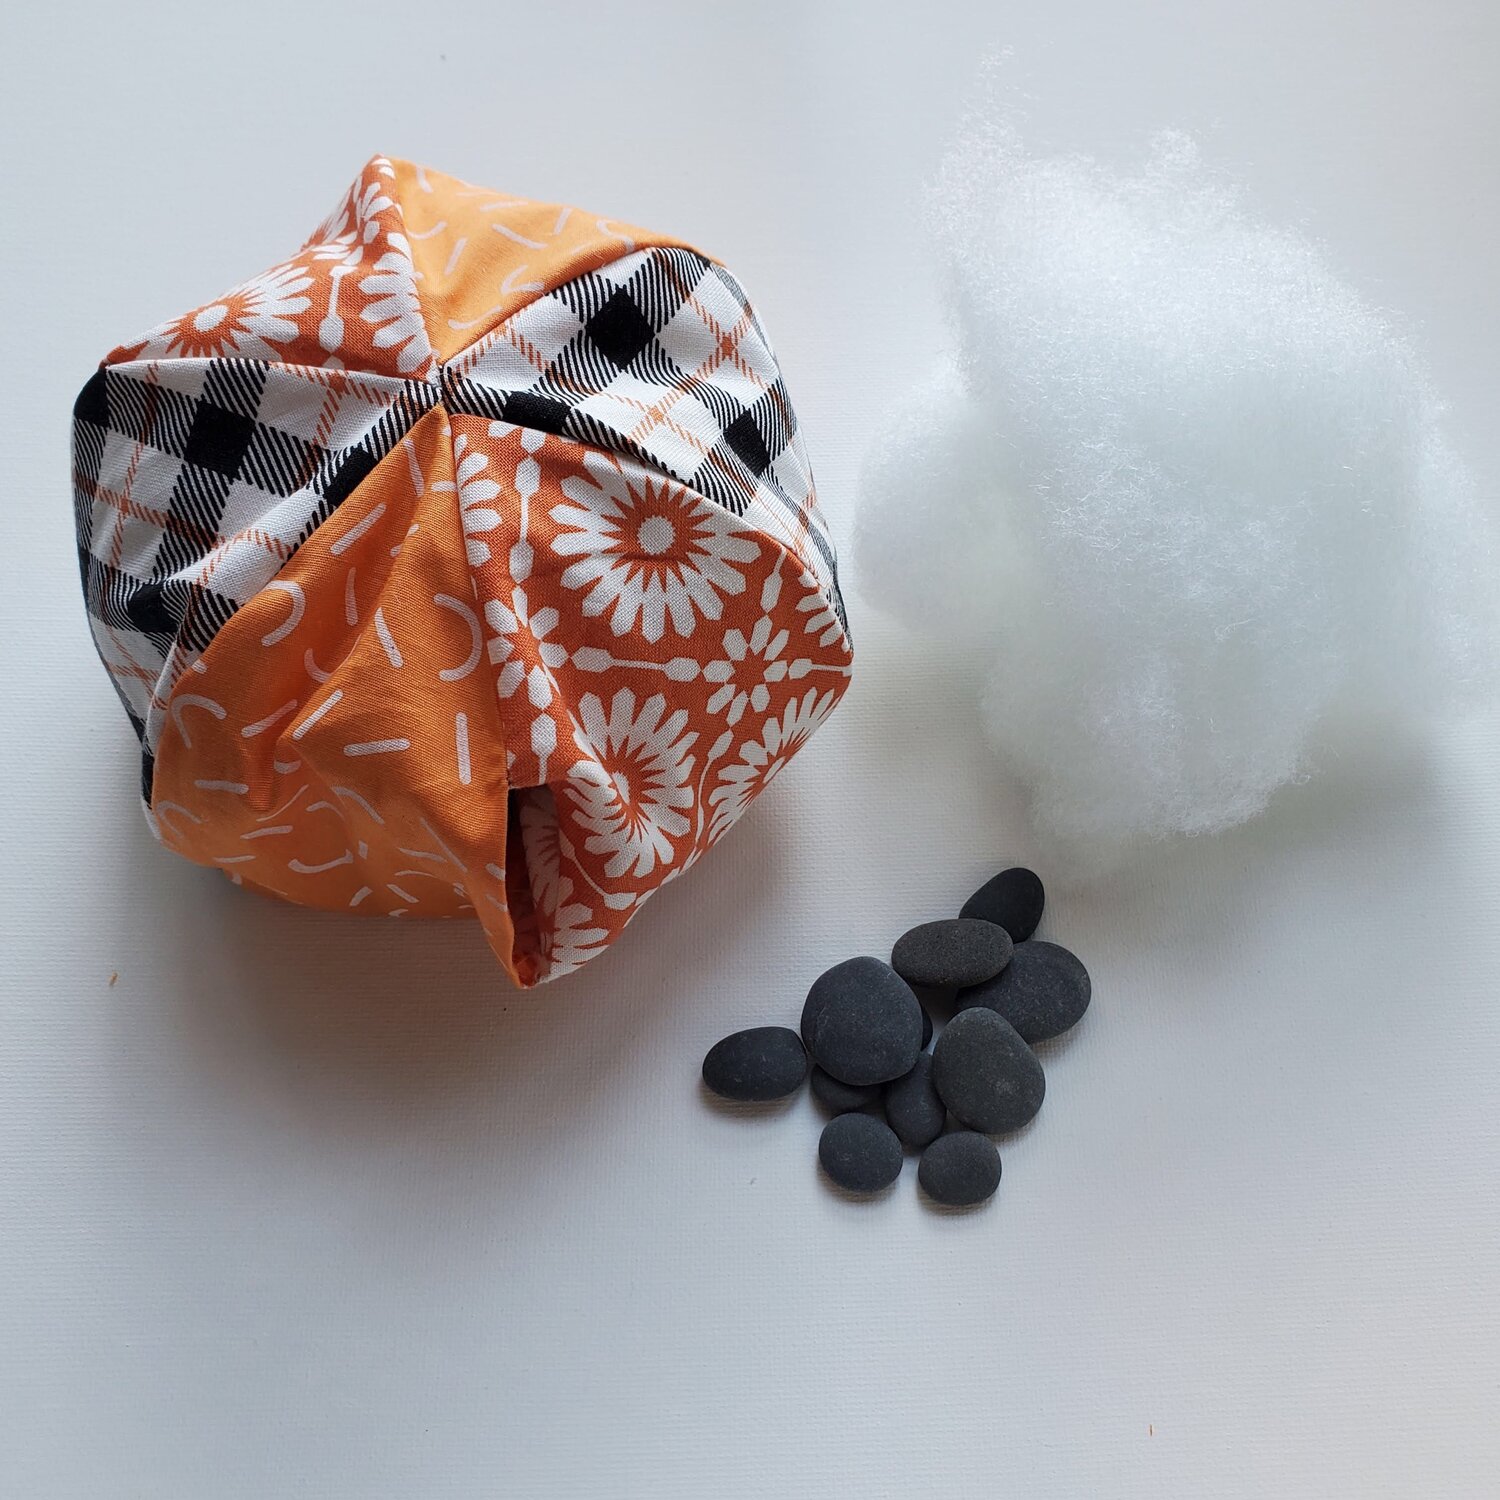
Repeat the steps to make the second half of the pumpkin. Trim the seams with pinking shears to help it lay flat. Line up the two halves of the pumpkin and sew together leaving an opening for turning. Turn right sides out, finger pressing the seams. Using Poly-fil stuff the pumpkin. I added some rocks to the bottom of the pumpkin so it would stay in place on my covered porch.
Hand stitch the opening closed. Use about a 40” piece of jute to wrap around the pumpkin, secure it with some hot glue as you tie it on the pumpkin.

Hot glue your stem and some leaves or a bow to complete your fabric pumpkin.
To create the Halloween Gnome you will need:
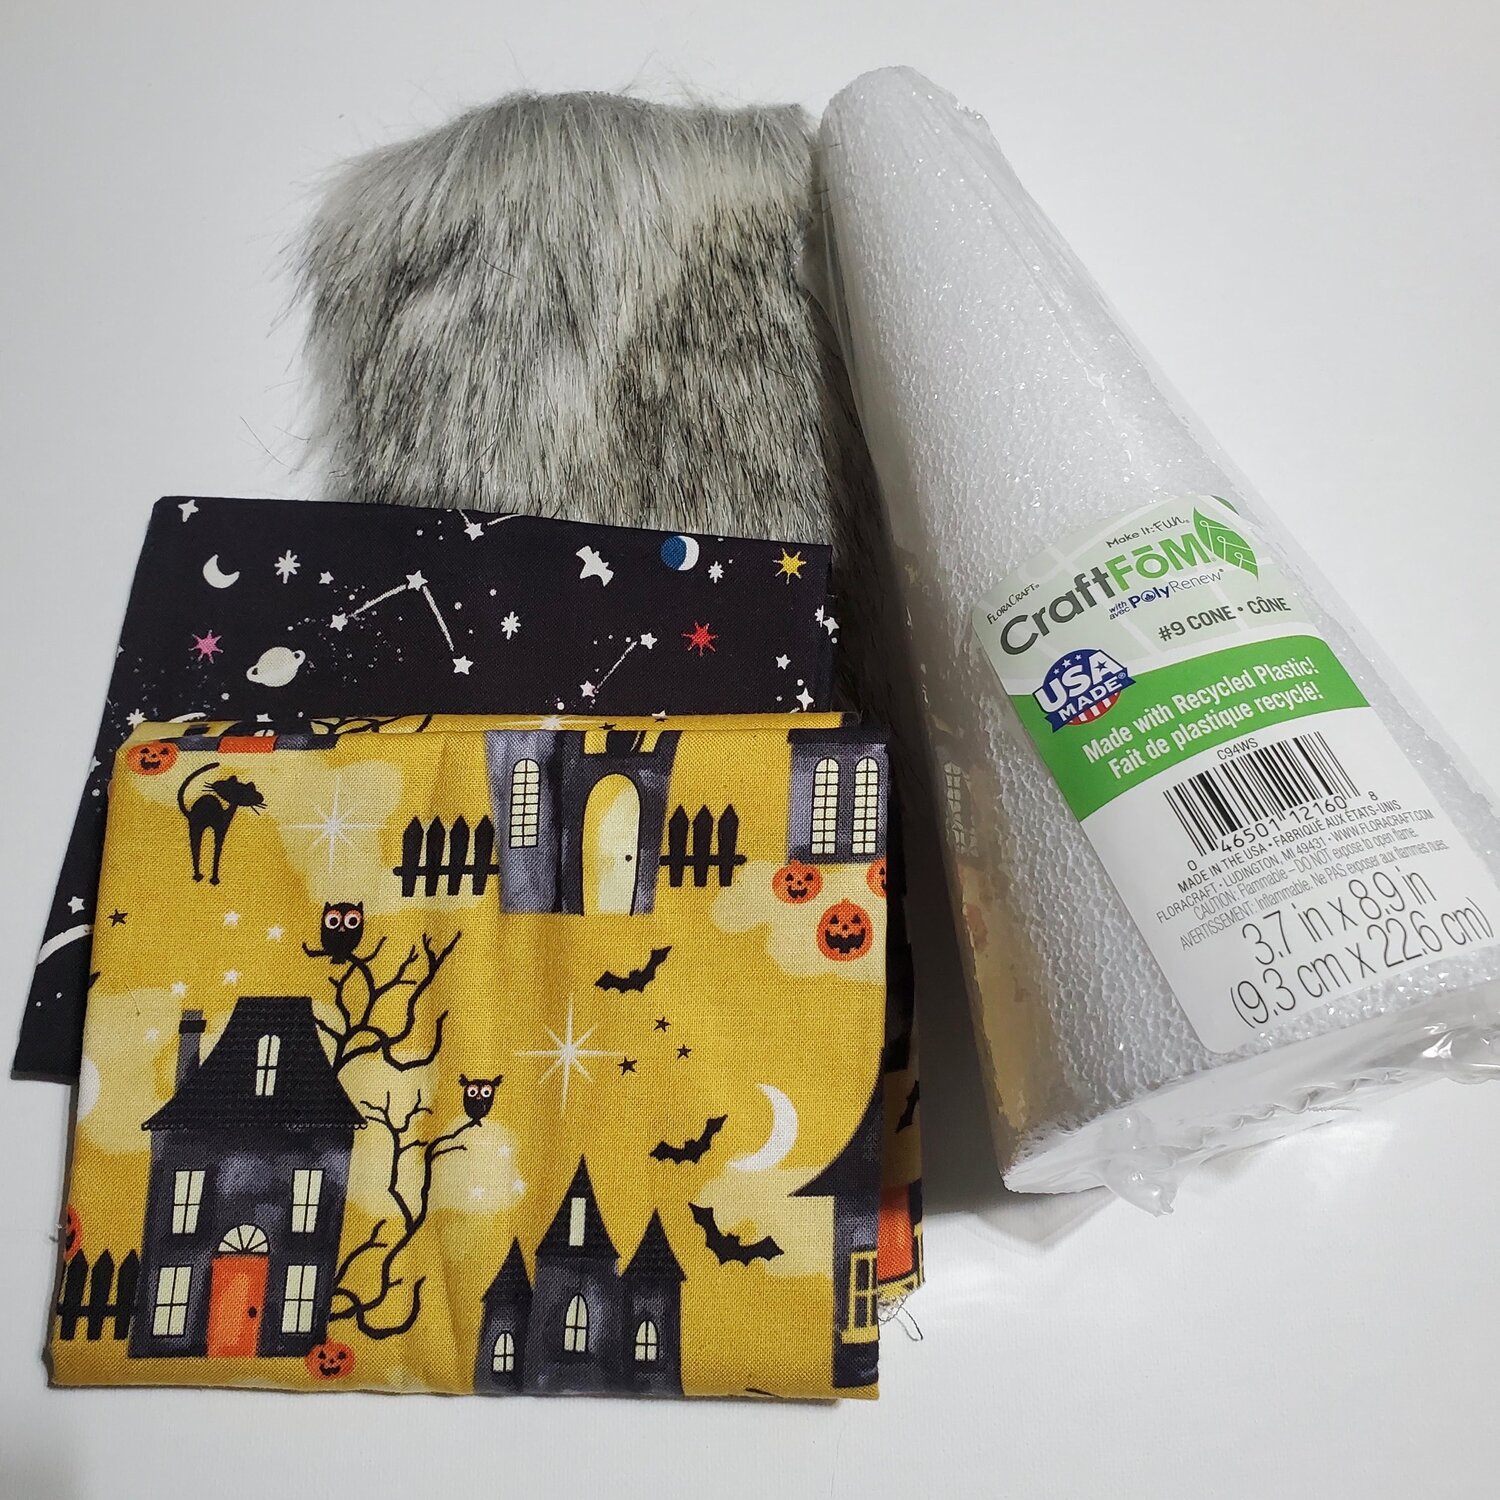
- Medium styrofoam cone
- 4x6” piece of faux fur
- 8x14” body fabric. Pictured Jill Howarth design for Riley Blake fabrics.
- 6x8” fabric for hat. Pictured Michael Miller fabric Midnight Manor
- 4” diameter circle of black felt for the hat
- Orange circle of fabric or wooden bead for a nose
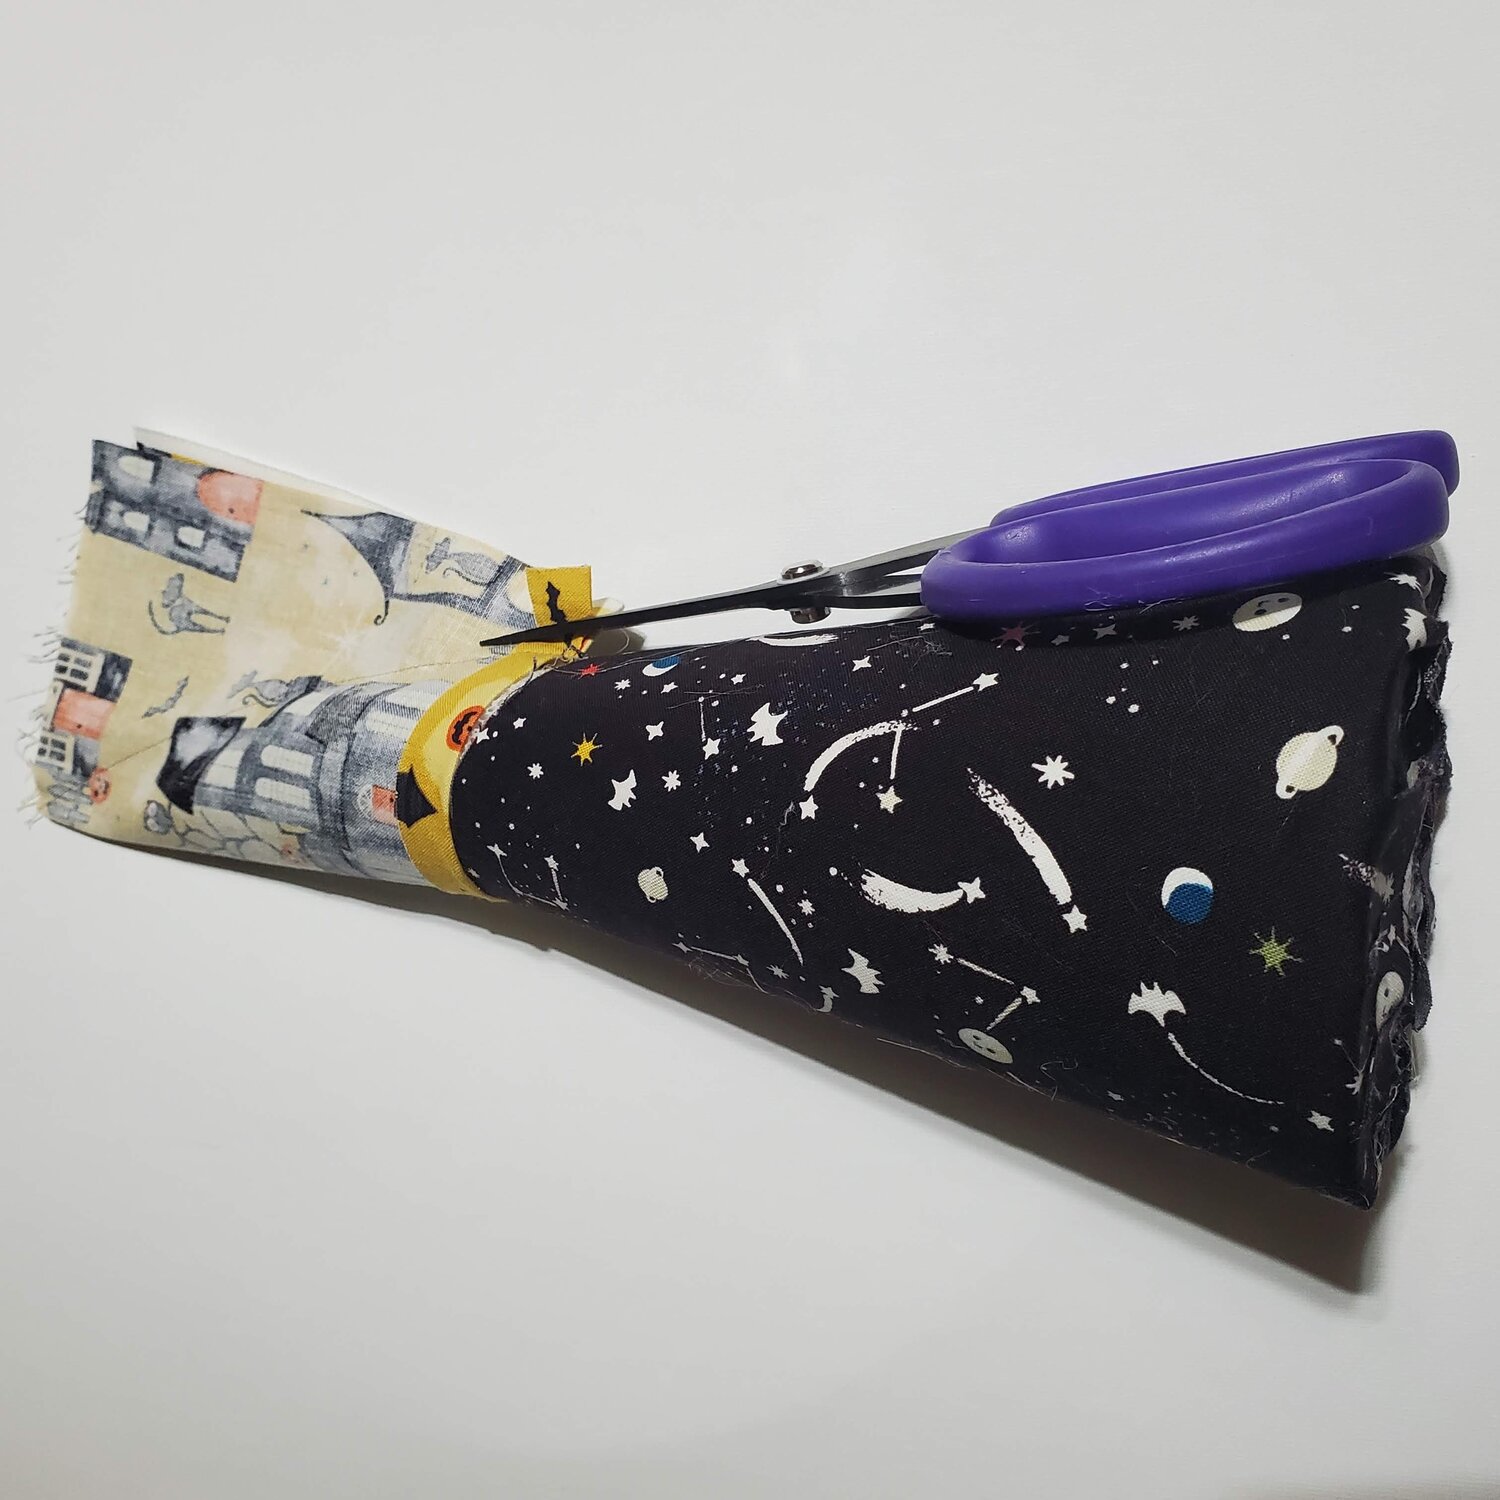
To get started, wrap the black fabric around the bottom of the cone folding under the raw edge. Pin in place to hold temporarily till you are ready to hot glue. Trim the bottom edge with about 1” overlap. Cut slits around the bottom edge to fold and glue in place.
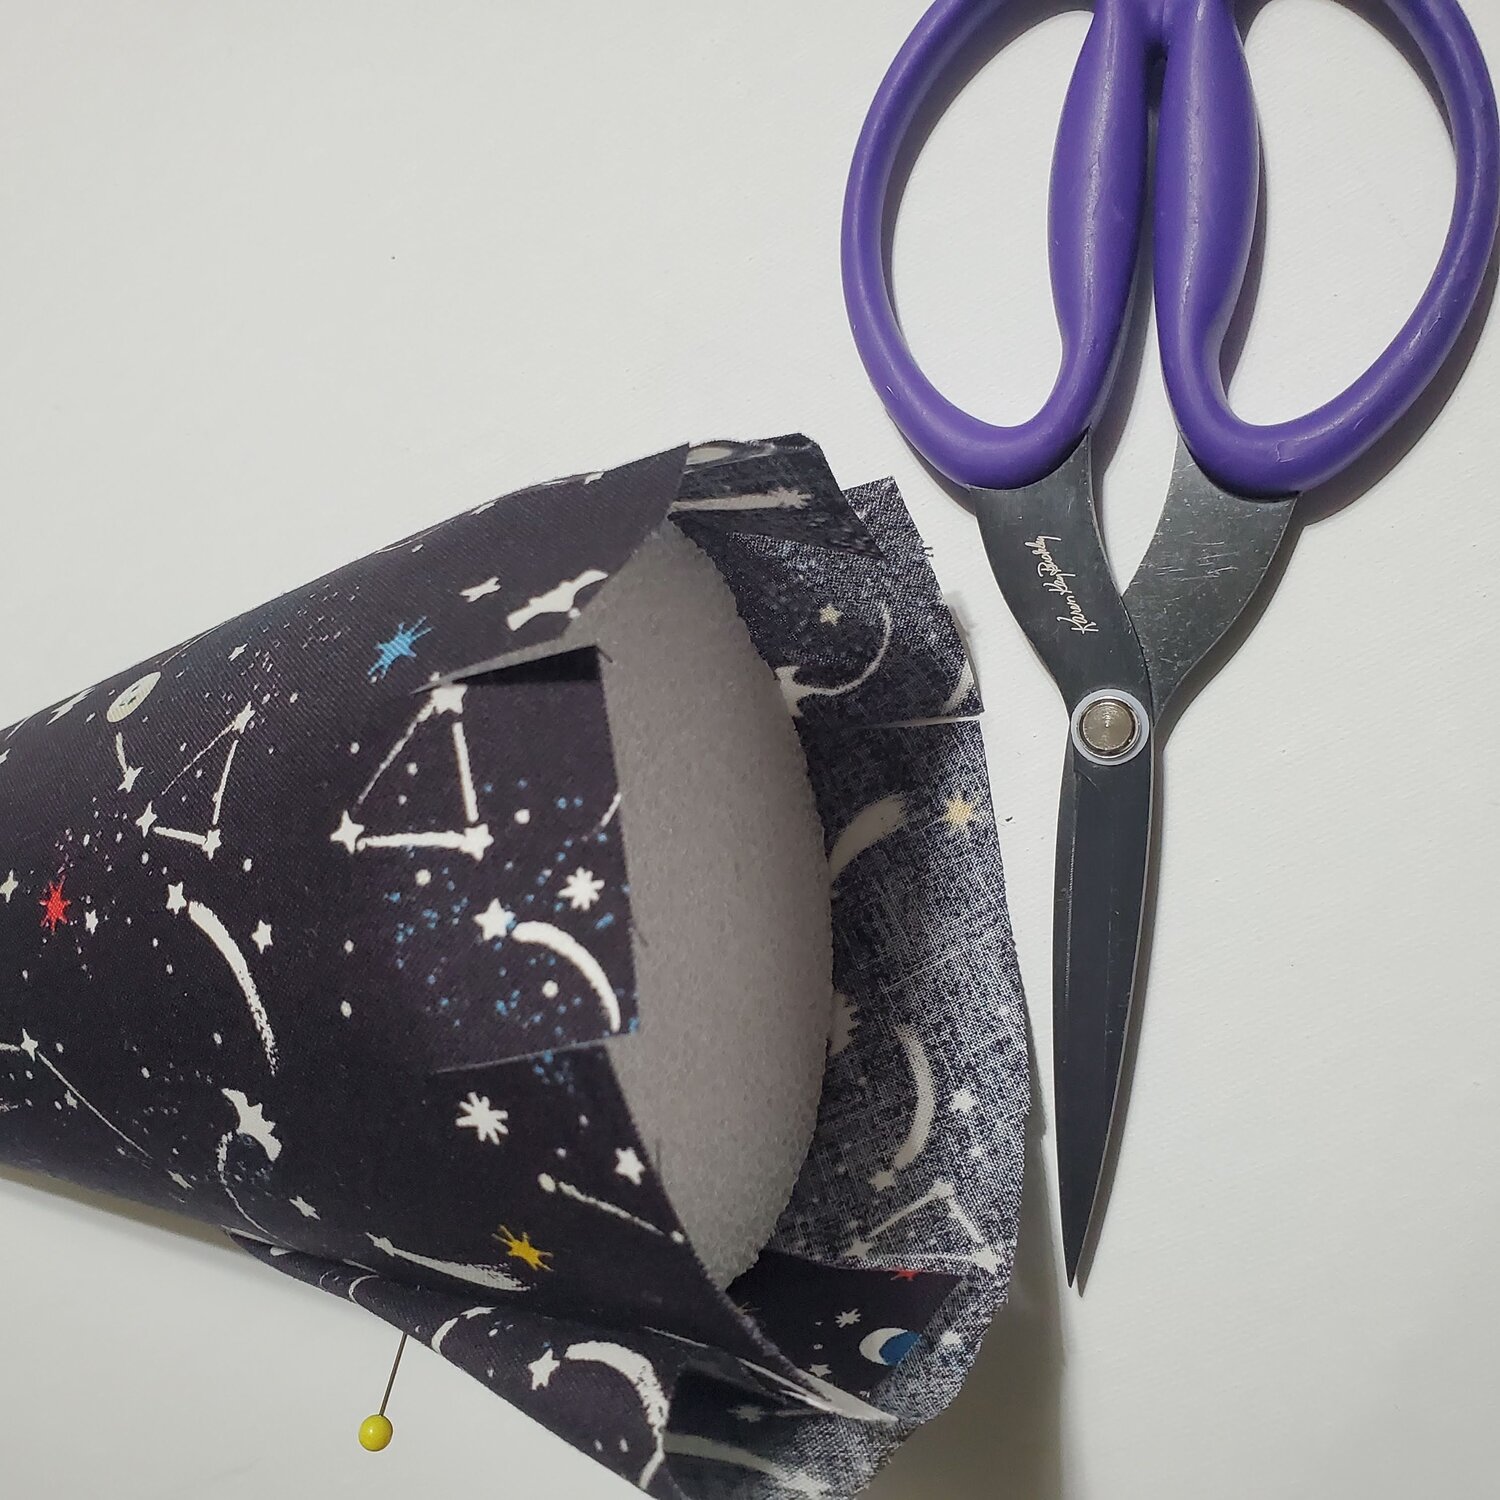
With the yellow fabric you will sew the hat. Press ¼” edge under to conceal the raw edges of the bottom of the hat. Wrap the fabric piece around the top of the cone and mark a sewing line to create a cone shaped hat. With the right sides together sew the seam and trim excess fabric.
Turn right sides out and add a small amount of Poly-fil to the peak of the hat.
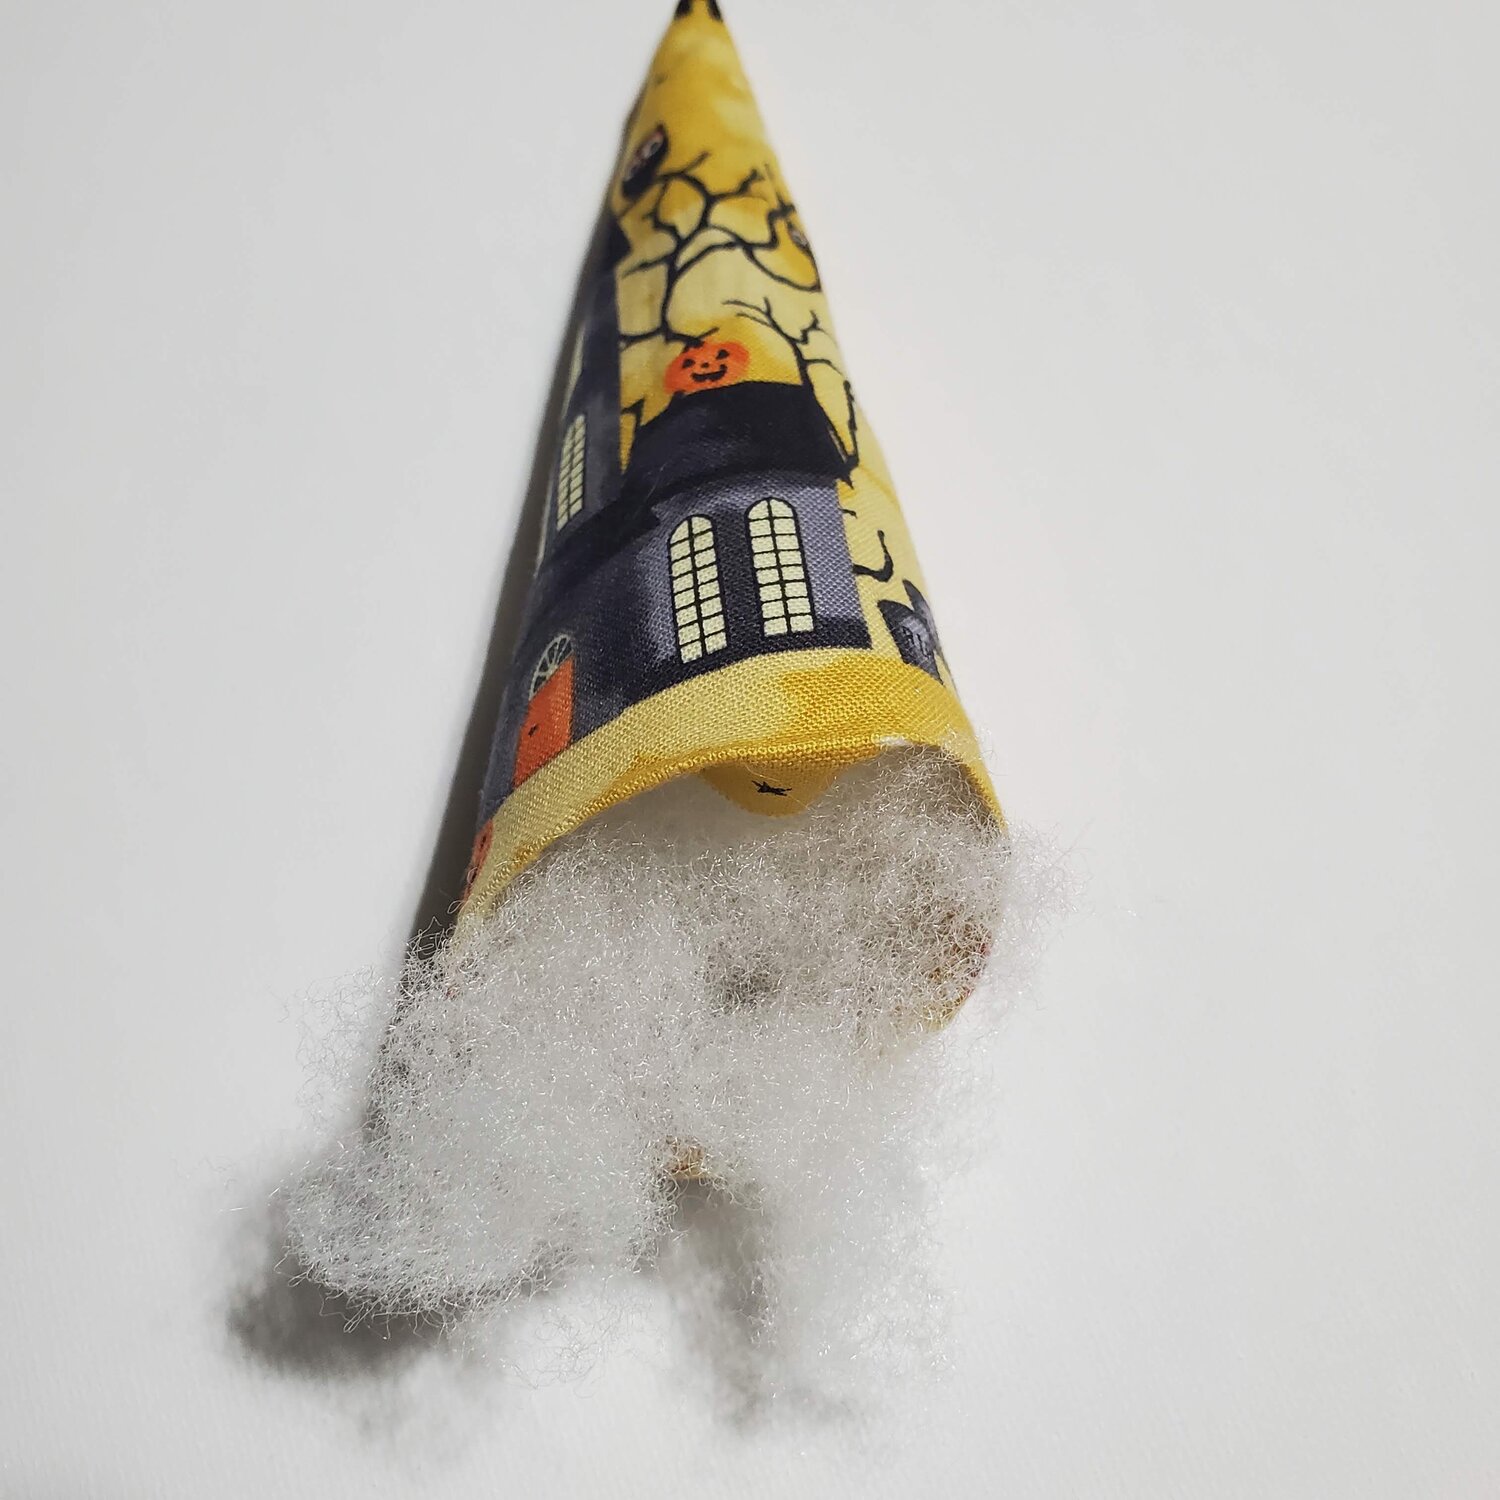
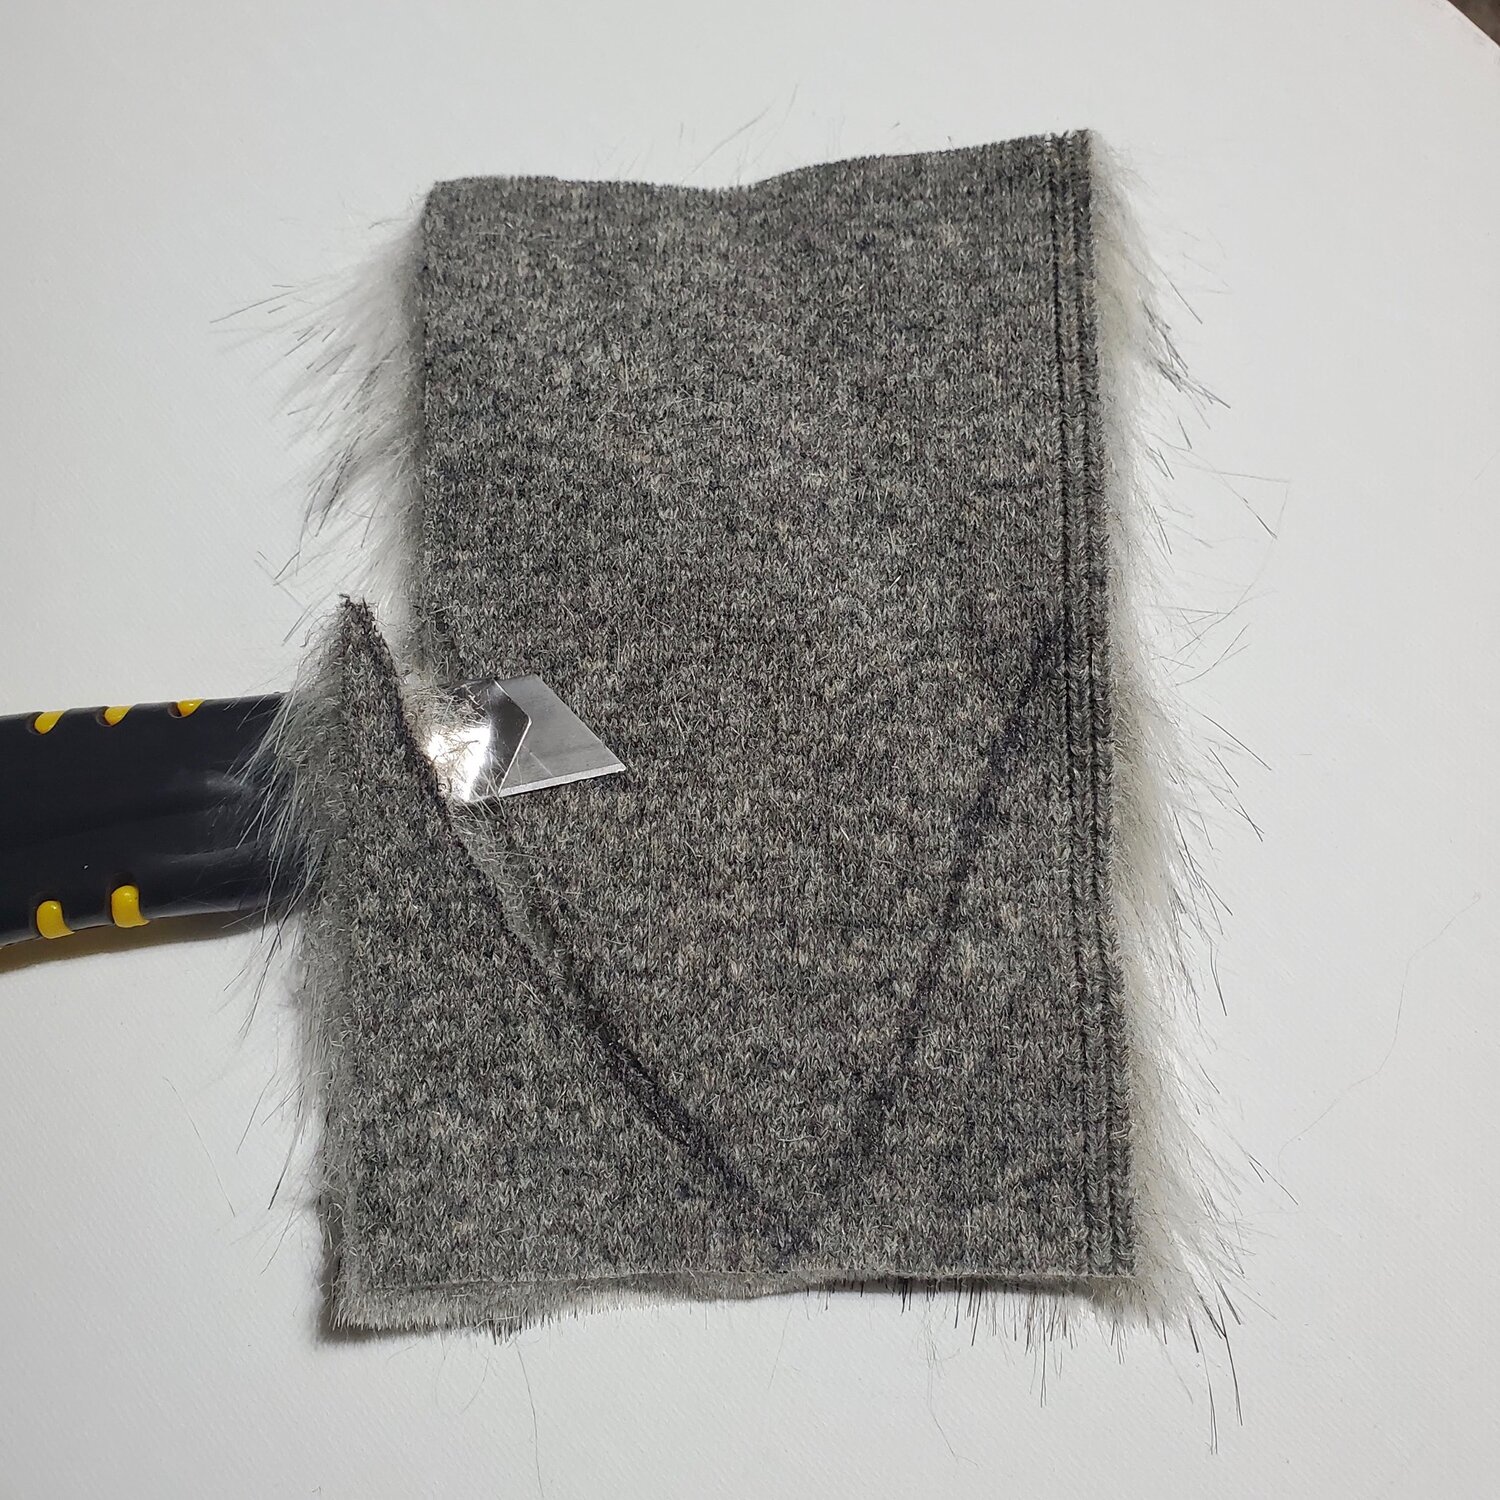
Place the hat on the top of the cone and carefully hot glue in place. Next you will prepare the beard. Mark the shape of the beard on the back with a fabric marker. Using a knife blade cut from the back side of the faux fur cutting in the same direction as the nap of the fur.
Glue the beard in place to align with the bottom edge of the hat. Add a nose made from a small stuffed circle of fabric or as I did using a wooden bead painted orange. Finally, for the brim of the hat cut a 2” diameter circle from the center of the 4” black felt circle. Glue in place. To angle the top of the hat to give him a little character I just placed a bit of hot glue and folded the fabric holding it in place till it cooled.
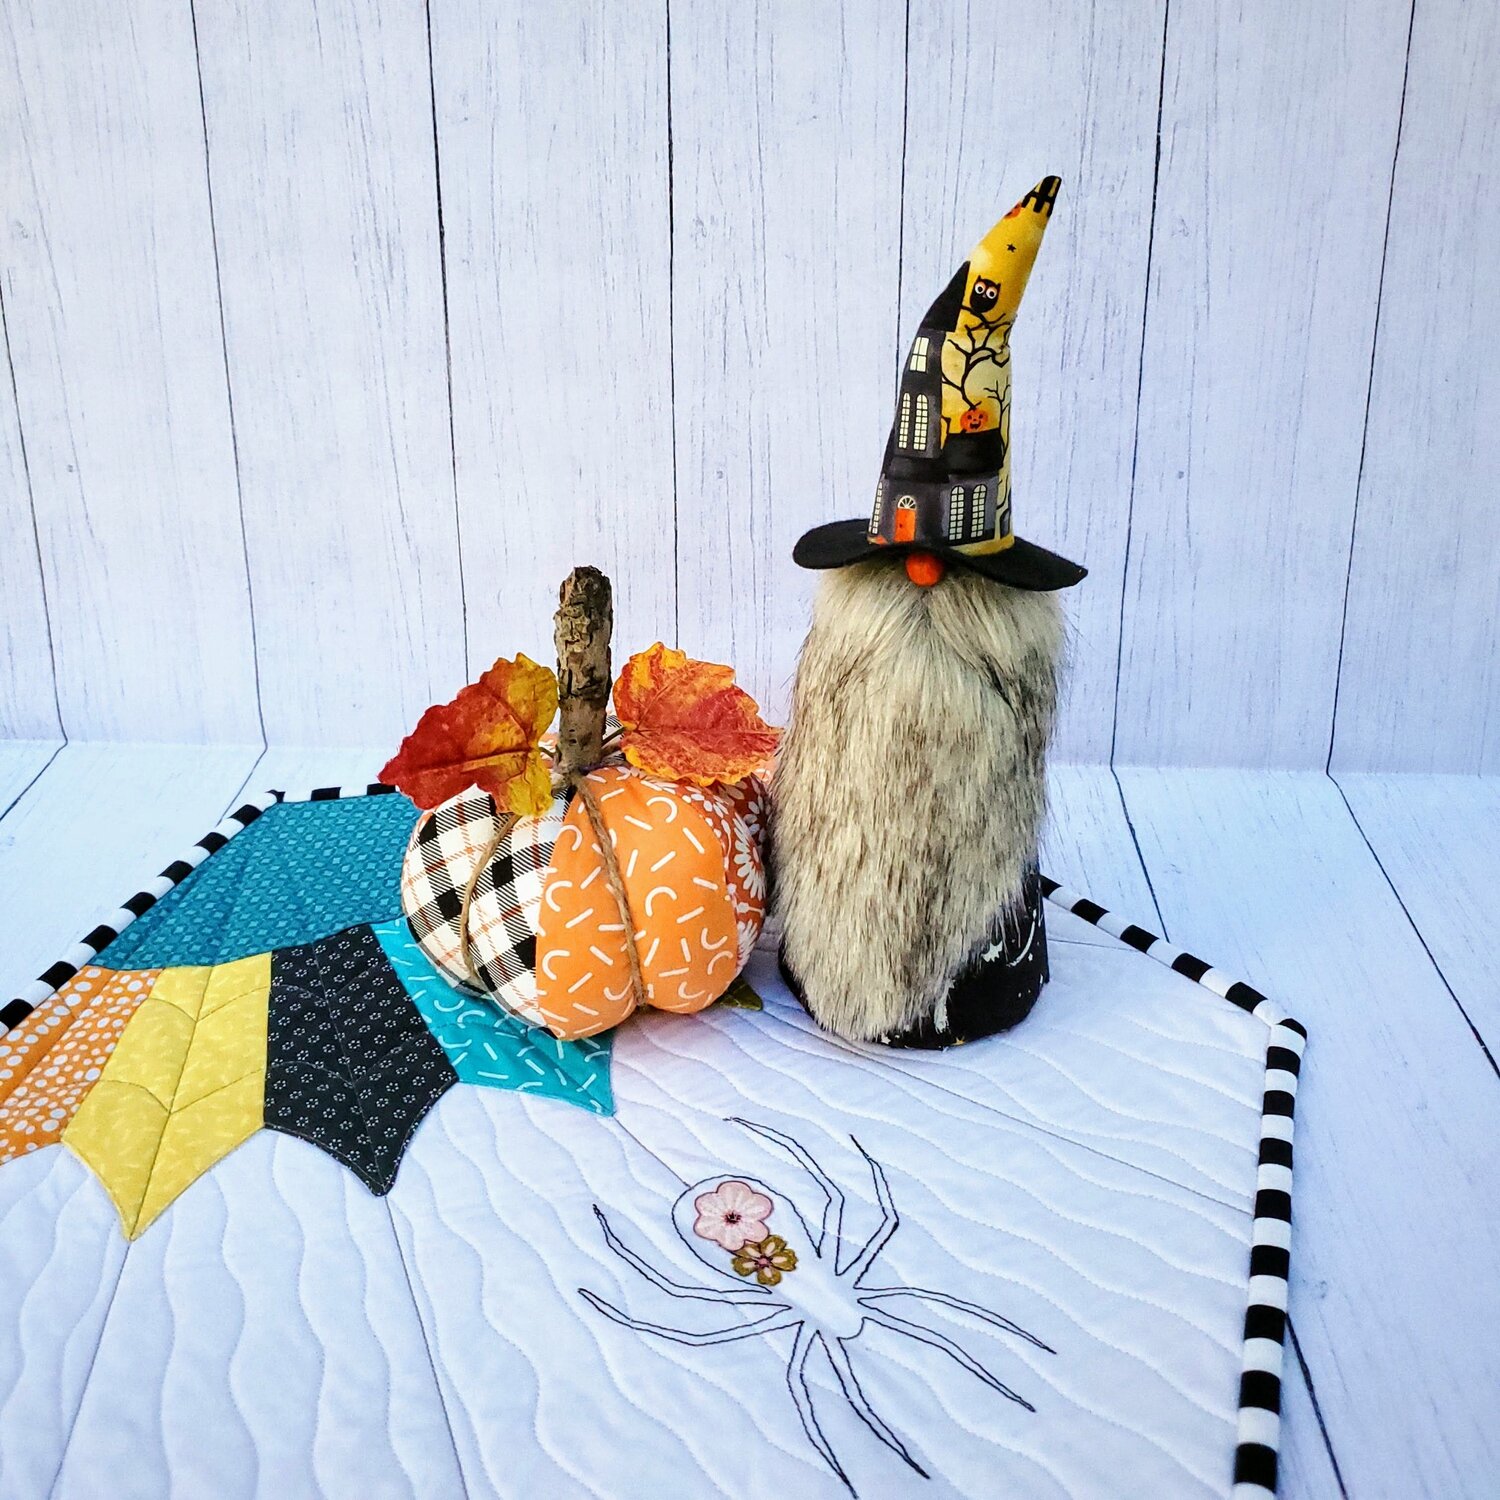
Create a cute Halloween themed table top by pairing up with this Floral spider web mini quilt from a past blog.