DIY Mug Caddy
30th Jun 2022
Organizing my sewing room is an ongoing, ever changing activity as I add new tools and gadgets to improve my craft. I recently came across this free pattern from SewCanShe for how to sew a Mug Caddy to fit a standard 11oz coffee mug. In this tutorial I will show you how I customized the pattern to fit my taller tapered mug. These fun new fabrics from the Mini Pops Membership with a great assortment of fat quarters are just right for this project.
Materials needed:
- Two coordinating Fat Quarters Myster Bundles of Fat quarters
- Pellon Shape Flex 101
- Coordinating Aurifil Thread from the Chroma Membership
- Coffee Mug
- Cam snap set from Amazon
To prepare a pattern for the tall tapered mug I first started with measuring the height and circumference of the mug. I then made a paper pattern to try on the mug first to make some adjustments before cutting my fabric pieces.
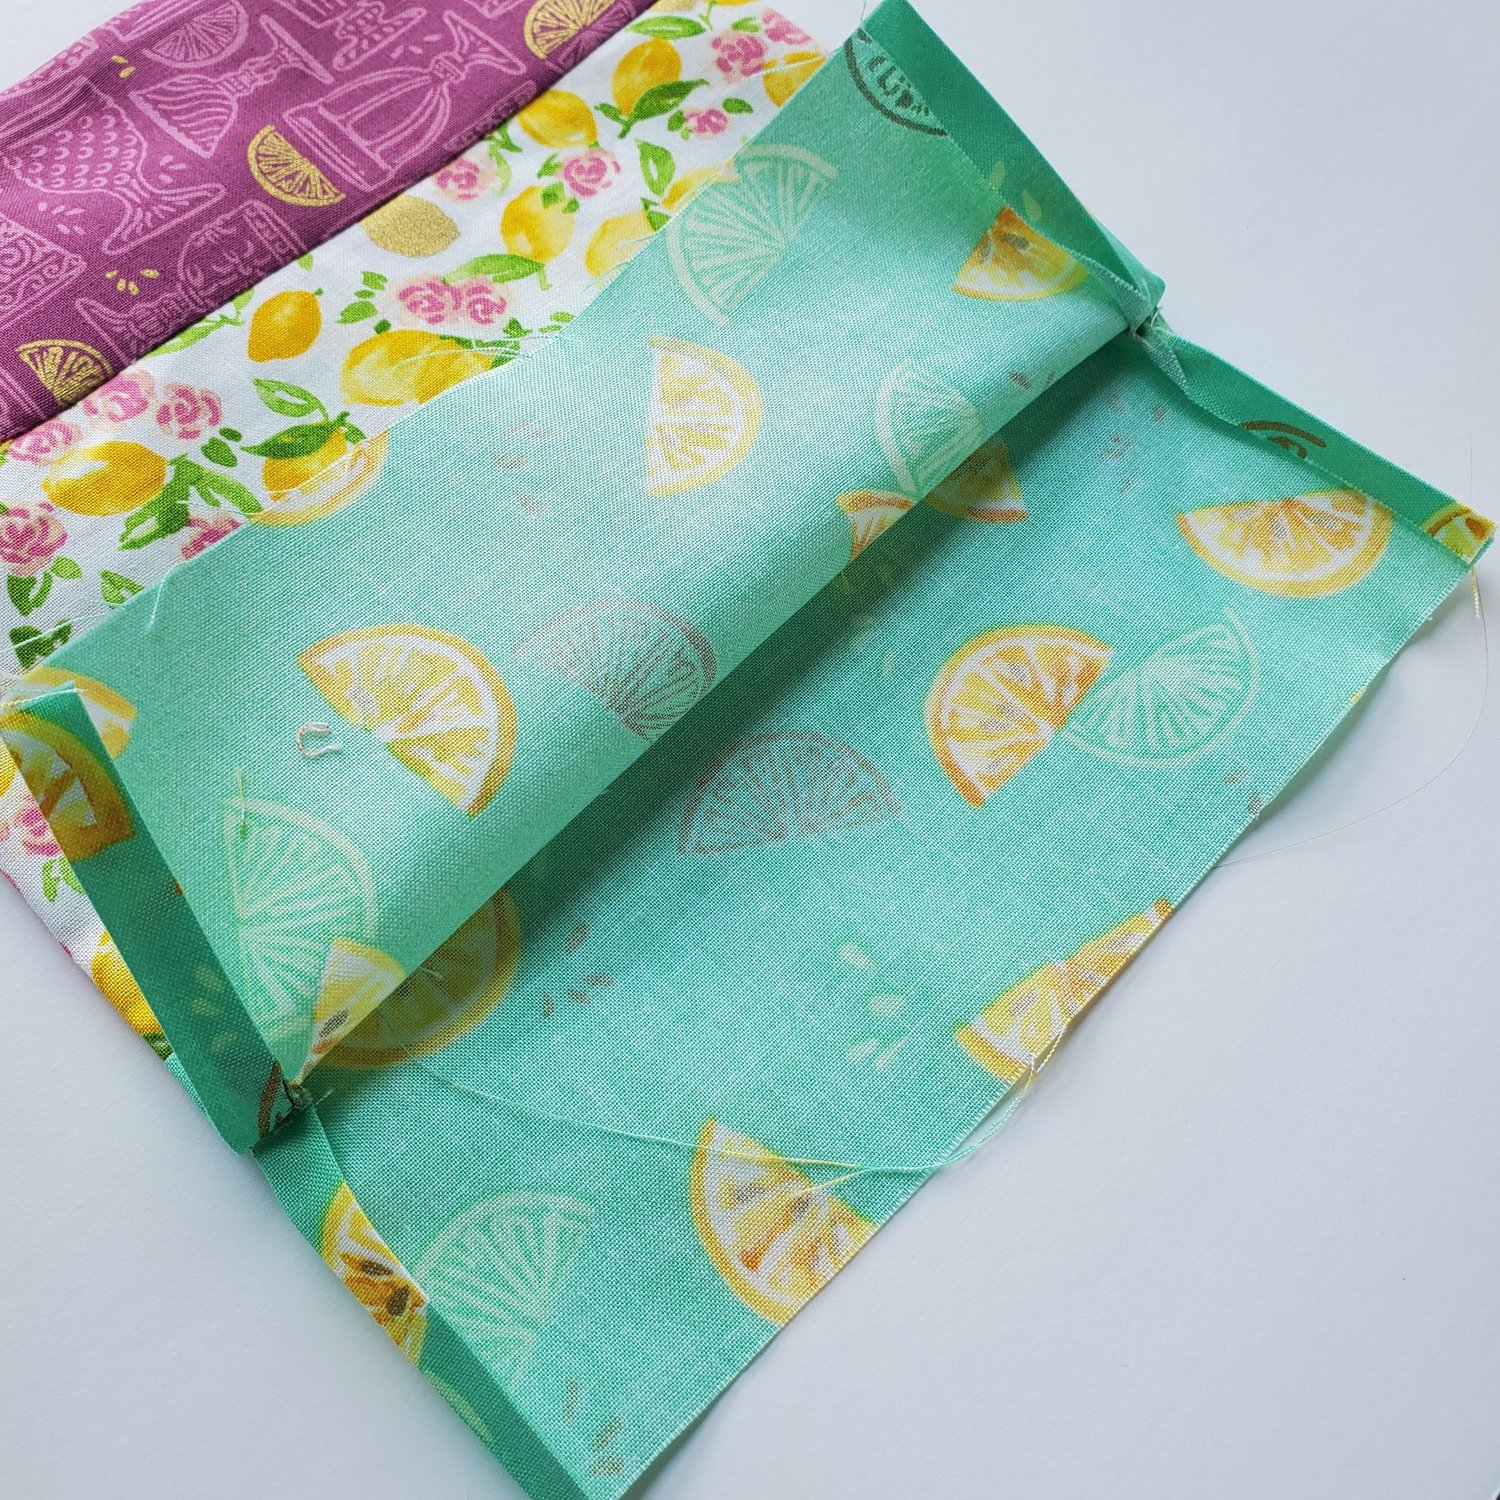
For this mug I left about an inch of space between where the handle attaches to place the straps to snap the caddy in place. I also allowed about two inches of fabric to fold down inside the mug. Since the mug is tapered I used the paper pattern to figure out the angle before cutting the fabric. I cut the same shape from a lining fabric placed the right sides together, sewing the sides and top with ¼” seam allowance.
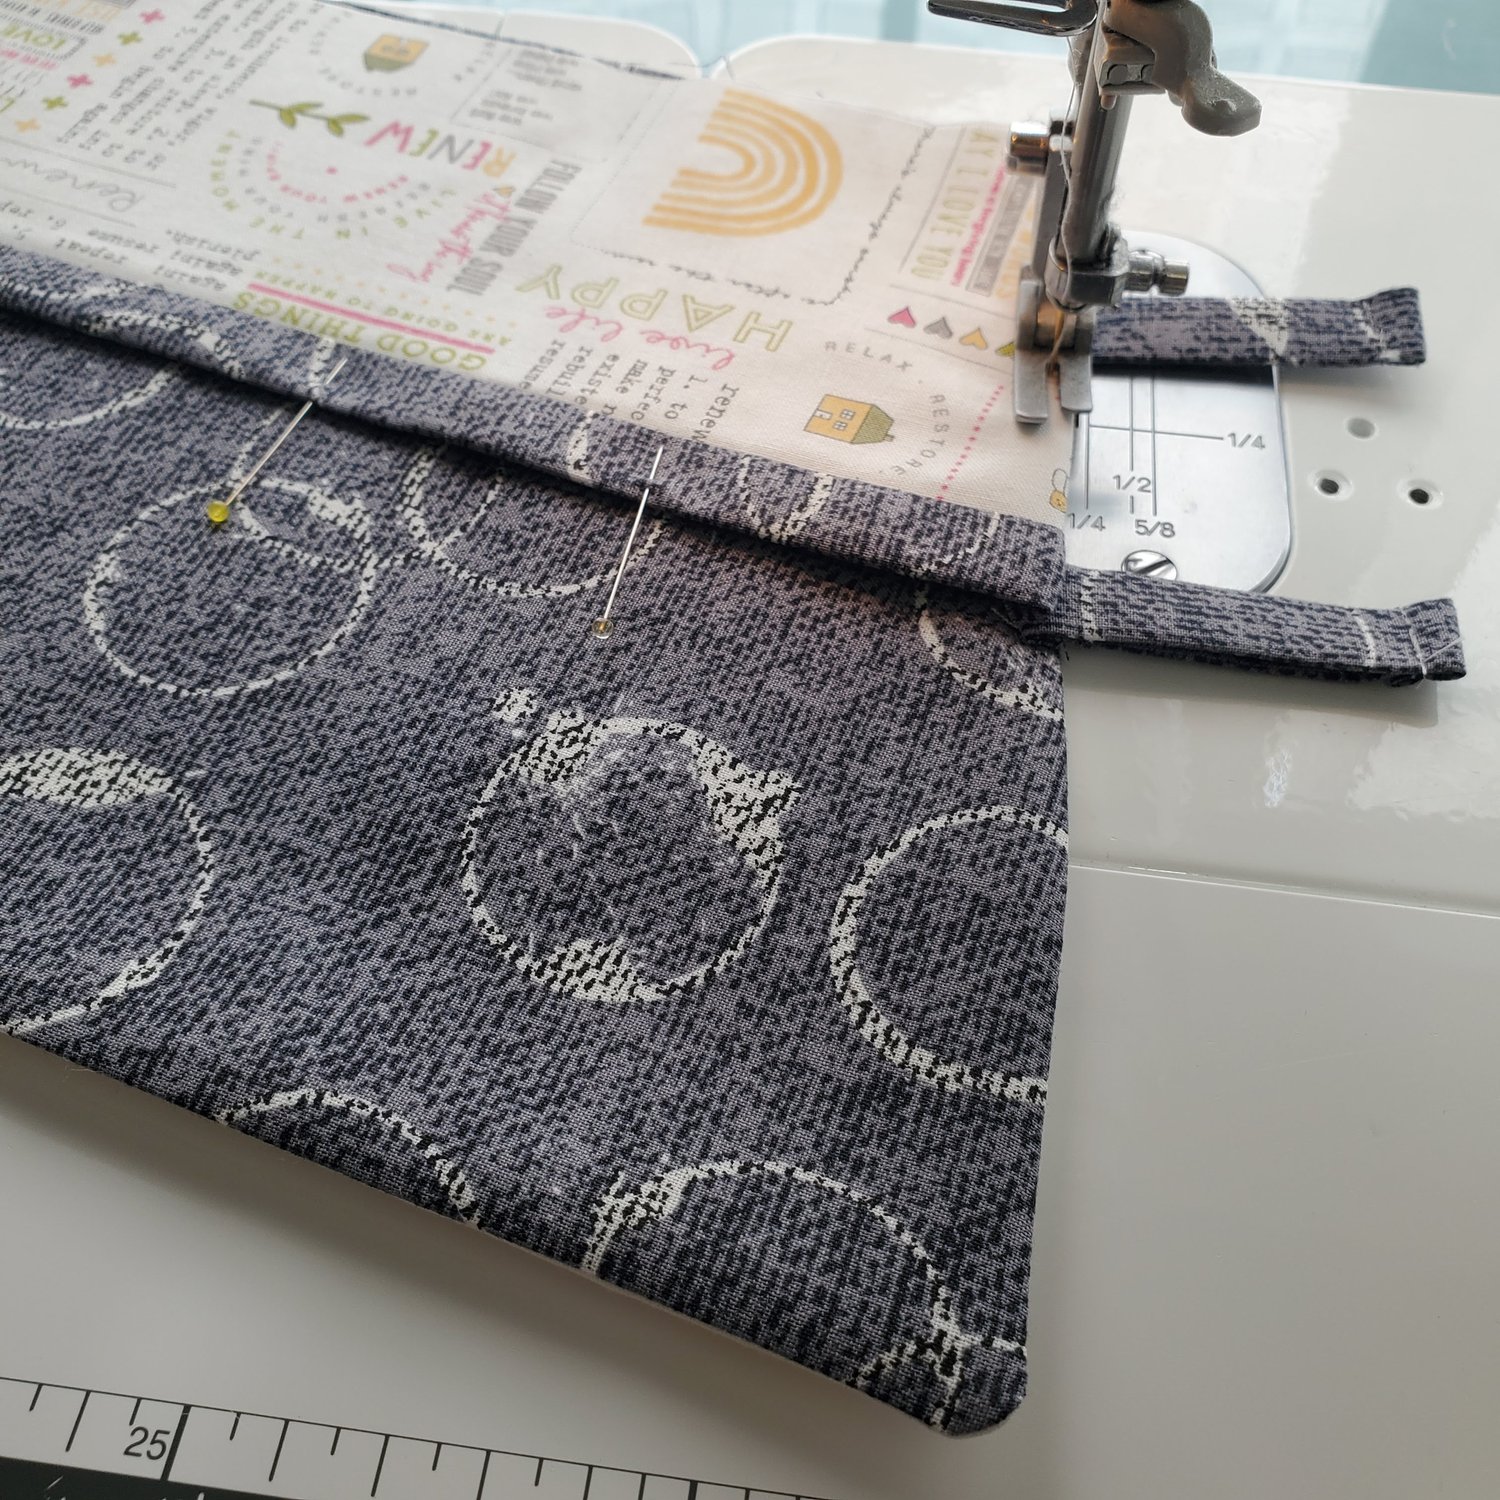
Turn right sides out and press. Next make the straps by cutting two pieces of 2”x3”, fold in half, open and fold the raw edges in. Topstitch in a coordinating thread. Baste in place so that the straps are between where the handle attaches to the mug.
Set this part aside. To make the outer pocket piece (cream fabric) I cut it 3” tall and 22” long. I used the Pellon fusible Shape Flex 101 to line the cream piece to give it more body to hold the shape with the tool inserted during future use. I then cut a piece of the lining (grey) fabric an inch wider. Align the two pieces with the right sides together and sew along the top edge with ¼” seam. Keep in mind the orientation of directional fabrics.
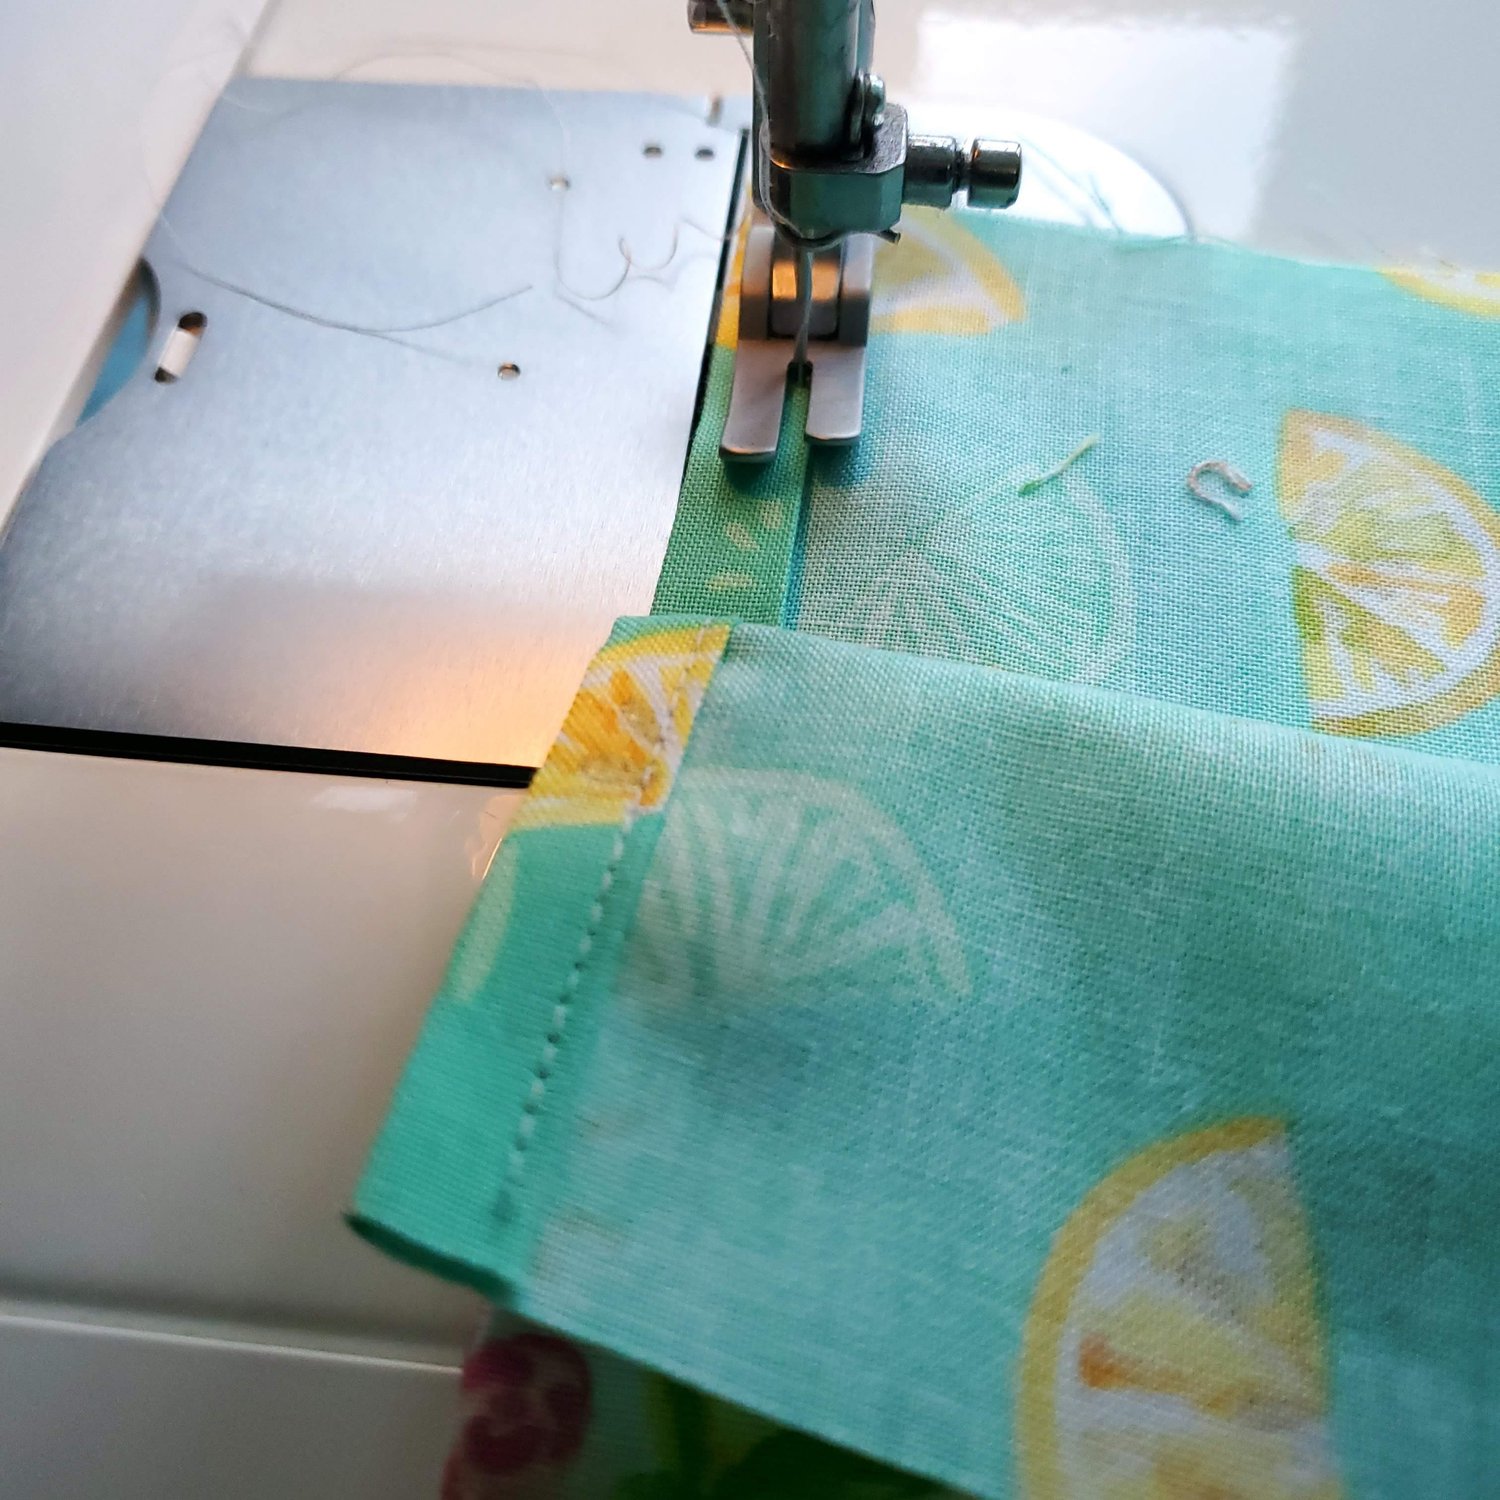
Turn right sides out and press the seam. Then fold the fabric strip in half aligning the bottom raw edges to create a ½” faux binding along the top edge.
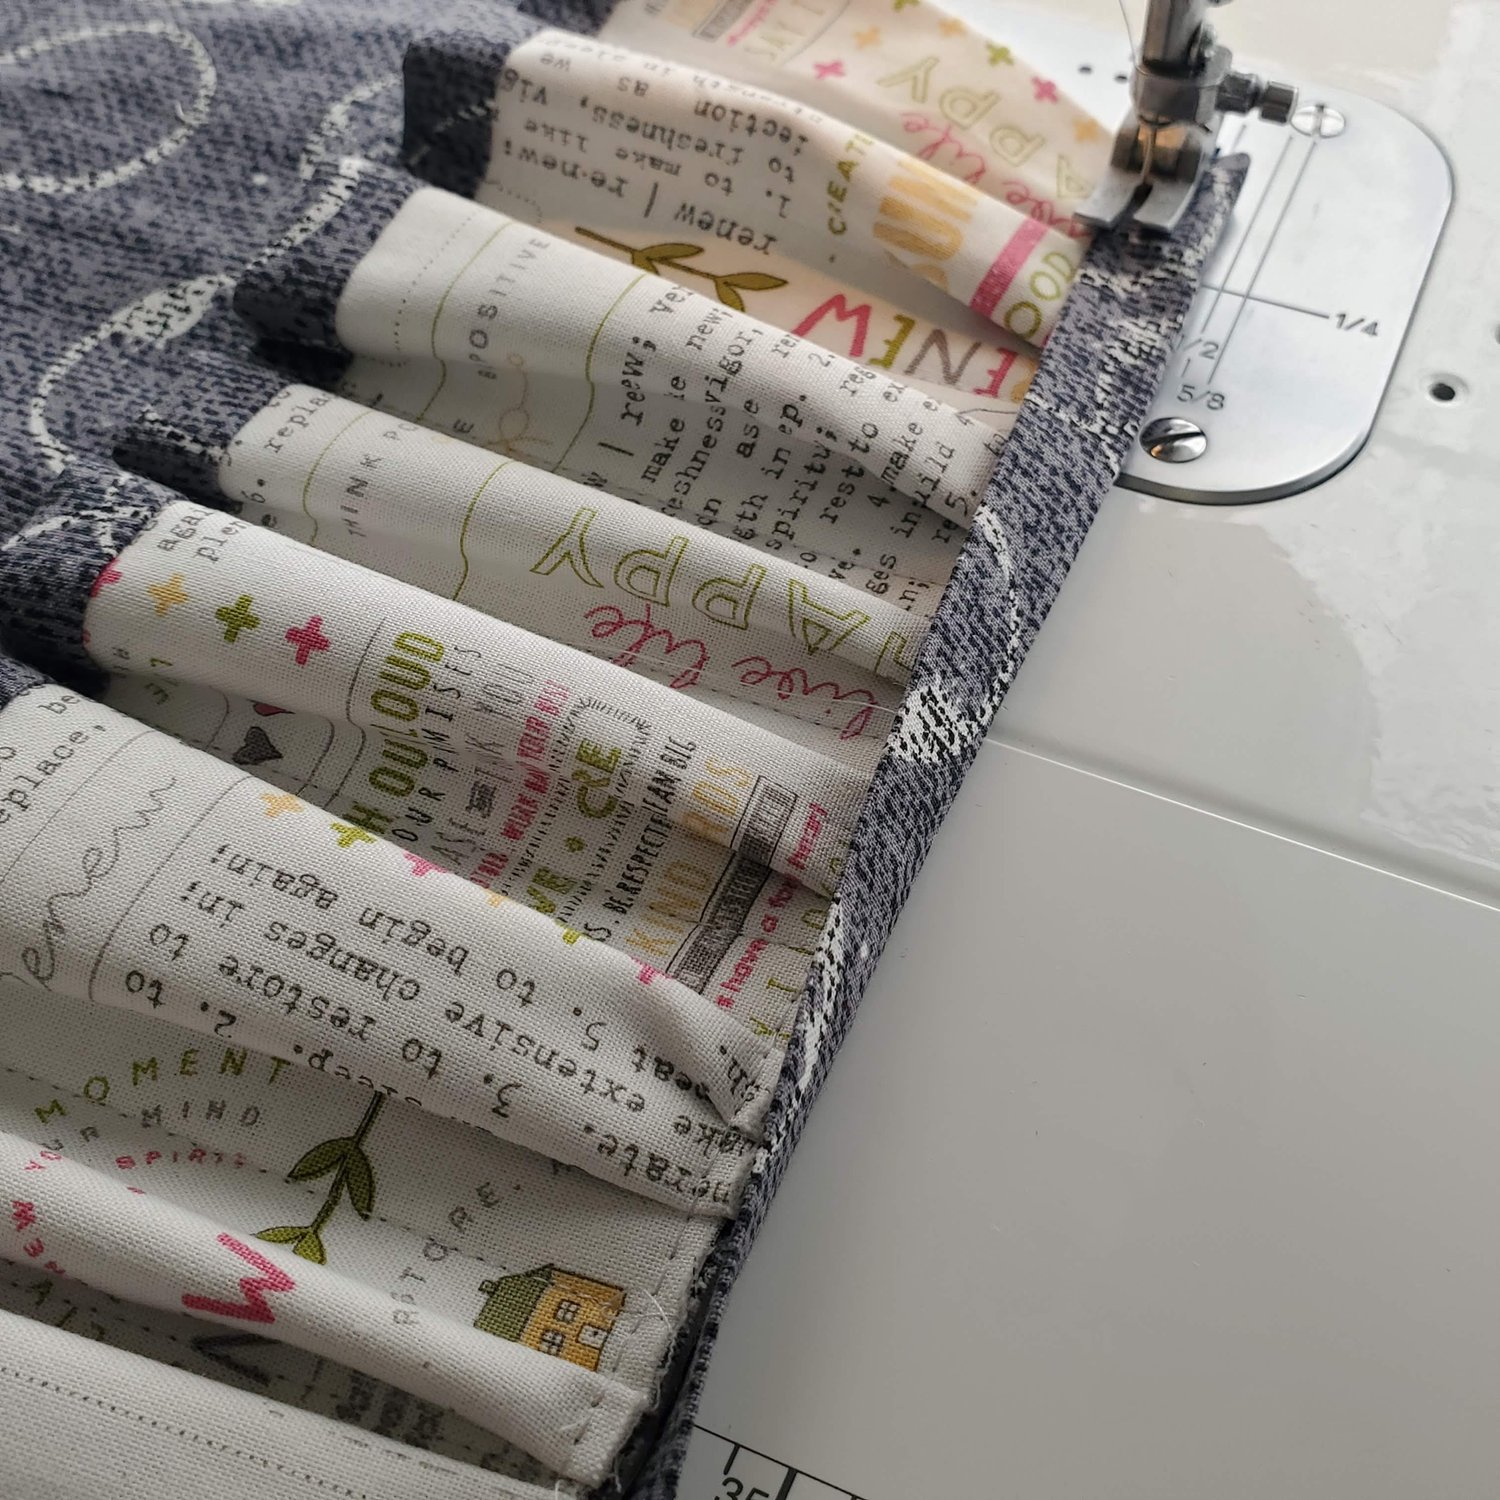
To mark the mini pockets use a pin and mark in varied increments such as 2.5”, 2”, and 1.5 repeating the measurements to the end of the strip.
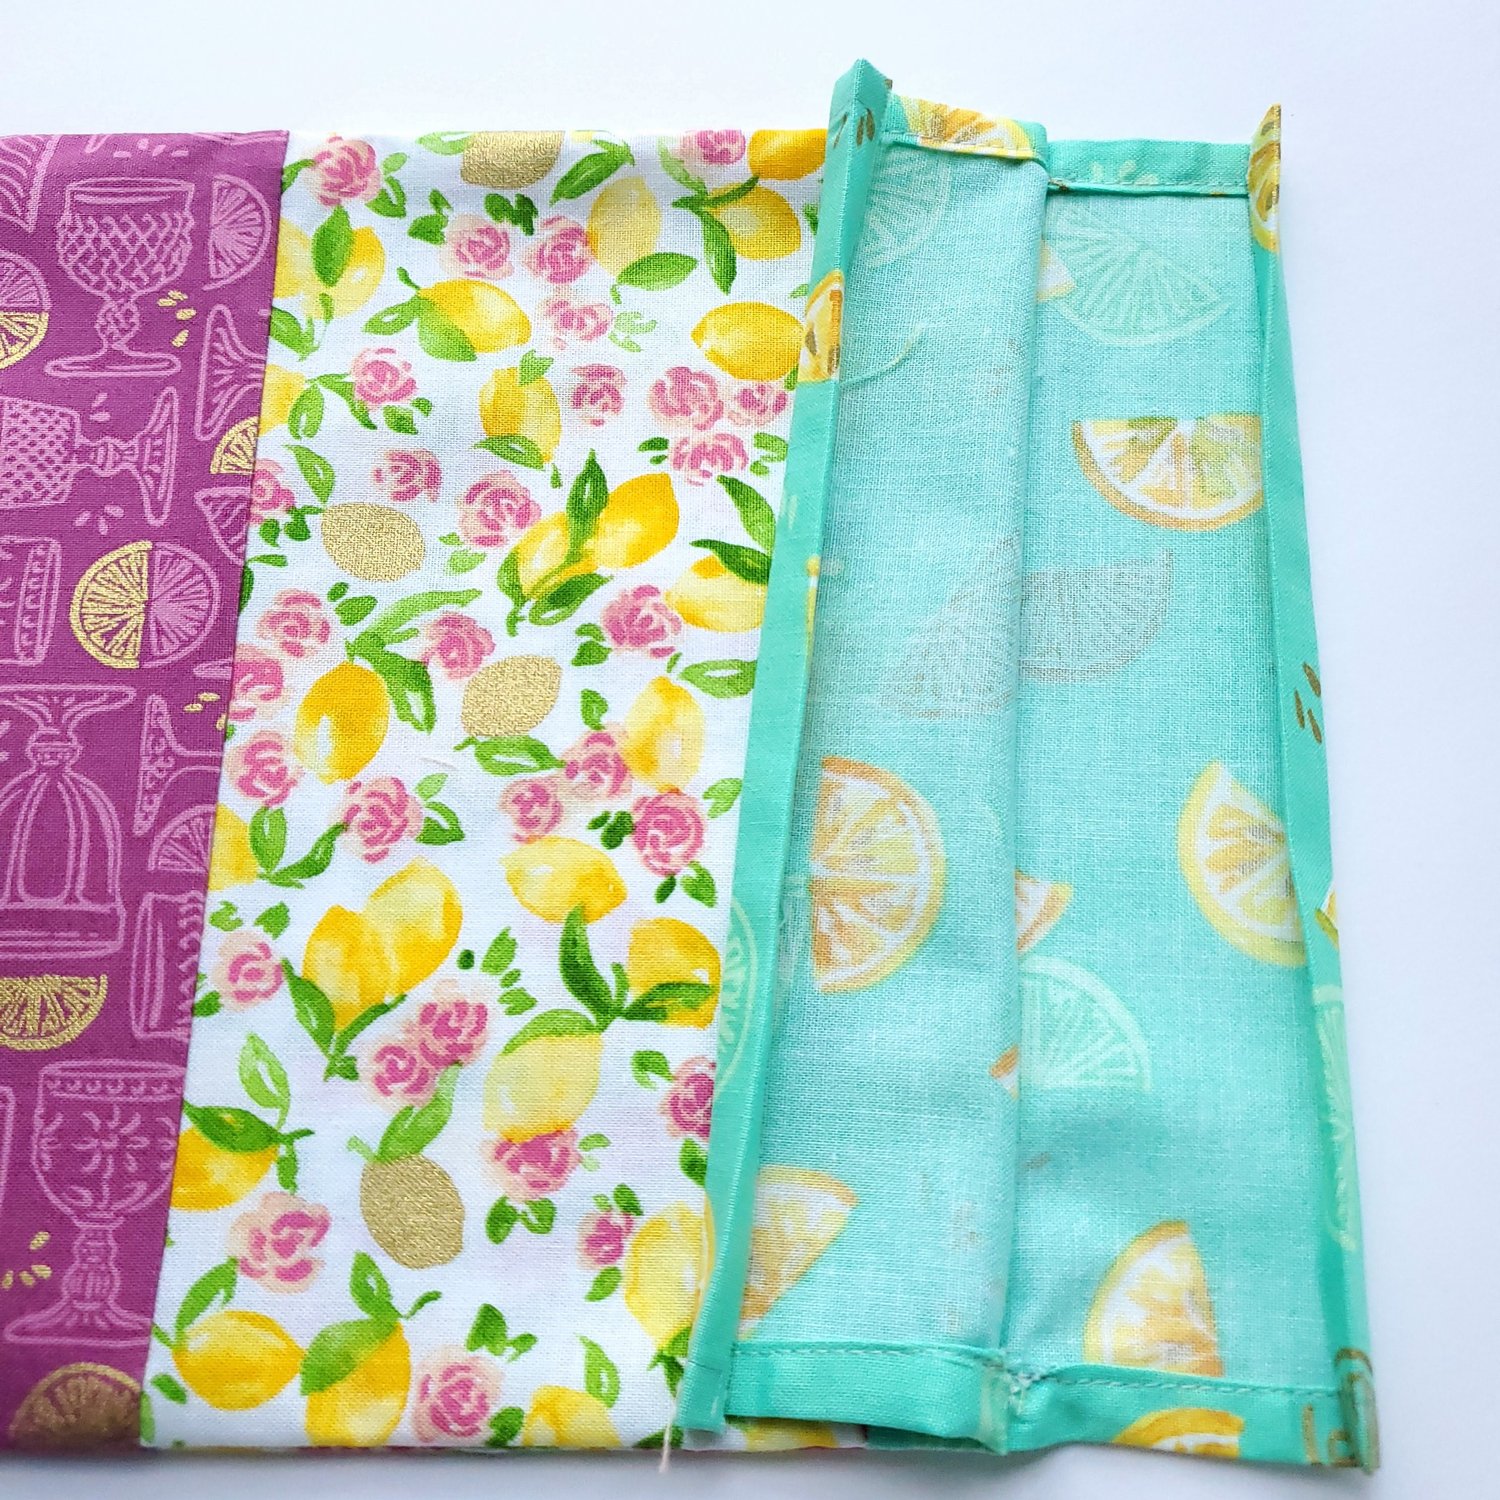
Place the pocket piece on top of the main piece and turn under the raw edges to topstitch the left edge in place.
With the pocket piece aligned on top of the main piece pin in place through all layers by moving the pinned fabric by one inch to the left to create pockets for your sewing tools. I did a little bit of planning as I went along to be sure I had a good assortment of pockets in place. Wonder Clip as you go along and then baste in place about ⅛” from the bottom edge.
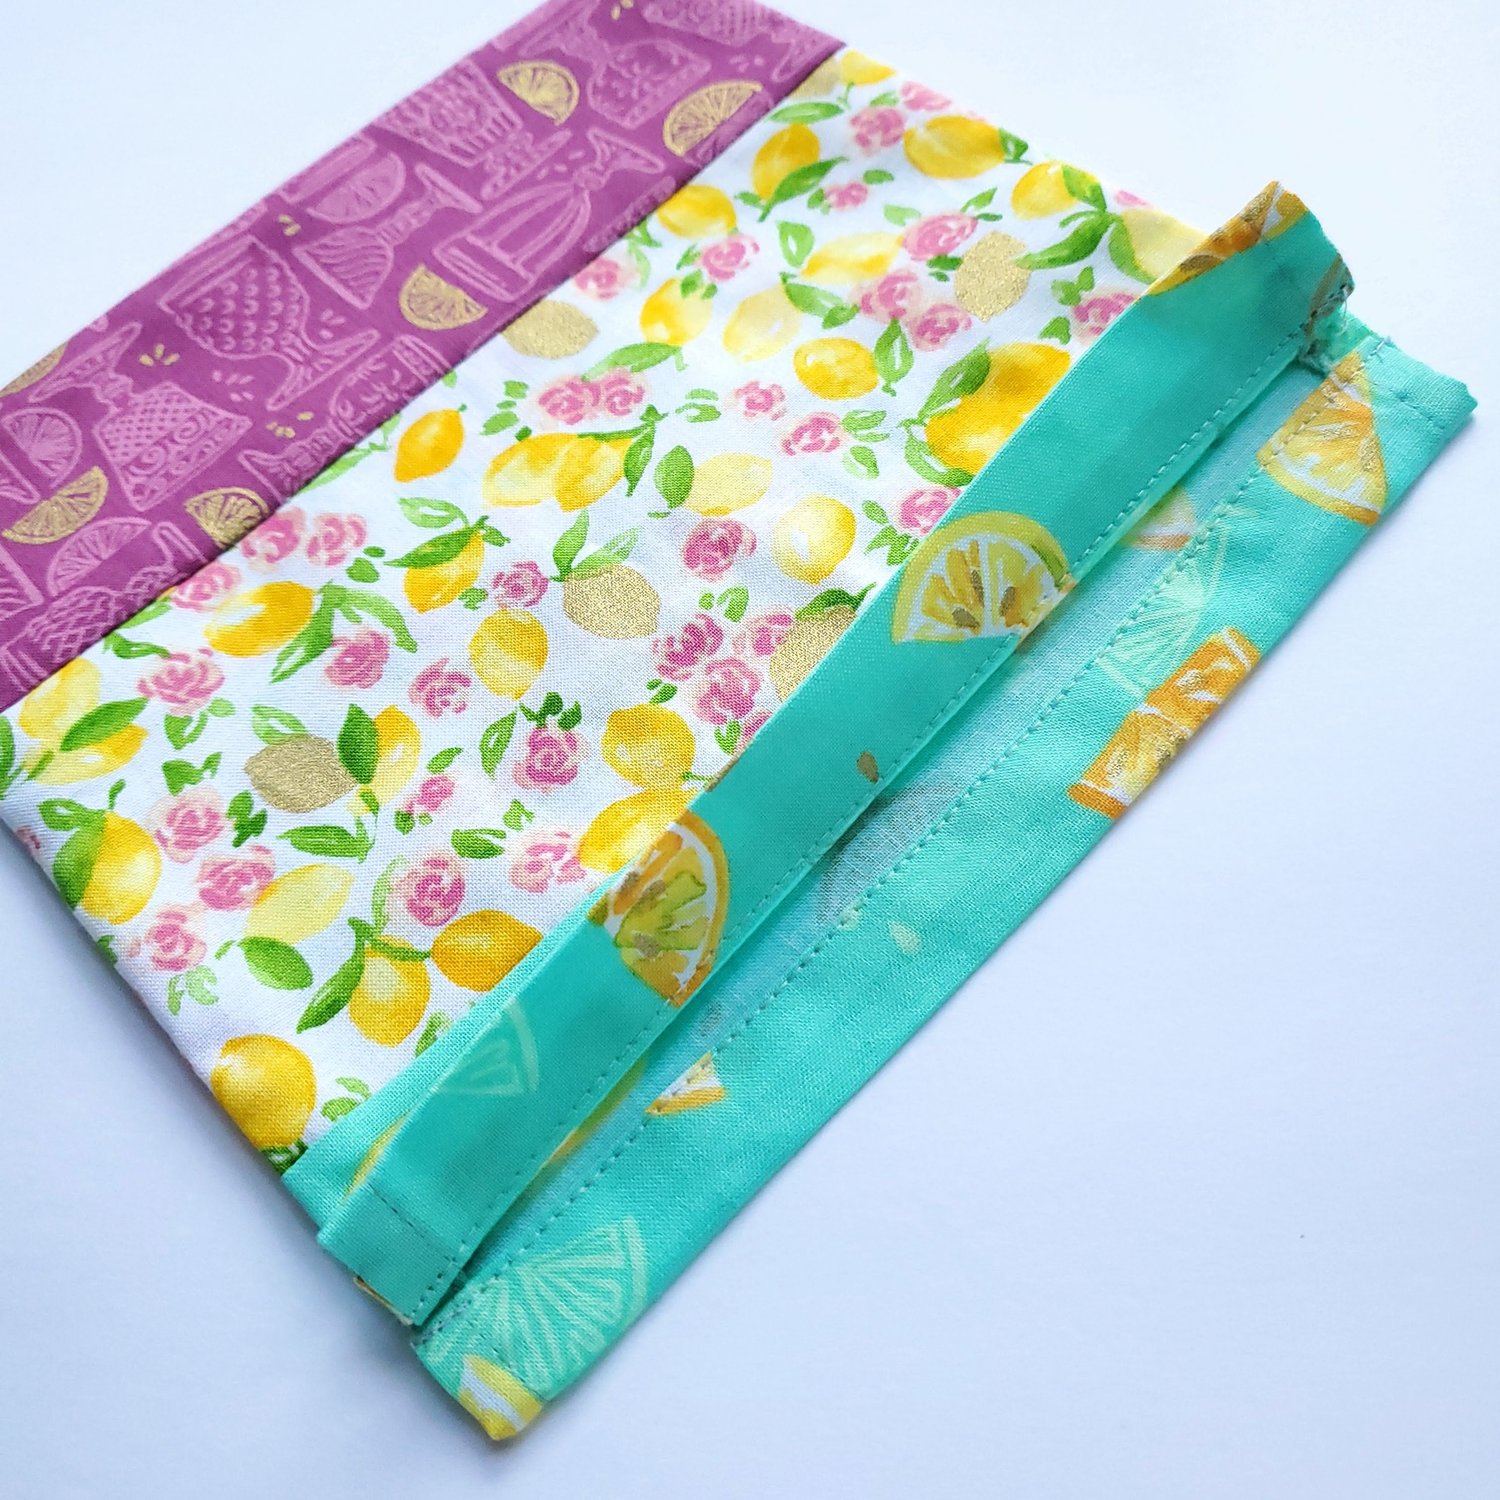
Next you will topstitch the lines between the pockets using a coordinating Aurifil thread. Stop at the edge of the faux binding and backstitch to reinforce the stitching.

I left the last pocket on the right open to add the plastic cam snaps. It would have been a better method to add the snaps before I added the pocket strip…next time! Add the snaps to the tabs so that it will snap hidden under the pocket. Keep in mind the stitching line on the pocket piece so that the snaps will clear the presser foot.

Finish the last pocket on the right by topstitching in place with the raw edges tucked under.

For the last step cut a piece of fabric 1.5” for binding the bottom edge. Add an inch to the length so that you can turn the raw edges under on each side. Press in half, open and press raw edges to the center. Topstitch in place with a coordinating thread.
Wrap it around the mug, snap in place and fold over about 2 inches of fabric into the mug opening. Time to fill with your favorite sewing and crafting tools! Just by changing out the fabric choices you can personalize for a child or make it more masculine to add to a work desk.
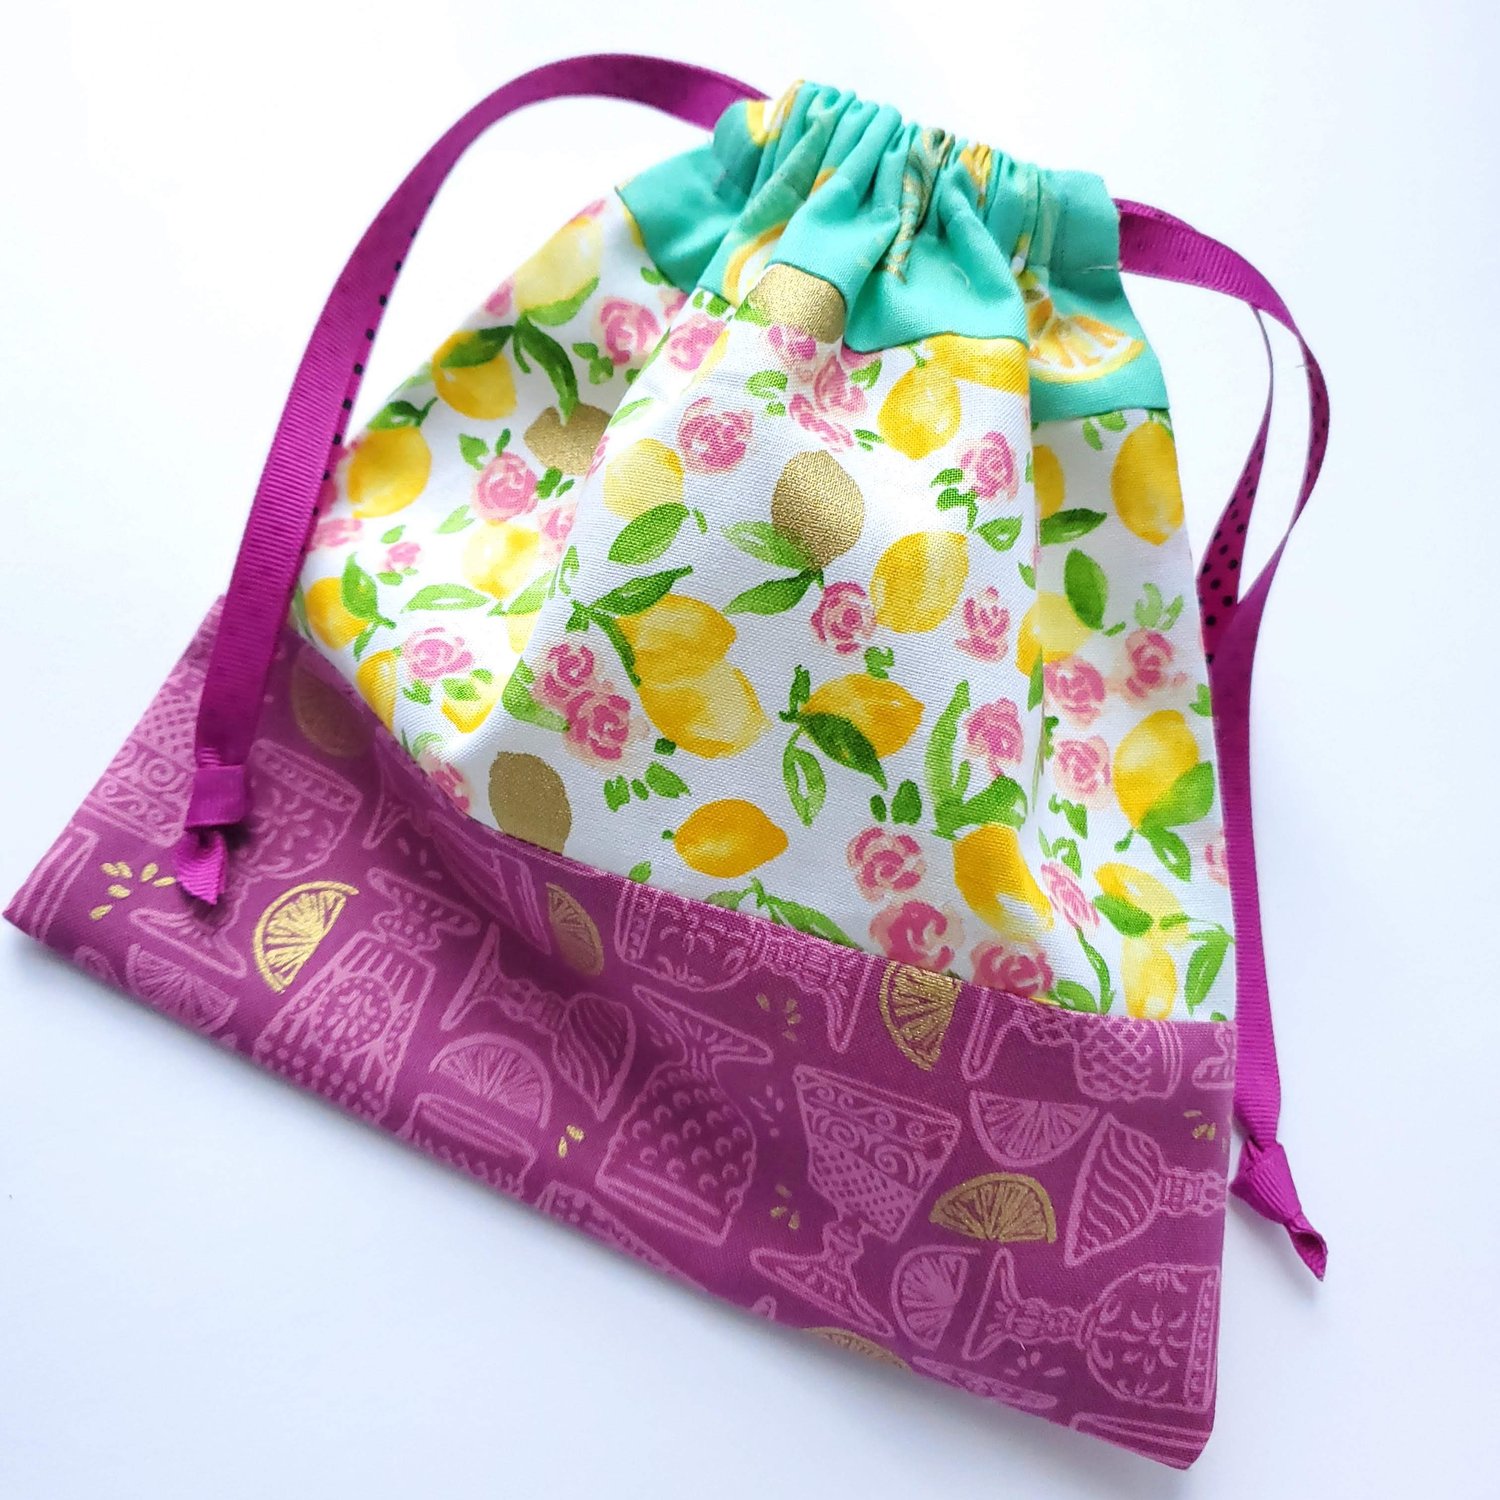
This project paired with Fabric Phone Holder would be a wonderful Holiday/Birthday gift for just about everyone on your list