

Applique and Hand Quilting DANDELION SPRING Mini Quilt
Posted by Daisi Toegel on 9th Mar 2023
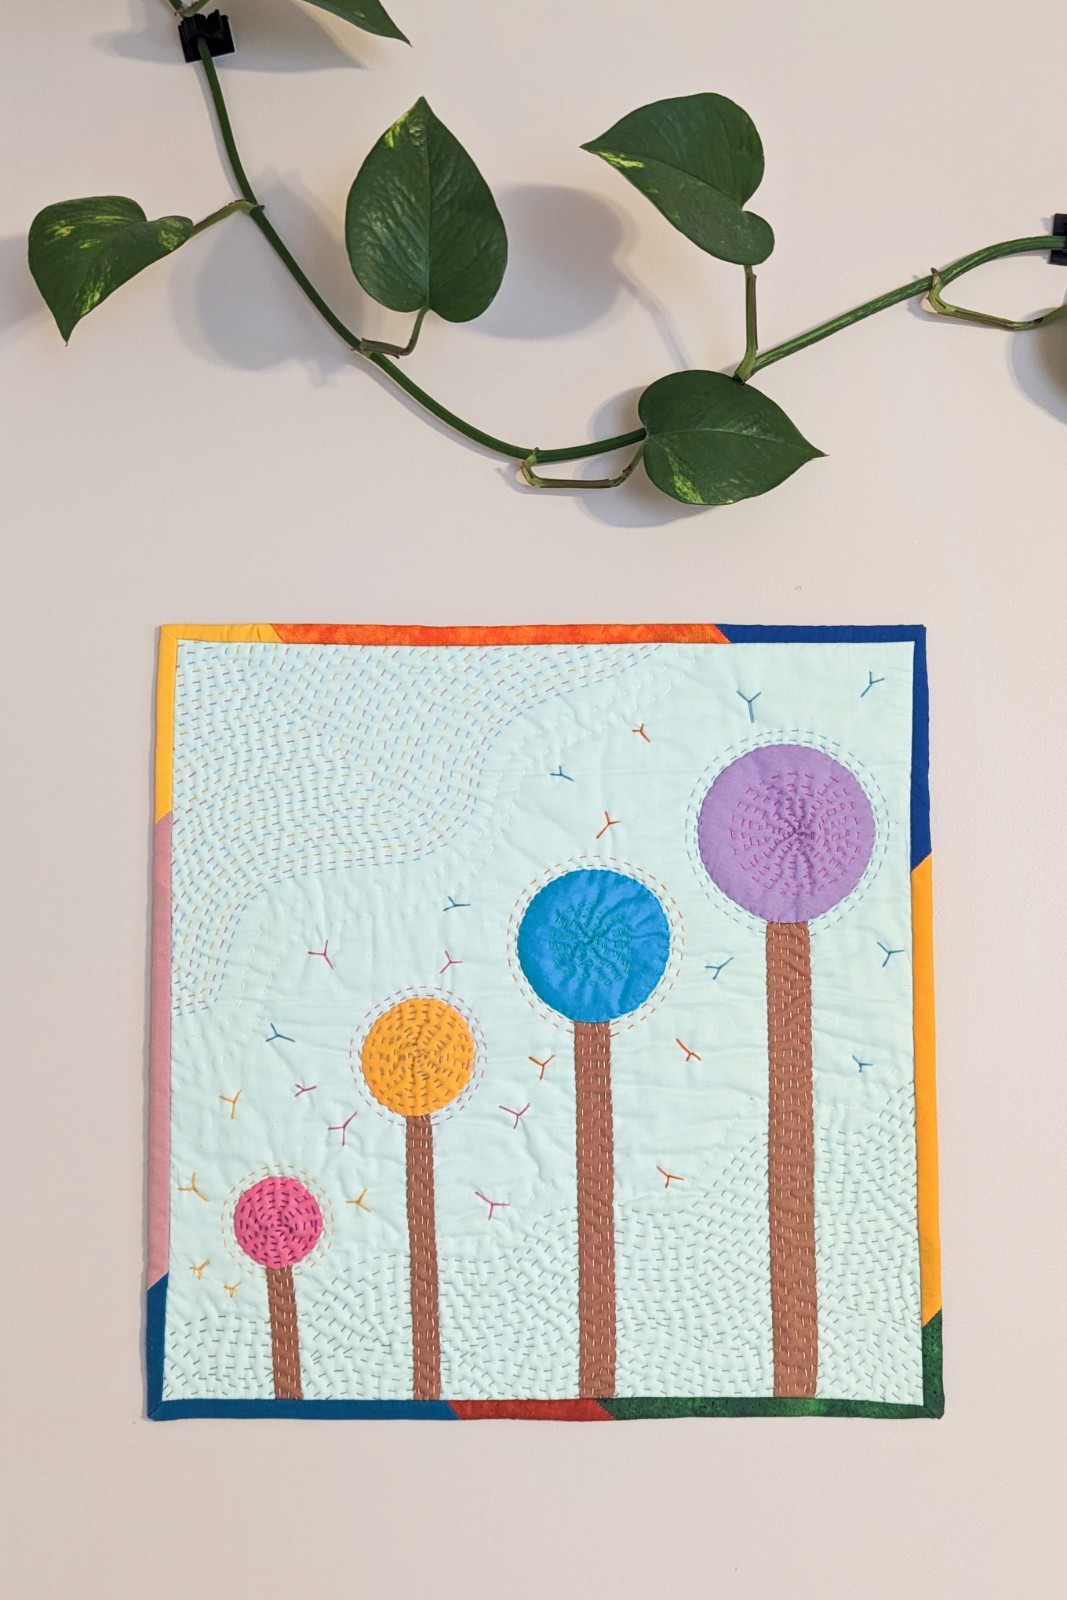
Do you like mixing techniques on your quilt projects? In this project we’ll work on some hand applique and hand quilting. This project is an inspiration as you may create yours any way you want.
Let’s get started!
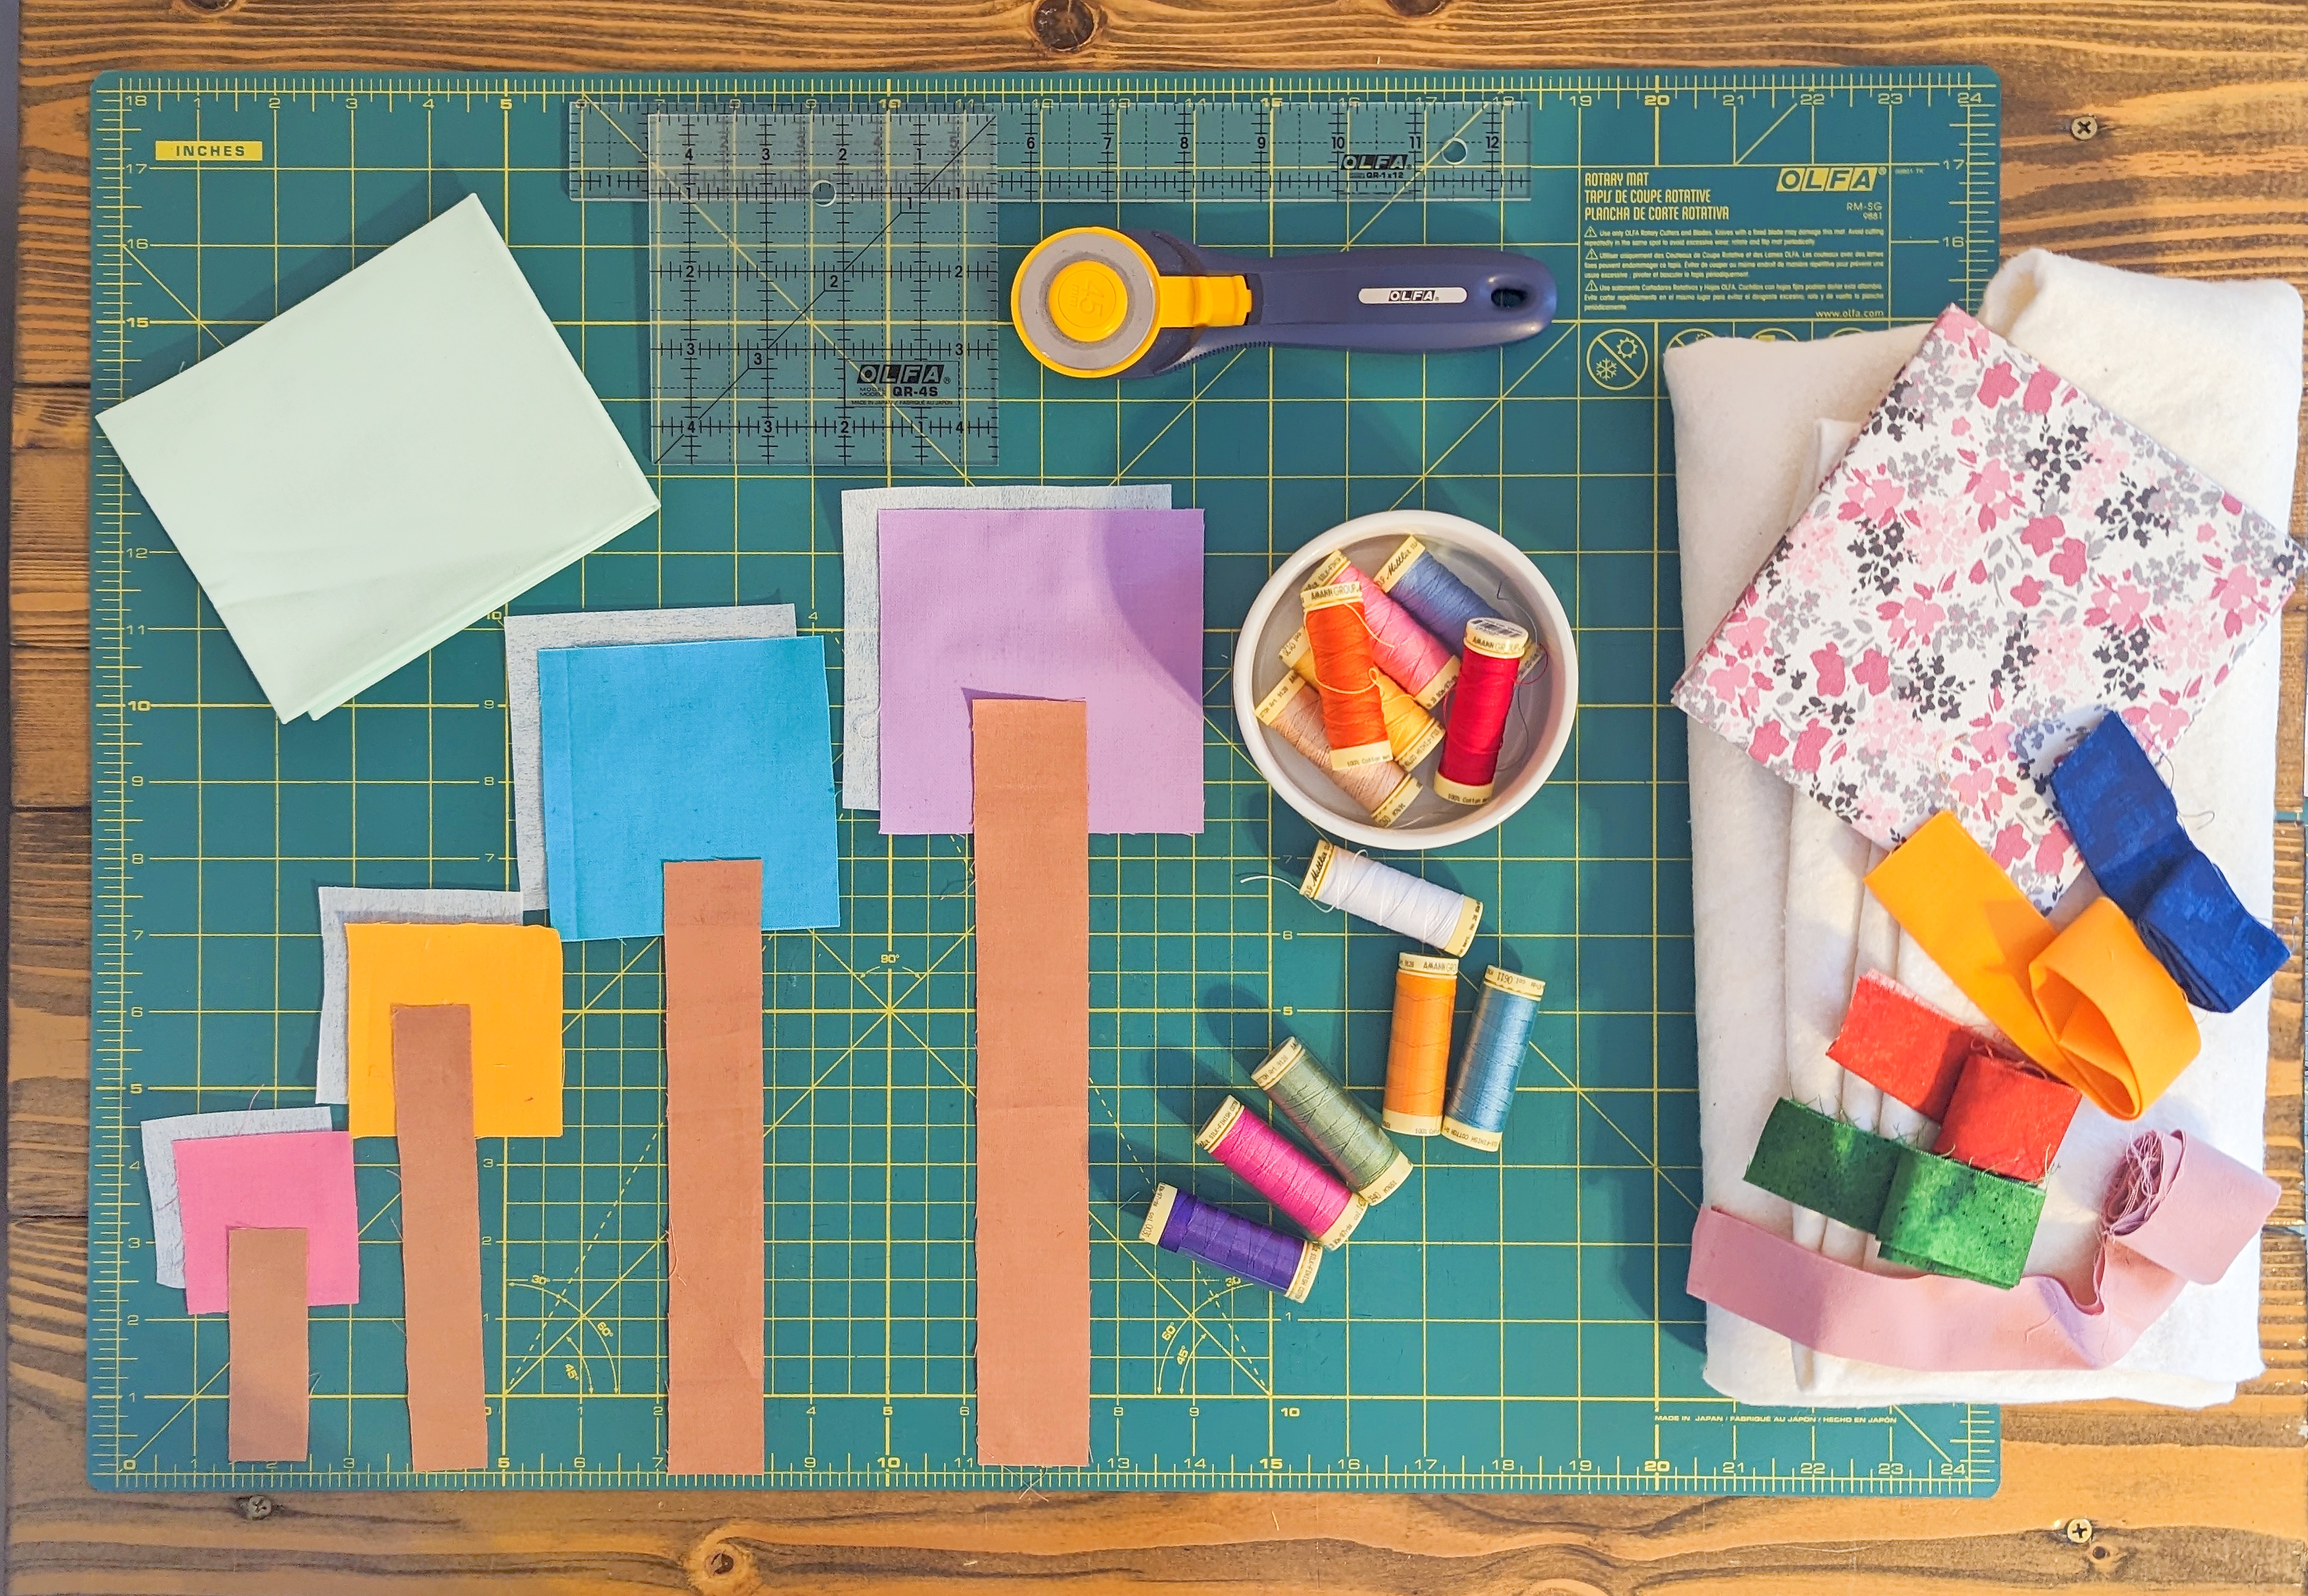
Materials:
Circle template DOWNLOAD HERE.
https://drive.google.com/file/d/1oeiS3P5IOcbE8NP8S...
* 1 Fat Quarter for background
* 1 Fat Quarter for backing
* 18” square batting
* A couple of different colors of thread for handquilting, I use Mettler No28 Silk-finish 100% cotton.
*100% cotton thread 60wt for hand sewing applique
*Sewing pins, scissors, sewing machine and general sewing notions.
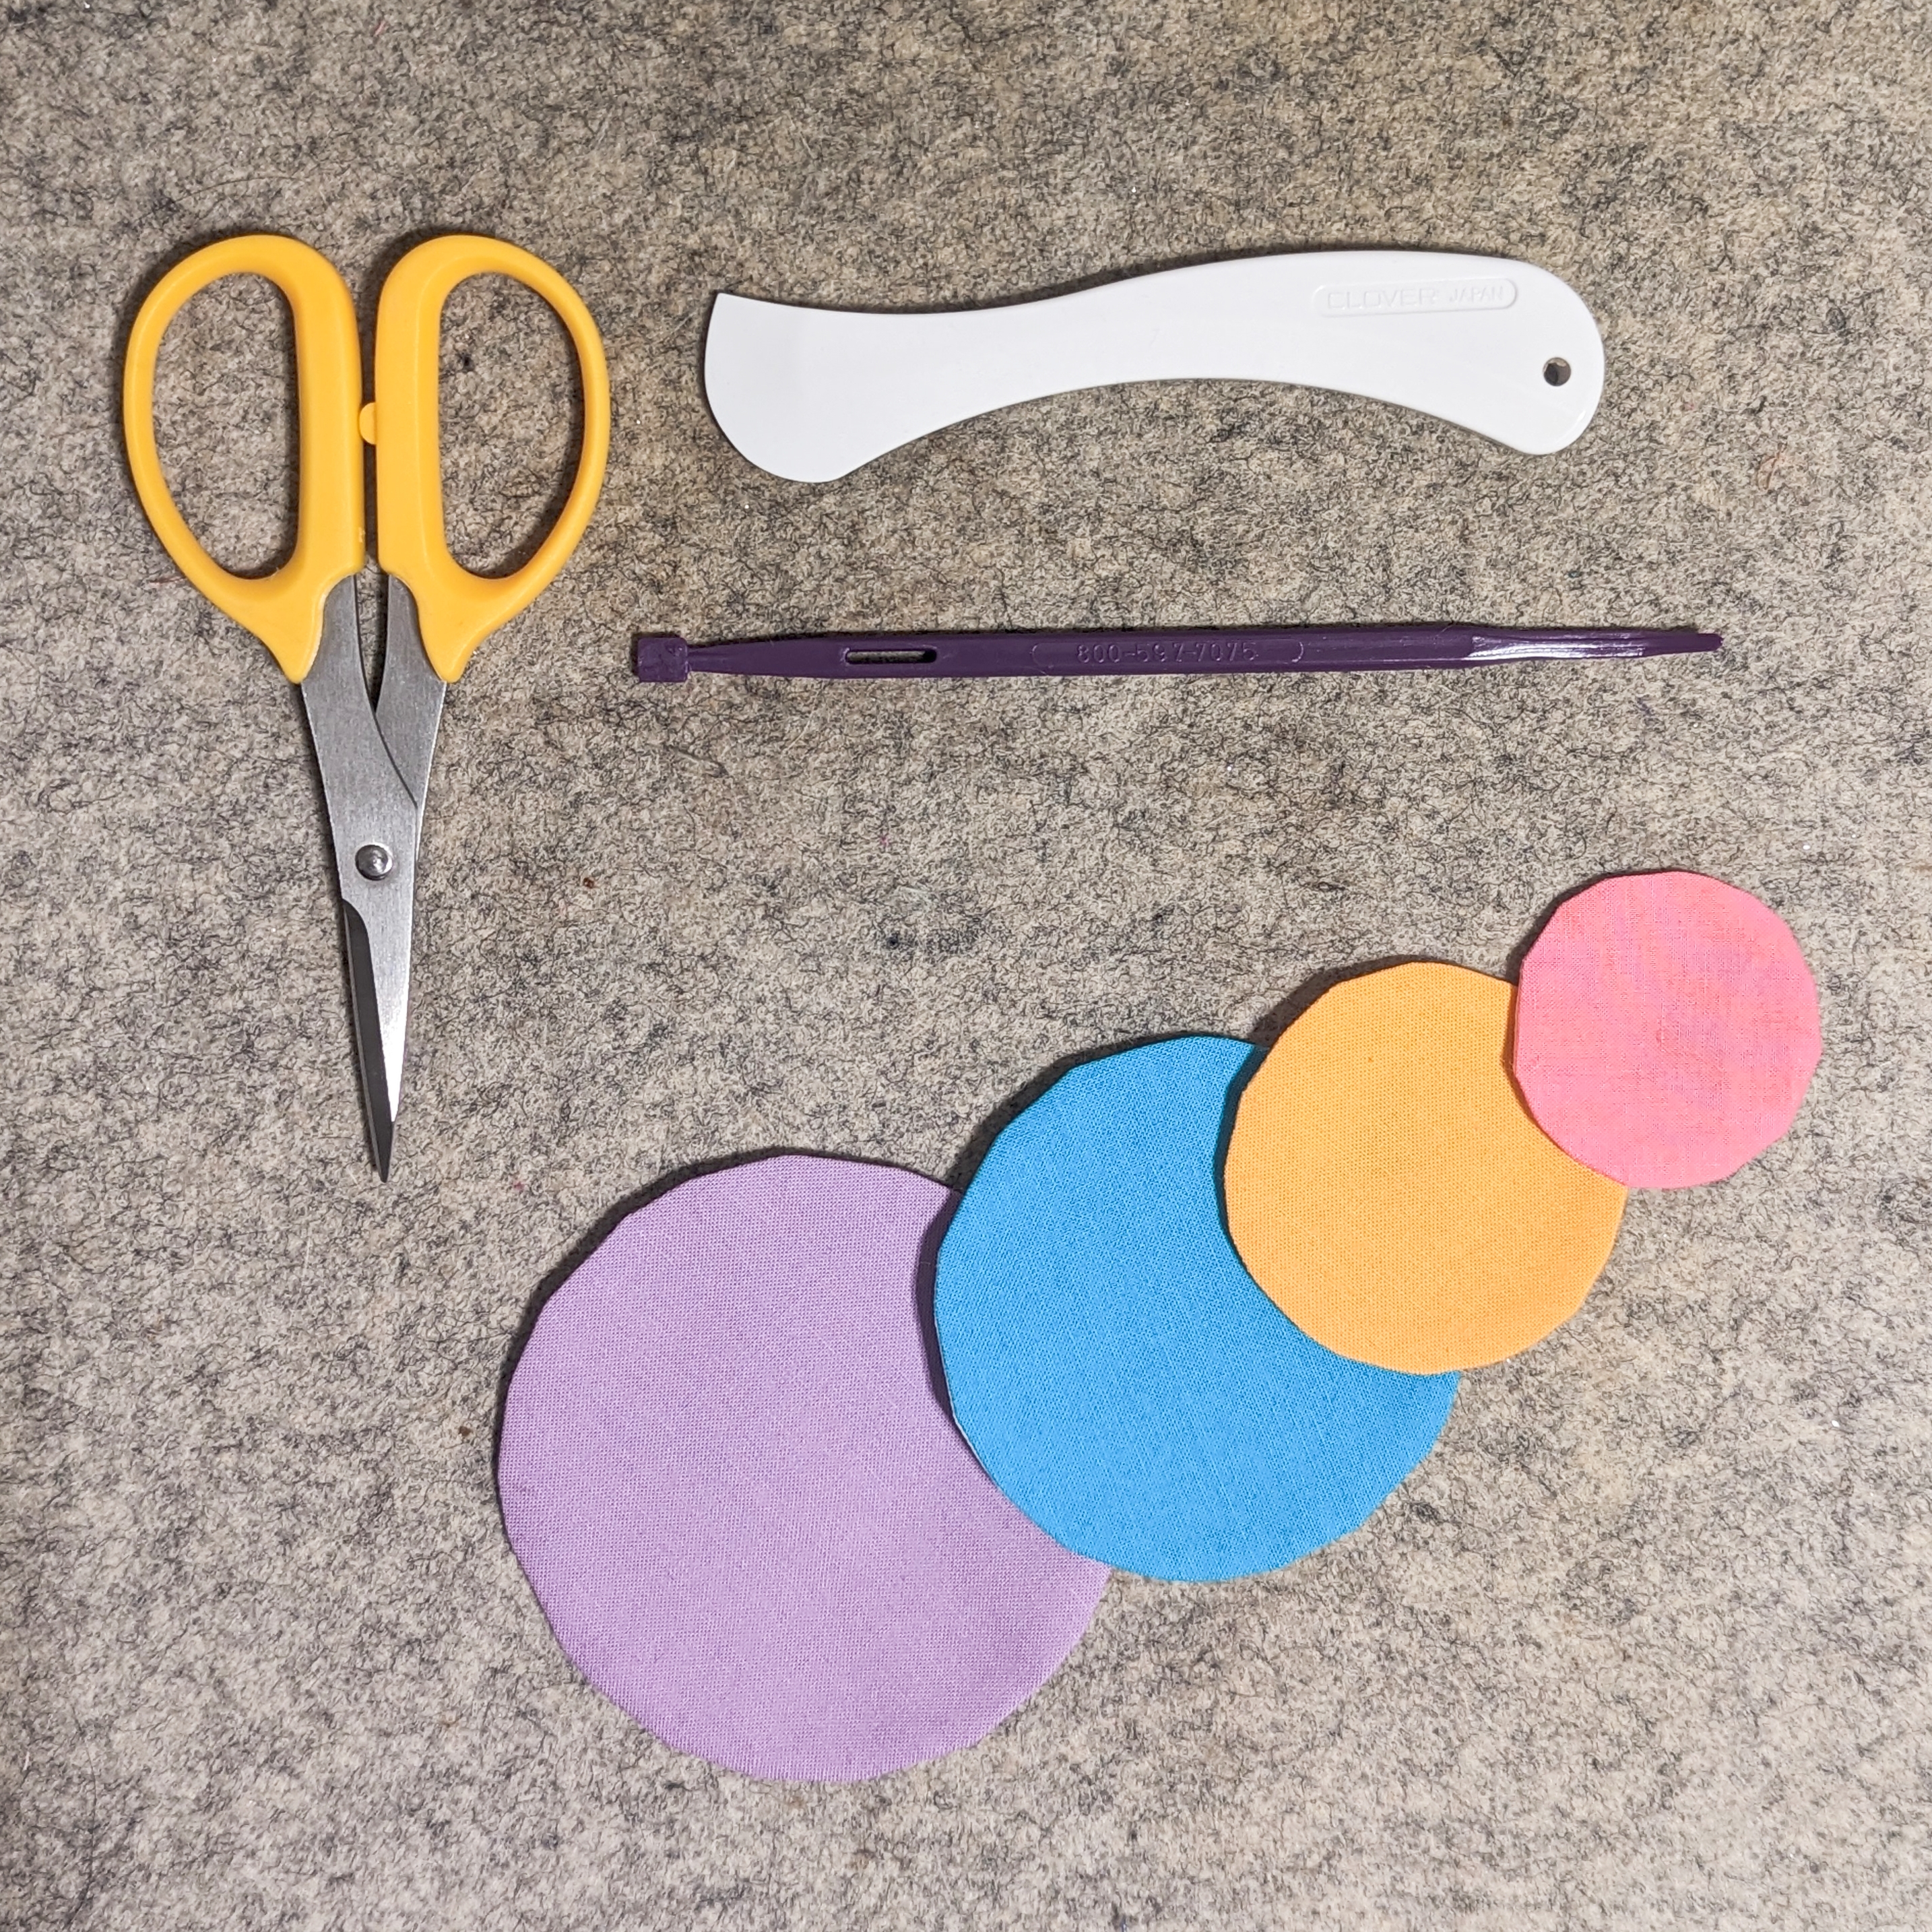
For the dandelions circles you’ll need (scrap fabrics work great):
* (1) 2 ¼” square fabric A + interfacing
* (1) 2 ¾” square fabric B + interfacing
* (1) 3 ¾” square fabric C + interfacing
* (1) 4 ¼” square fabric D + interfacing
***I suggest Lori Holt Sew-in interfacing that works great for applique projects, and it’s non-fusible, light to medium weight.
For the stems you’ll need (scrap fabrics work great):
*(1) 1”x3” strip
*(1) 1”x6” strip
*(1) 1 ¼”x8” strip
*(1) 1 ½”x10” strip
STEP 1:
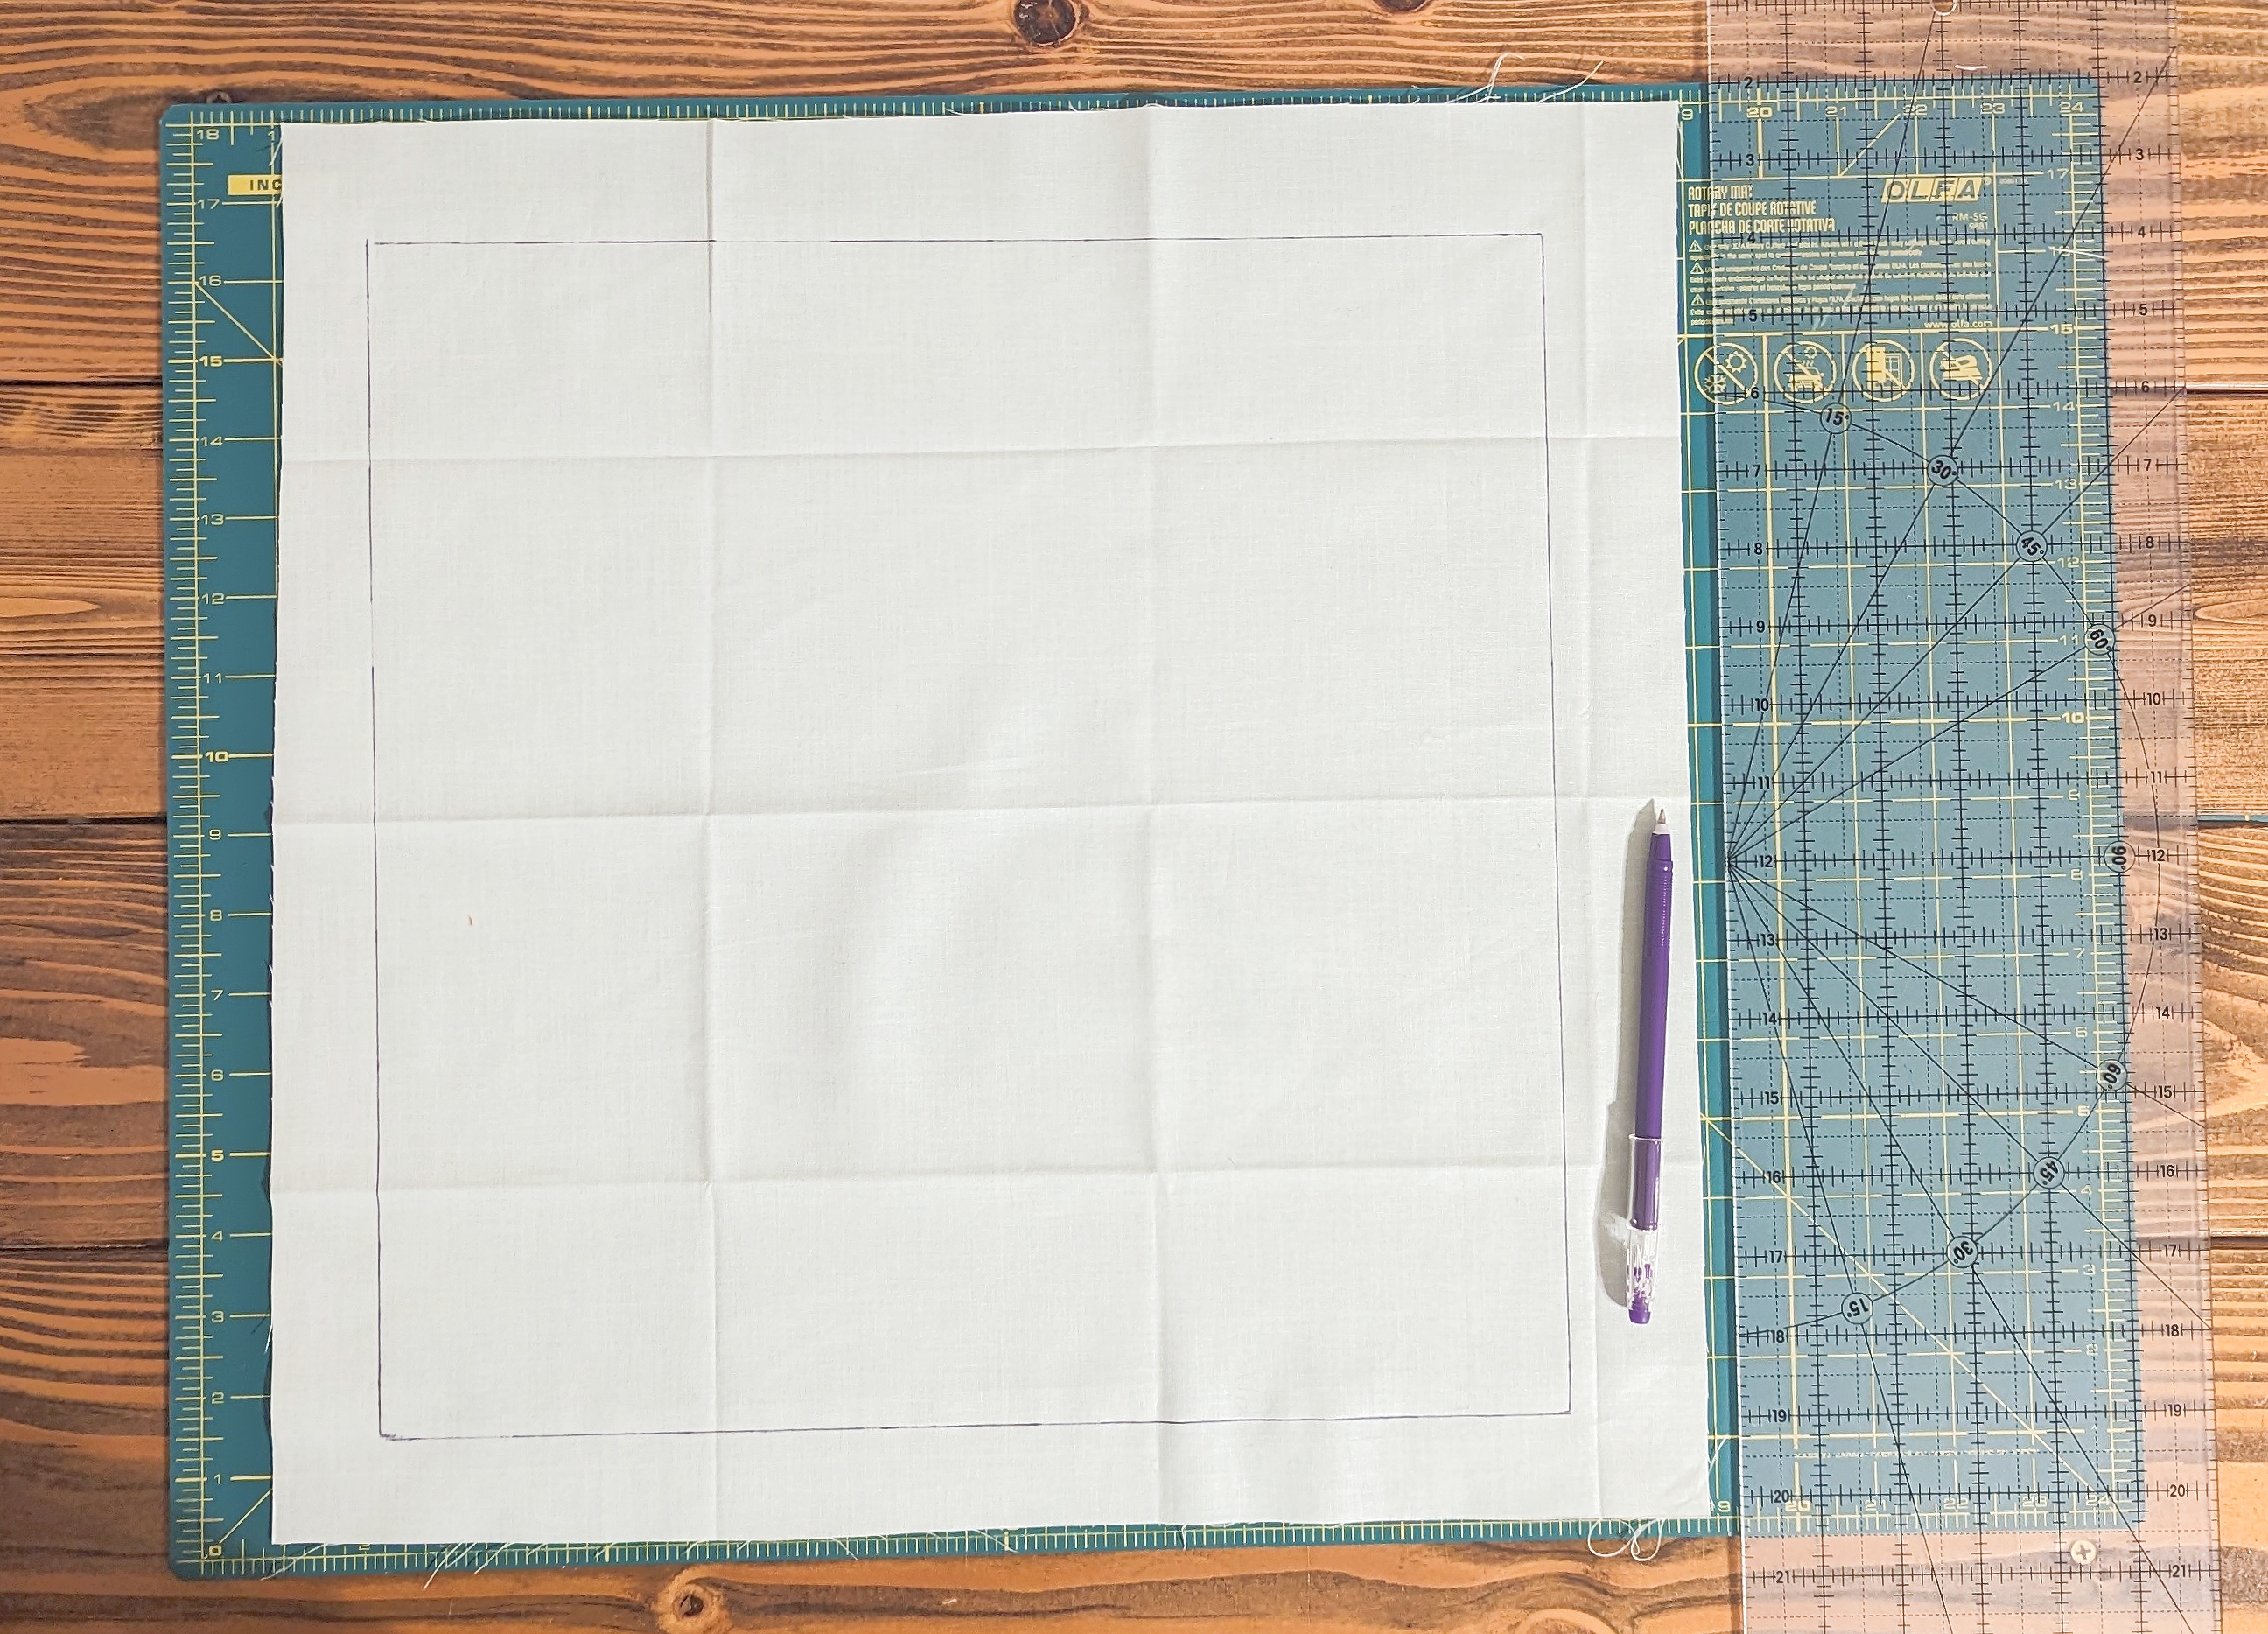
Using the background fat quarter, cut out a 18” square. Trace a 15” square on the right side using any pen. This will limit the area we’ll work on and later on the tracing will be covered with the binding.
STEP 2:

Baste the background fabric + batting + backing fabric using your method of preference, I like spray batting. You can trim the backing fat quarter to 18” square as done for the background or you can leave the fat quarter entire, since later on trimming will be done.
STEP 3:
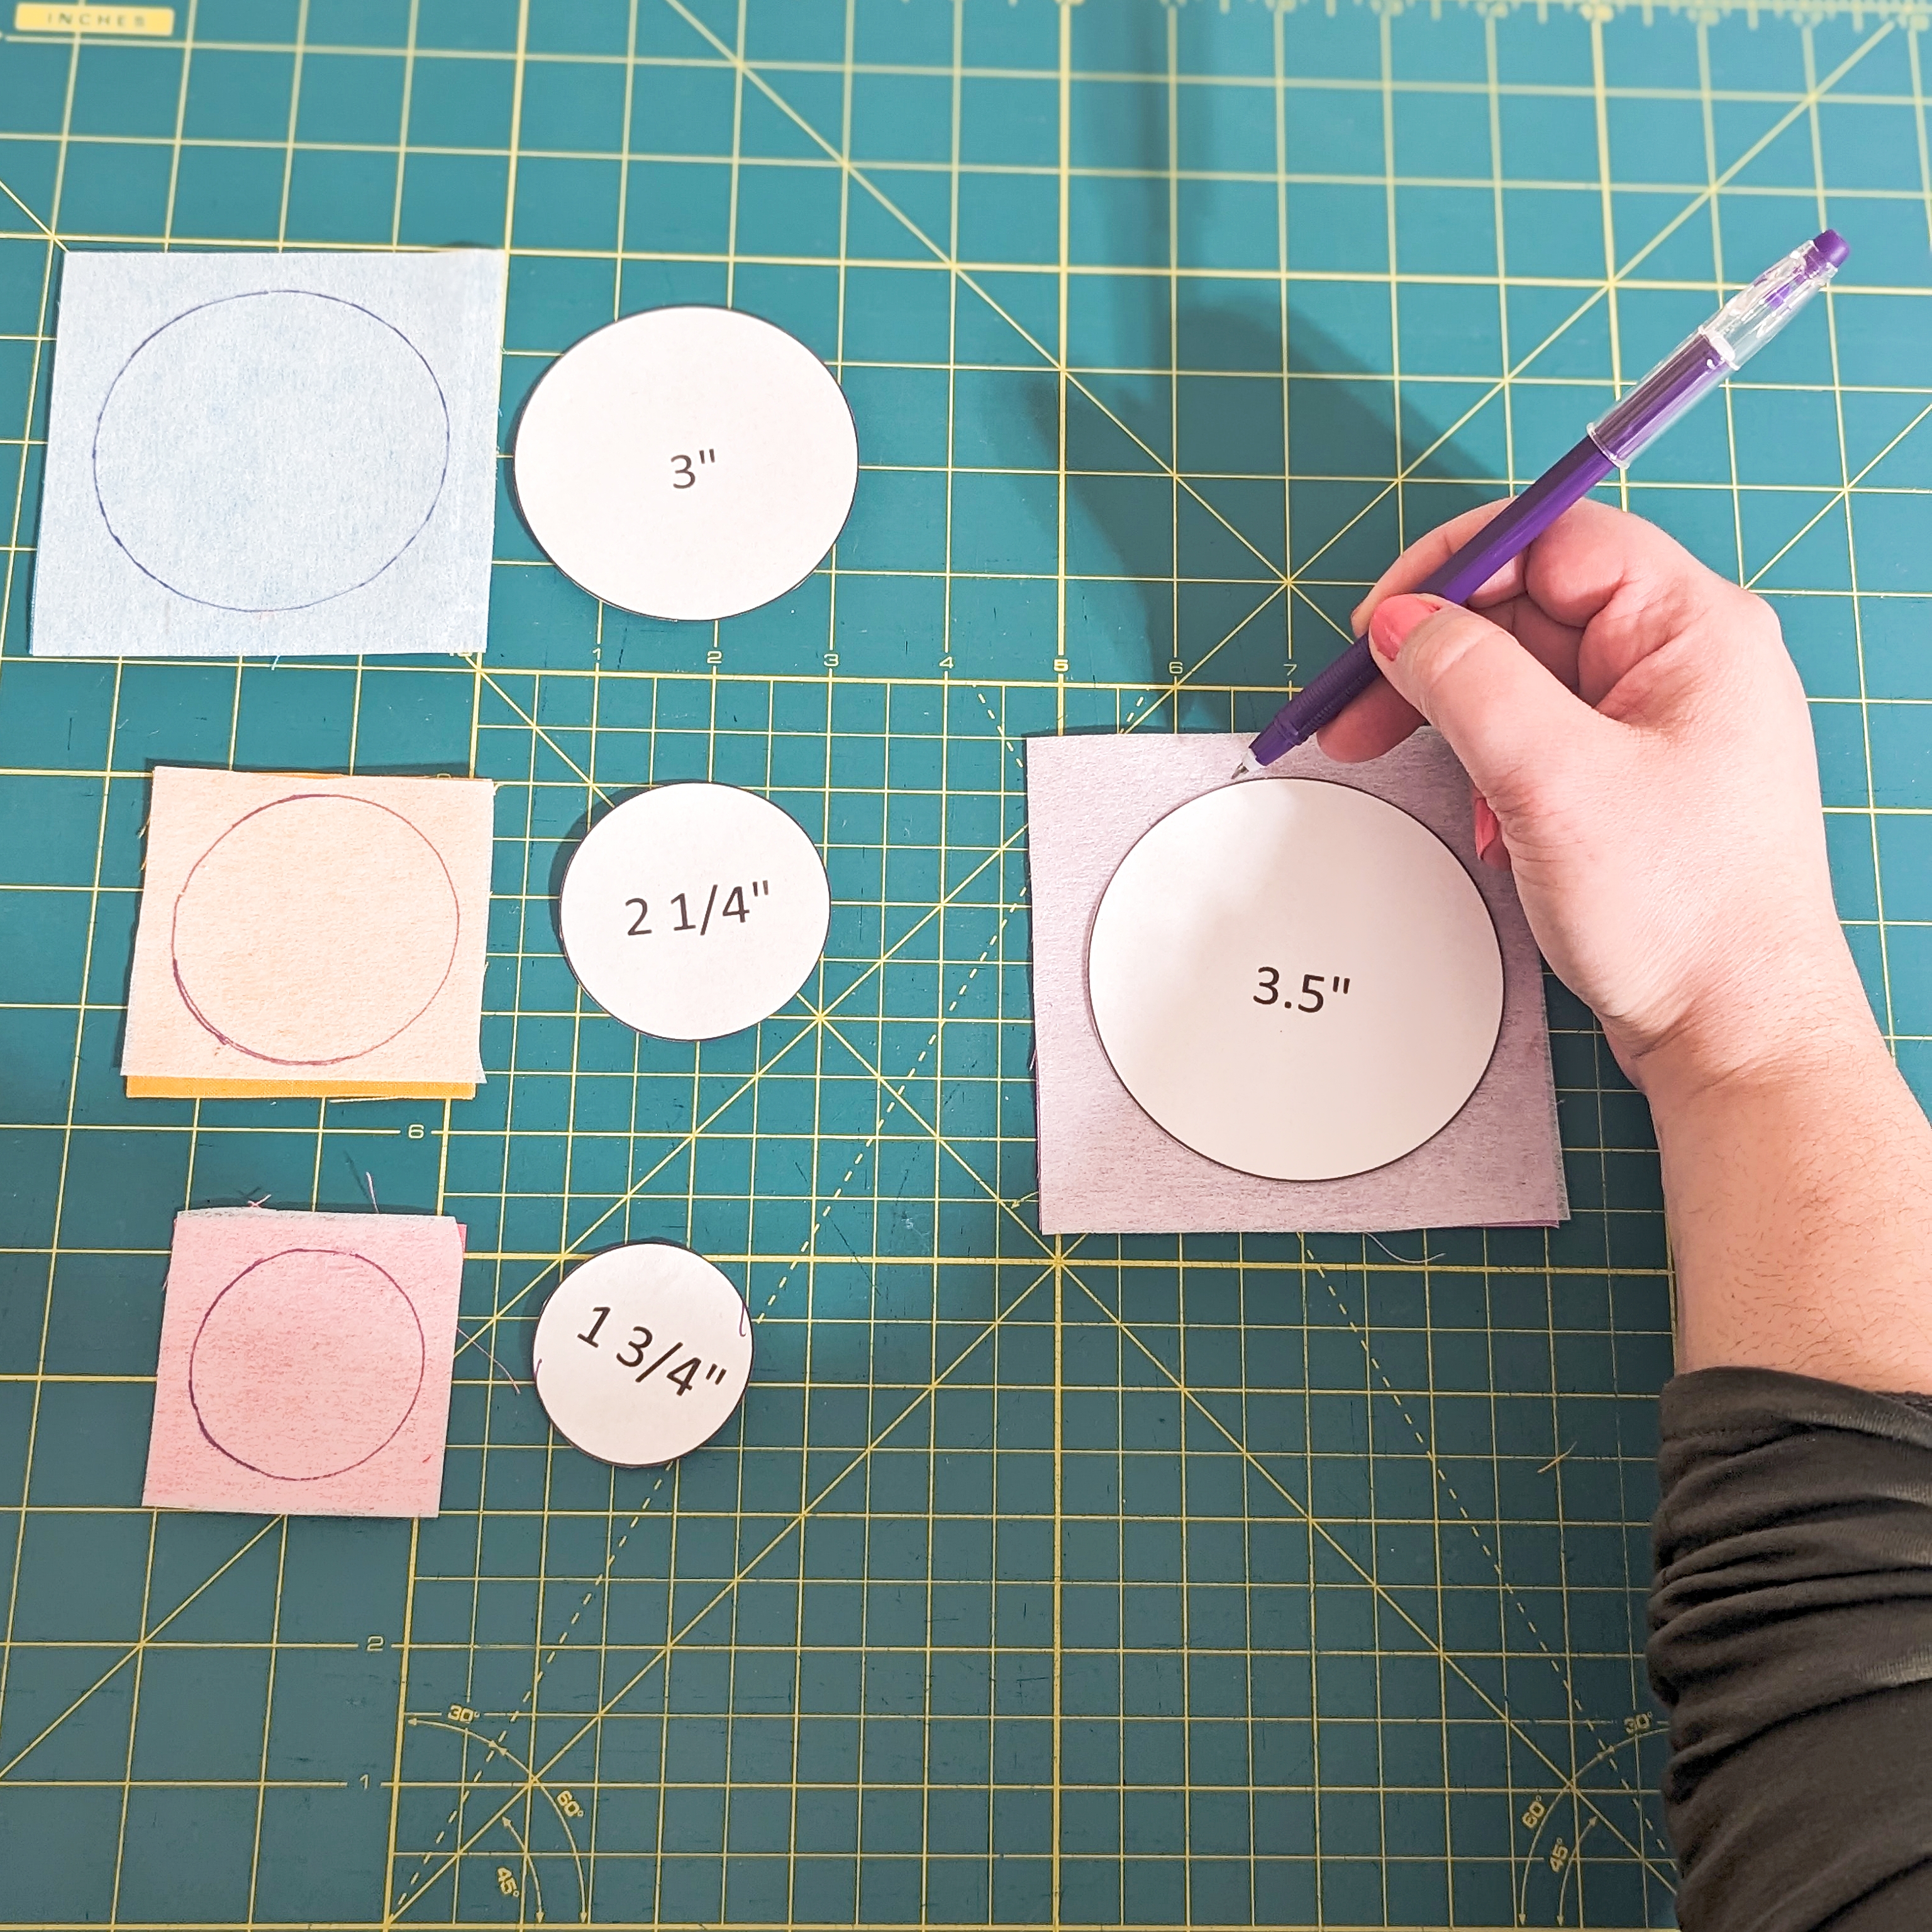
Cut out the paper templates, and trace each one on its corresponding square size of interfacing.
STEP 4:
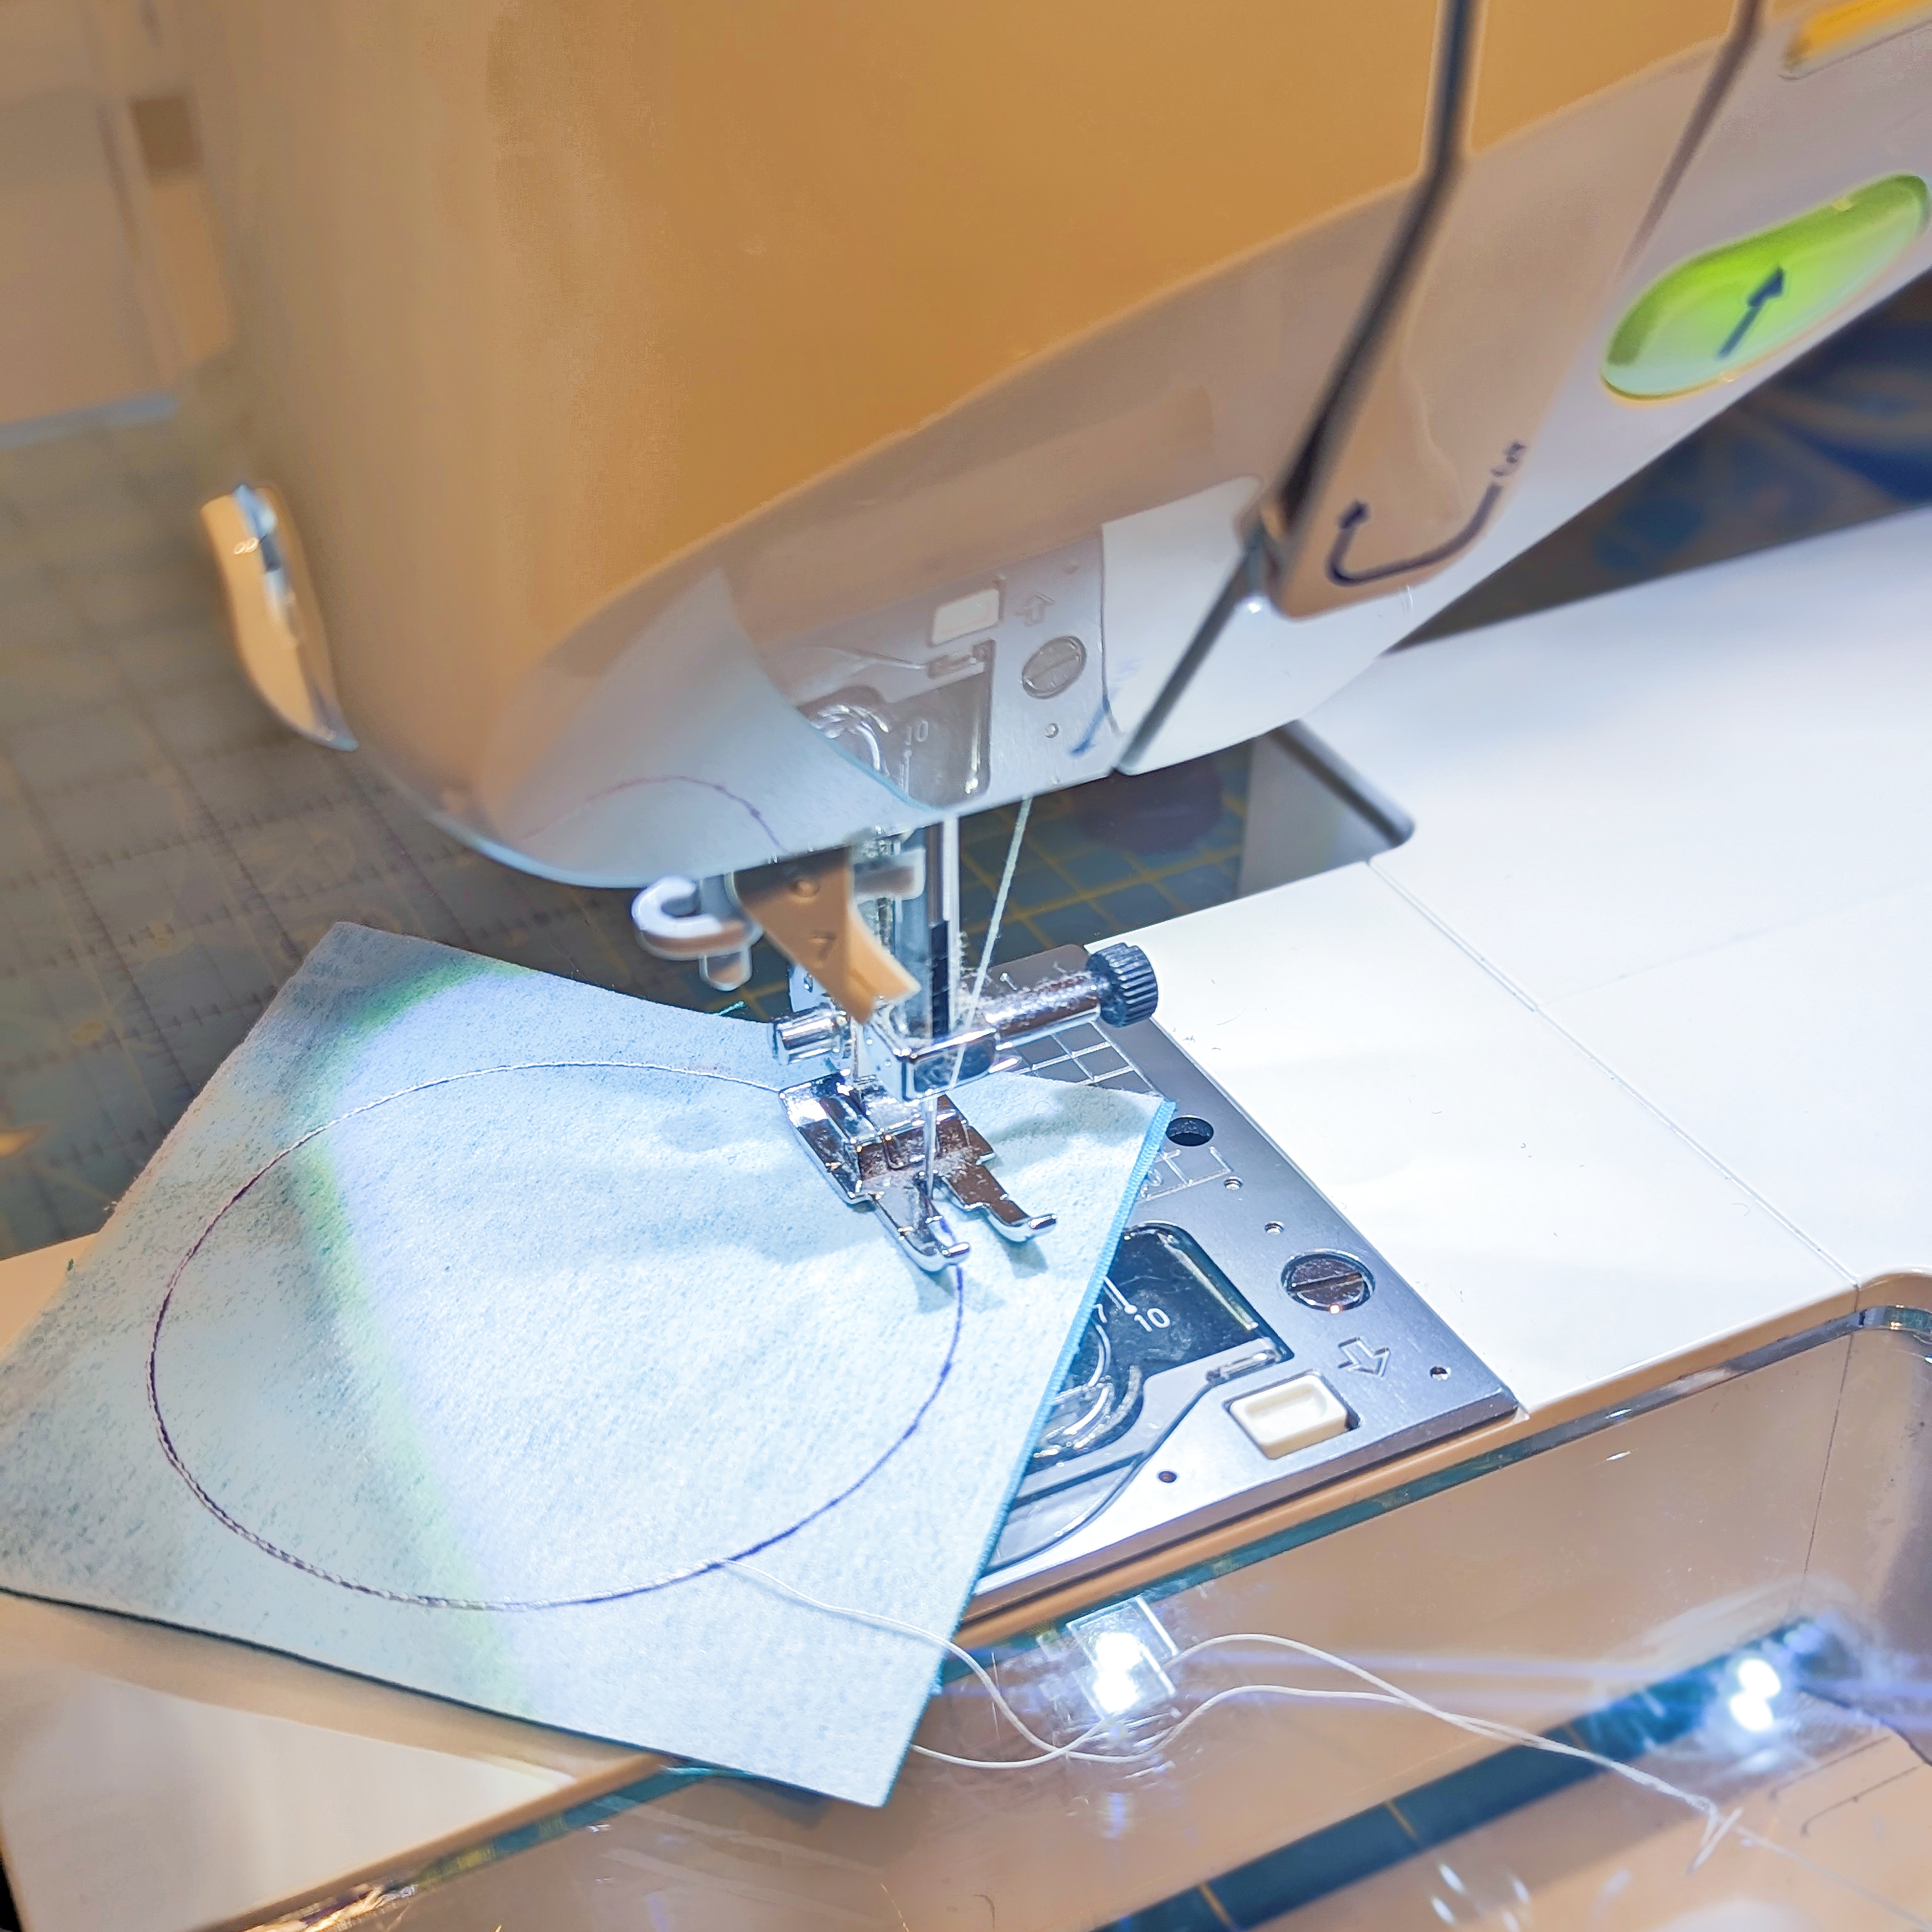
With the interfacing touching the right side of the fabric, and the tracing facing up, sew each one completely around the traced circle.
Trim each circle leaving a ⅛” allowance border.


Pull the interfacing from the fabric, and make an X cut only on the interfacing.
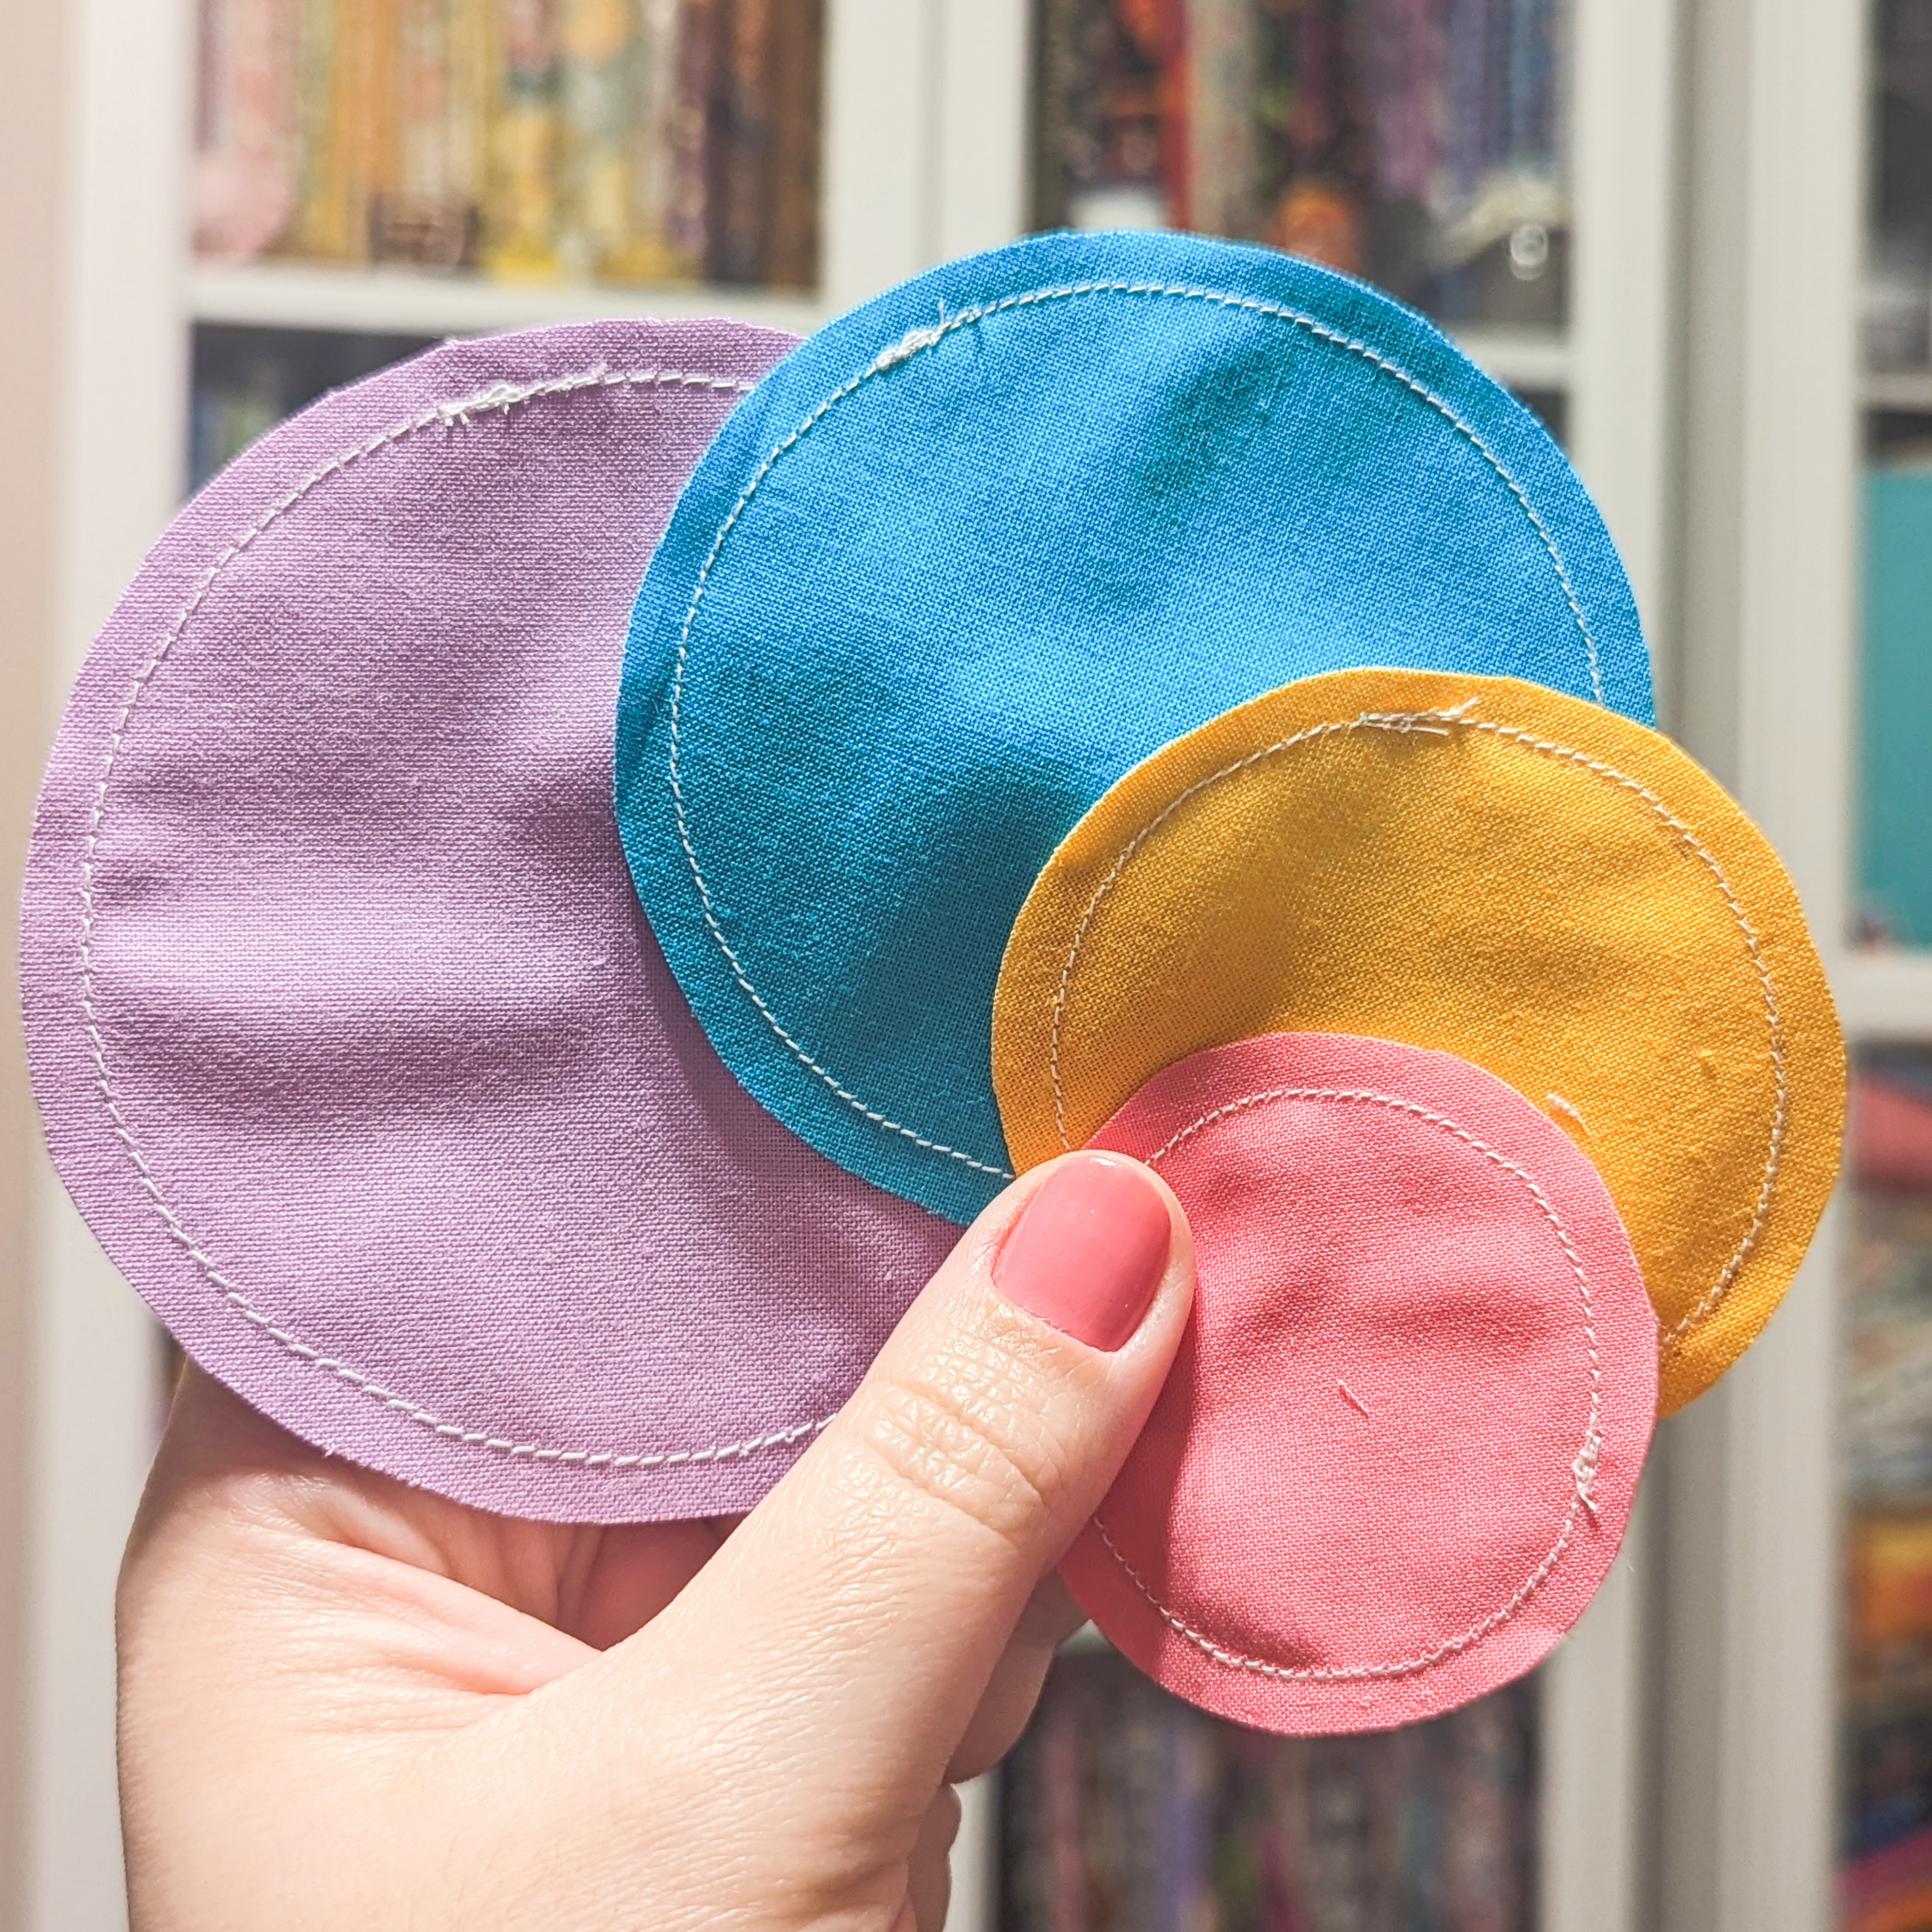
STEP 5:
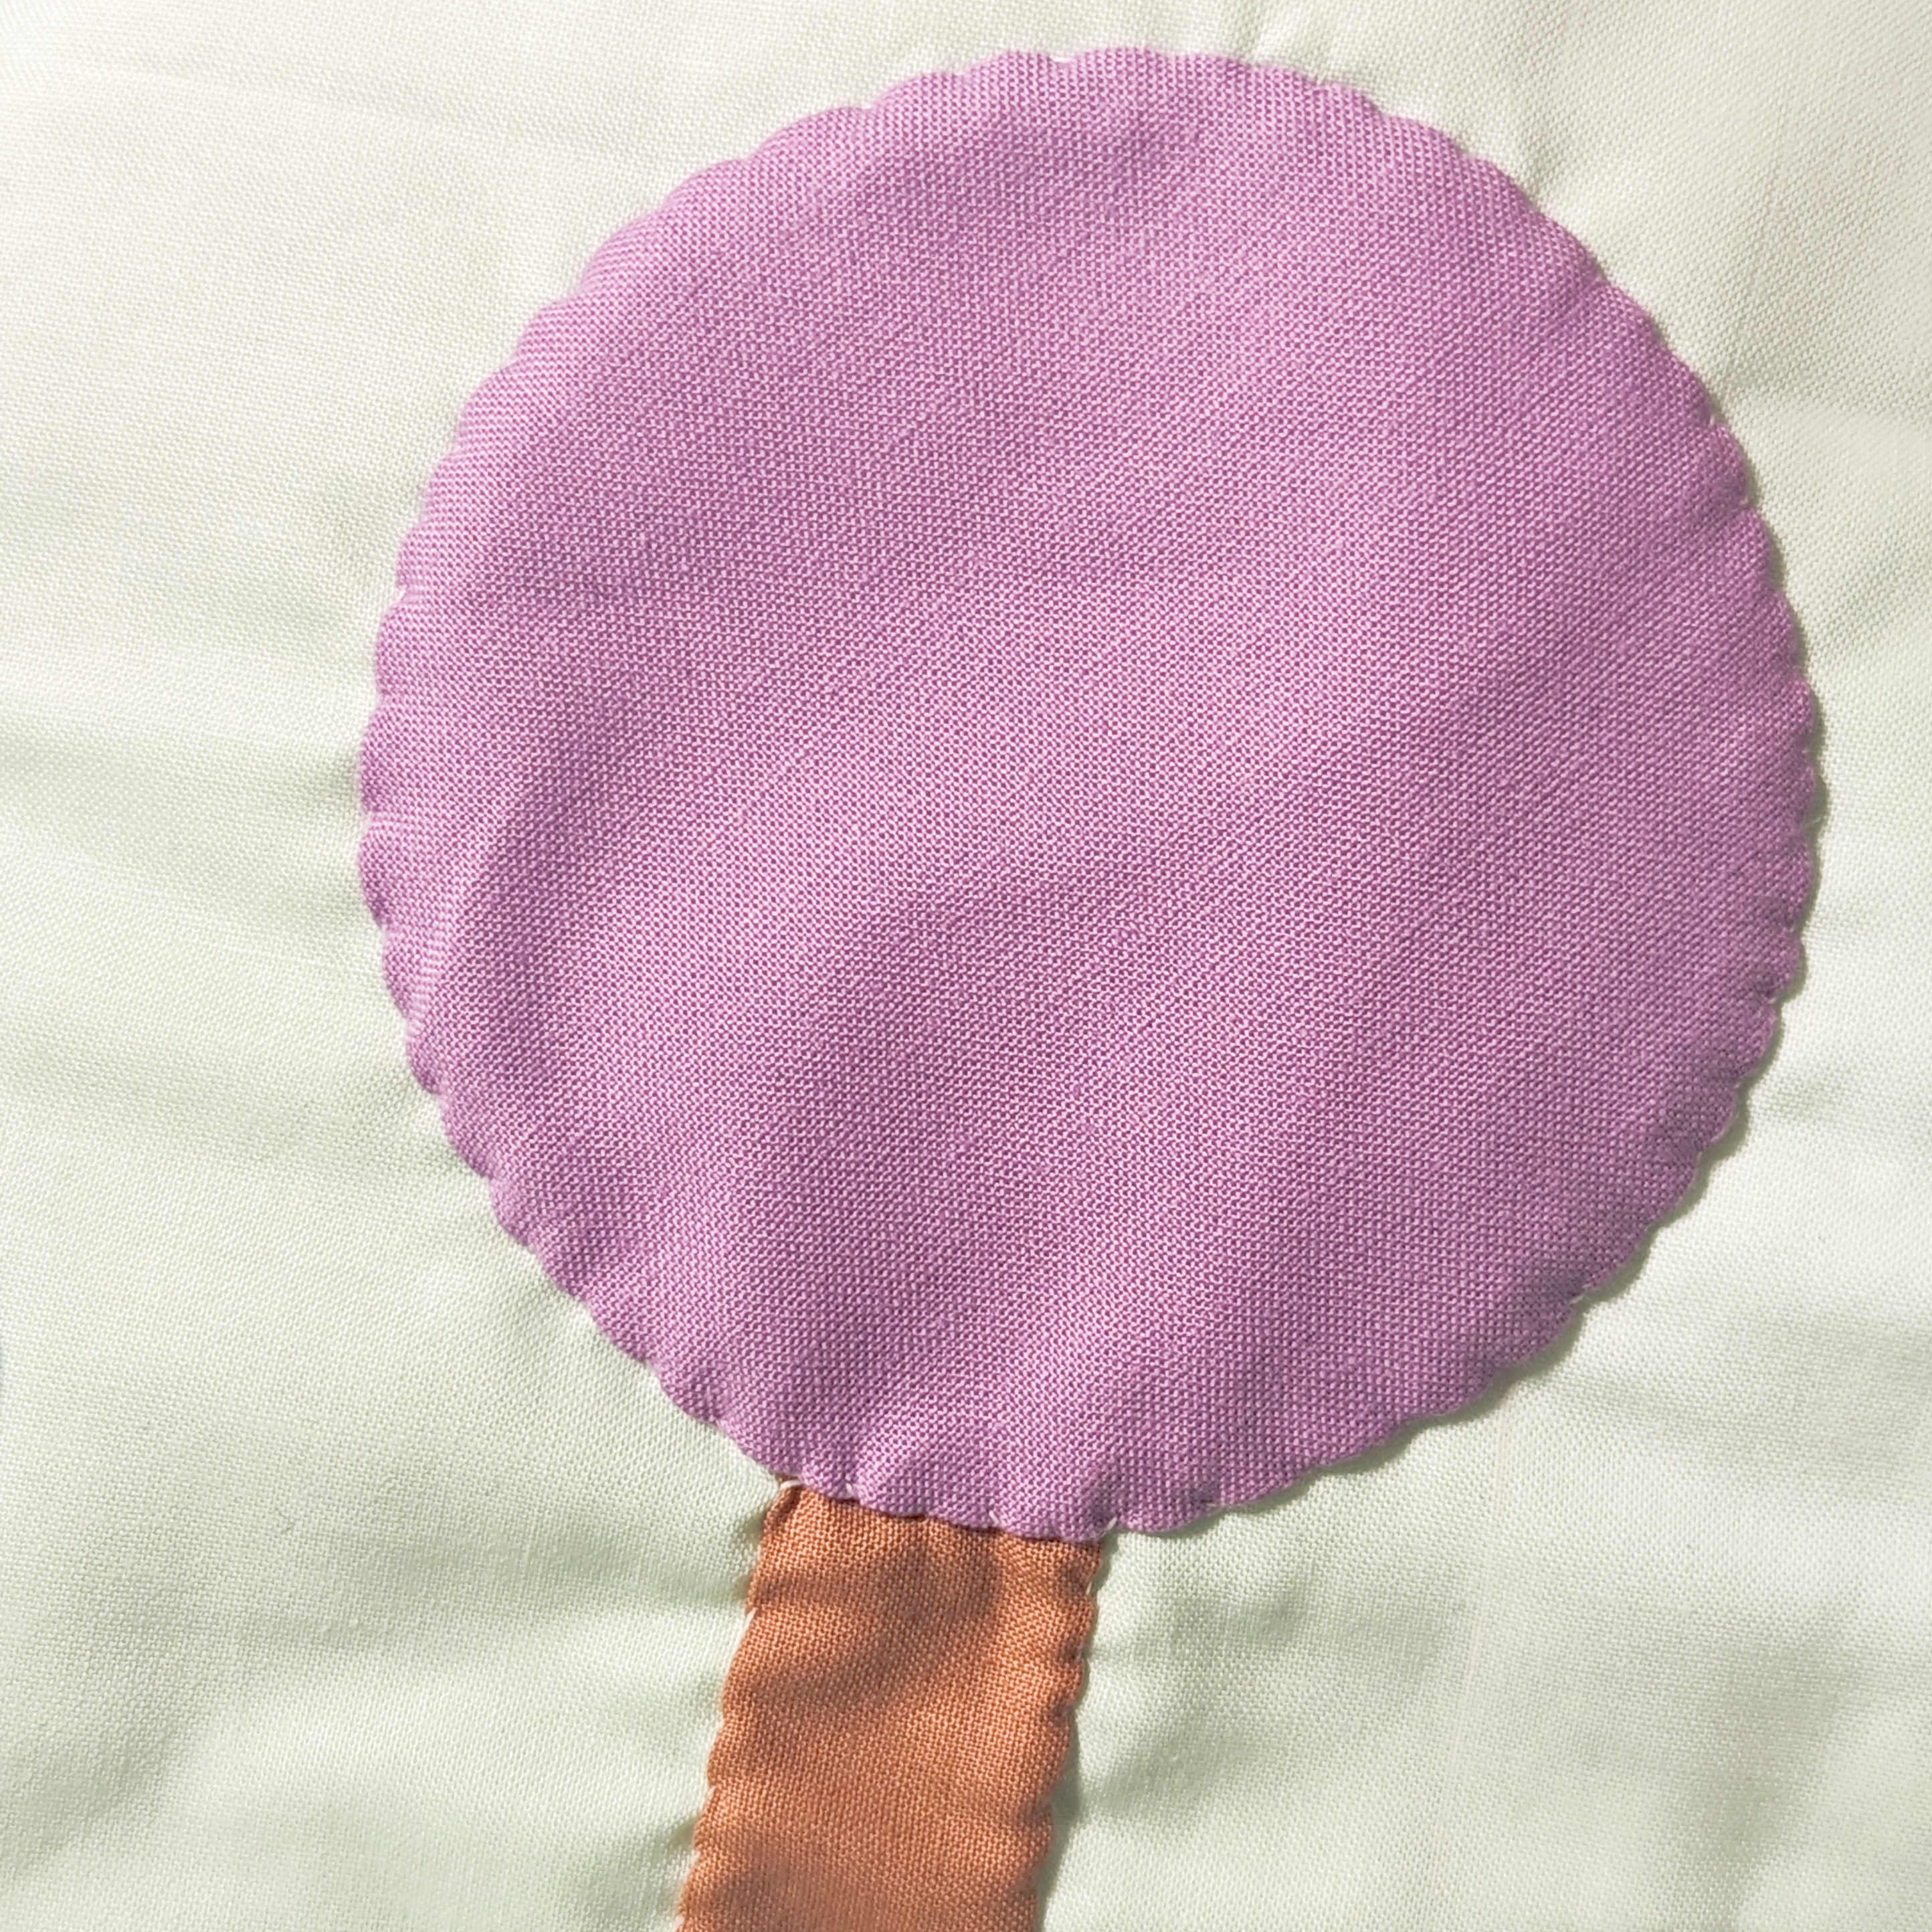
Turn each circle right side out and if needed, use a Hera Marker or That Purple Thang to help flattening the seams. Press each one.
STEP 6:
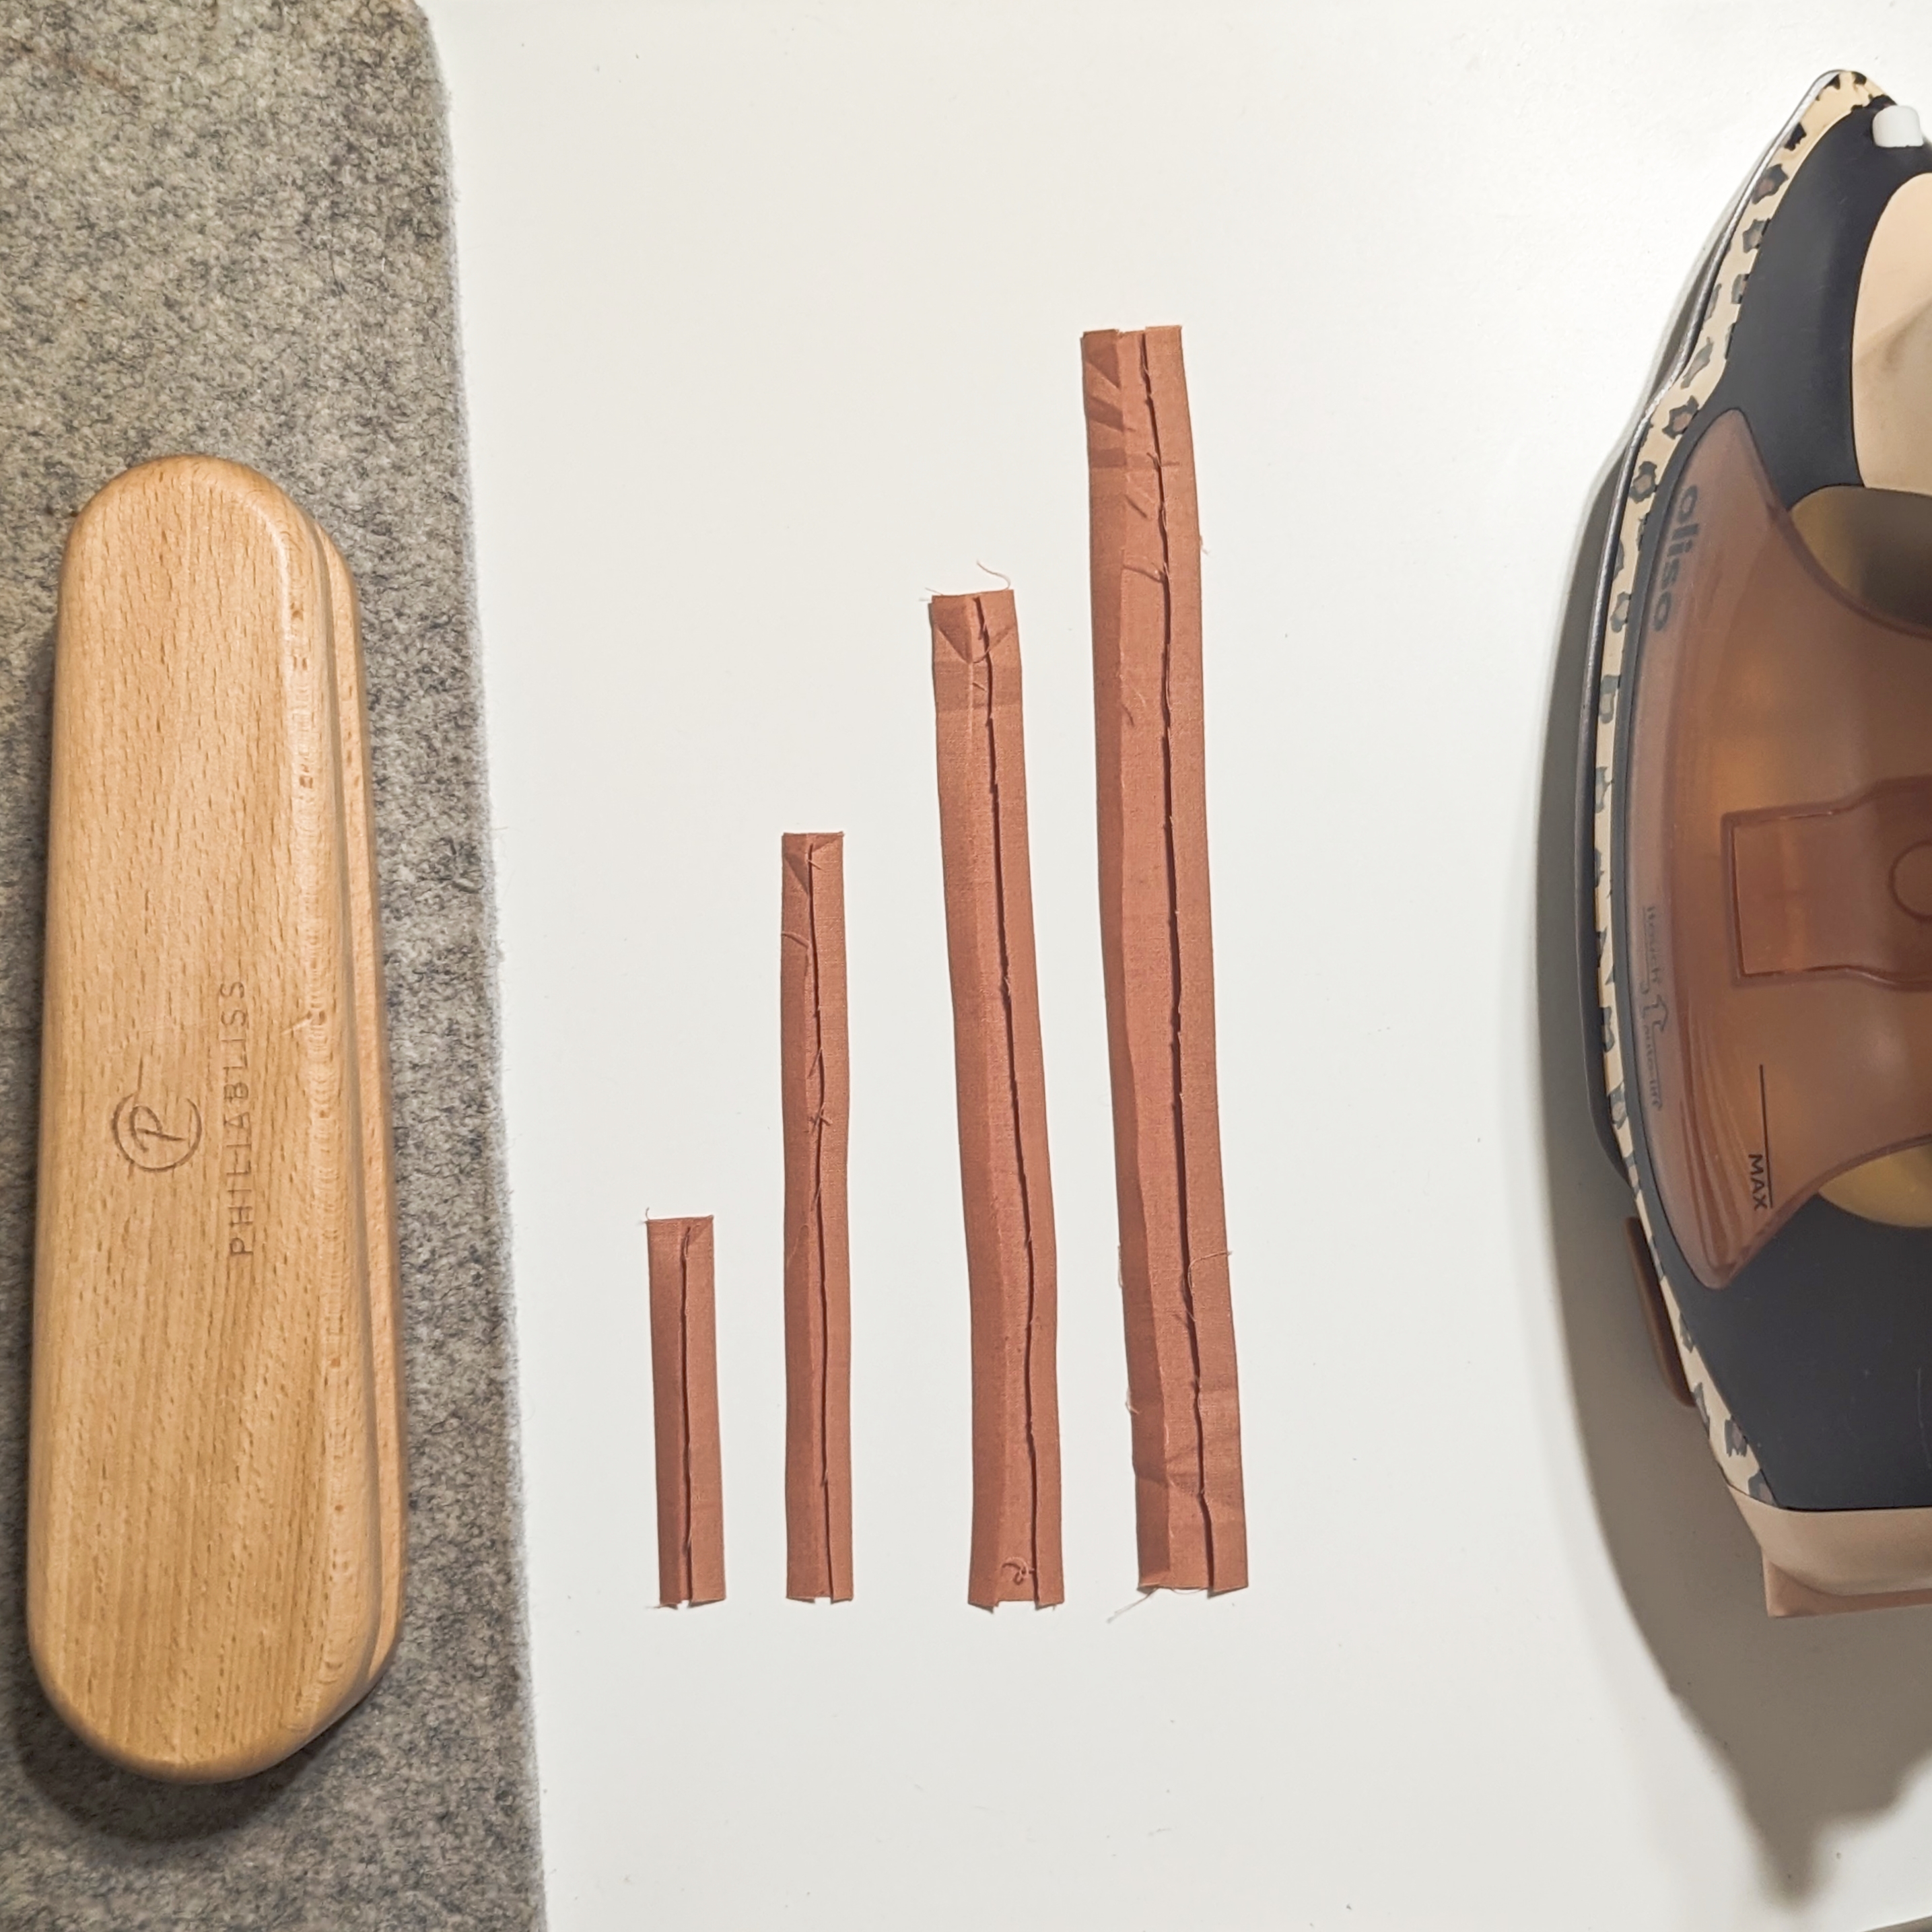
Make the stems using a binding maker, or simply fold the longer edge of each strip by ¼” on each side, and press.
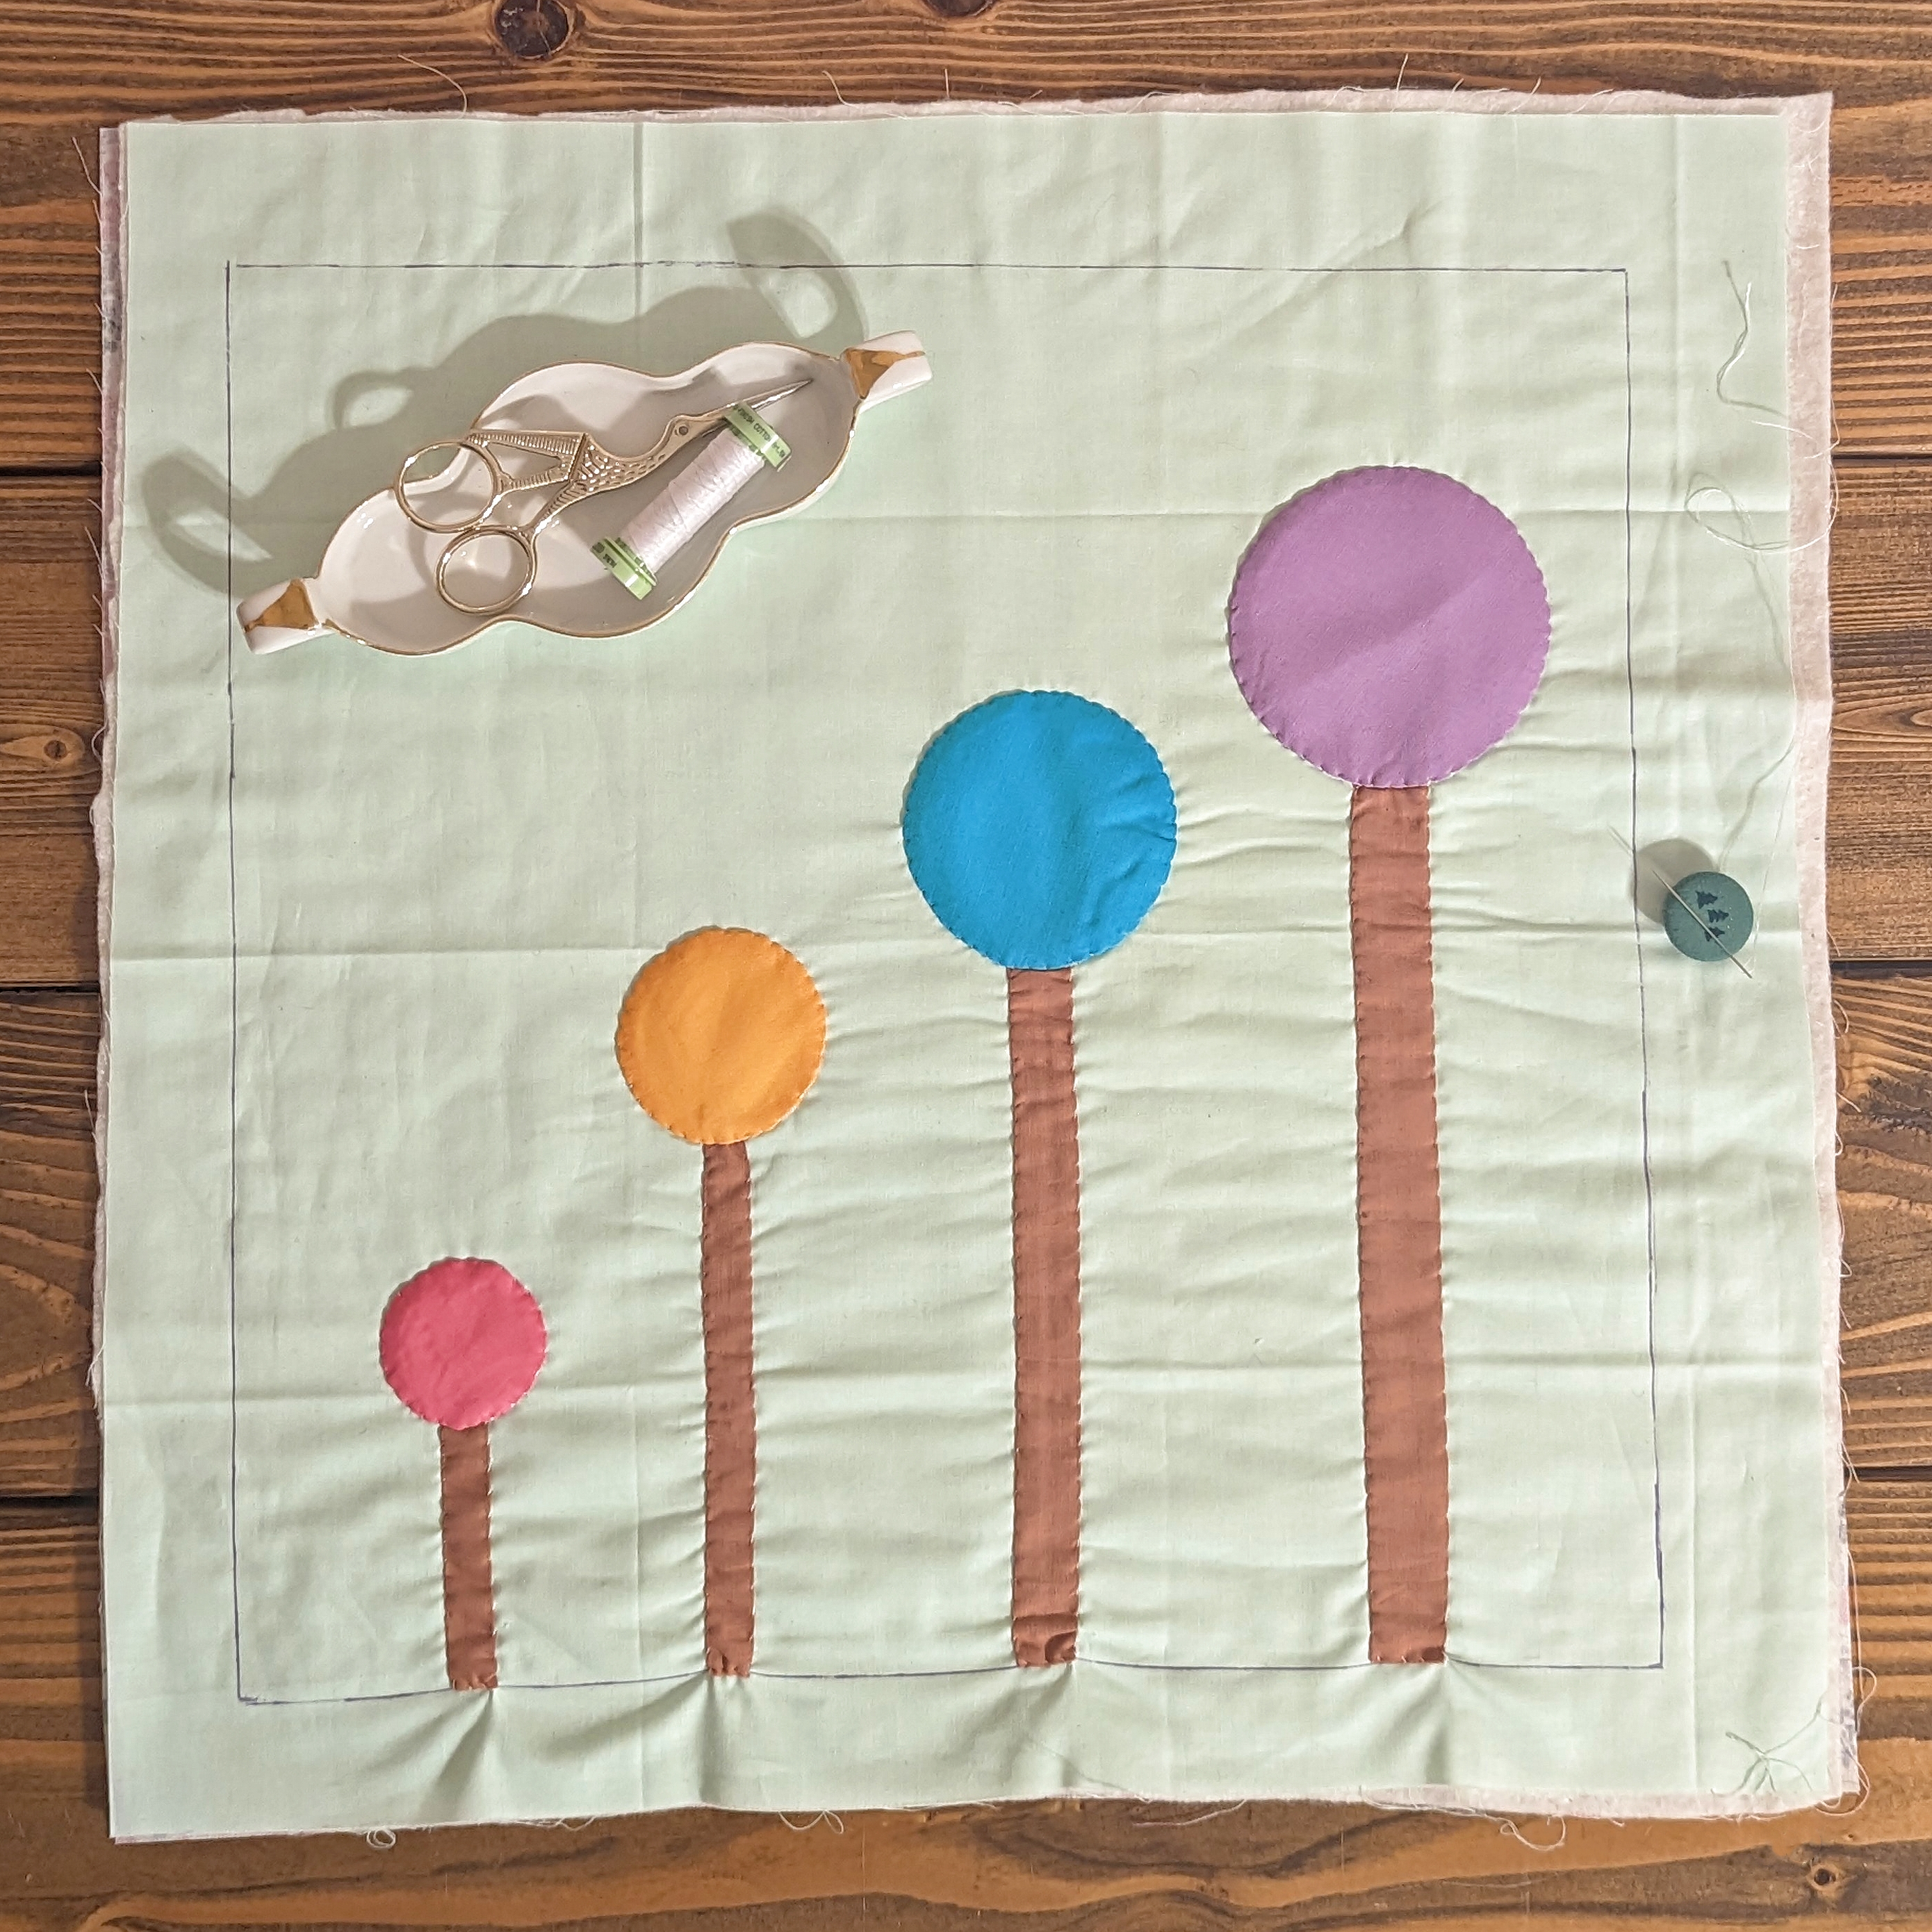
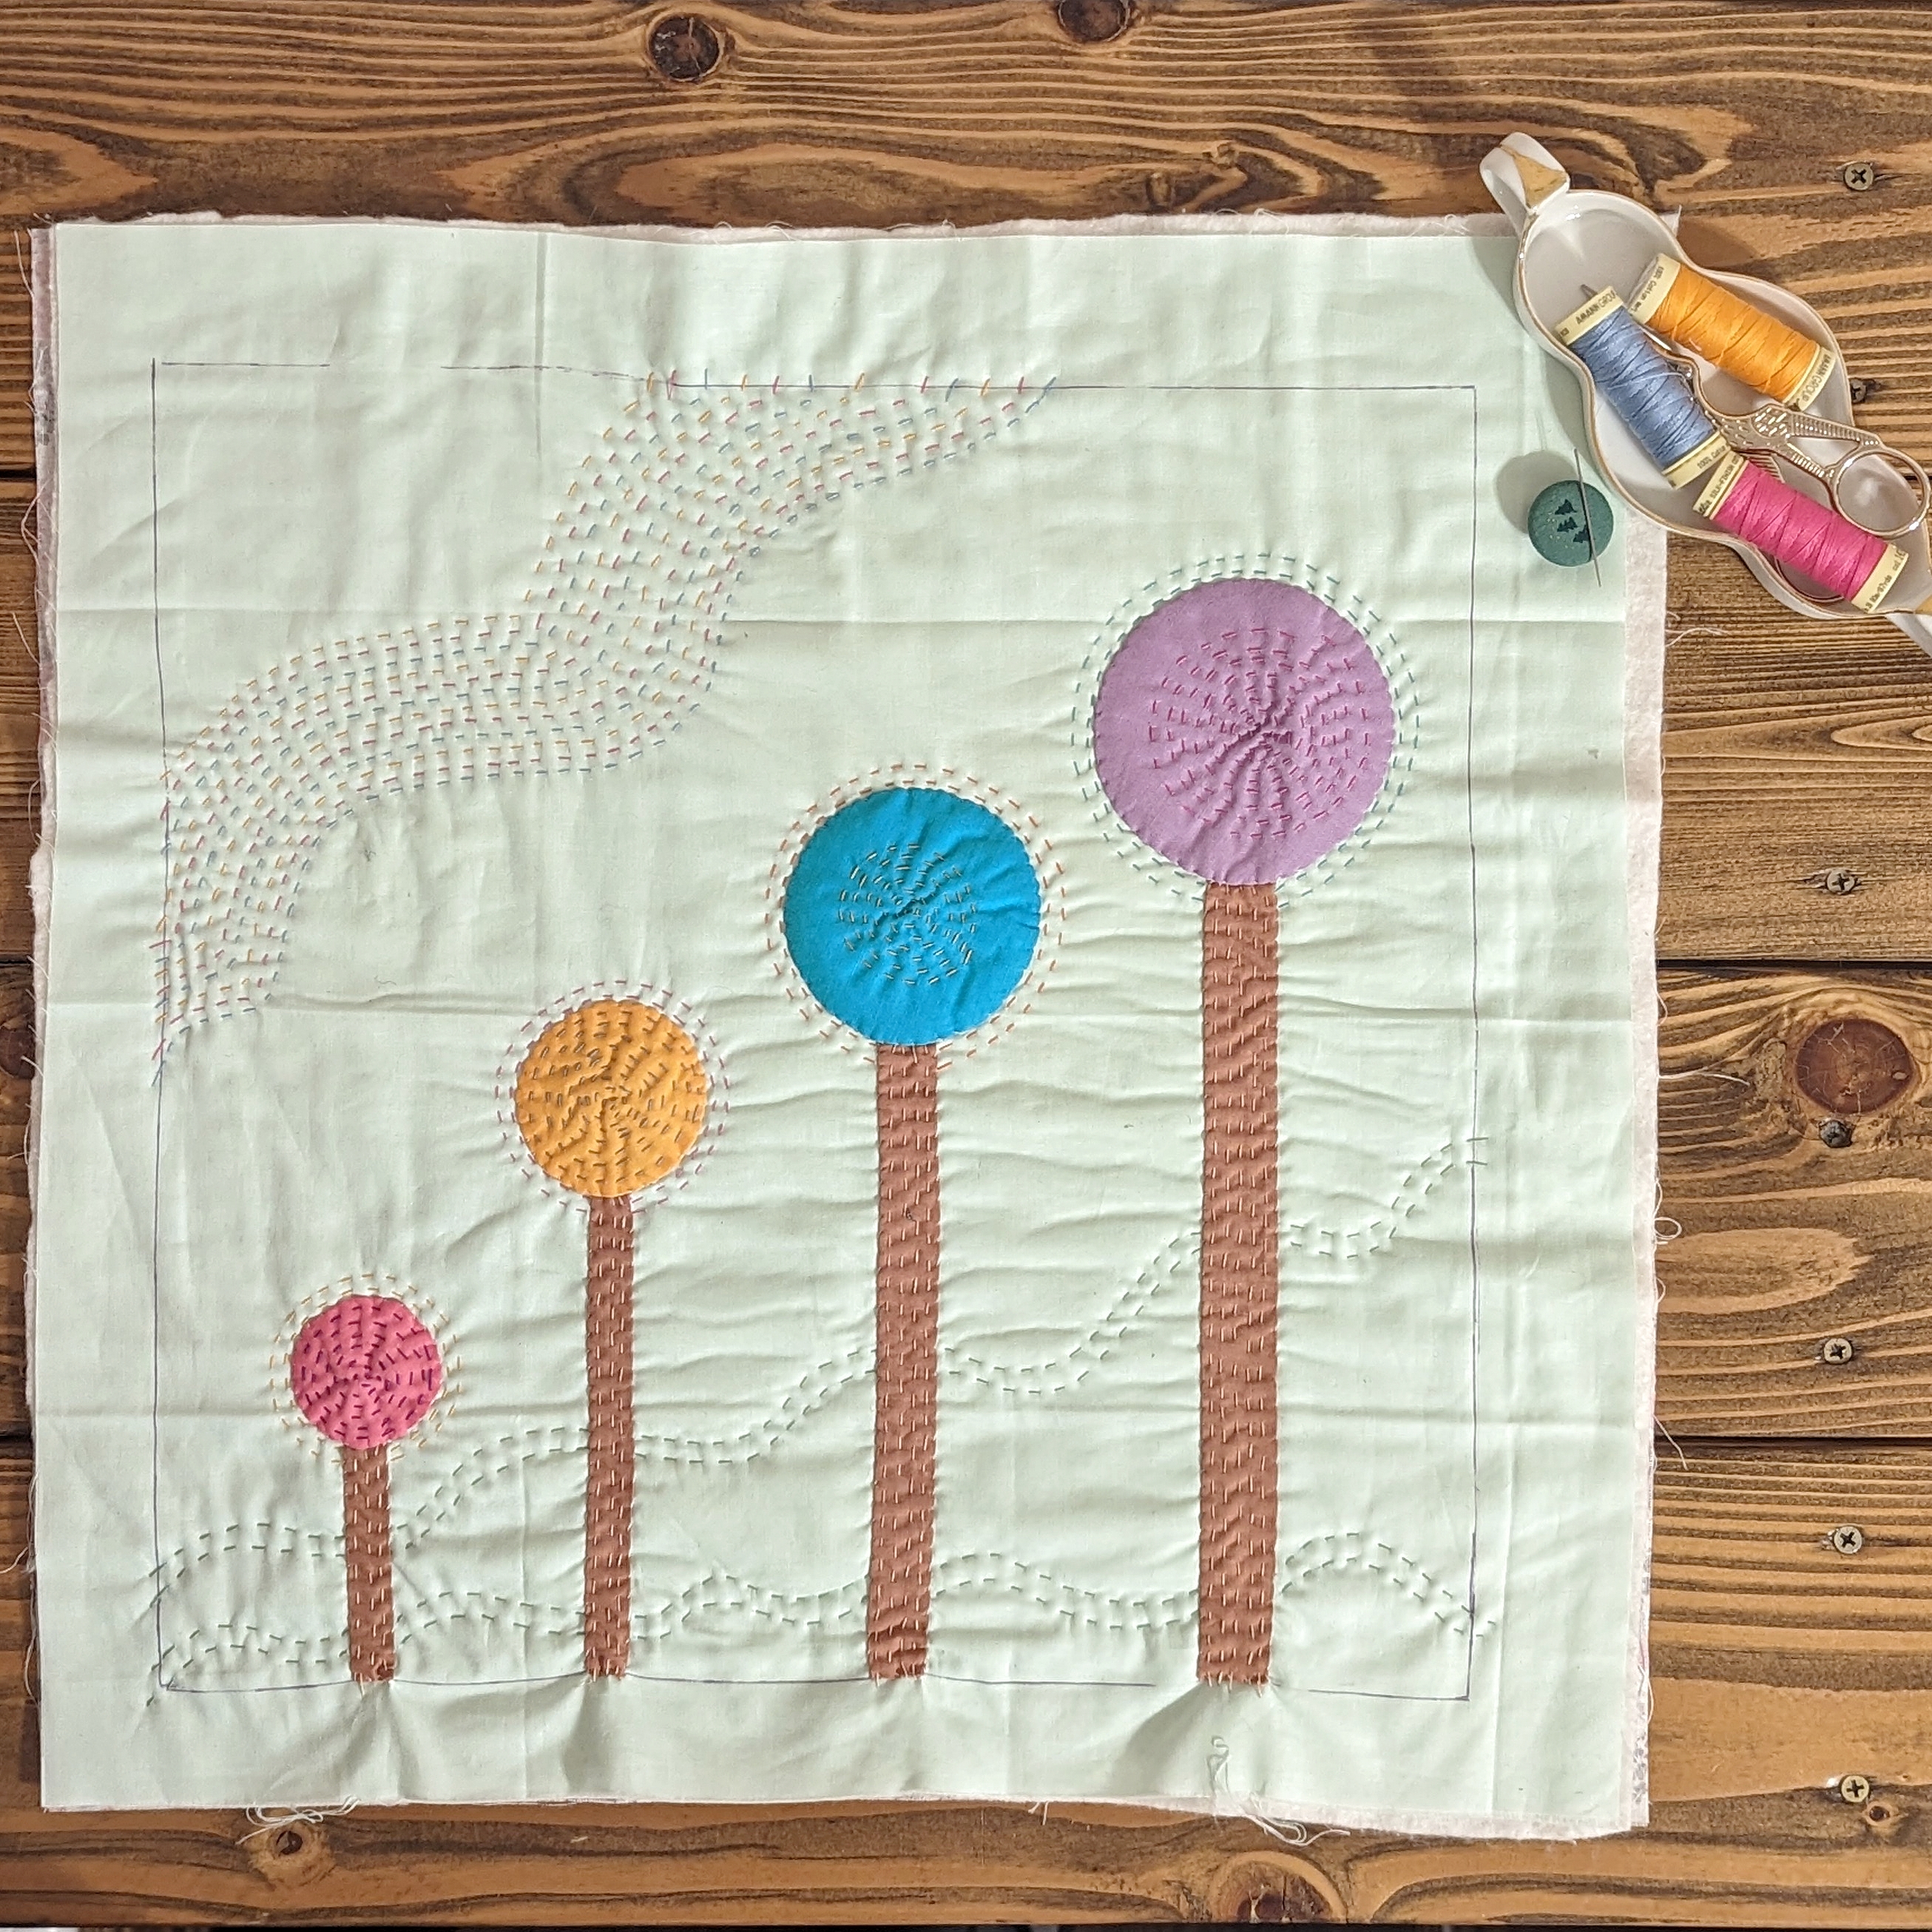
STEP 7:
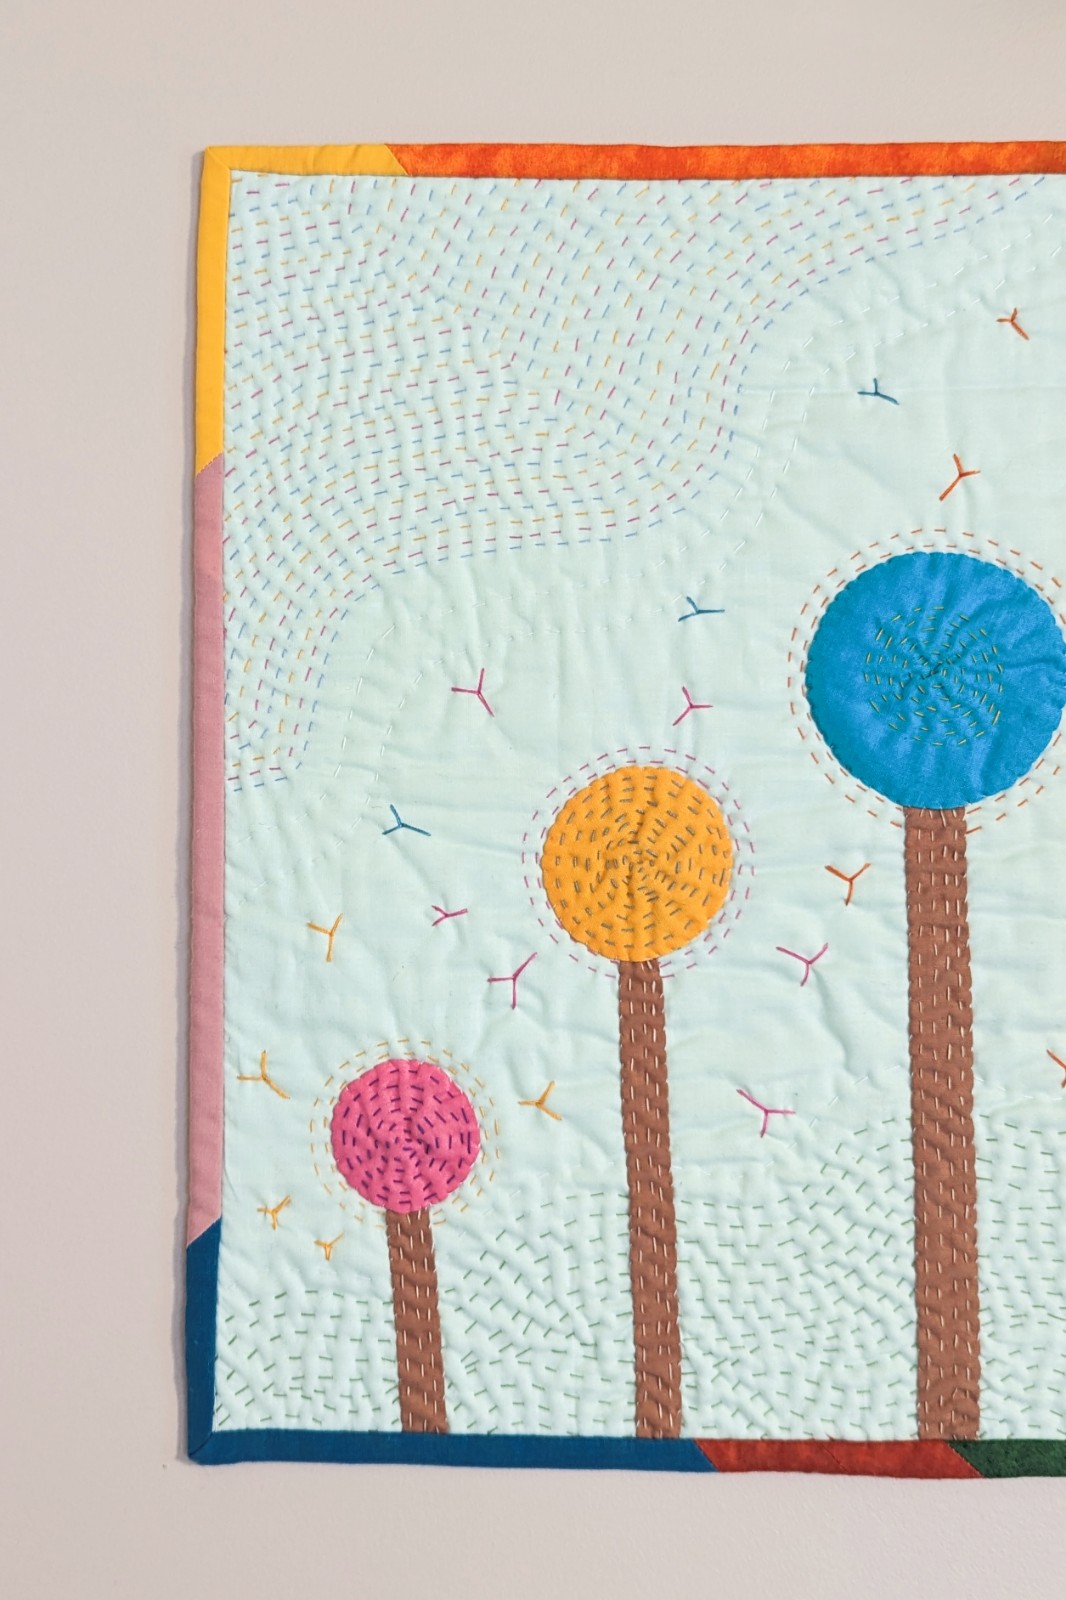
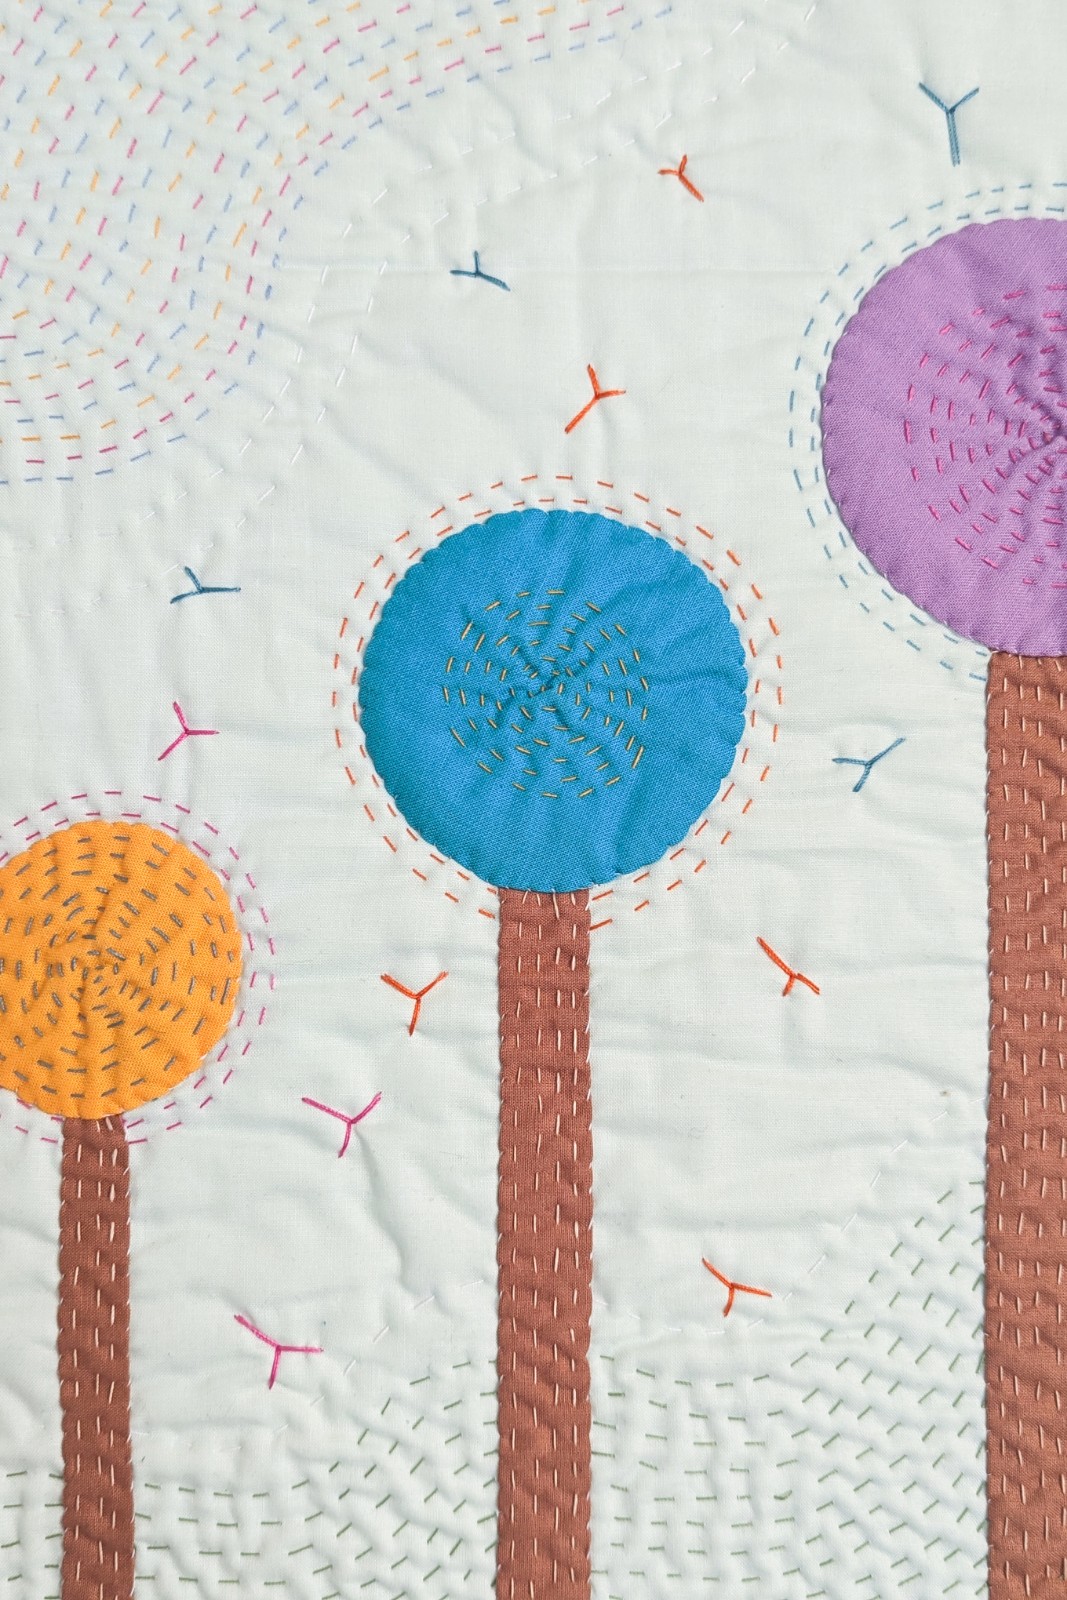
Following the photo below, place the stems on the distances marked – the thinner stems are for the smaller circles, and the wider stems for the bigger circles. Then, place and position the circles on top of the stems covering the top of the stems by 1/2".
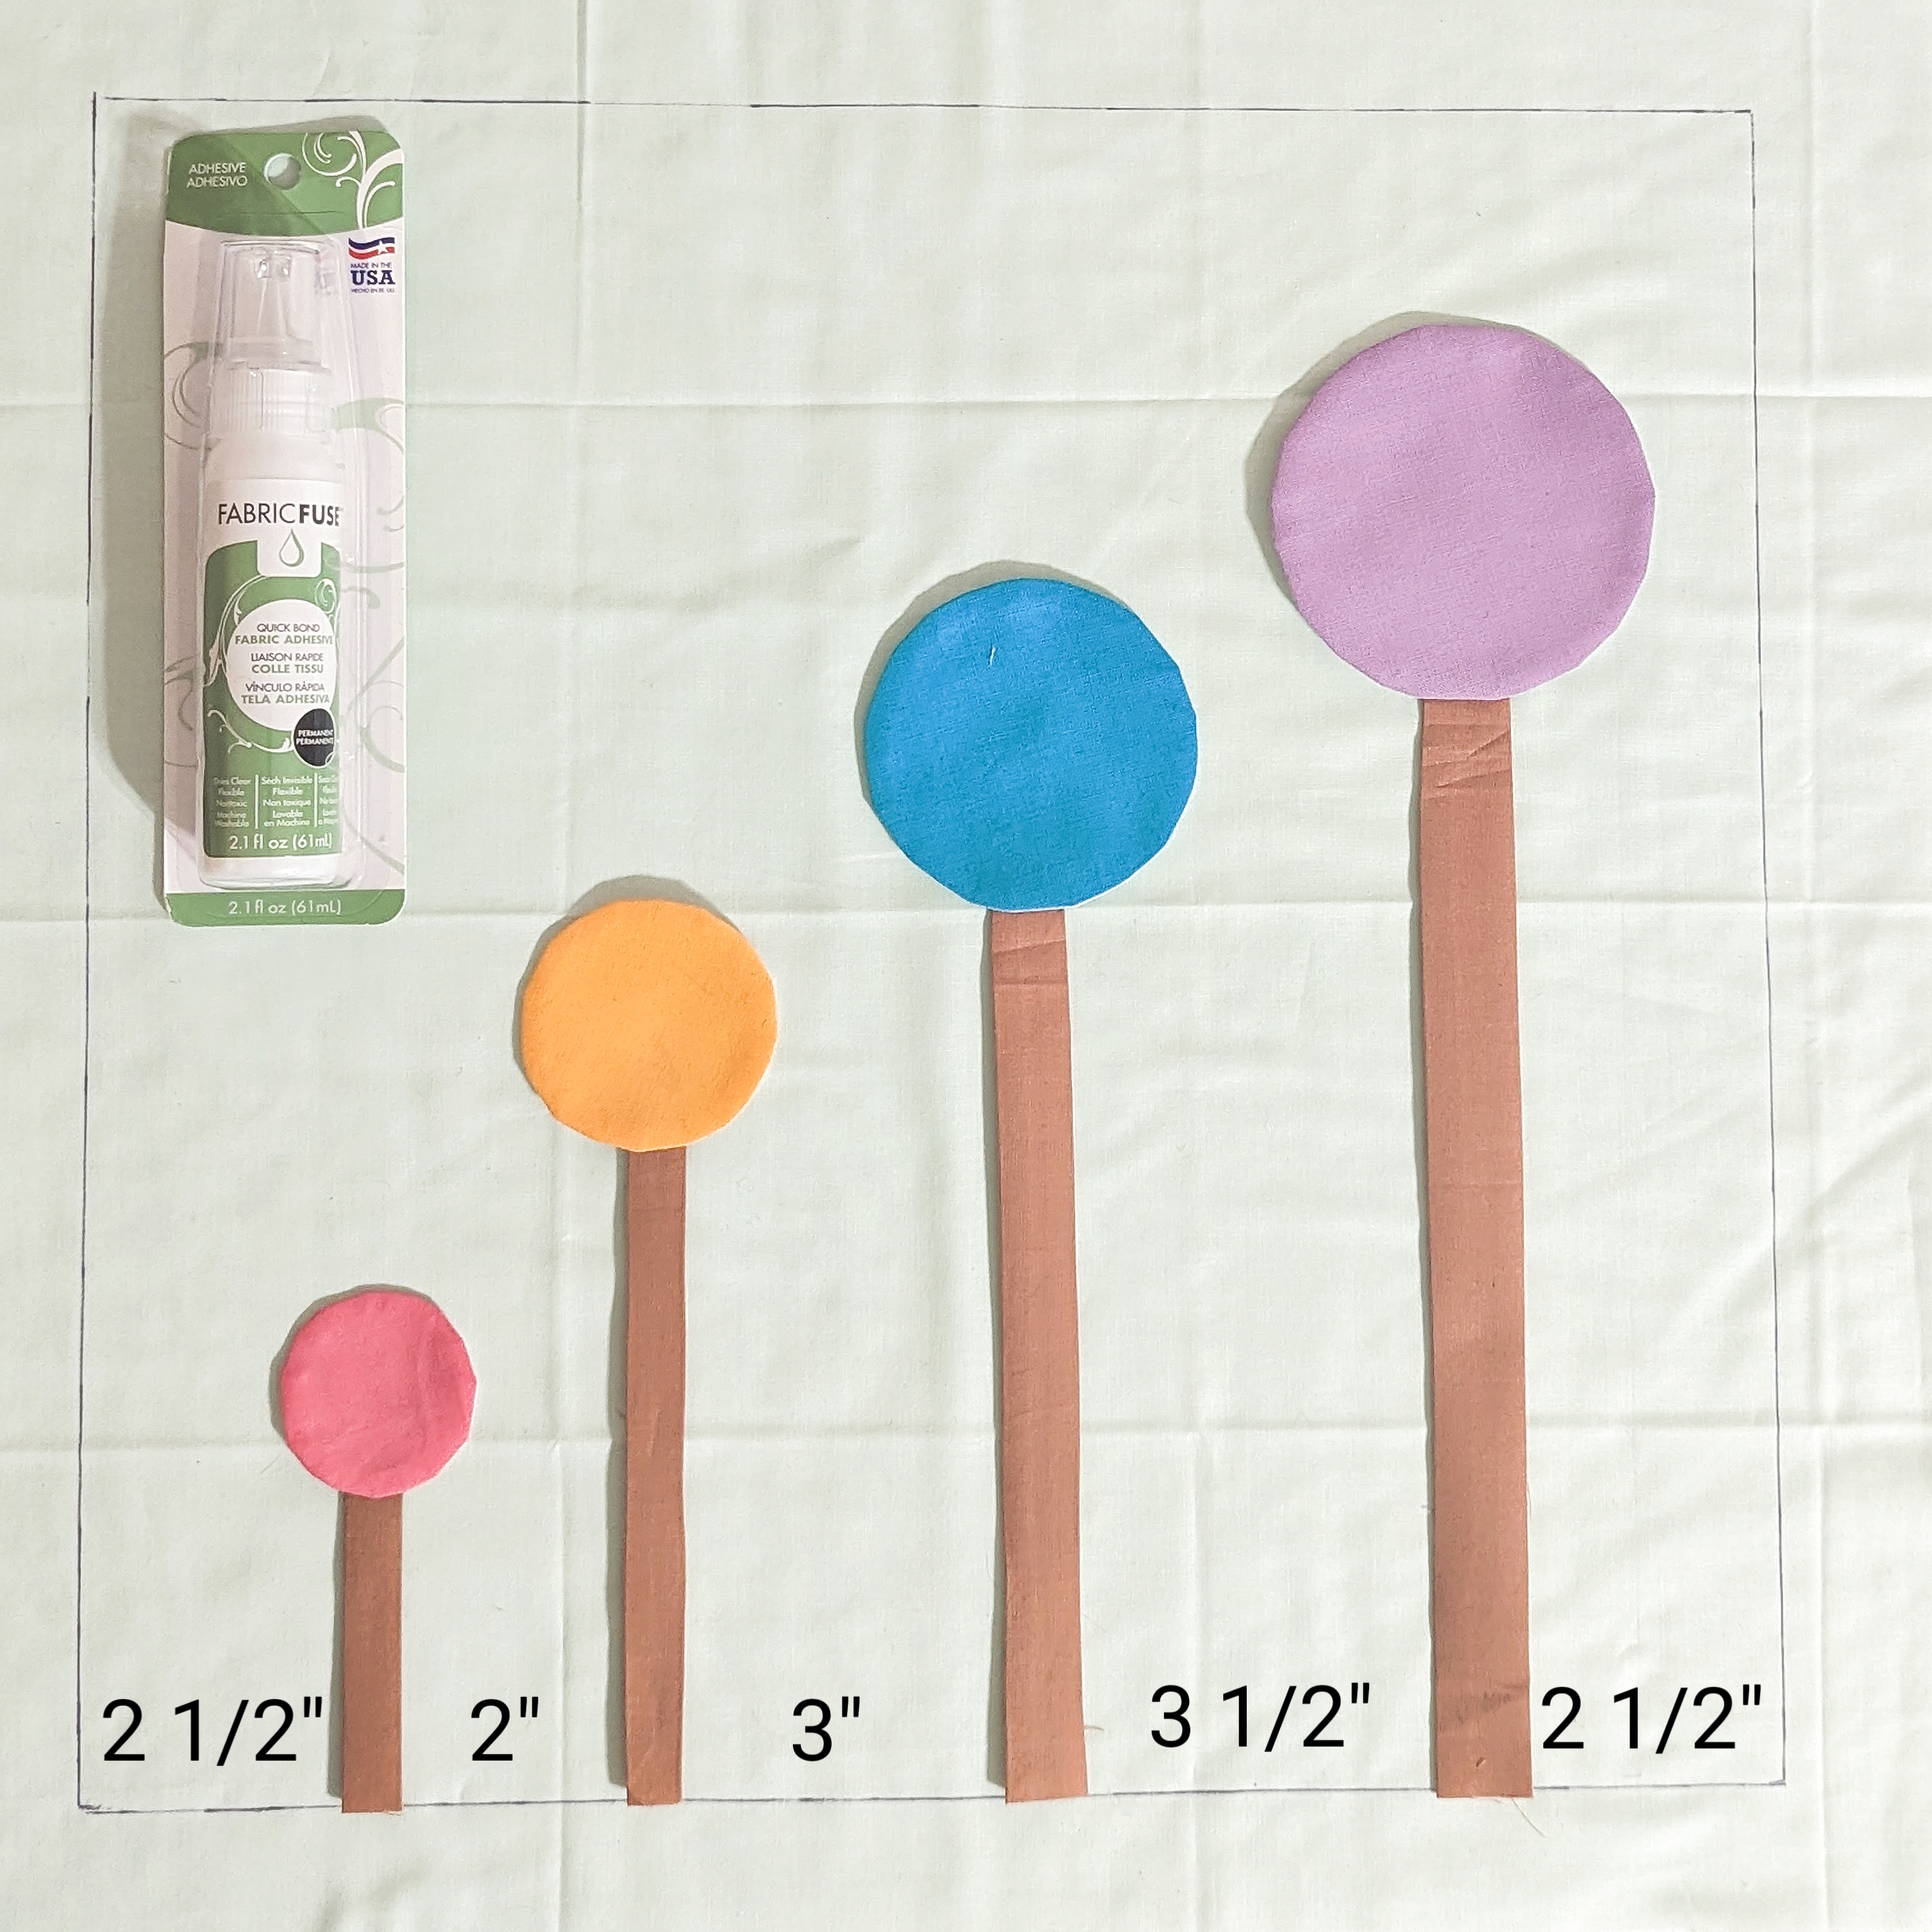
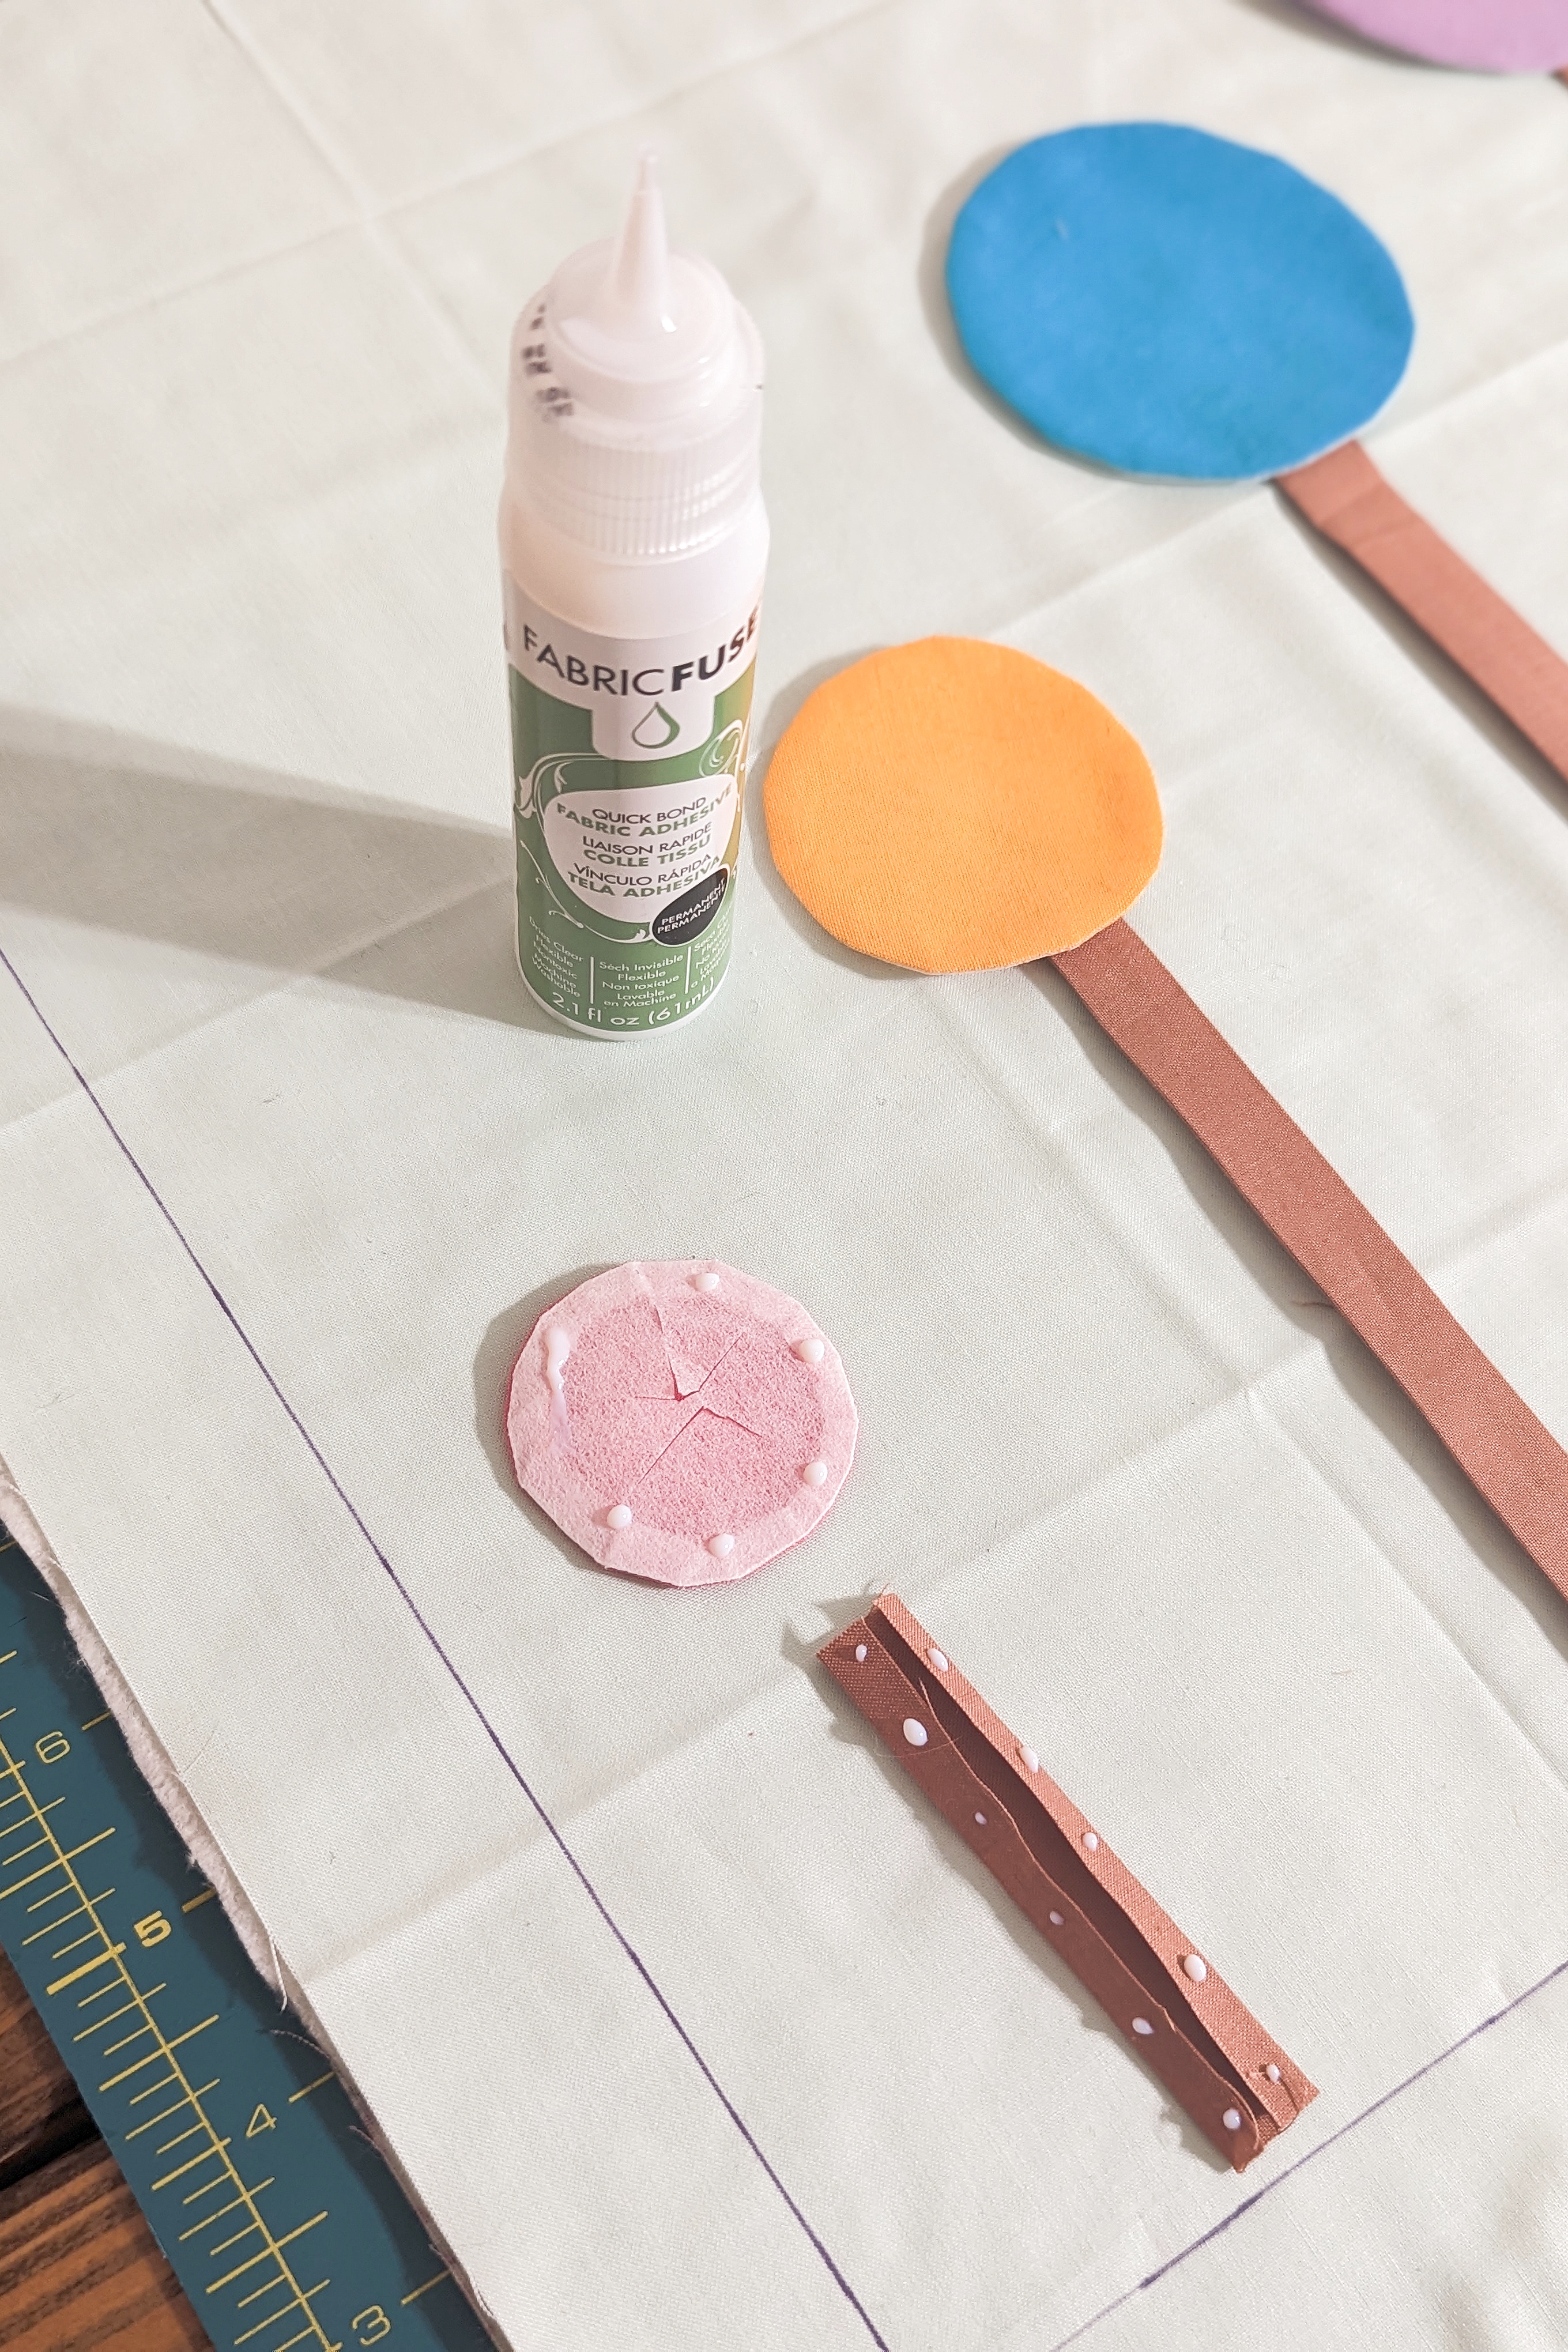
Using ThermoWeb Fabric Fuse Adhesive (or any applique glue), glue the pieces in place starting in the same order as before, first stems then circles. Press once all parts are glued.
STEP 8:
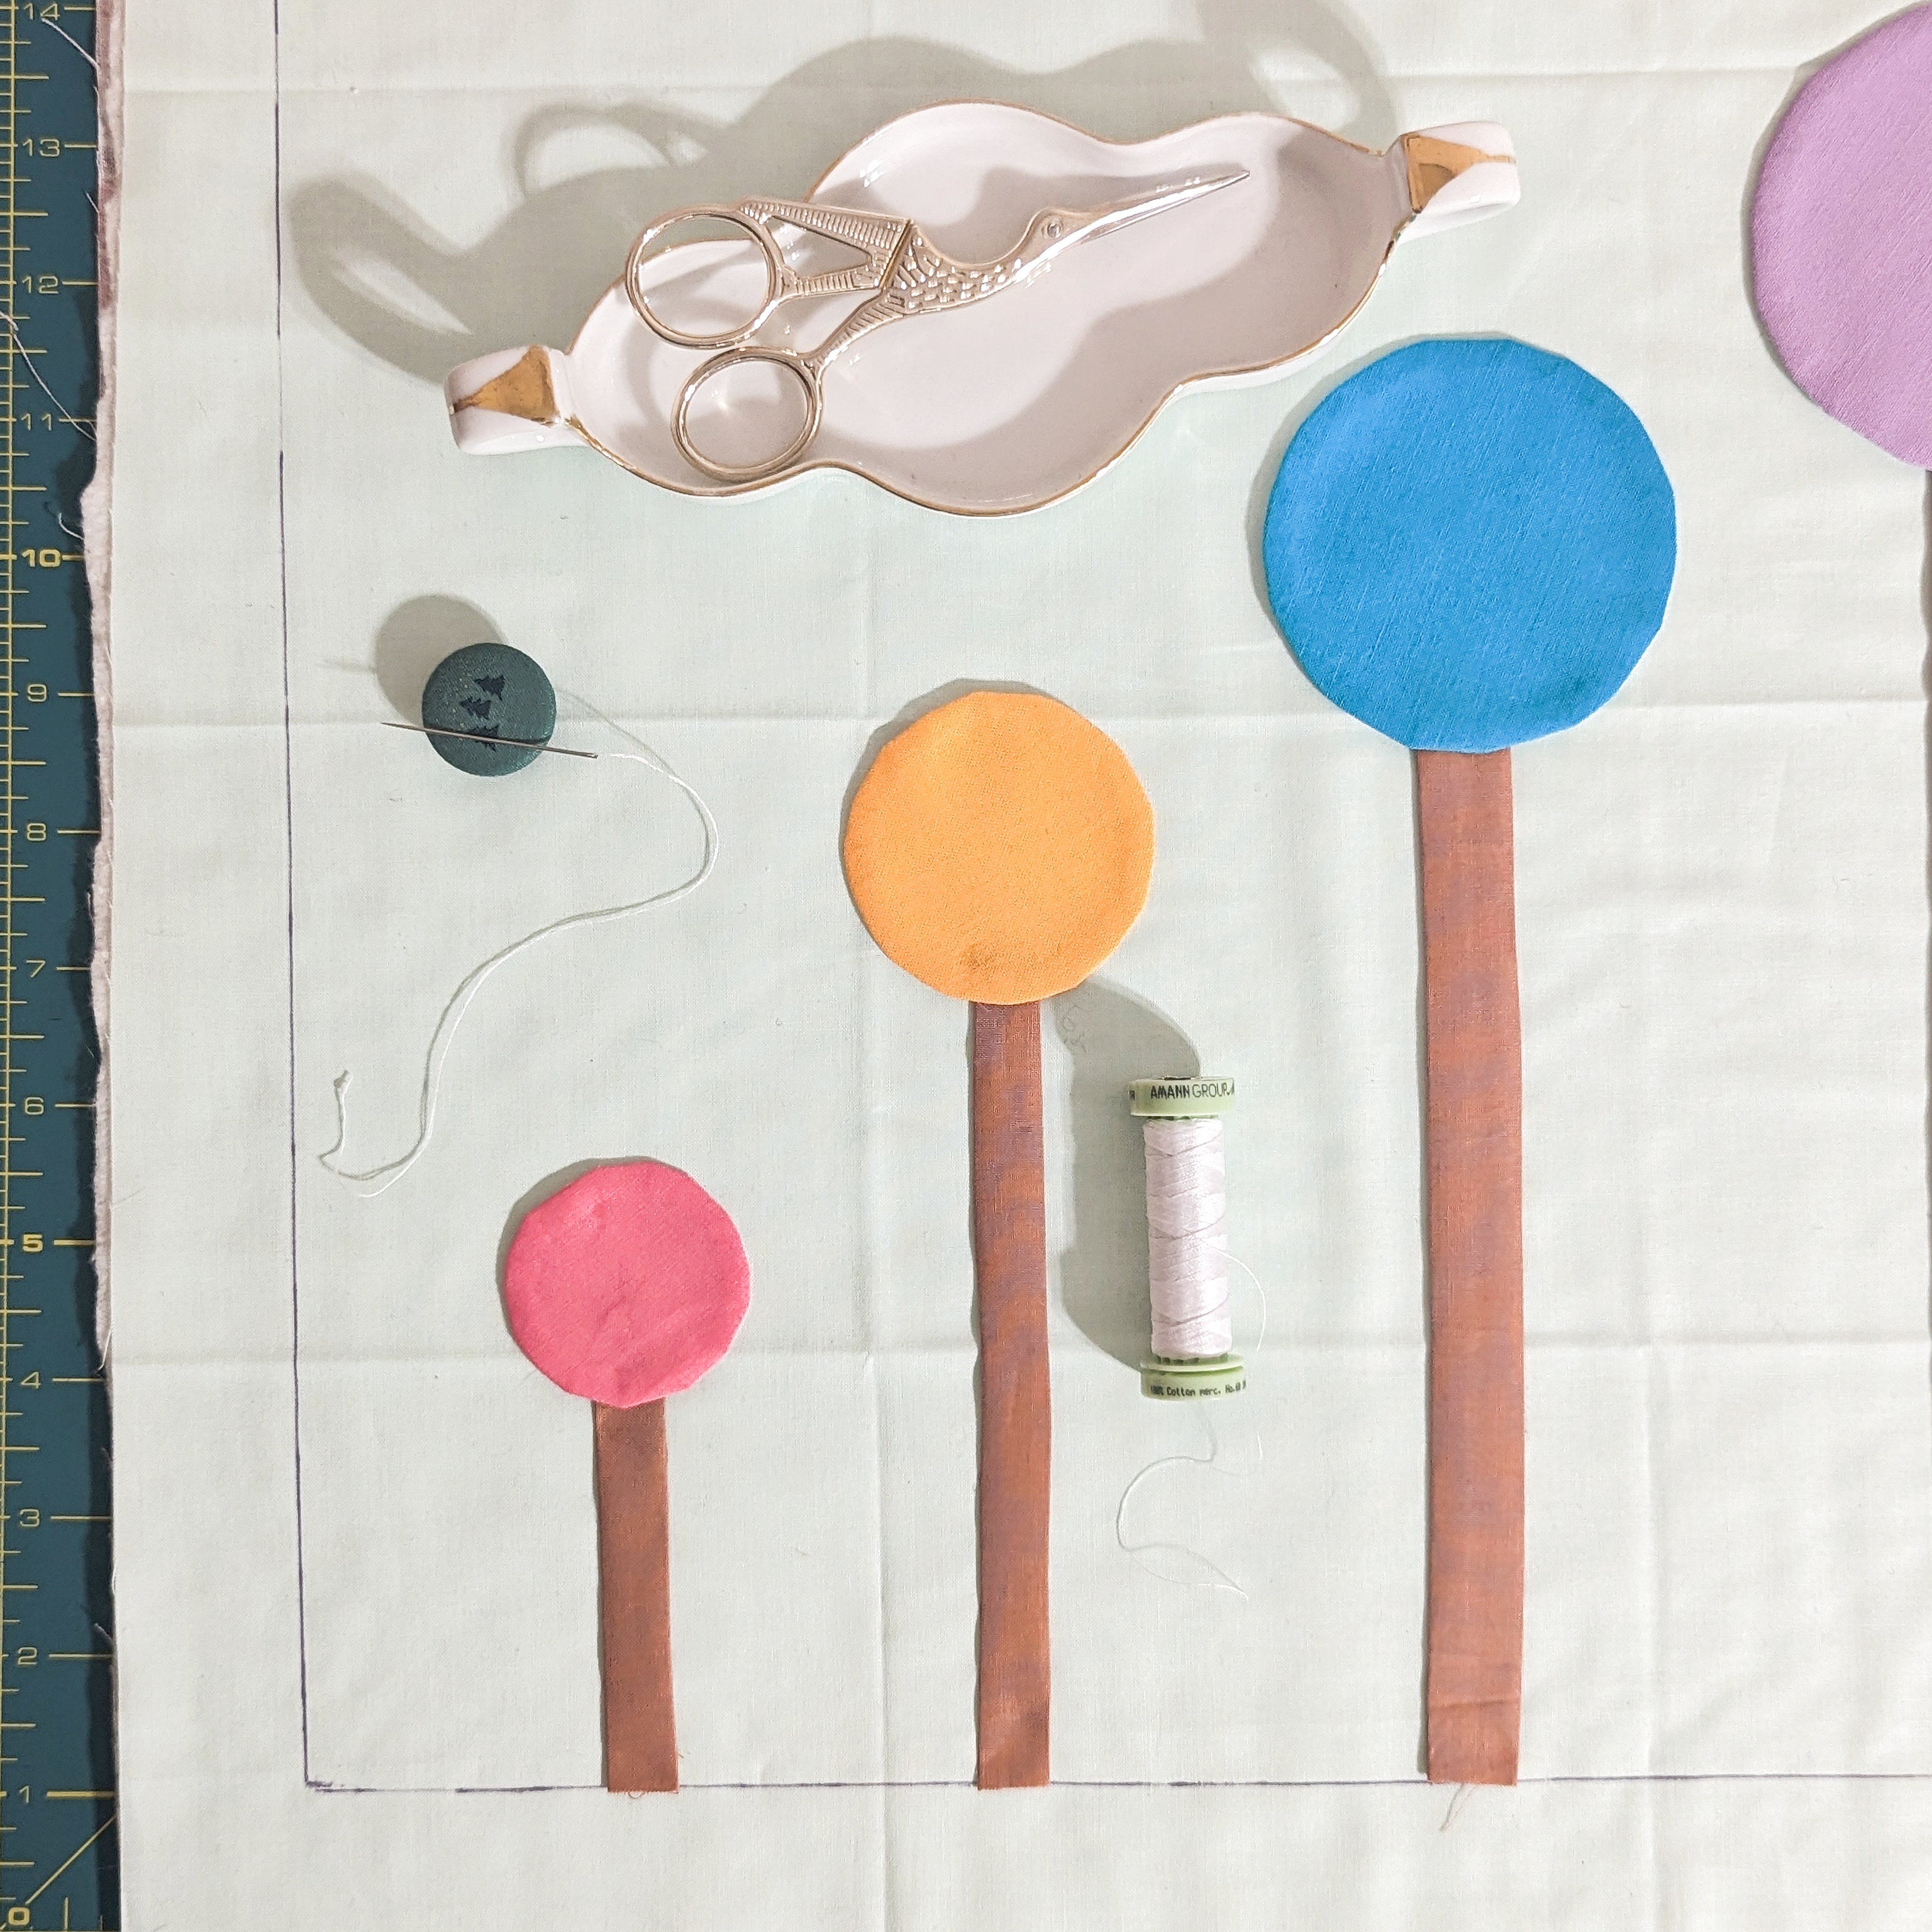
It’s time to start hand stitching to applique the pieces. Prepare the 60wt cotton thread and snipping scissors. Measure an arm’s length of thread and cut. Then loop through the needle and tie a knot on both ends.
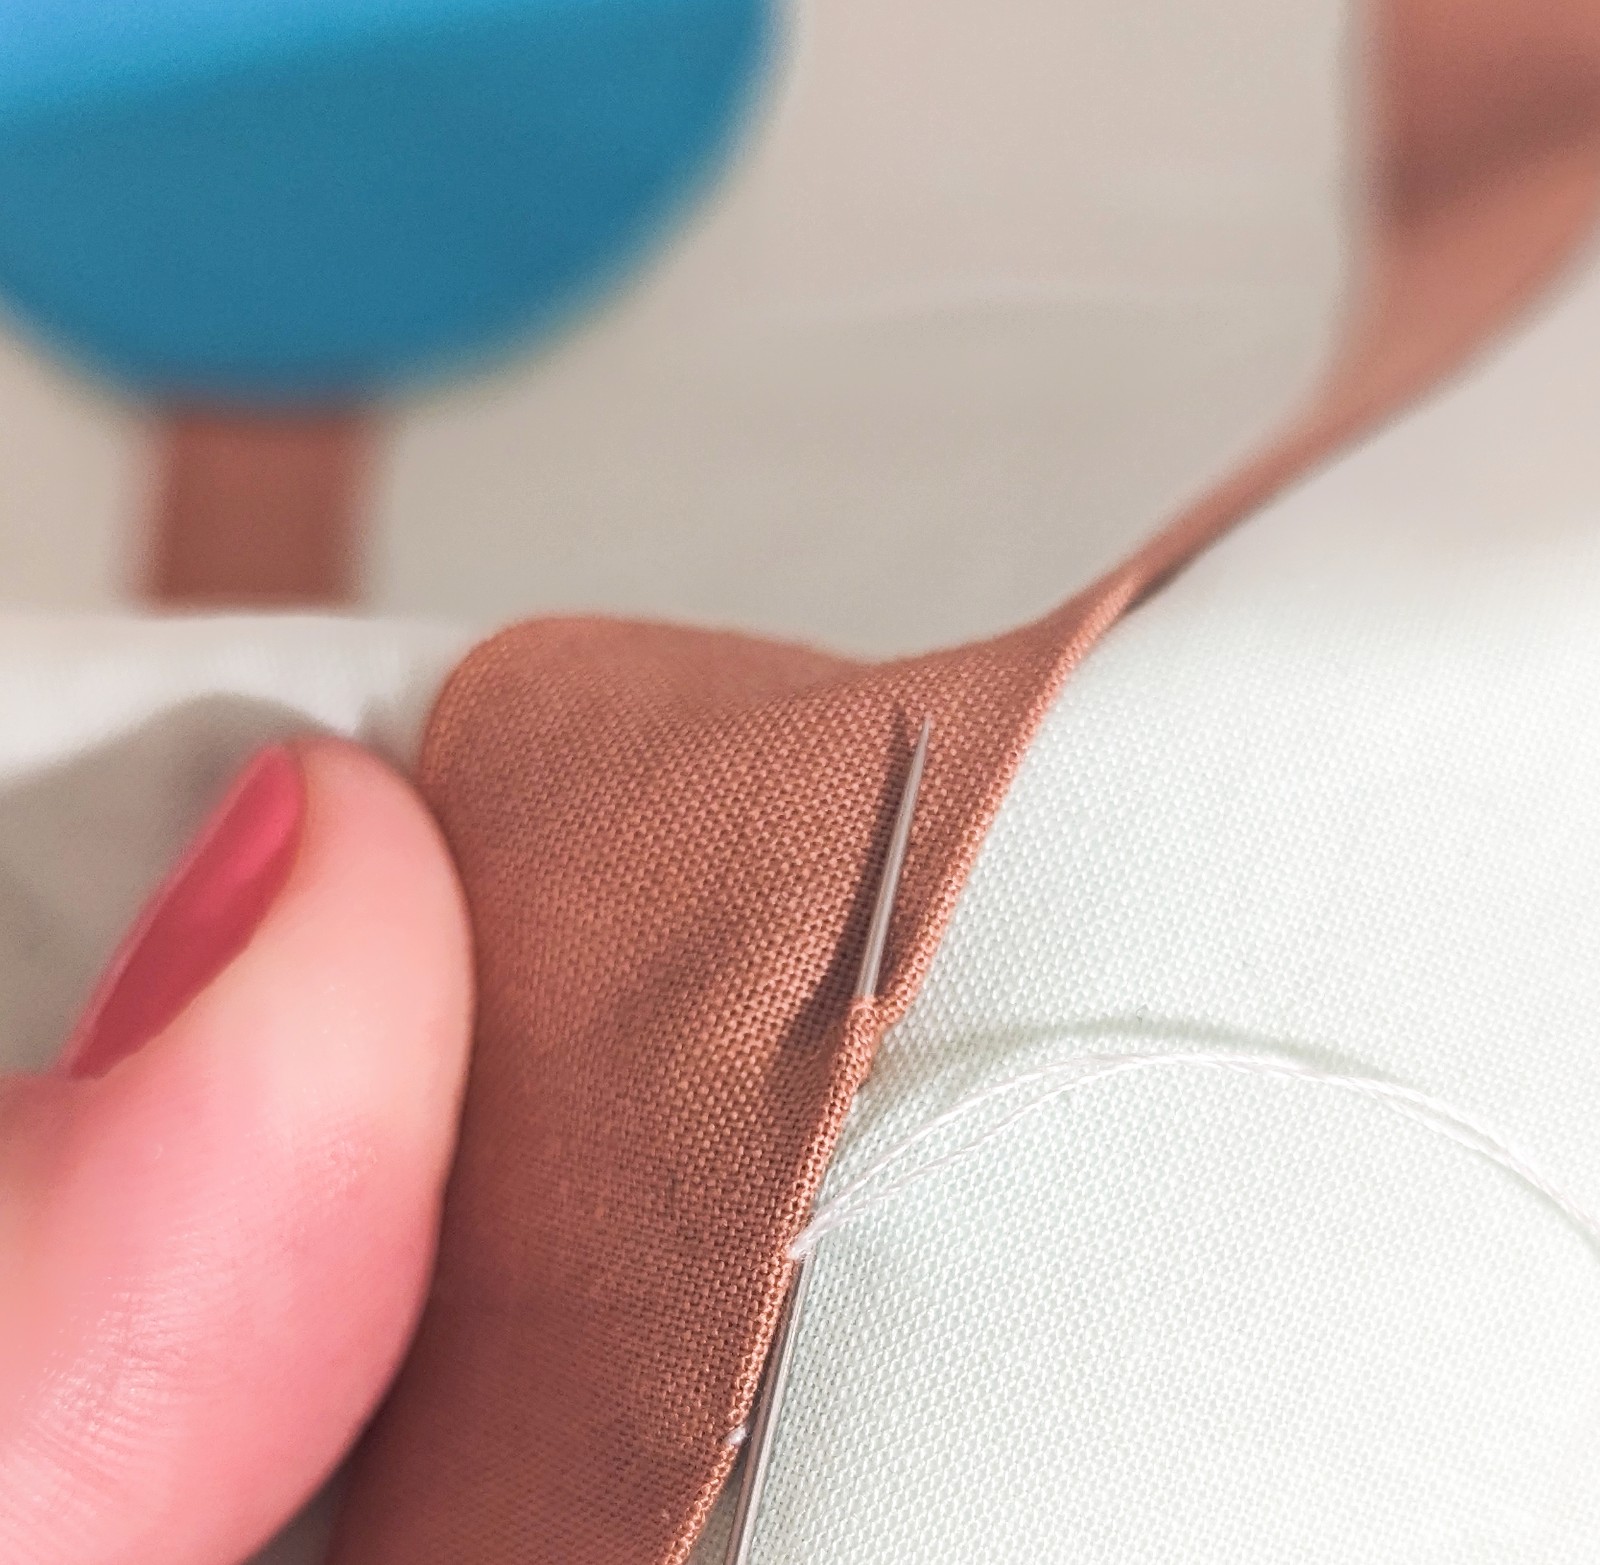
Start sewing using an invisible stitch. You may use other methods of applique in this project, the creative process is yours!!! Play with it.
Once the applique stitches are all done, it’s time to draw some lines to guide us when hand quilting it.
STEP 9:
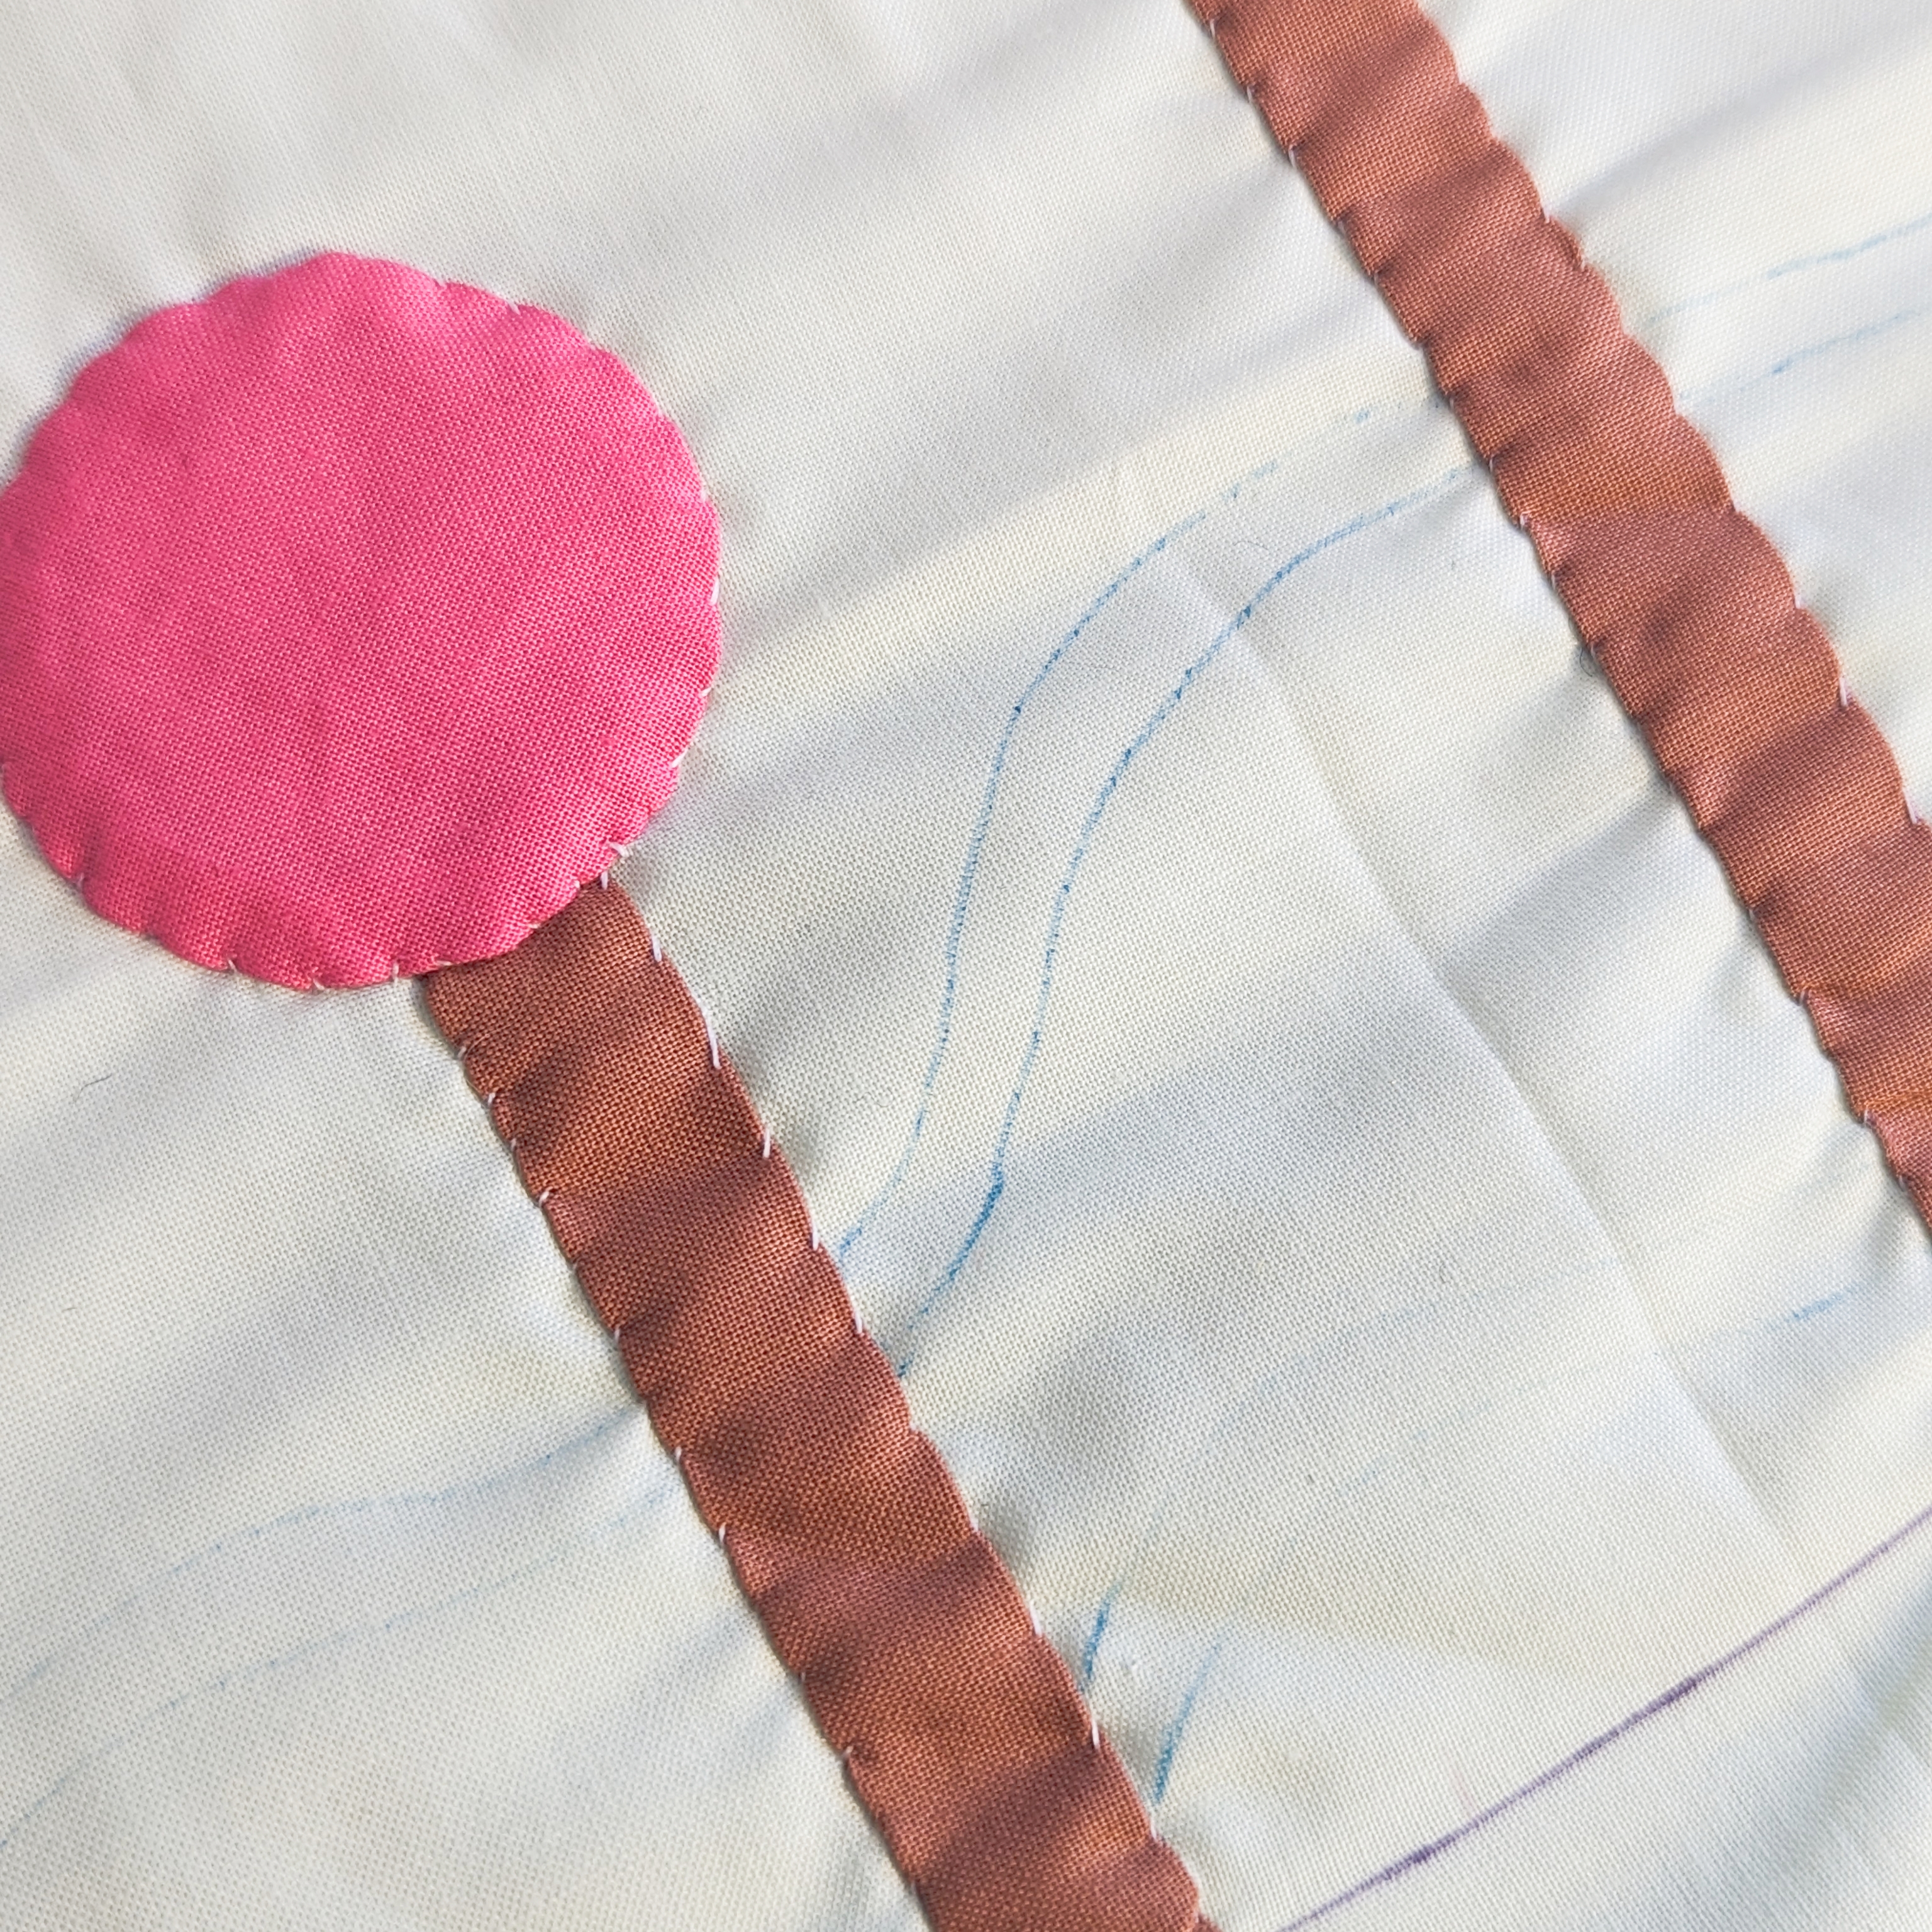
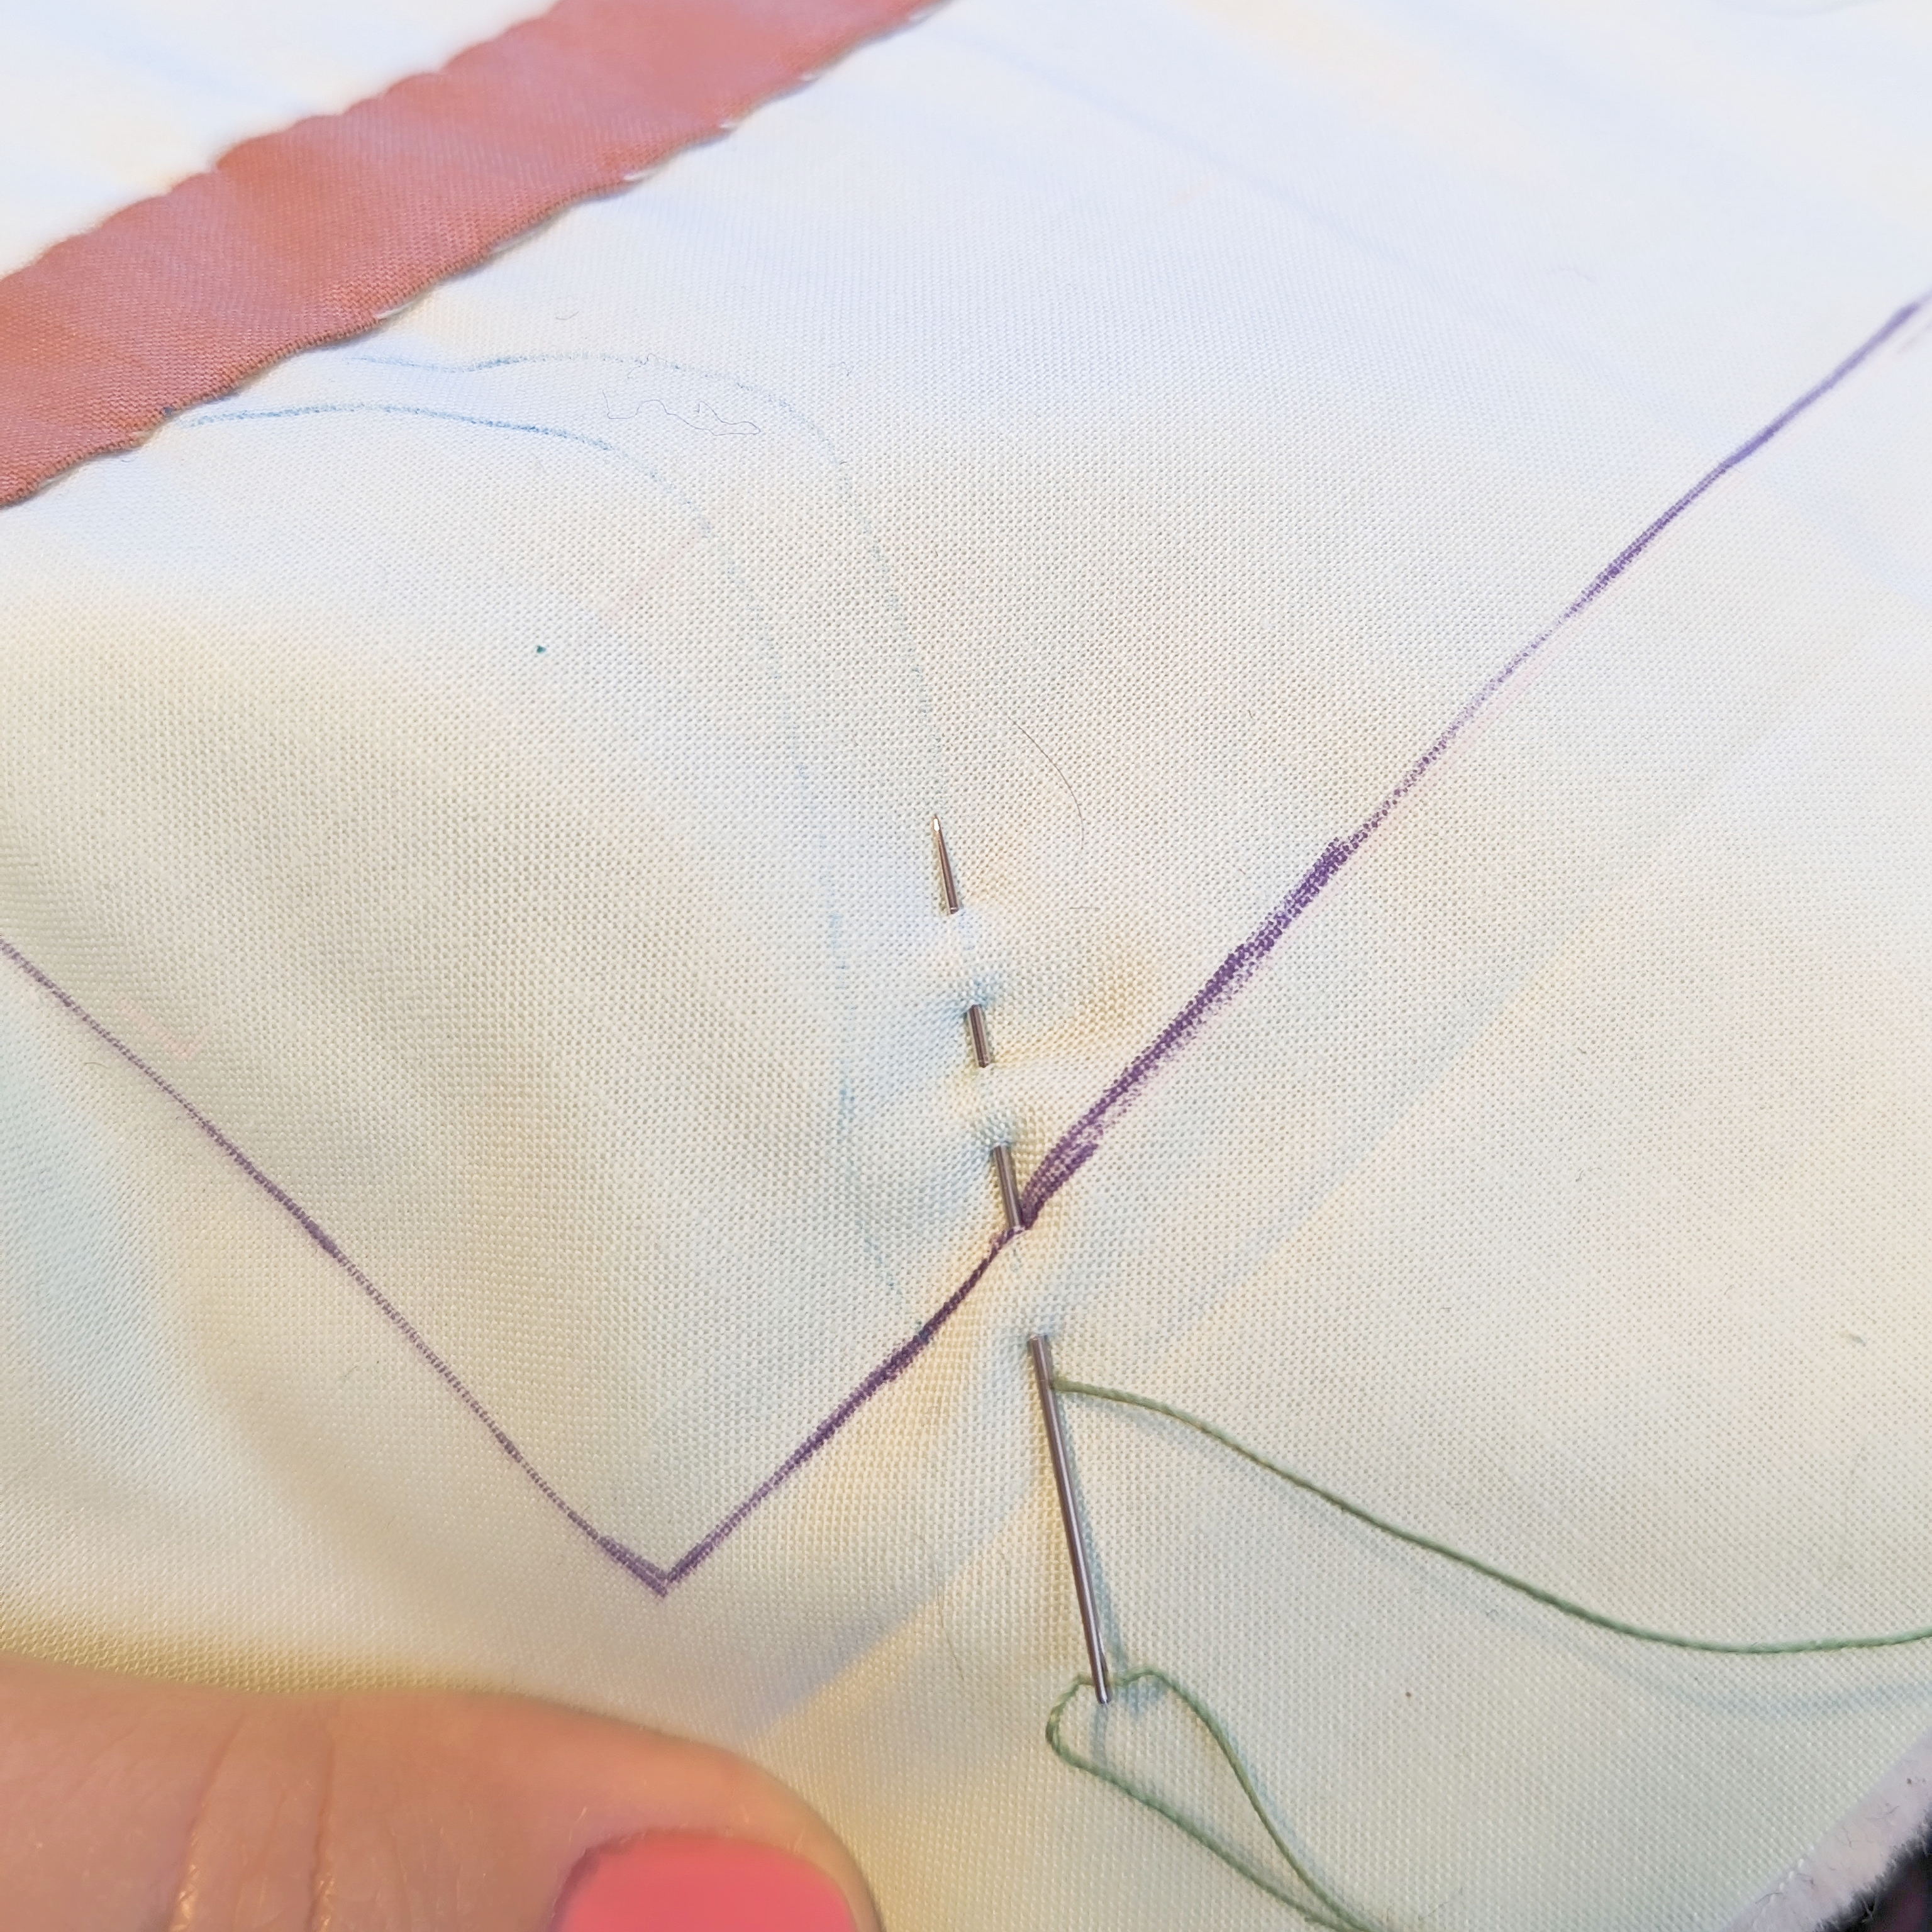
Using a heat erasable pen in this step, trace lines where you want the base hand quilted stitches to go. I like wavy lines as to me it resembles wind, but you may use any shapes and different drawings on your project.
I made only 2 lines to guide myself for the first 2 rows of hand quilting, then I will follow along these lines to quilt the rest of all lines I want to add.
STEP 10:
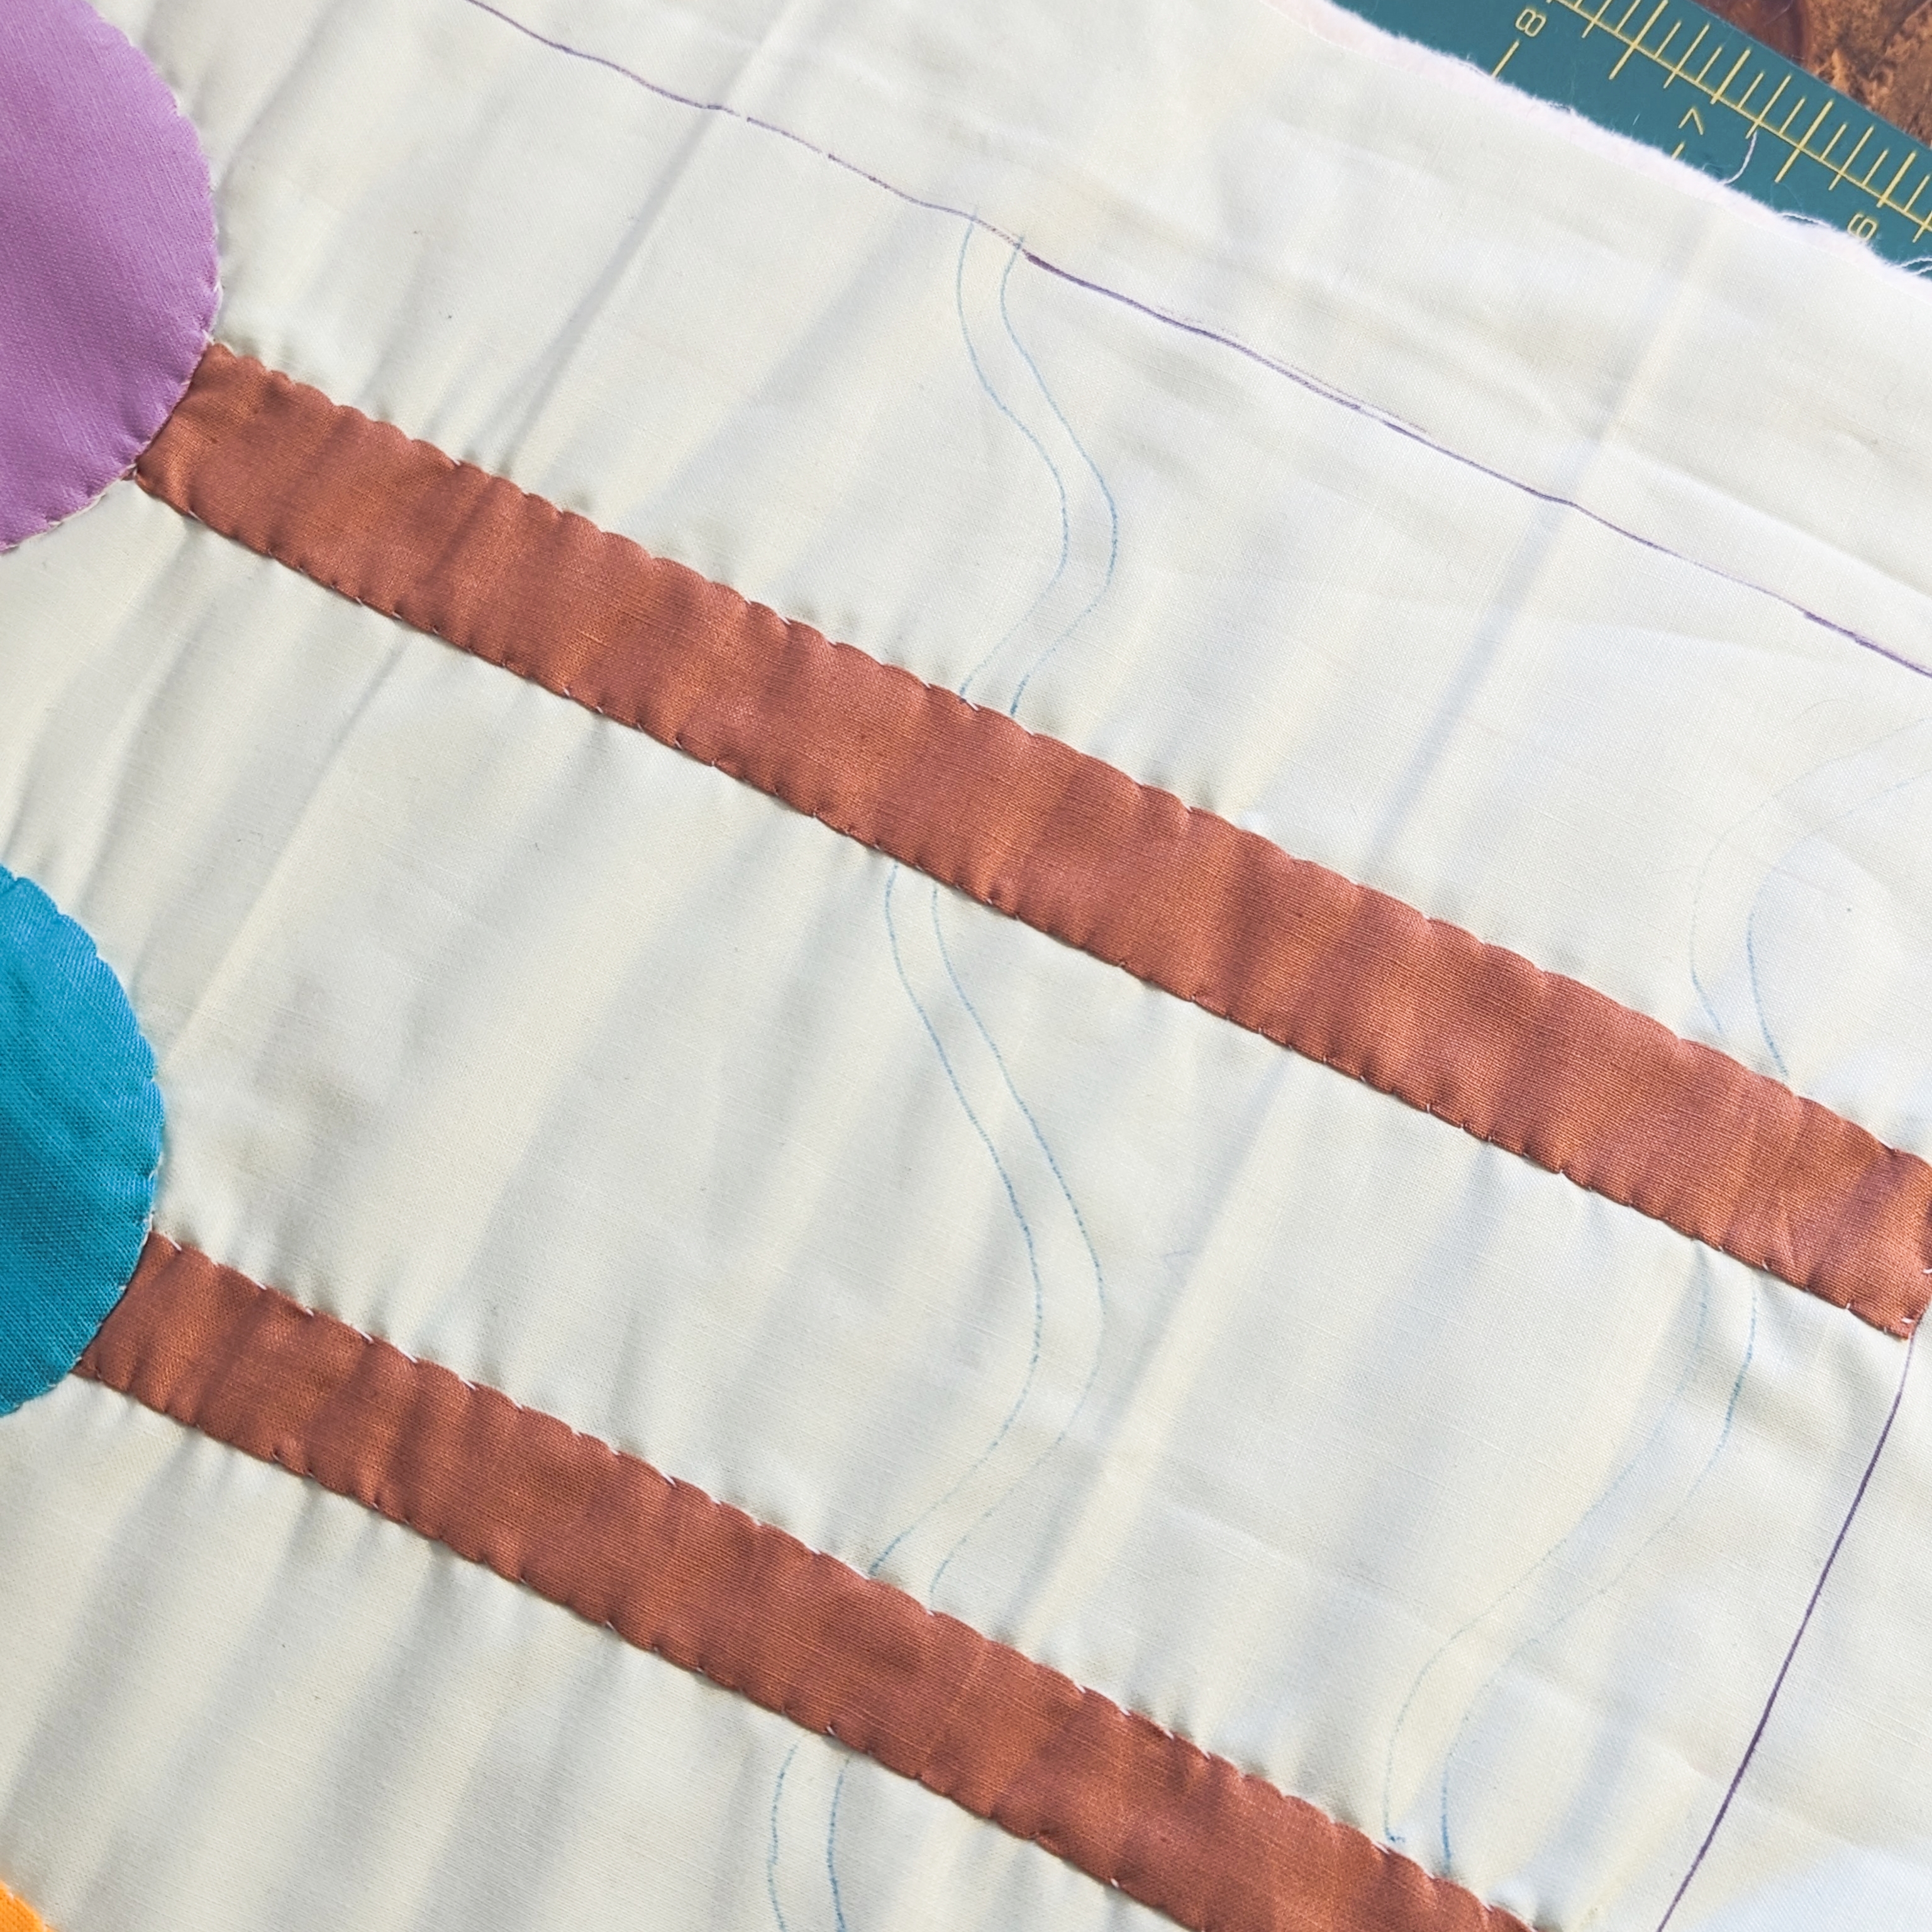
Start on the edge of the square limit marked in the beginning. Using the thread directly from the spool measure the length of the line to be hand quilted. Leave extra 6” as allowance to tie a knot in the end. Use running stitches in any length you prefer across the lines traced.
Continue with this process until you reach your desired effect. Trace lines as needed, remember to always use the heat erasable pen in this step. Work in the same way to quilt the circles or any details added, measure with the thread from the spool along the extension to be hand quilted and cut the thread with extra allowance for tying the knot.
STEP 11:
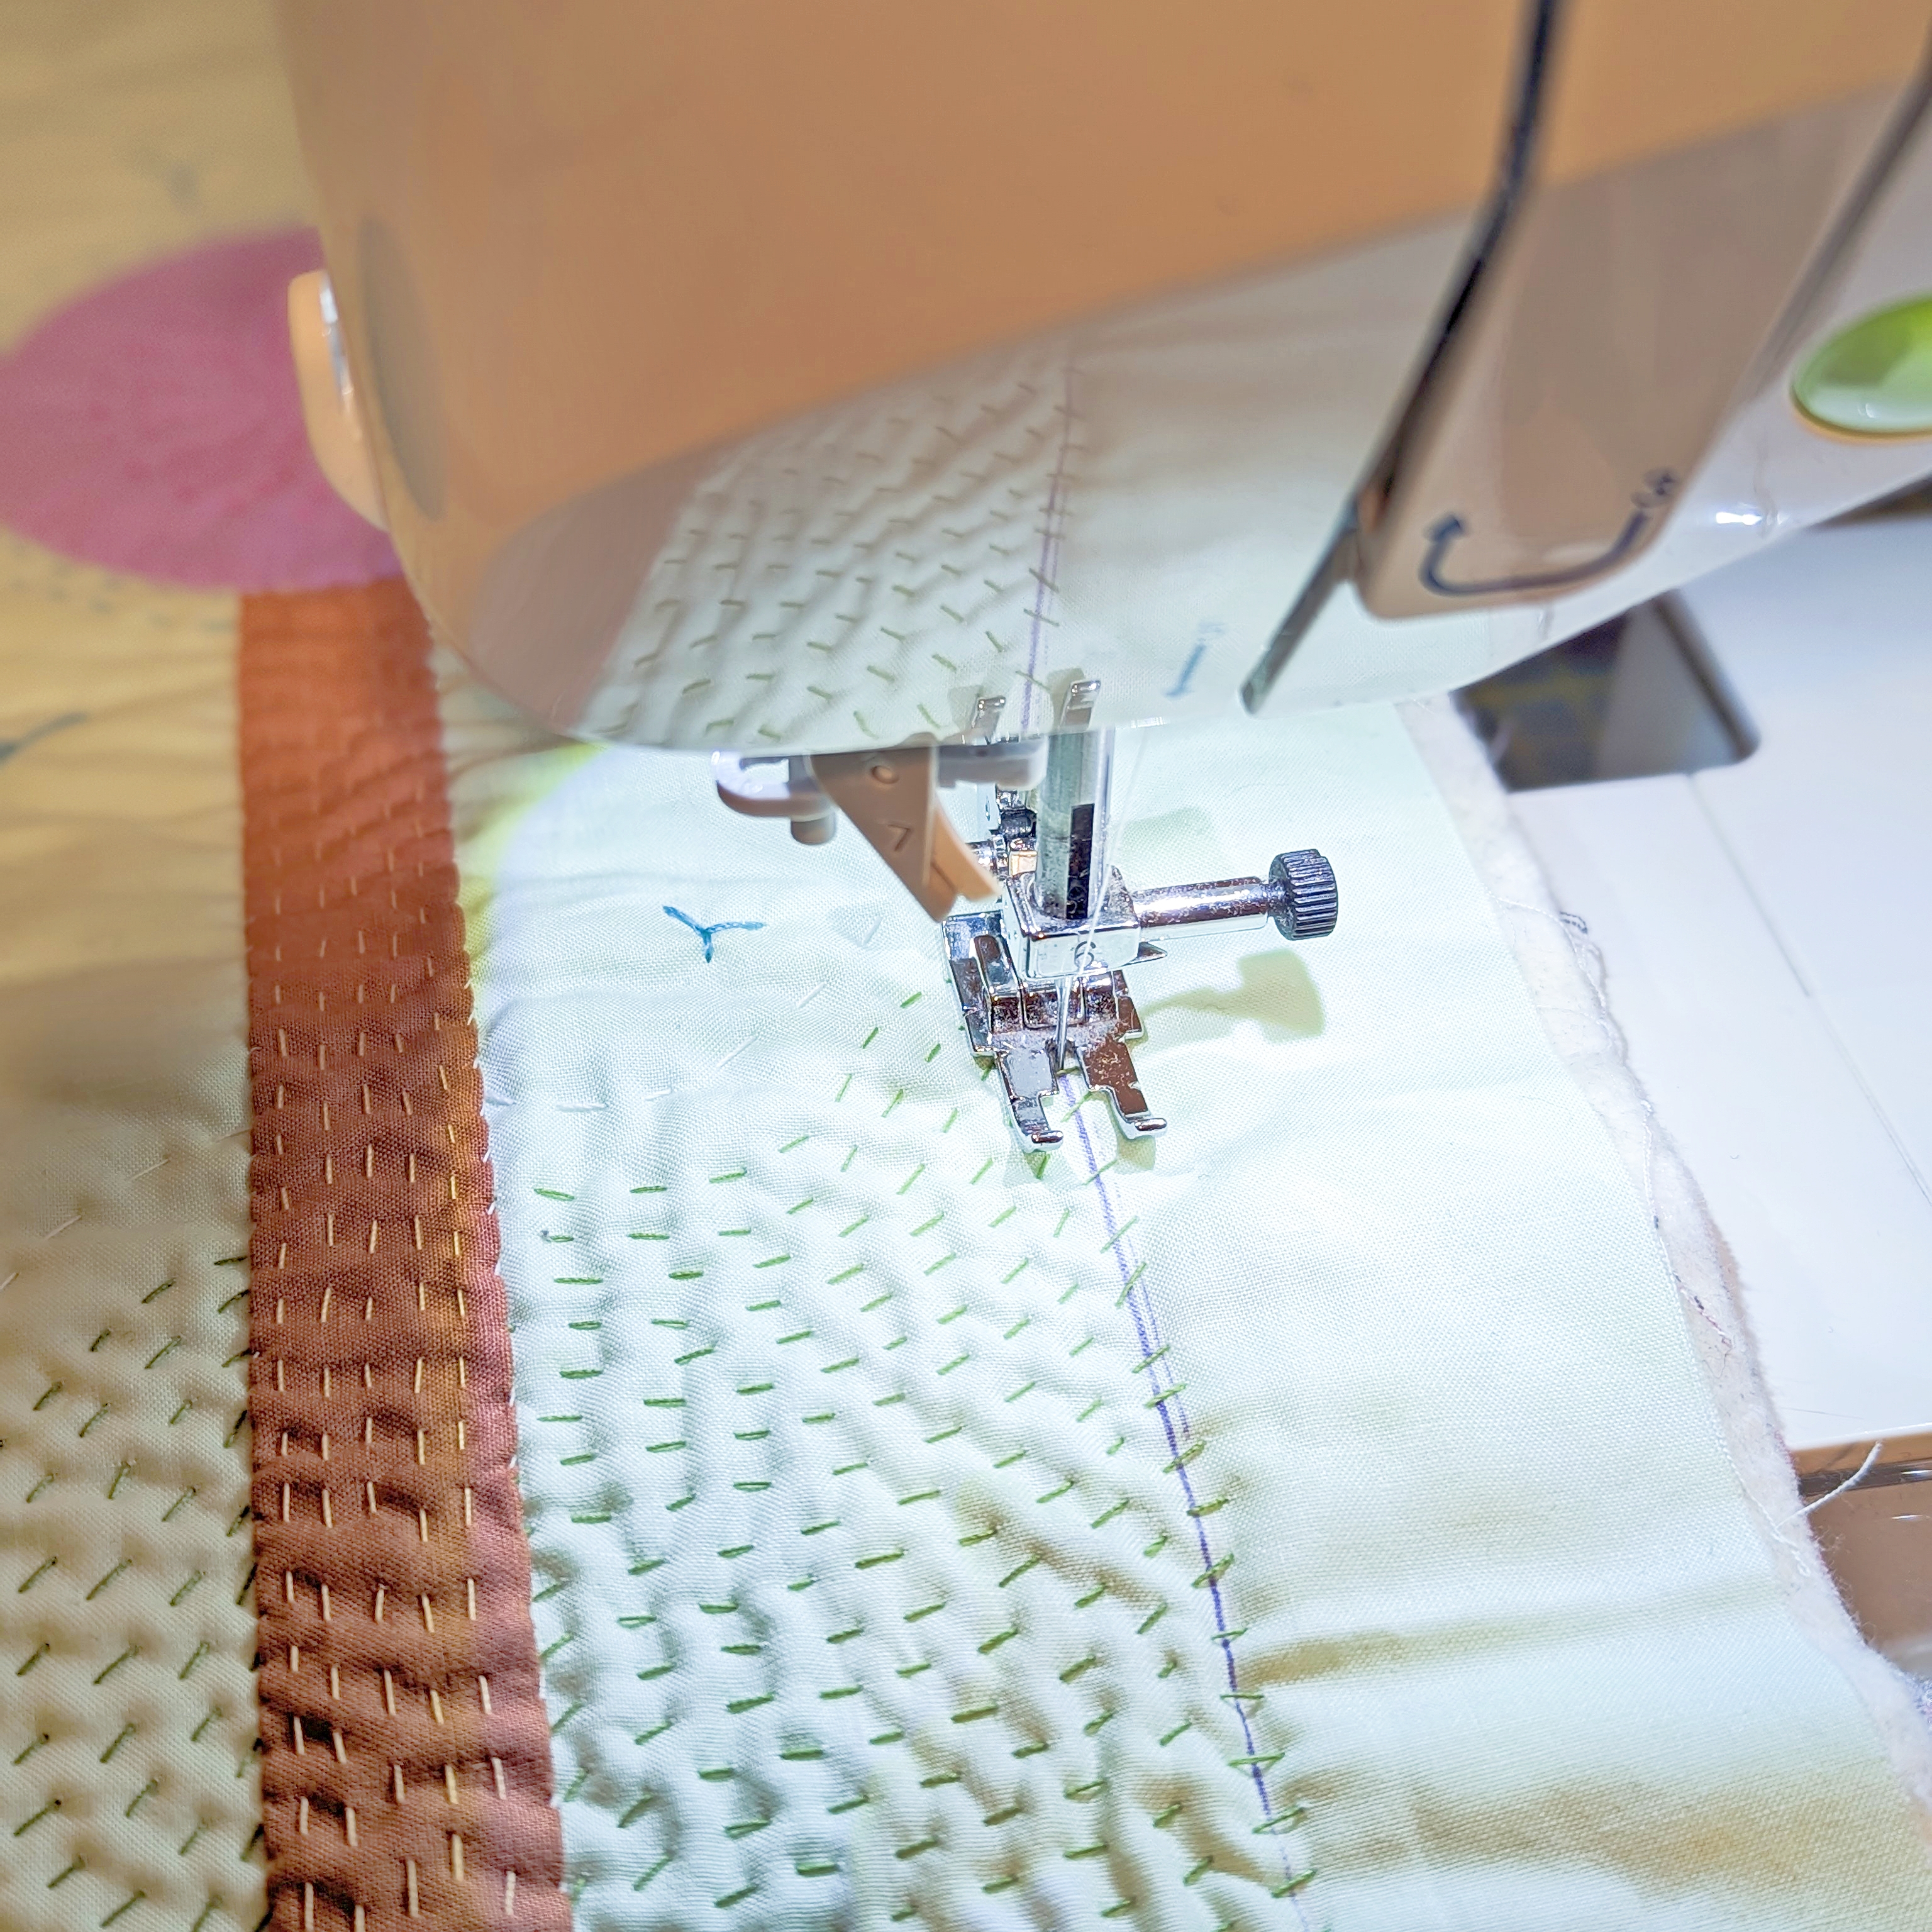
Once you’re completely done with the hand quilting, before trimming the project:
1) If necessary, add another fabric to the backing to cover any knots that might be showing from the thicker hand quilting thread. Use Heat’n’Bond Lite to secure this second backing fabric if you use this covering method.
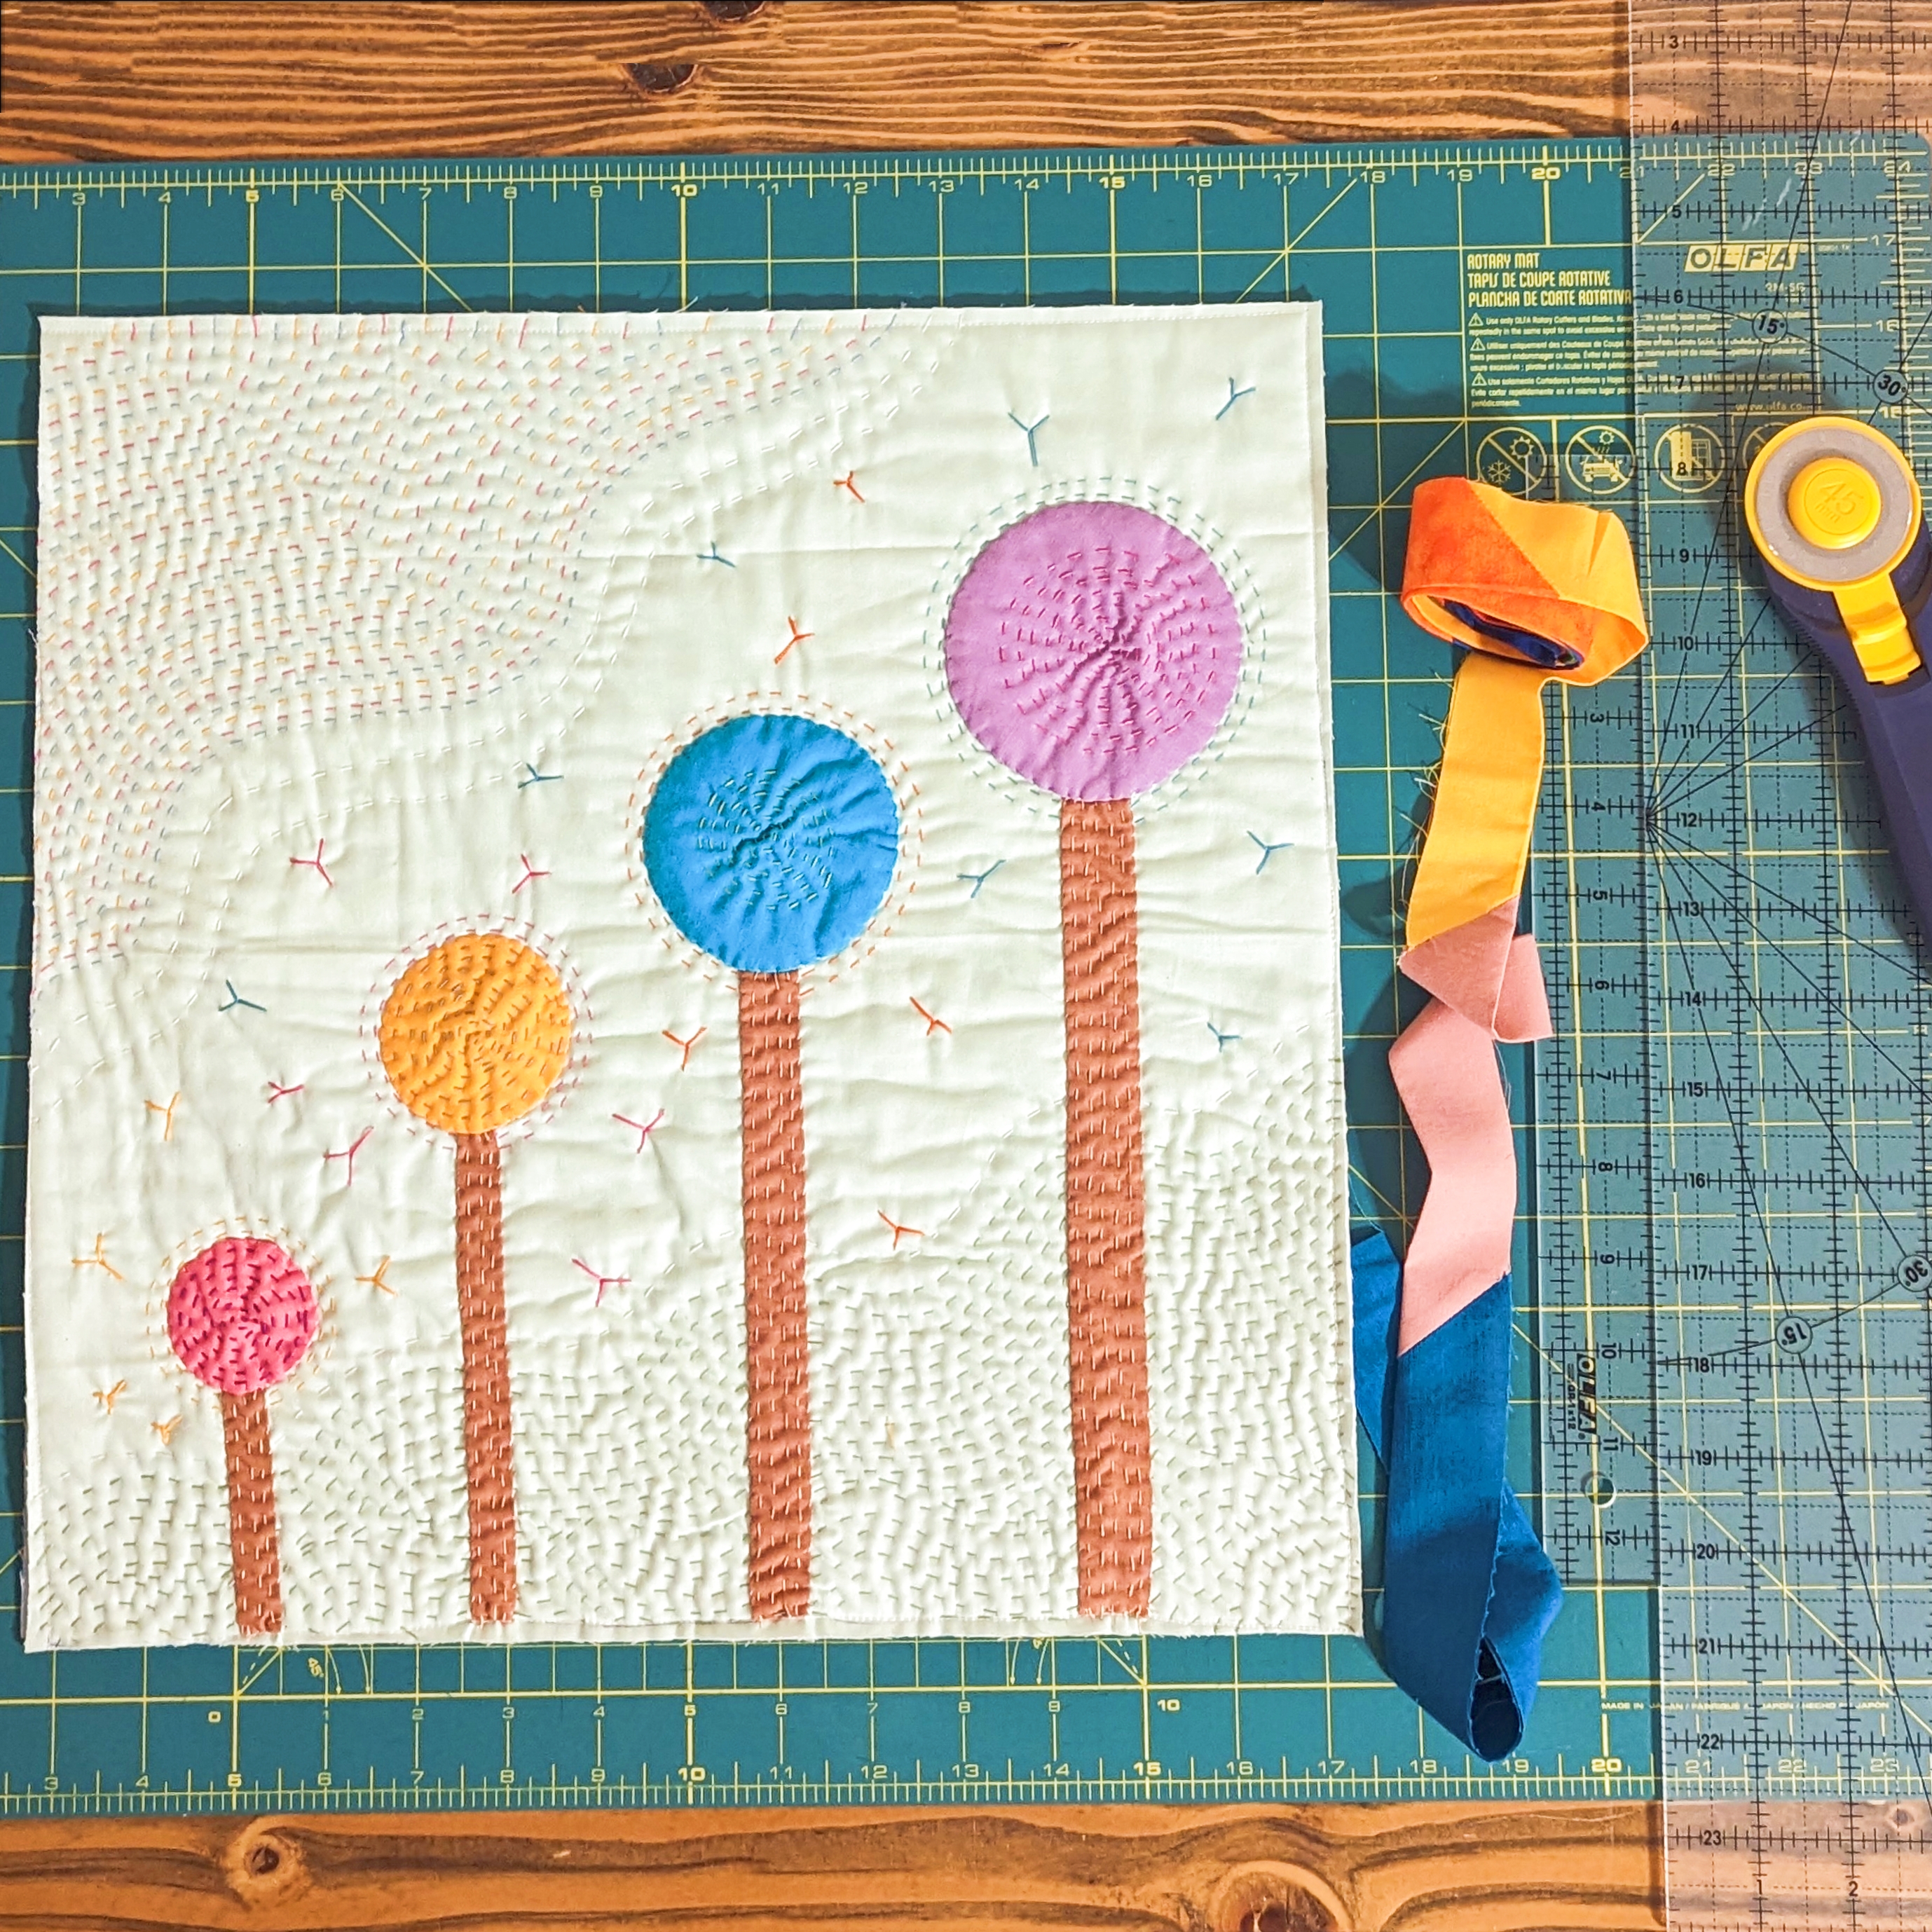
2) Sew across the 15” square using a 1.5mm stitch length on the sewing machine to lock all stitches on the edges. Trim leaving 1/8” allowance.
STEP 12:
Bind the project using your preferred method. I love scrappy binding, so I joined pieces of leftover bindings from other projects to give this mini quilt extra colors!
And you’re done!!! Hope you enjoyed this fun process of slow-stitching and honorable hand work.
Daisi Toegel
@daisitoegel