Quilt Binding in 10 Steps
Posted by Kena Tangi Dorsey on 21st Feb 2023
Binding is one of the last steps in finishing your quilt. After spending hours upon hours, days upon days, months or even longer working on your quilt, it’s finally time to close it up. Now, it’s time to figure out what fabric you would like to use for your binding then cut enough strips to go around the outside of your quilt. How wide should you cut the strips? How do you sew the strips together to make it long enough? Once you’ve sewn the binding on, how do you join the two ends together? And the question that baffles most newbie quilters, how do you get those nice mitered corners? Well, there are a number of ways to achieve all of these steps, however, in this tutorial, I am going to share MY method for making and sewing on bindings. And, I’m going to do it in 10 steps!
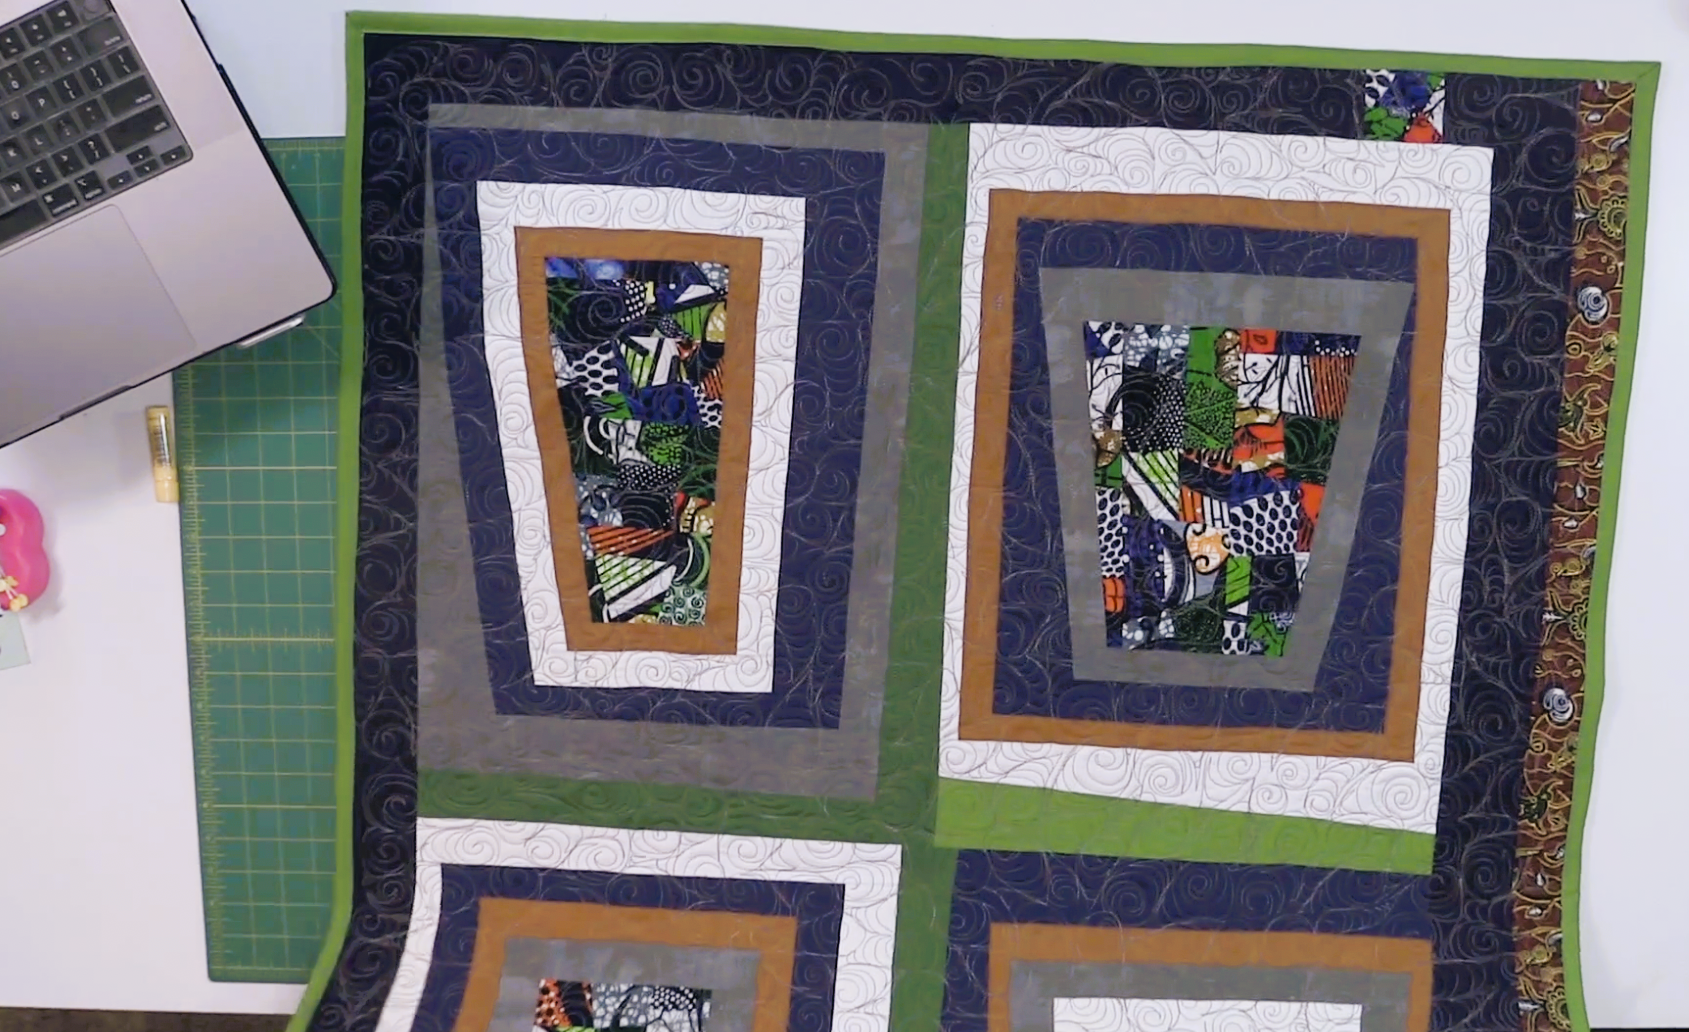
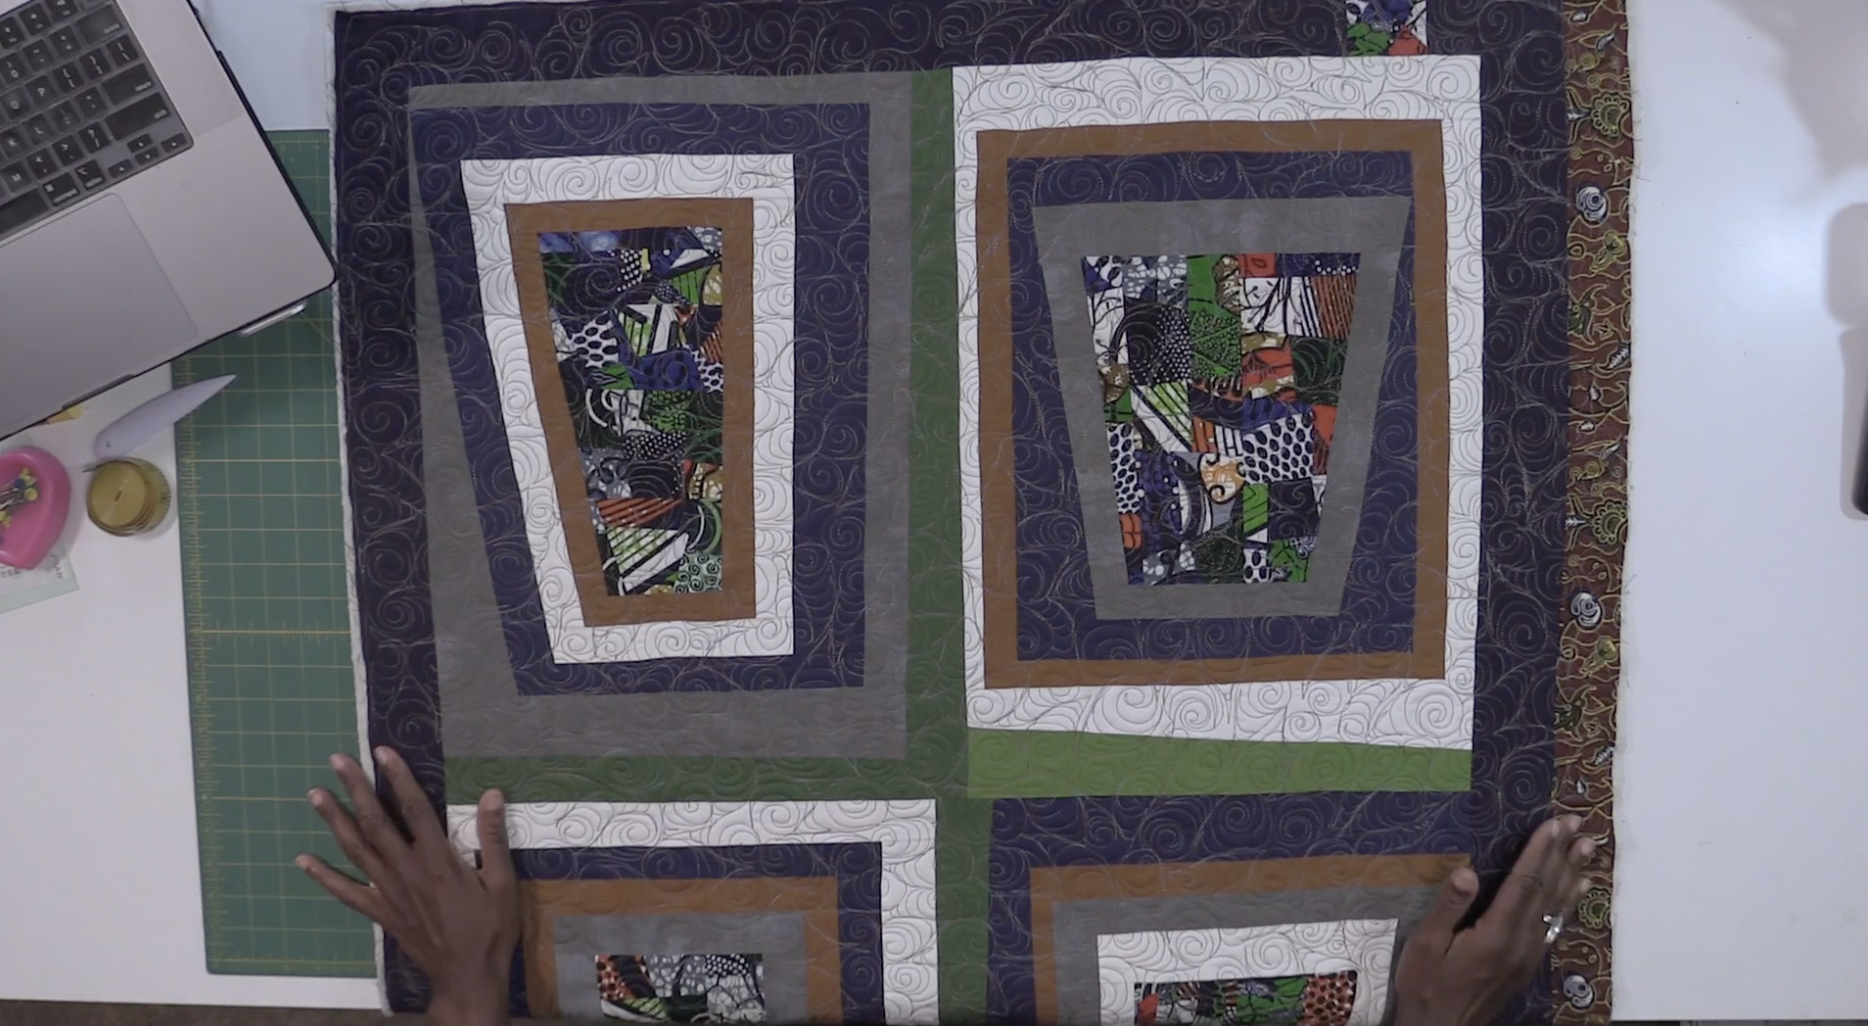
Step 1: Square up your Quilt - After you’ve finished quilting your quilt top, use a nice long rotary cutting ruler to even up the edges on all four sides of your quilt. Depending on the project, I actually like to trim around the quilt leaving about ¼” of the batting and backing exposed beyond the quilt top. This helps to fill in the binding so that it has some fullness.
Step 2: Measure Your Quilt - so you'll know how many strips you will need to cut in order to make binding long enough to fit around your quilt. Measure along the top edge of your quilt, and also down the side edge of your quilt then add up the amount of those two measurements together. Once you have that amount, multiply that by 2. Since there are 4 sides to the quilt this will give you the total size of your quilt in “inches.” To account for mitering corners and for joining the tails, we need extra binding, so I like to add on an additional 12-14 inches for that.
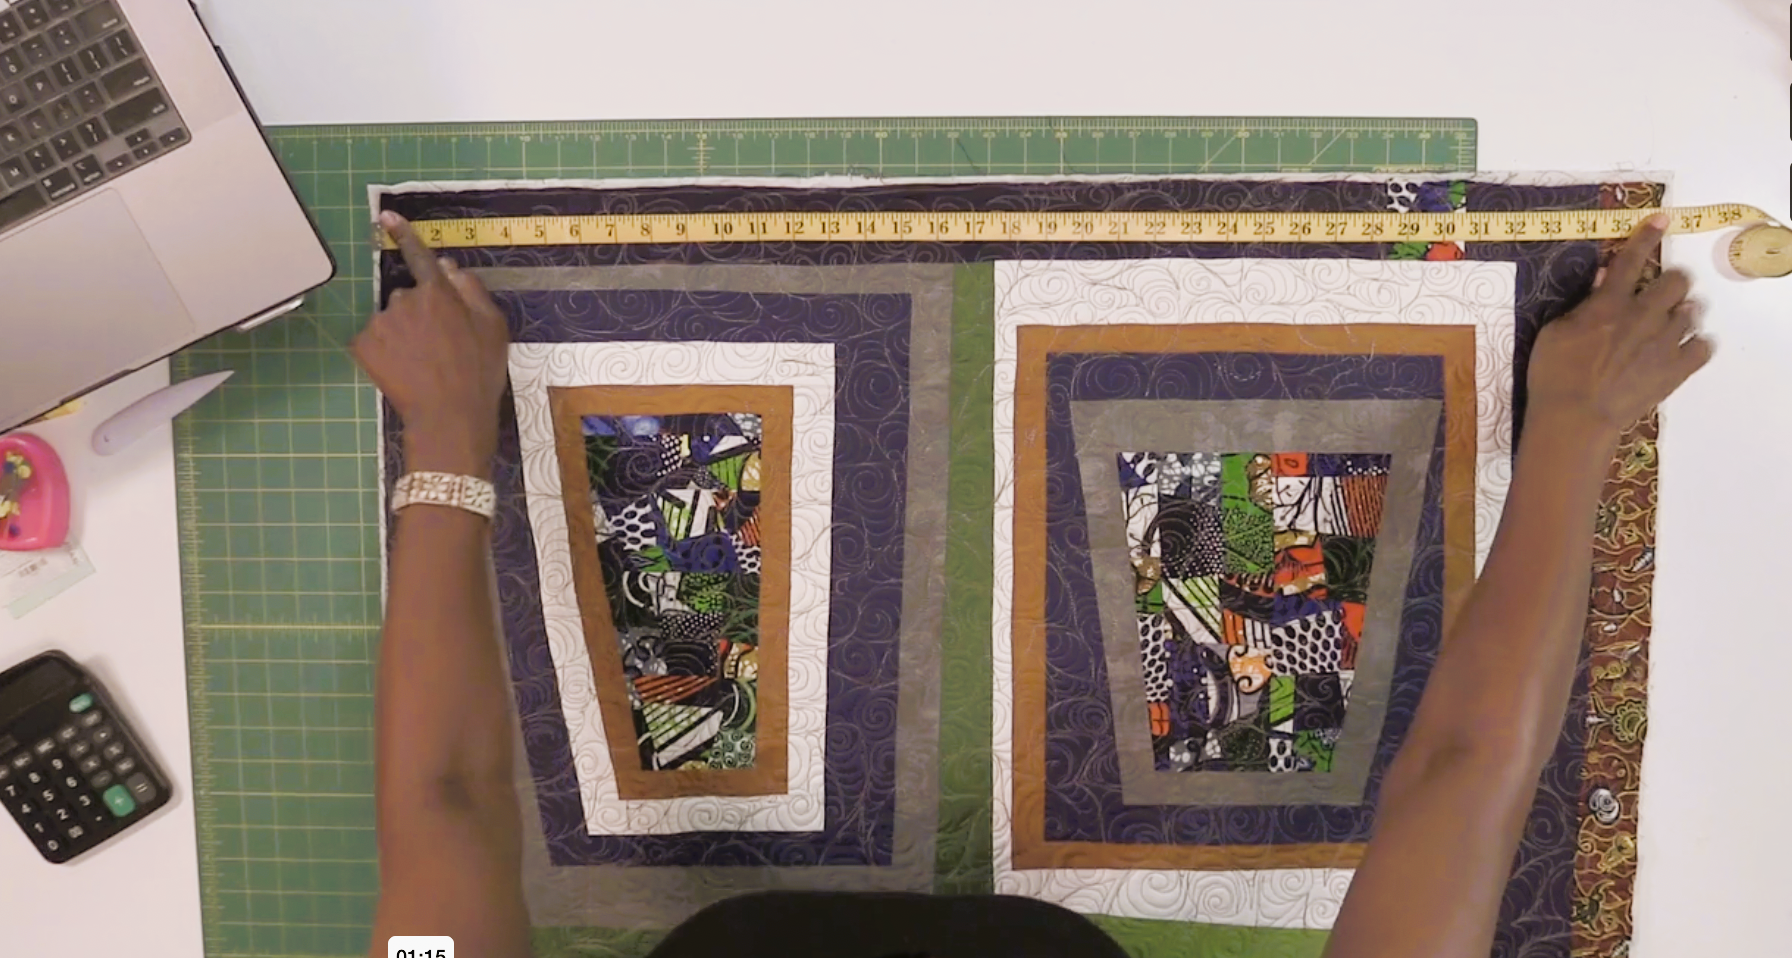
So, if my quilted top measures 36” x 36” I will need a strip of binding that measures 158” long. Here is the formula to figure out how many inches of binding I need.
36 + 36 = 72
72 x 2 = 144
144 + 14 = 158
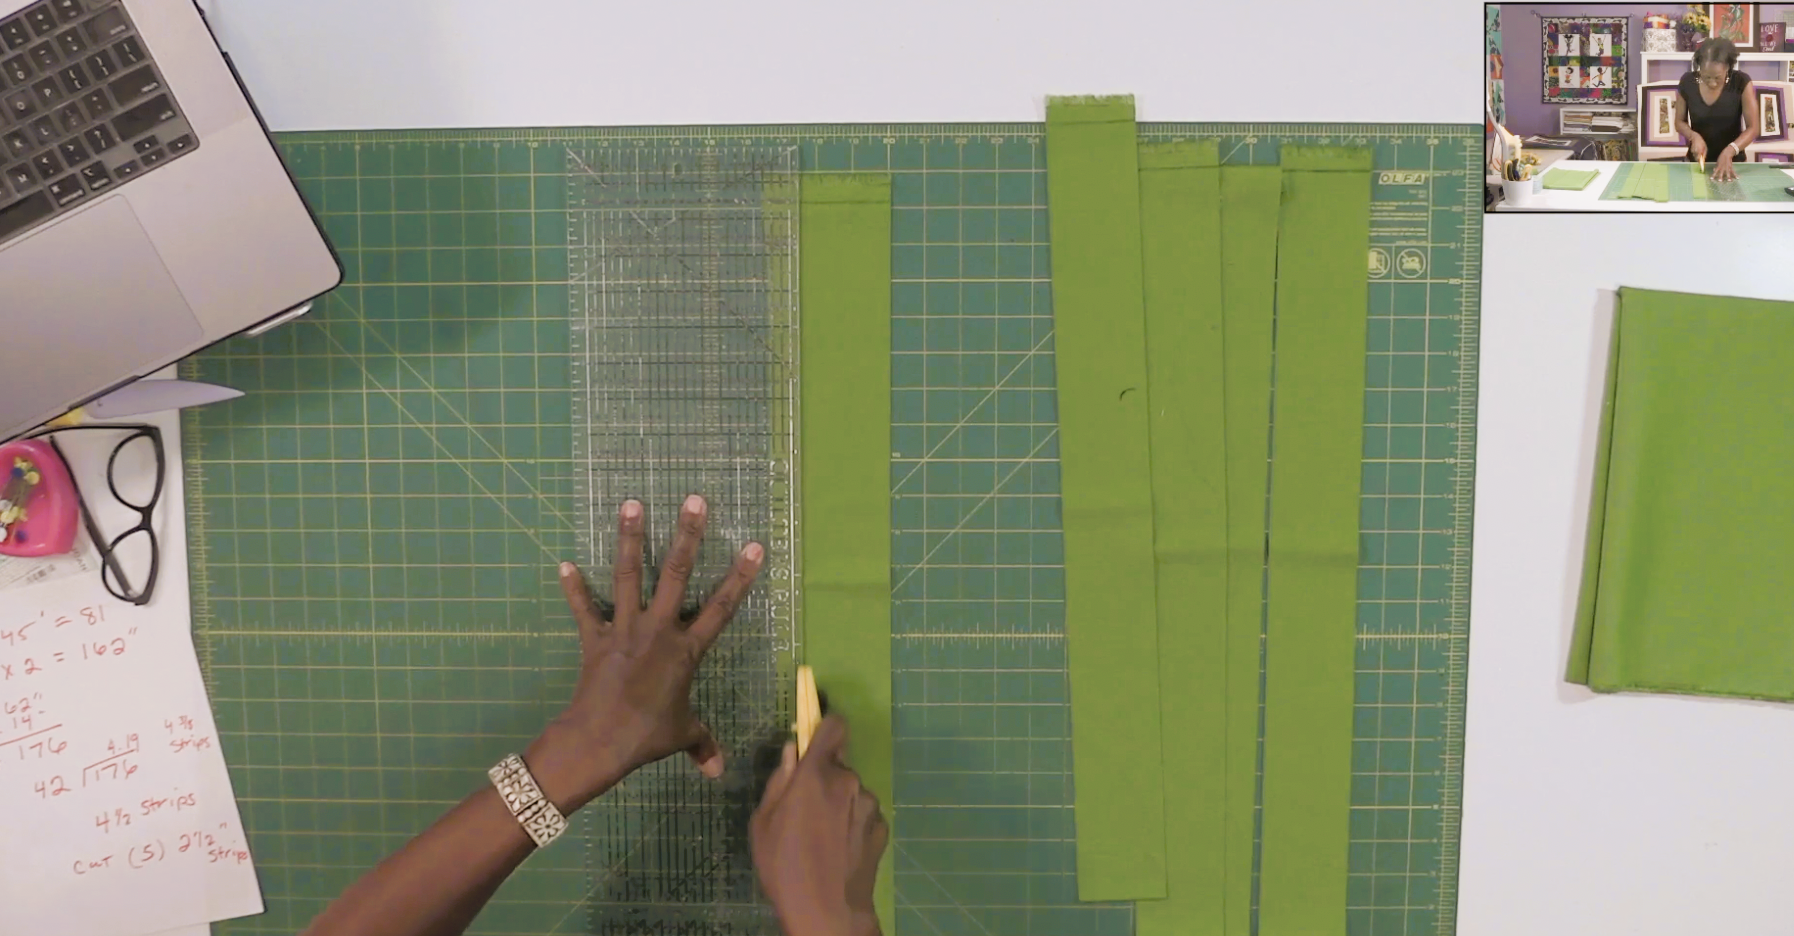
Step 3: Cutting Strips - now that I know how long the binding needs to be, I need to cut the right amount of strips and sew them together to make one long continuous binding strip that measures at least 158” long. I use 2 ½” wide strips to make my binding. For this step, I take the amount of inches I need, which is 158” and divide that by the measurement of my Width of Fabric (WOF) 42”. In this case, I am using a standard one yard of quilting cotton fabric for my binding, and that’s usually anywhere from 42”- 44” wide. When I do the calculations, the answer tells me that I will need 3.76 strips, or in other words, just less than 4 strips.
Here is the formula to figure out how many strips I need.
158 42 = 3.76
Tip: If you are cutting by length of fabric to make longer strips - then make sure to use the measurement number from the length of the fabric and then divide whatever your total inches from step 3 is, by that. So, if I need a 158” long strip and the length of my fabric is 72” then I would only need 2.19 strips. Which would be a little more than 2 strips.
Step 4: Joining Strips together - place one end of a strip, horizontally, right side up and then place another strip, vertically on top of that one, right sides down, so that the strips are on top of each other with the right sides of the fabrics together. Next, on the vertical strip, on the wrong side of the fabric, draw a diagonal line, from one corner to the other. This will be your guide line to sew along this line. Repeat this step until you have joined all 4 strips together. Make sure to trim back the seam allowance to ½” and press open.
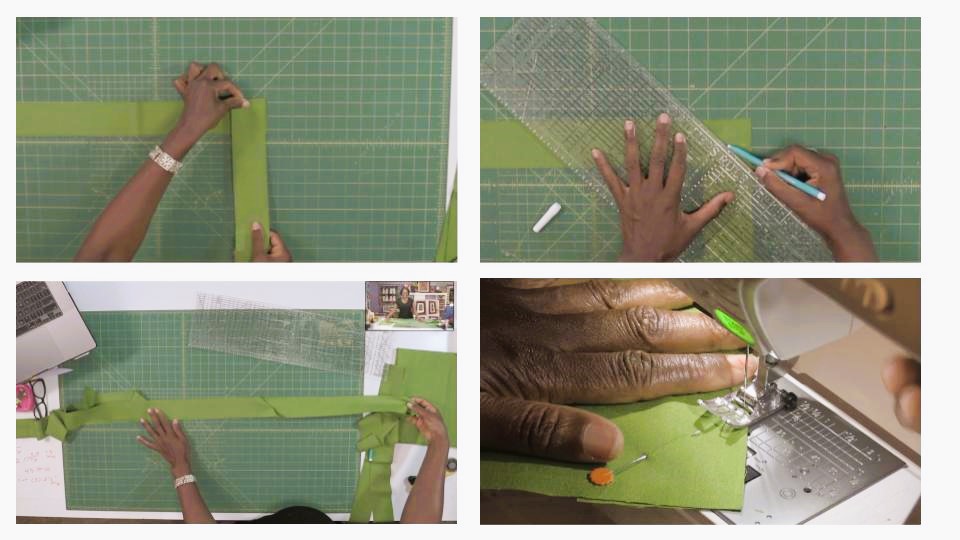
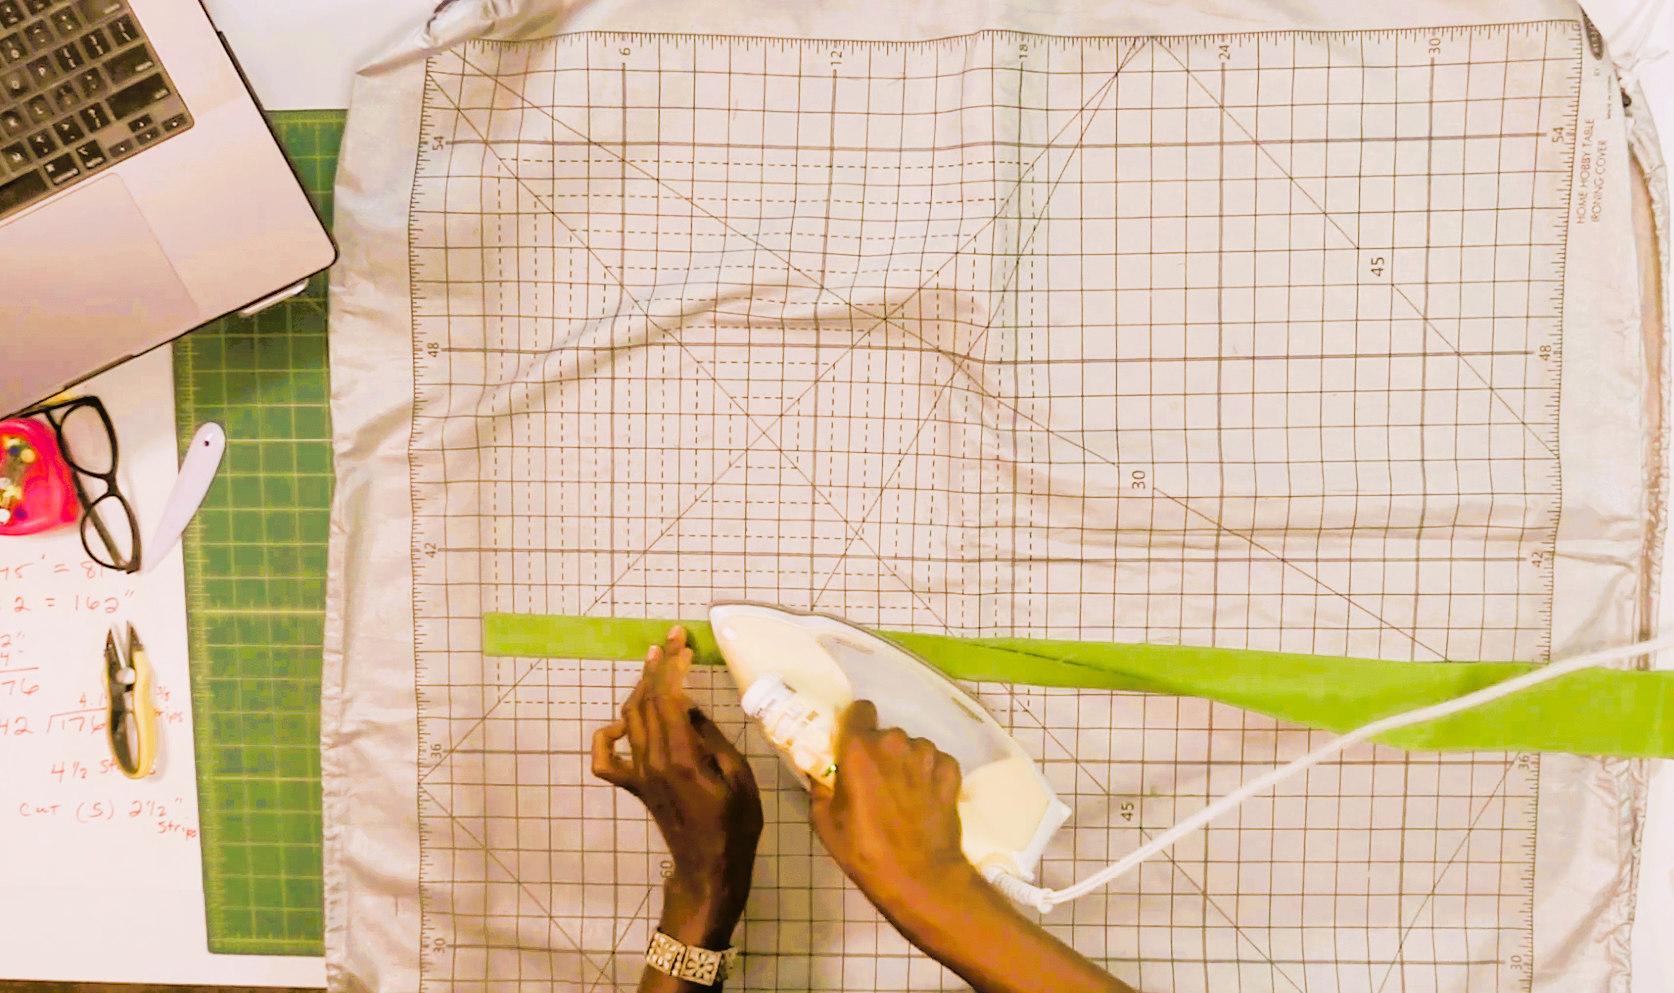
Step 5: Fold & Press the 2 ½” strip in half lengthwise - wrong sides together facing in, and press along the entire length. Your binding is now ready to sew to the first side of the quilt.
Step 6: Clip or pin the Binding to the first side - Note: I like to sew my binding to the back of the quilt, first and then fold it over to the front and machine topstitch it closed.
Align the open edge of the long folded binding along the raw edge of the quilt top. To help manage the long strip of binding and to secure it to the quilt while I sew it on - I like to clip the binding in place on the quilt. You can use binding clips or sewing pins. It helps to keep things tucked in place as I rotate and sew around the quilt. To miter corners, stop pinning your binding about ¼” away from the corner edge of the quilt. Fold the strip straight up creating a 45 degree fold underneath. Then fold the strip back down and align along the raw edge of the next side of the quilt. Continue around the whole quilt. Stop when you get about 12 inches away from the start.
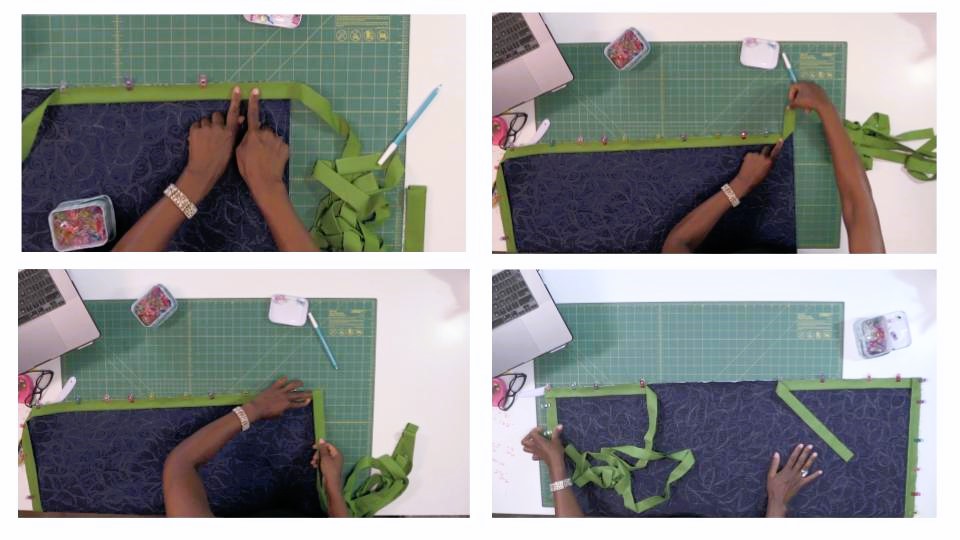
Tip: This method works the same if you choose to sew it to the front of your quilt, first and then fold it to the back to close. You’ll need to hand stitch it closed for this method.
Step 7: Sewing the Binding to Side 1 - Find a place roughly at the center on one side of the quilt to begin sewing. Preferably on the bottom or side of the quilt works well. Leave about a 12” tail of the binding free before you start your stitching. This is where you will join the other end once you sew all the way around the quilt. Using a ¼” seam allowance sew the binding on going all the way around the quilt. Every time you reach a corner, stop ¼” from the corner and sew off the corner of the quilt. Raise your foot. Cut threads and then sew down the other edge. Repeat this until you come about 12” from where you started. Stop sewing and leave the 12” space between where you stopped and started.
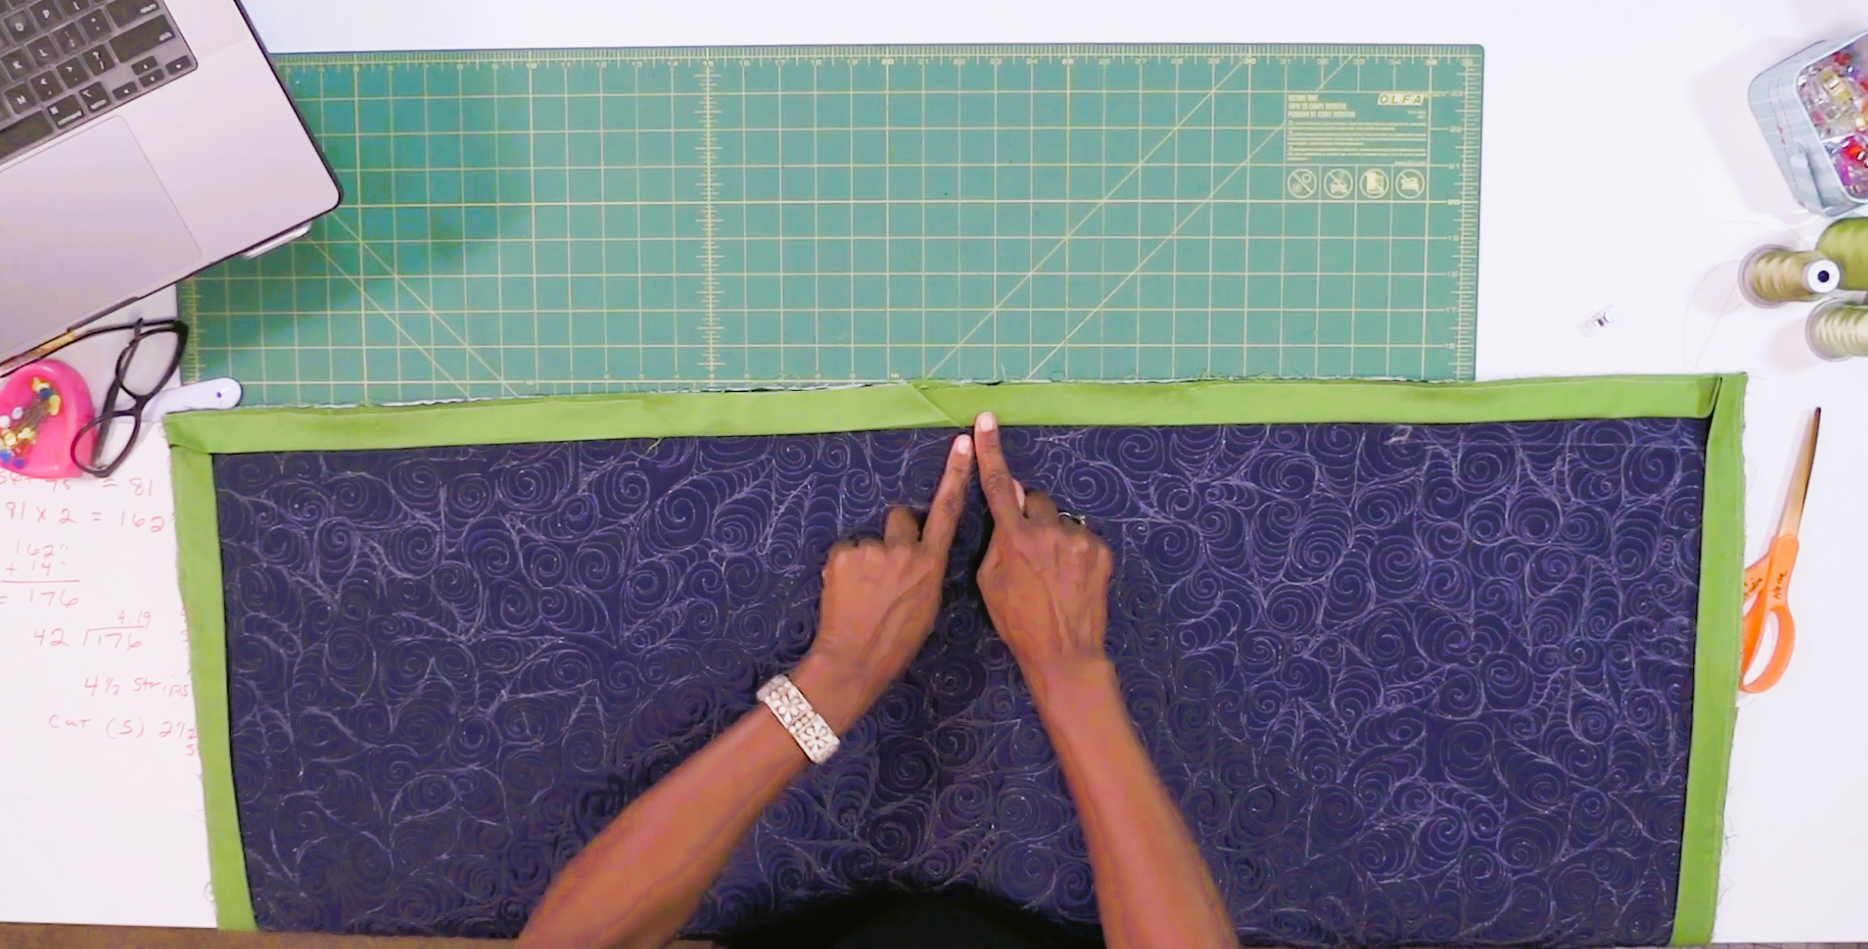
Step 8: Joining the Tails - Extend the ends of the binding by laying the tail on the left side where you ended, over the tail on the right side, where you began sewing on the binder. Now, cut about half of the tail off on the right side. That should leave about a 6” tale on the bottom binding strip. Now, overlap the longer tail, on the left, over the shorter tail. Using a ruler, trim the left side tail to extend 2 ½” beyond the left edge of the right tail that’s on the bottom.
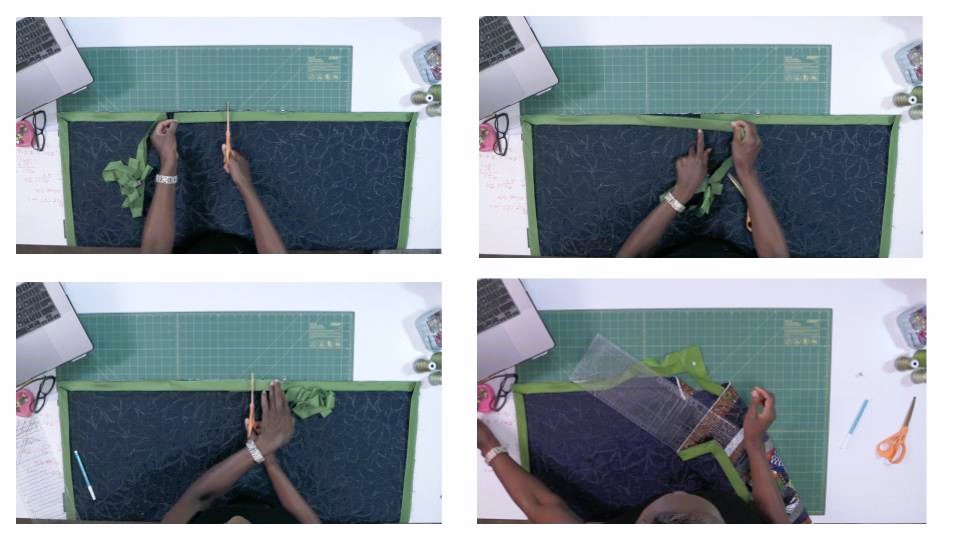
Using the same method as we did earlier when we joined the strips together in Step 4, open up folded ends of each binding strip. Gather your quilt and place the strips' right sides together. Mark a diagonal sewing line on the wrong side of the top (right) strip, which should be positioned vertically on the bottom strip, which should be positioned horizontally. Sew along the diagonal marked line. Trim the seam allowance and fold the strip back in half. Clip the binding back in place and sew the binding closed between the 12” of space.
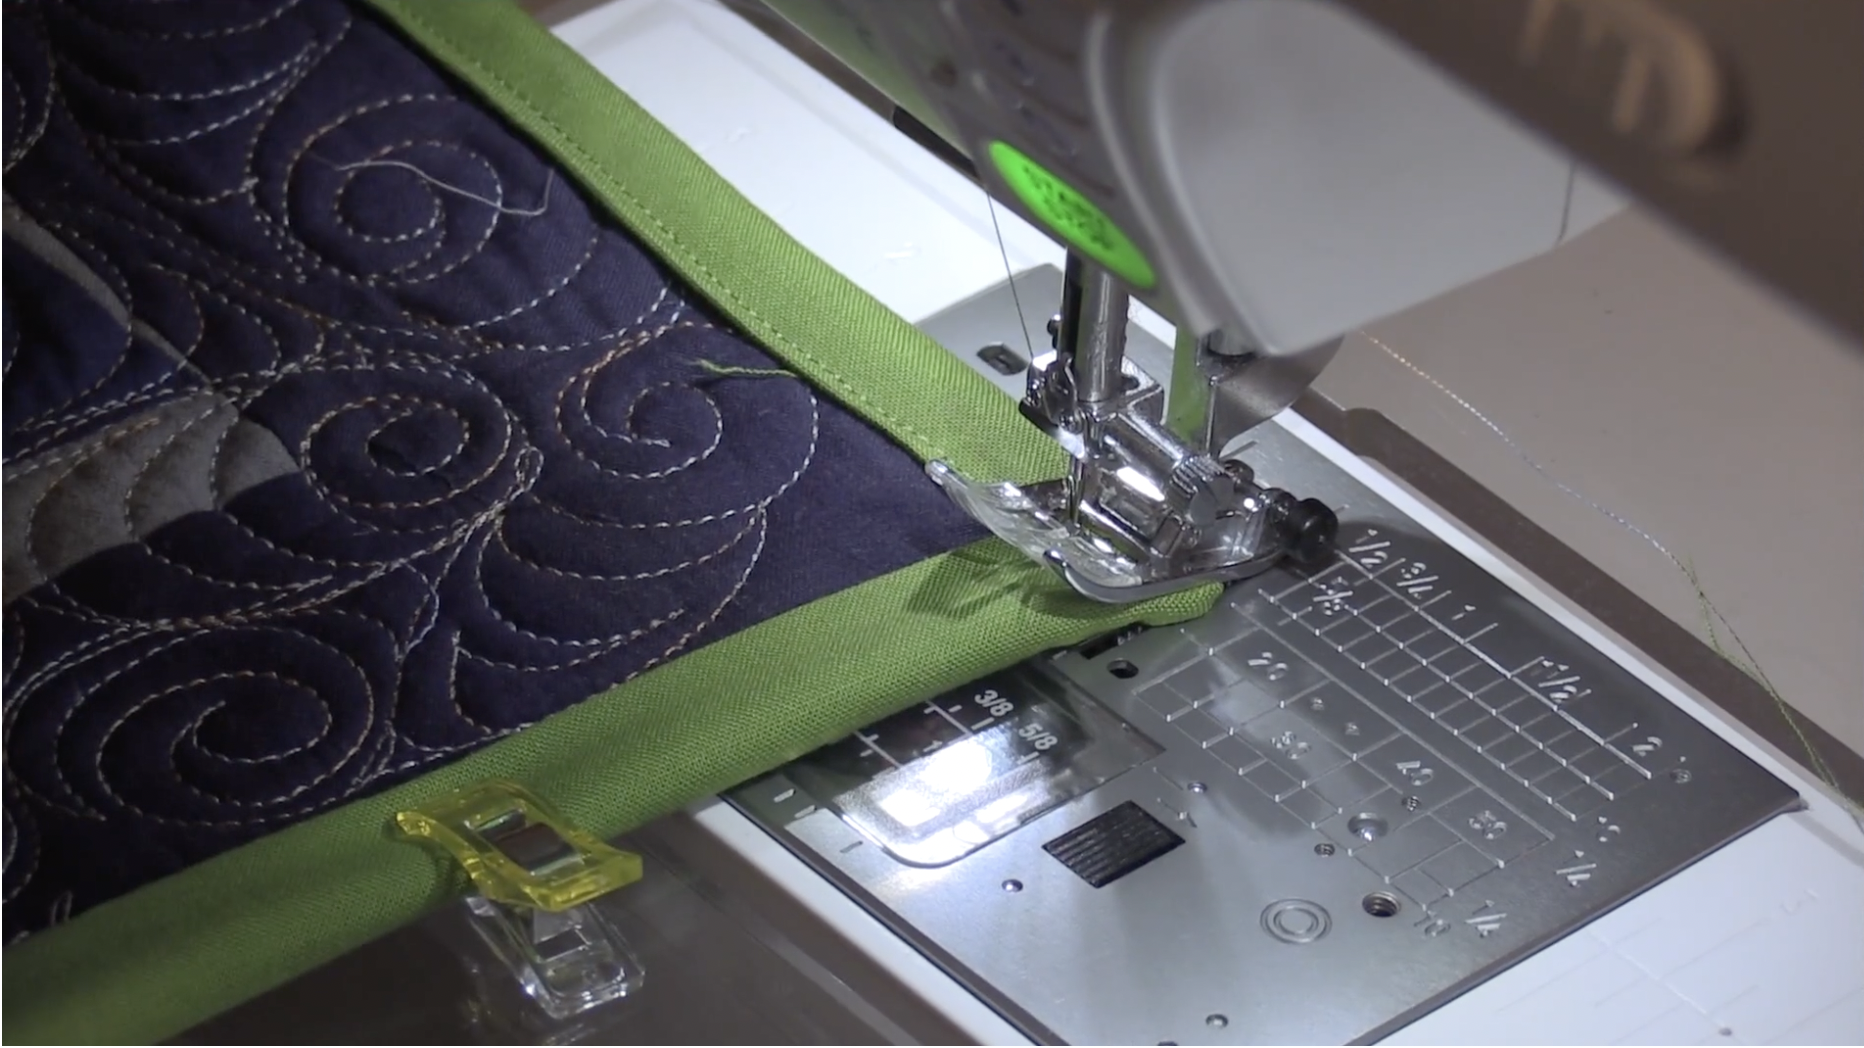
Step 9: Folding Over the Binding to the second side - Bring the folded closed side of the binding over to the front of the quilt. You can clip or pin it in place to temporarily hold just like we did in Step 6. Each mitered corner should now fold to look like an envelope fold. Tuck and align to match the edges as needed.
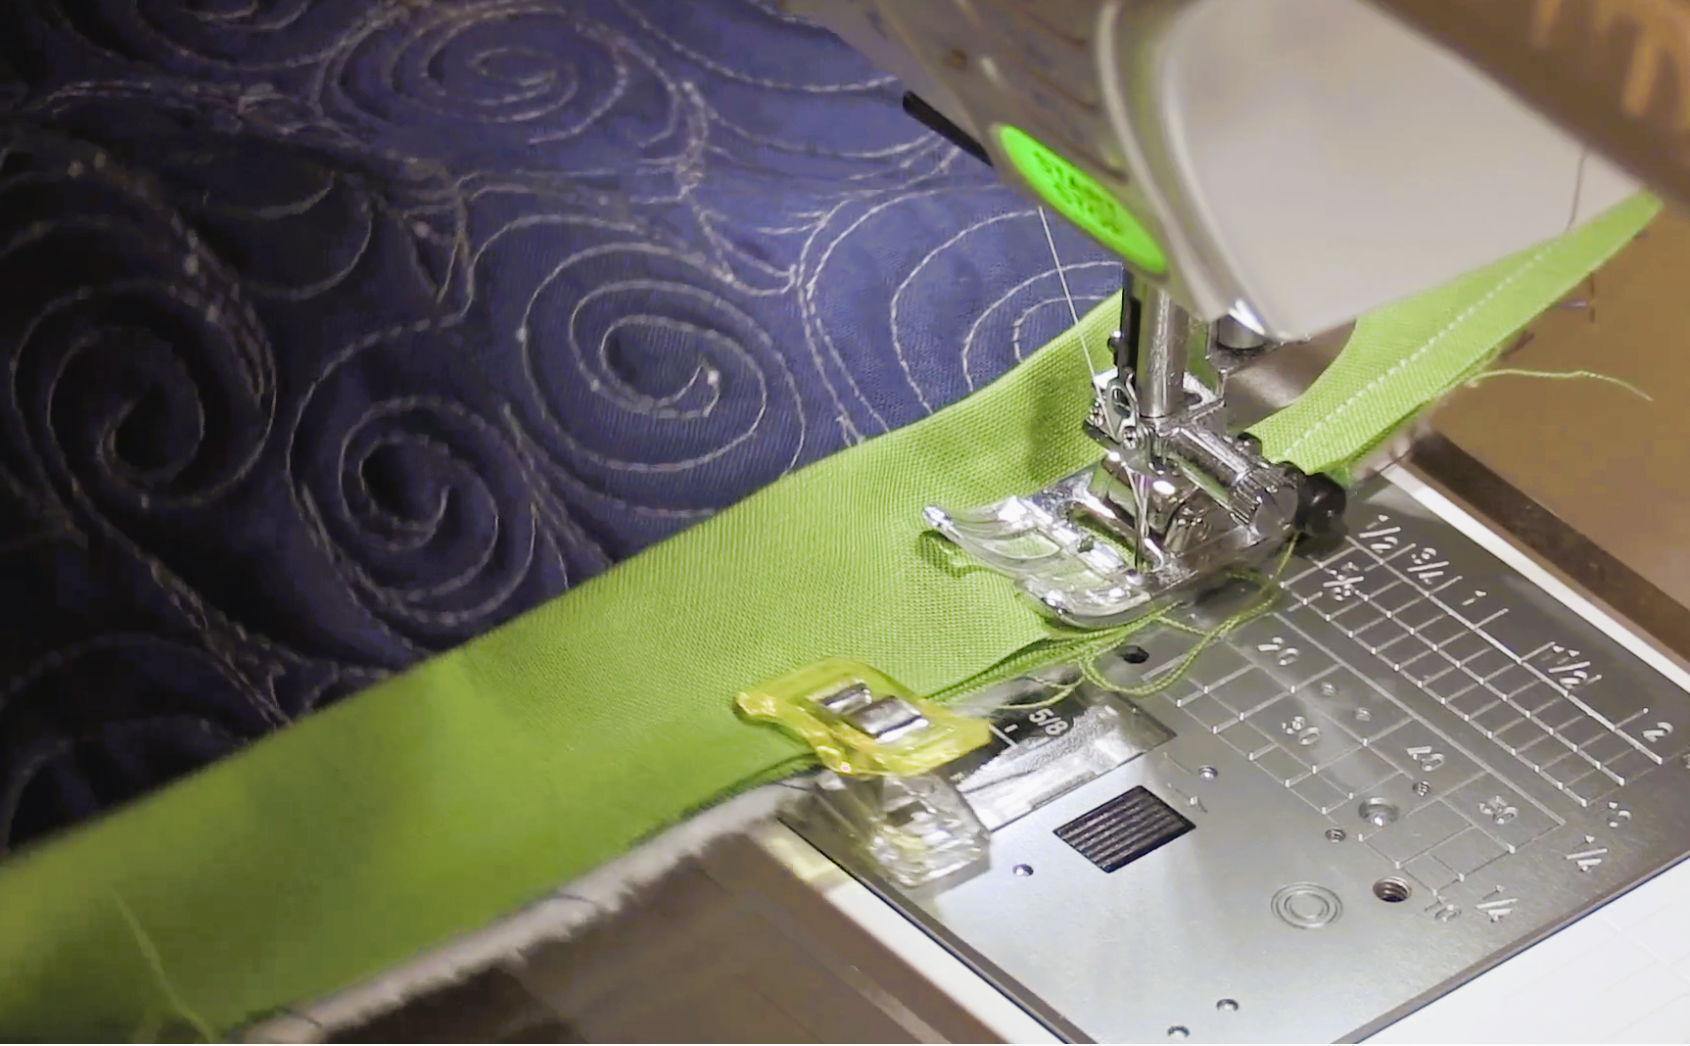
Step 10: Finishing & Closing - Using a thread of your choice. Topstitch about an ⅛” from the edge all the way around the quilt.