Appliqué Envelope Pillows
4th May 2020
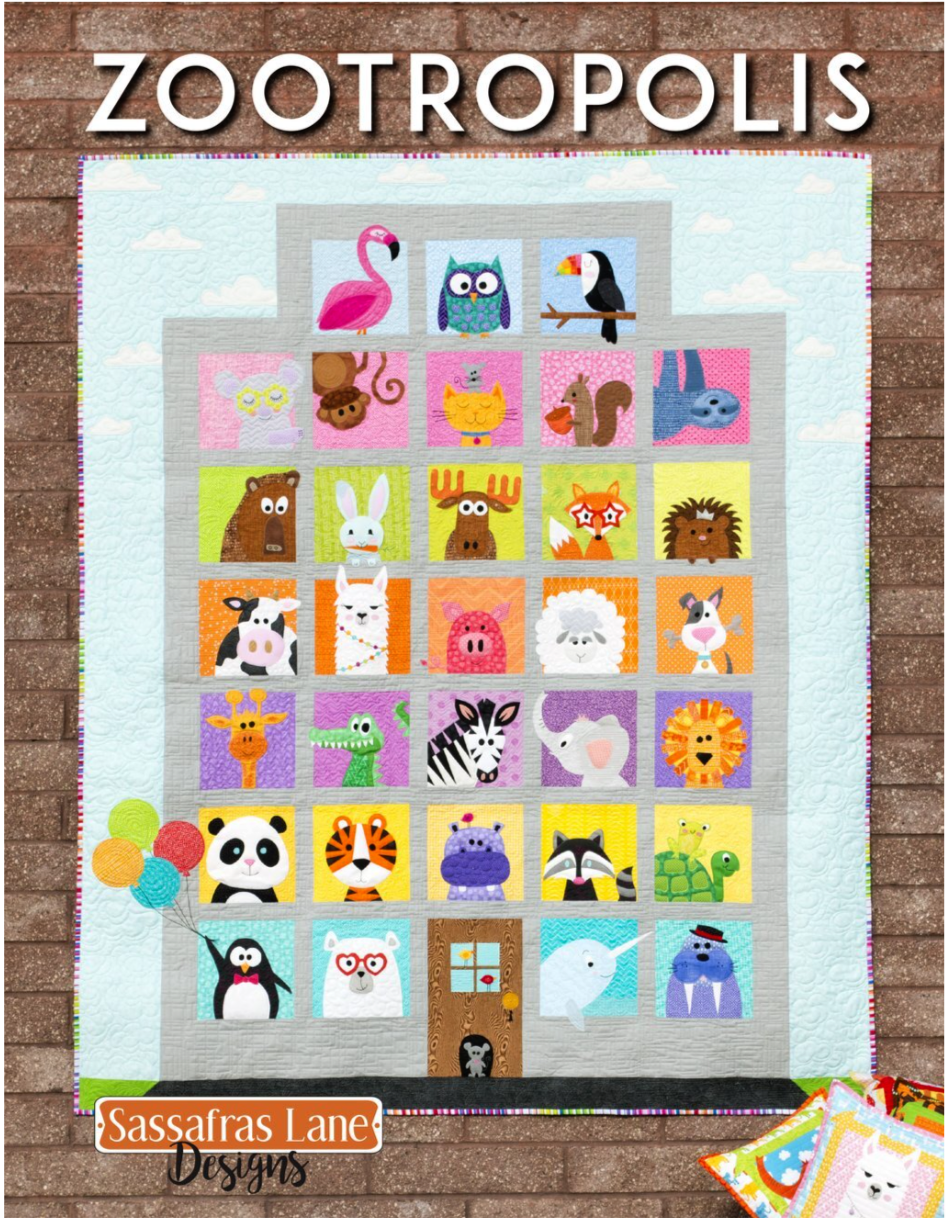
Hi! I'm Val. I've been with Cotton Cuts since August 2018. You’ll often see my name in your customer service emails and on your Classic Box content cards. I had the opportunity to go to Quilt Market for the first time in May of 2019. It was an amazing experience, and I came home with a lot of inspiration and a ton of goodies. One such treasure is a book called Zootropolis by Sassafras Lane.
Once home from Market, in an effort to distract my four year old from a tantrum, I showed him the book and let him pick a character for me to make. (Instant happiness, by the way.) He chose the alligator and corresponding fabric from my stash. I read the directions, and read them again. And again. Fusible webbing and applique was out of my realm of experience, as well as zippers, and soon that alligator became a low priority. The idea of using fusible webbing totally overwhelmed me.
Recently, Kim was doing a kid’s activity in the shop using Heat n Bond, and it finally clicked that this process was exactly the same for making these little applique pillows. There is no reason to be scared! It turns out that it’s actually really easy and super fun to create with! Applique takes some practice, but I am happy to report that the alligator is now a finished project hanging on my son’s wall!

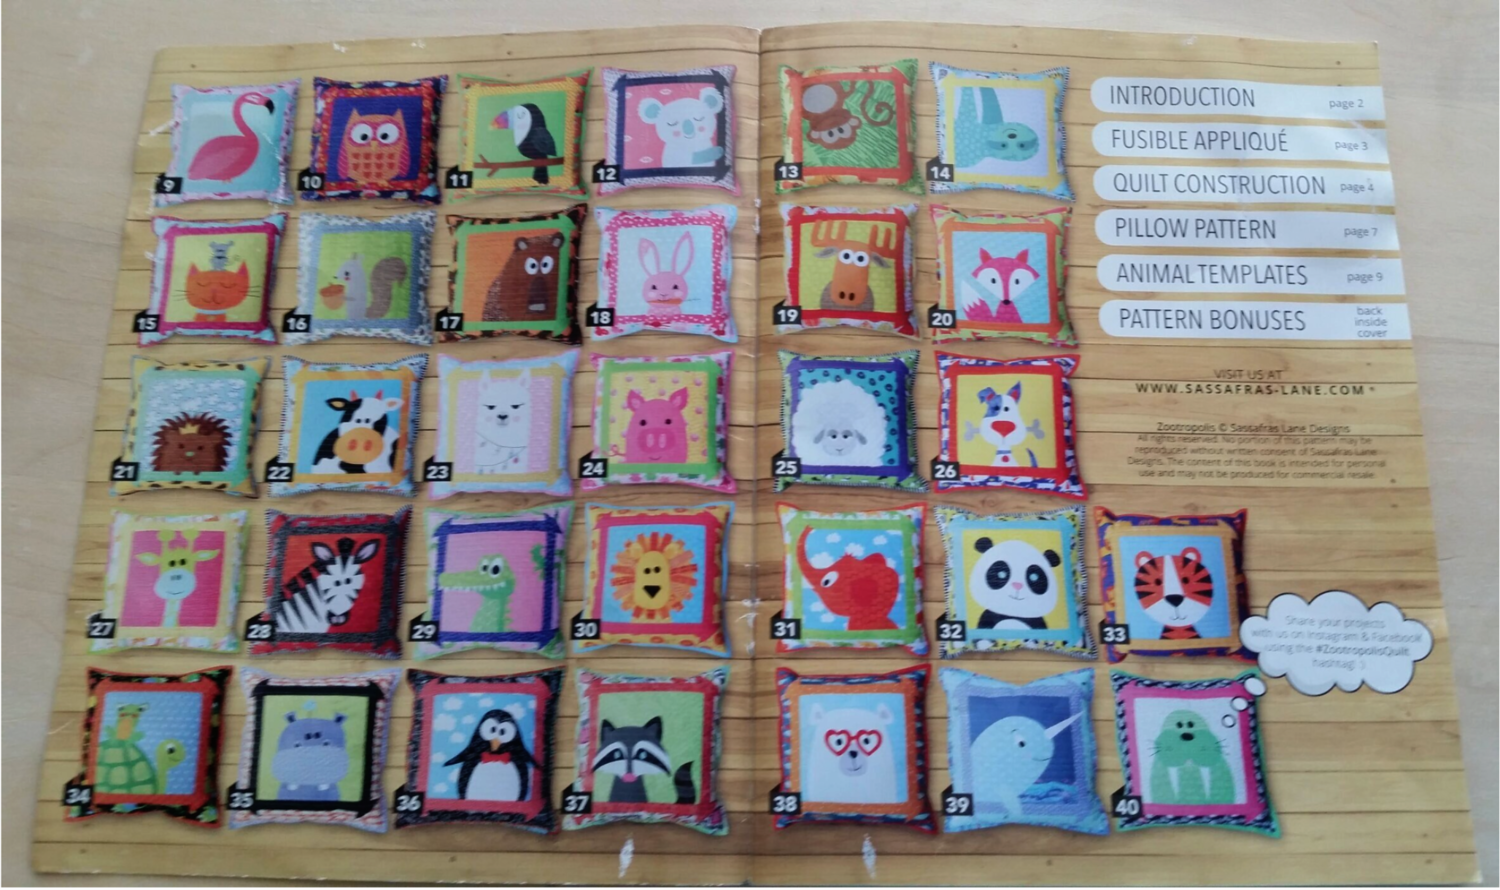
The basic process for this applique project is applying fusible webbing (ie Heat n Bond) to fabrics, cutting out shapes, layering them on a background fabric, then stitching them in place. The Zootropolis characters offer an opportunity for all applique skill levels. If you are new to applique like I am, I recommend choosing designs with smooth lines and fewer pieces and work up to more intricate characters. You can create your own design or use a pattern like ones from Zootropolis. Whatever design you choose, keep in mind that it will need to be a reversed image because it goes on the wrong side of the fabric.
I’ll also walk you through making the 14” x 14” pillow - without a zipper! But first, let’s put together our applique design.
Step 1: Gather materials -
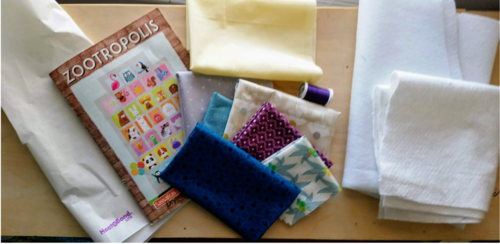
Reversed applique pattern,
fusible webbing (like Heat n Bond).
fabrics (fat quarters and scraps are perfect),
fusible fleece or cotton batting,
matching thread,
pencil or marker,
sharp fabric scissors,
sewing machine, and
iron.
As you pull together your fabrics, you will need the fabrics to create your pattern but also a background fabric to put it on. If you are making the 14”x14” pillow, you can use two fat quarters or one half yard. One for the background fabric and one for the back of the pillow, or you can do what I did and use an 8.5”x8.5" background and add borders to create a 14.5”x14.5” pillow front. Press seams away from the center. You will also need a 16”x16” piece of muslin or similar fabric for the inside of the pillow.
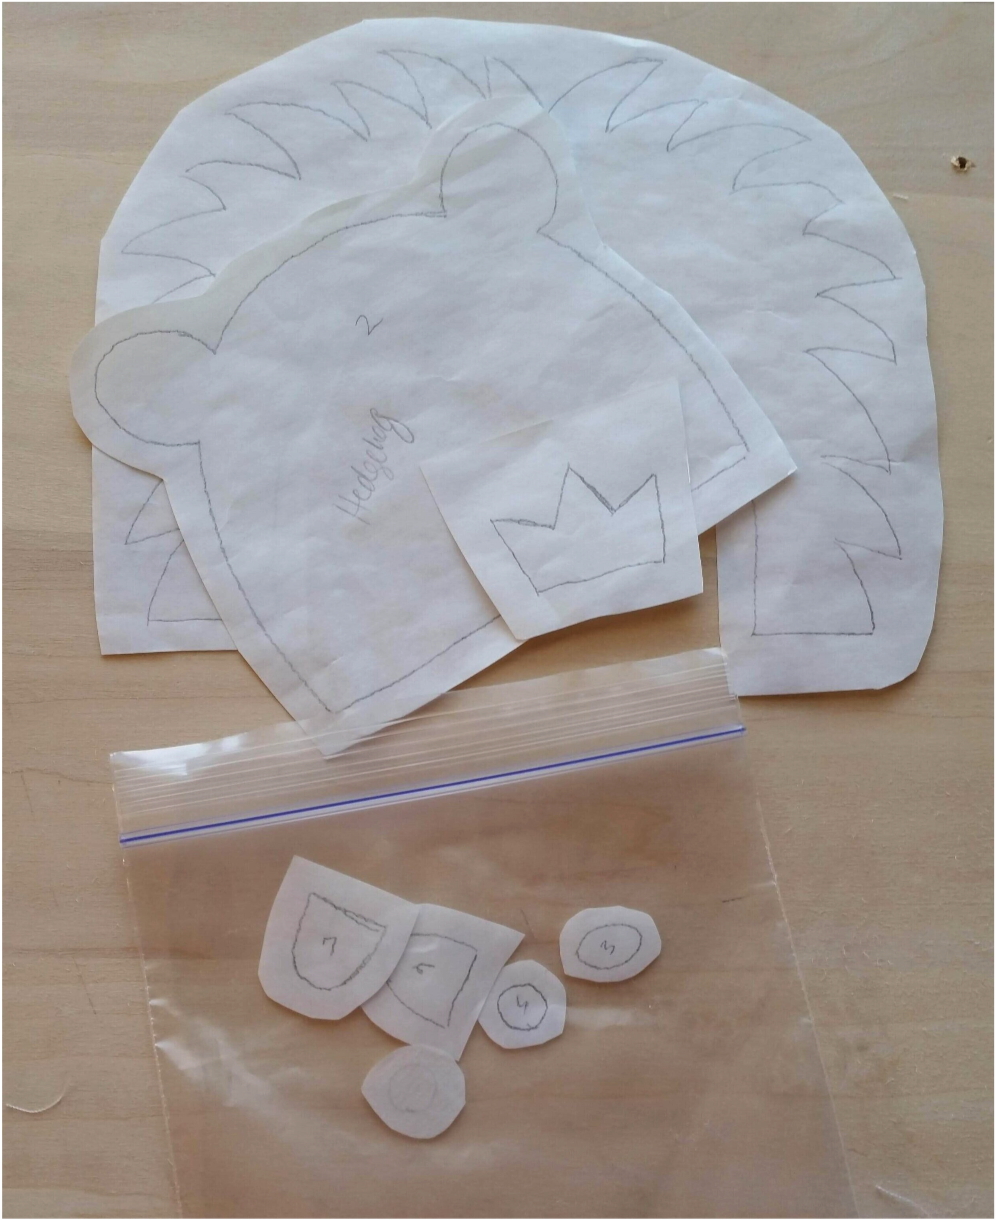
Step 2: Trace the applique pattern on to the paper side of the fusible webbing and label the parts, but leave at least ¼ inch space around each item. Remember that each detail needs its own place on the paper. I like to put like items close together and then cut them out as a group. For example, on my alligator, I traced all of the teeth close to each other.
Step 3: Cut out the traced pieces, leaving at least ¼ inch around all edges. Again, I like to cut out similar pieces as a group at this point.
Step 4 : Iron the traced pieces onto the WRONG side of the fabric by laying the iron on the fabric for a few seconds to allow the glue to seal on to the fabric. (It’s really disappointing when you mess up and put them on the right side!)
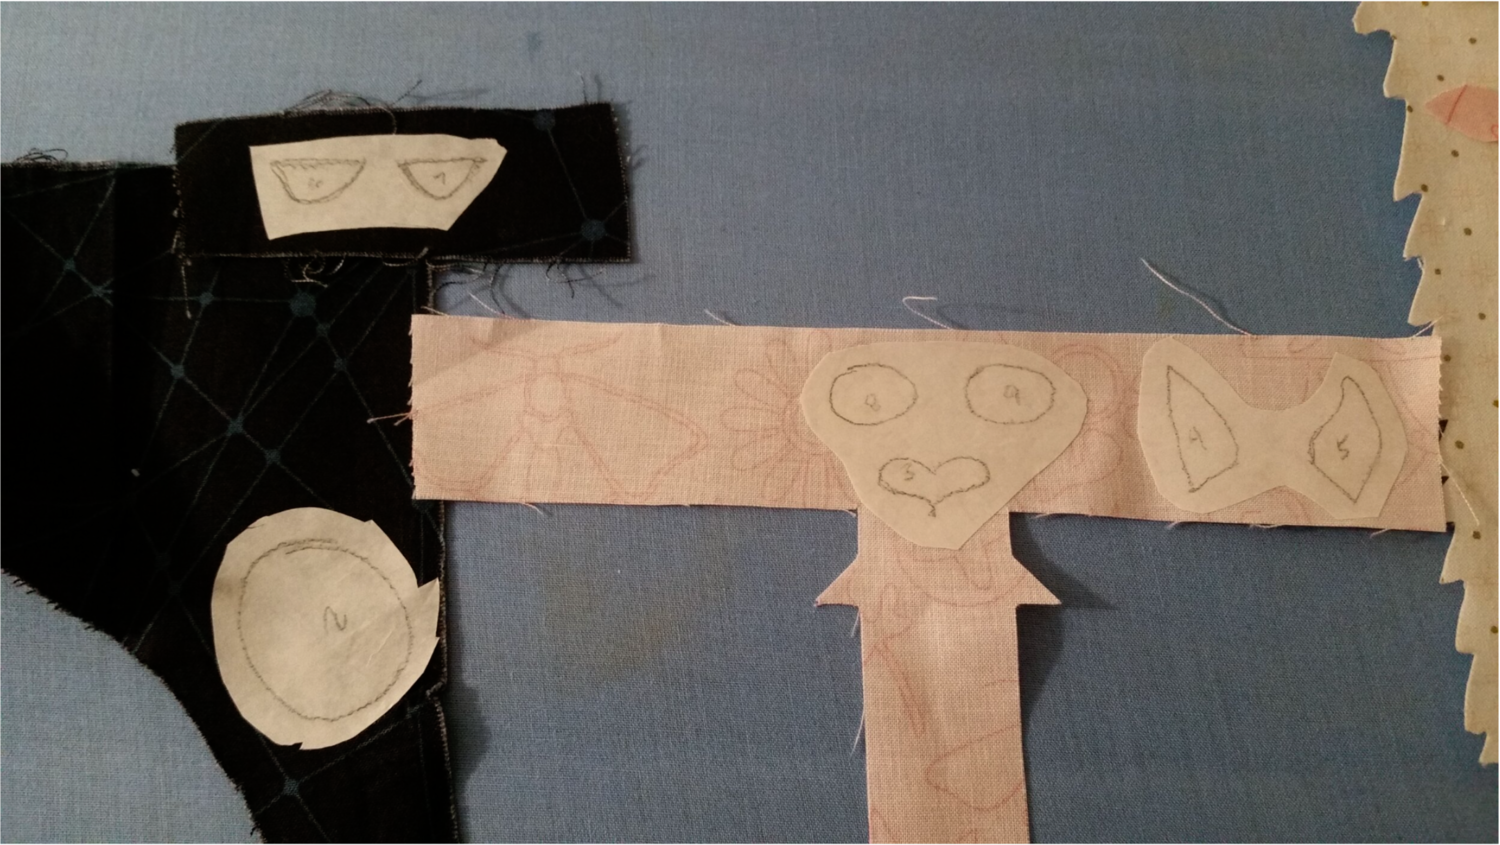
Step 5: Using your scissors, cut out the pattern along the traced lines. For designs with a lot of small pieces (like the alligator teeth), I like to wait to cut them out individually until I am ready to fuse everything to the background to keep them from getting lost.
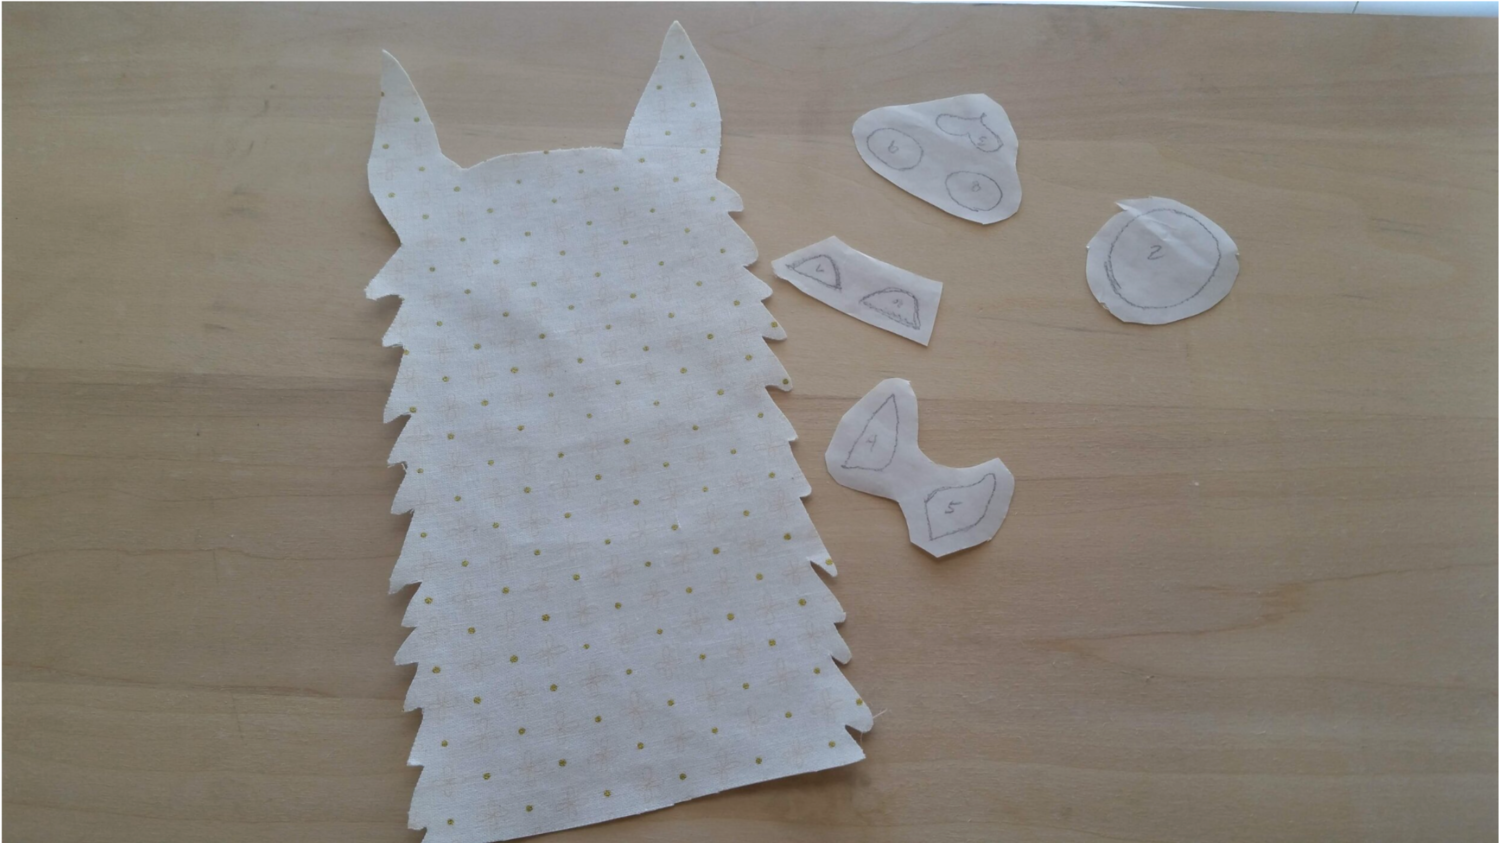
Step 6: Peel the paper off the back of the pieces, making sure the shiny webbing stays on the fabric. Then layer the pieces on to the background fabric. Once you have it arranged how you’d like, use the hot iron to fuse them in place. Again, you want to just lay the iron on the fabric without moving it back and forth. I recommend adding stabilizer to your background fabric as well. This will help support the project when you add stitching in the next step.
Step 7: Time to sew! As tempting as it is to just leave your cute project as is, over time the fusible will wear away and all of the pieces will fall off. Adding stitching around the design will keep the fabric in place and add a nice finished look. Make sure you stitch around all the pieces.
You have a few stitching options at this point. You can use a blanket stitch, a zig zag stitch, or just a straight stitch. Most appliques I’ve seen use the zig zag stitch which is recommended for items that will get a lot of use. Whatever you choose, it is a good idea to practice first. I made a copy of the pattern and practiced my stitches on paper before I sewed on my fabric. It can get really tricky sewing small pieces. I came across these tips for machine applique by allpeoplequilt.com which are really helpful as well.
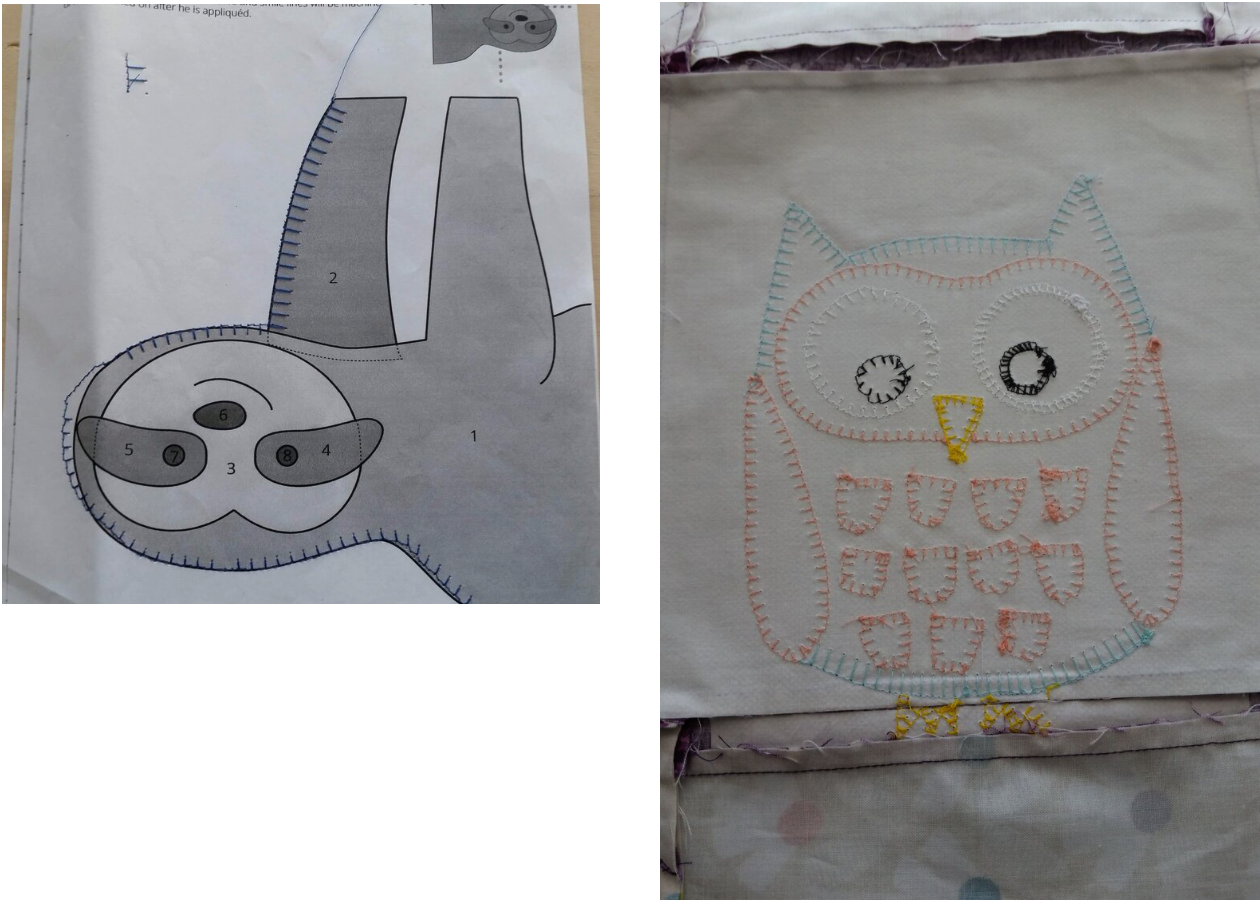
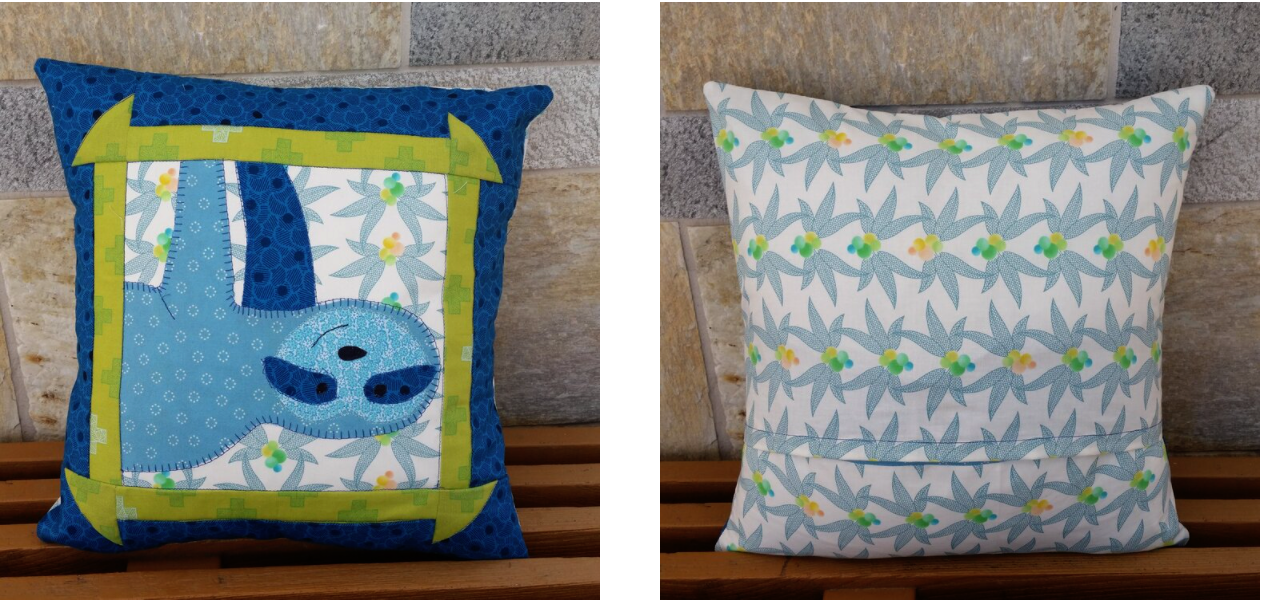
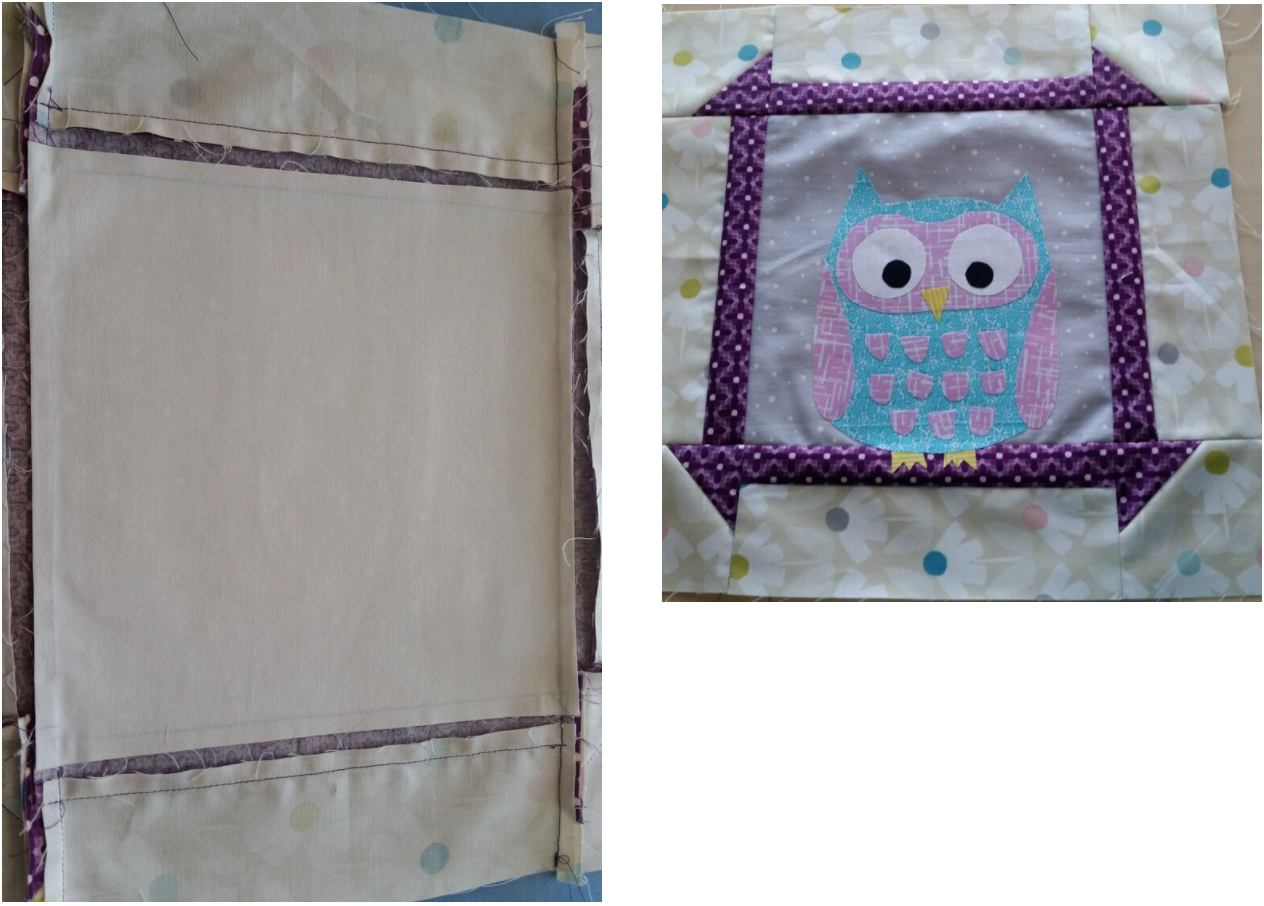
I used a mix of blanket and straight stitching on my sloth and all blanket stitch on my owl.
Congrats on your applique! Time to make a pillow cover!
Step 8: Prep your pillow top. If you used an 8.5”x8.5” background, add your extra fabrics to create a 14.5”x14.5” pillow front if you haven’t already. Press your seams away from the center.
For this step, you can use either fusible fleece or more of the same fusible webbing and regular cotton batting. I will give you directions for both. Either way, you need 16”x16” pieces.
Using fusible fleece: Fusible fleece has a bumpy side and a normal fleece side. Lay the bumpy side down on top of the 16”x16” muslin and press with the hot iron to fuse.
Using cotton batting and fusible webbing: Fusible webbing has two fusible sides. Iron one side to the muslin, the other to the batting. Create a sandwich using the pillow top and fleece/muslin combo with the fleece in the middle. Quilt the pillow top as desired and trim to 14.5”x14.5”.
Prep your envelope pillow back.
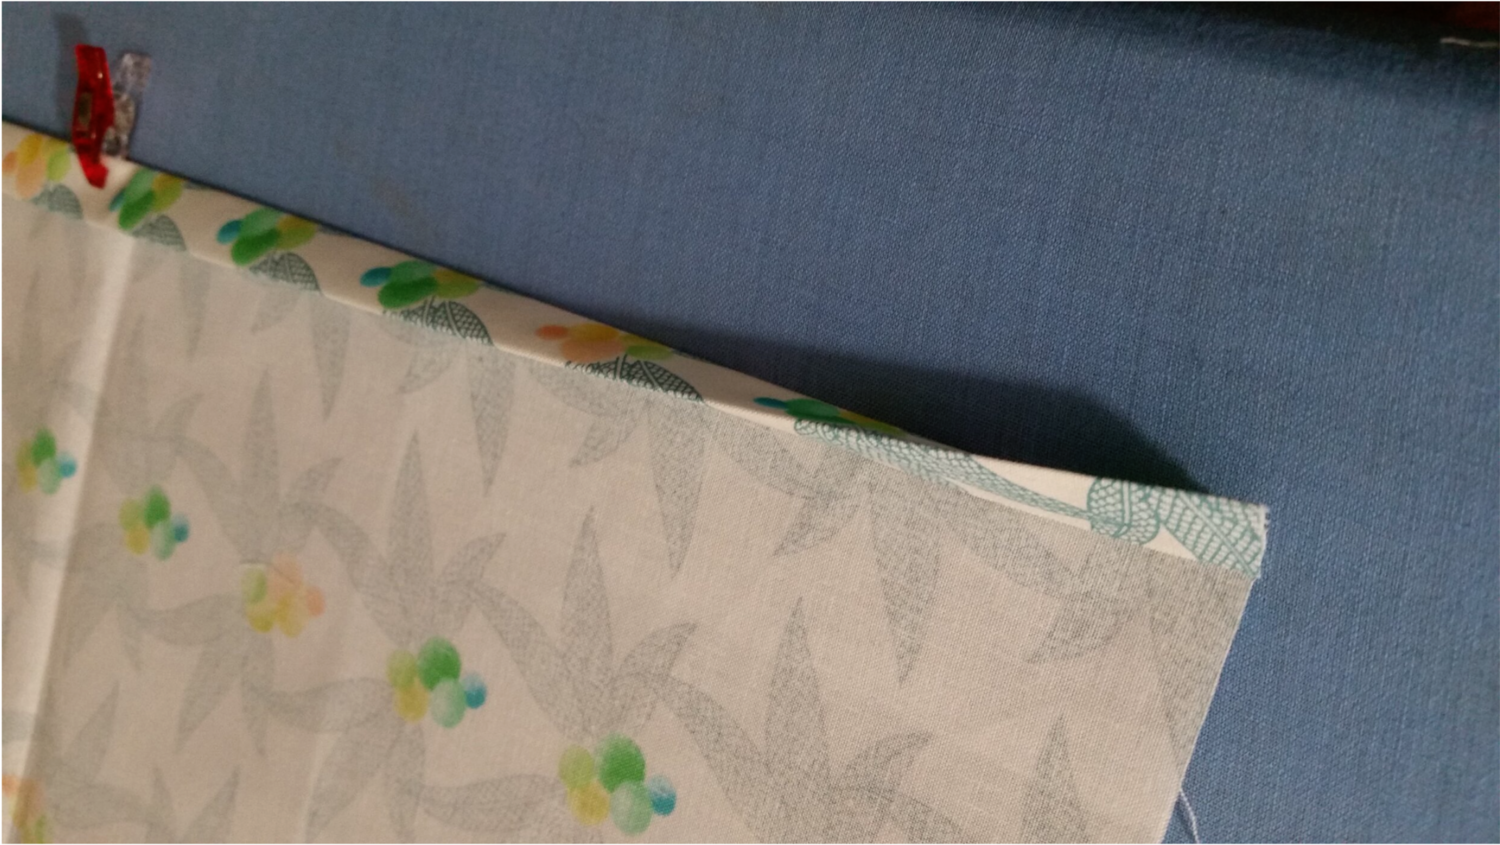
Step 9: From your backing fabric, cut two rectangles 10”x15”. For each rectangle, create a ½ inch hem along one of the long edges. I like to fold it over ½” and iron, then fold it over ½” again and sew it.
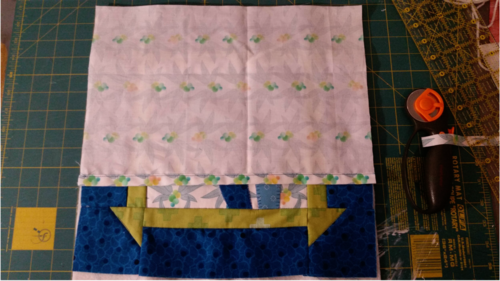
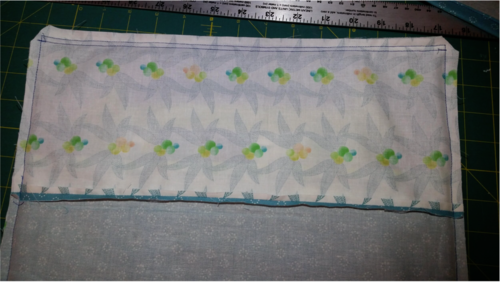
Step 10: With right sides together, lay one of your rectangles on top of the pillow top with edges matching and the hem side towards the middle. Sew along the edges with ½” seam allowance.
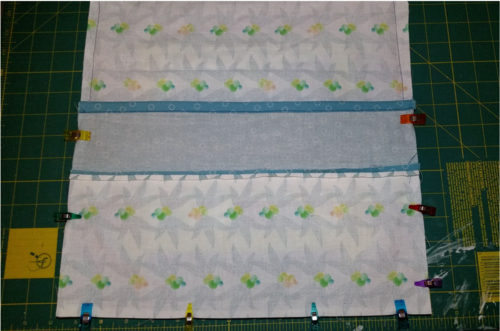
Step 11: At this point only part of the pillow top should be showing on one end. Add the second rectangle to the exposed pillow top, matching the unfinished edges with the hem towards the middle so that it overlaps the first rectangle. Sew along the edges with ½” seam allowance.
Step 12: Trim the corners and along the seam edge. Turn the pillow cover inside out. Double check that all there are no raw edges outside the seams. If there are, flip the cover back out and re-sew to catch the raw edges so your fabric doesn’t fray. (Don’t feel bad if that happens. I had to re-sew my sloth 3 or 4 times.)
Step 13: Stuff with a 14”x14” pillow form and enjoy!!