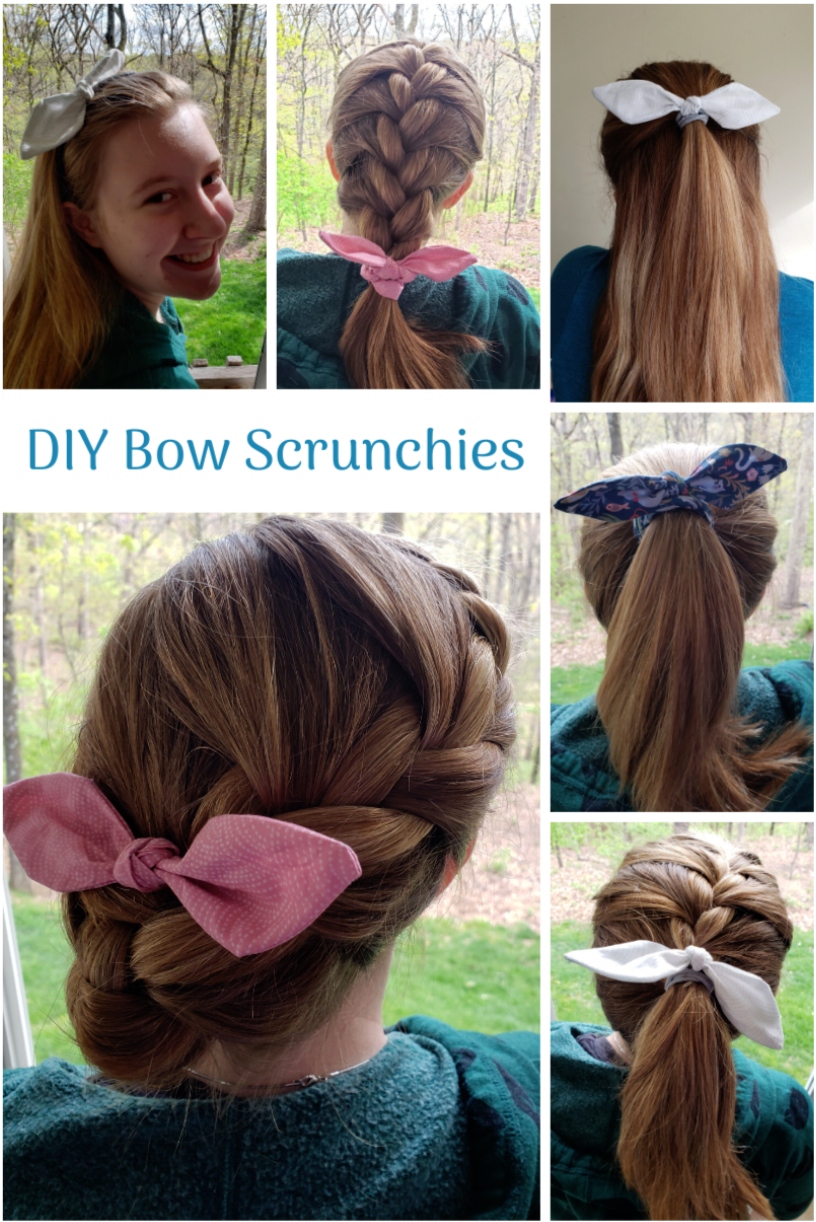
Learn a New Skill - Scrap Bag Bow Scrunchies
19th May 2020
Hello! It’s Jenny again. Today, my daughter and I will be making traditional hair scrunchies and super sweet bow scrunchies. My daughter is 15 and loves scrunchies right now! This is such an easy project to do with kids or teens and can be made using the scraps in a Cotton Cuts Puzzle Mystery scrap bag.
Supplies needed:
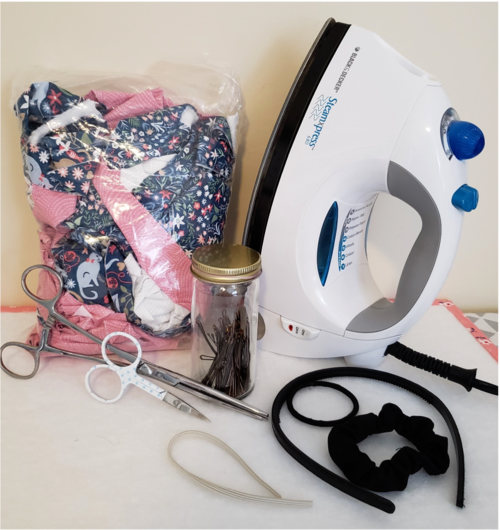
Sewing machine
Cotton Cuts Mystery scrap bag (I’m using Viola) or any fabric scraps about 3” x 14”
Elastic about 8 inches long (if you don’t have elastic, you can just make the bows to add to elastic hair ties, scrunchies, bobby pins, headbands or clips)
Thread
Scissors
Iron
Optional - safety pin, pencil or hemostats, fabric pen
SCRUNCHIES
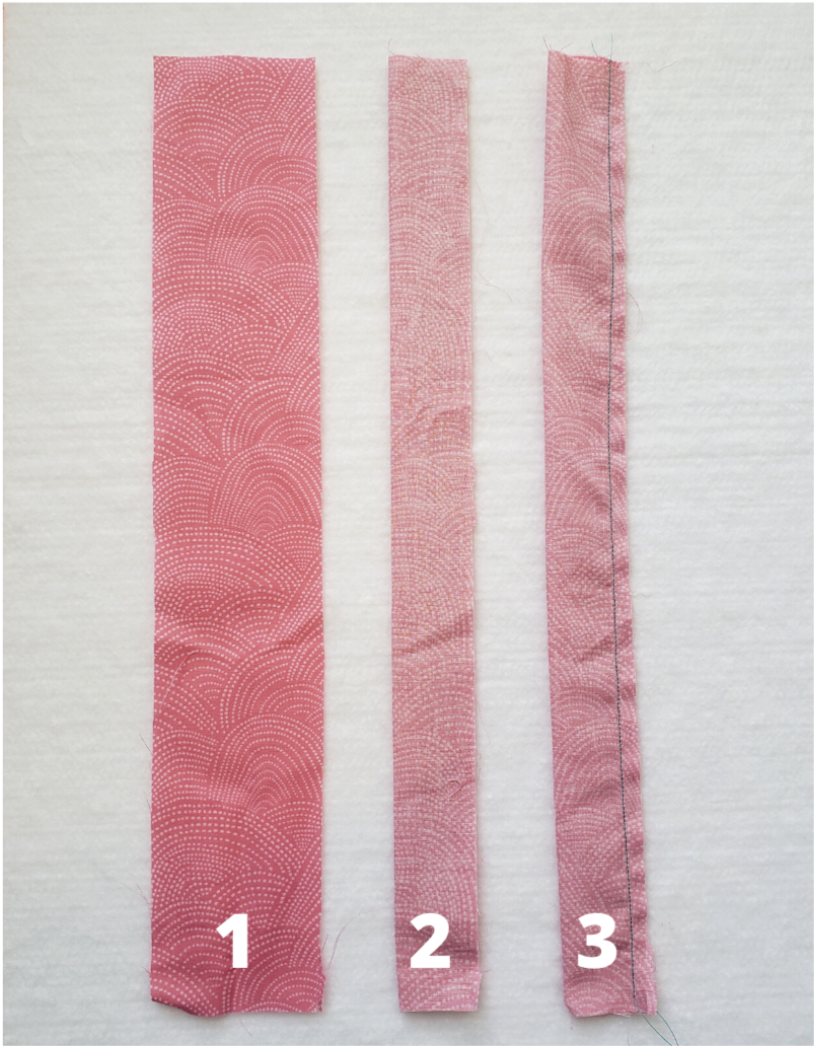
Step 1: Grab some scrap fabrics. Mine were about 3” wide by 14” long. Press flat.
Step 2: Fold your fabric right sides together lengthwise.
Step 3: Stitch closed with a 1/4” seam allowance. (We used teal thread so it would show up in the pics)
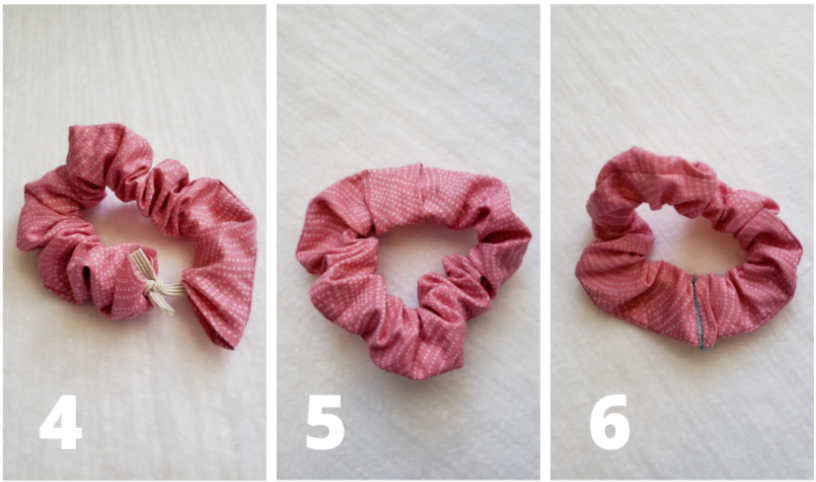
Step 4: Turn the tube right sides out. This can by tricky as you get to the middle of the tube, but a pencil or chopstick will help you get the length you need to push it through.
Insert the elastic and tie a knot. The easiest way to get the elastic from one end to the other is by using a safety pin. Attach the safety pin to one end of the elastic and use the pin and your fingers to guide the elastic through the tube. Be careful that you don’t pull the entire strand of elastic through the tube because you’ll probably have to start over. To prevent this, you can use another safety pin and fasten the elastic to the end of the tube or just hold the elastic in place. Then push the fabric towards the middle until you can easily tie your knot without the fabric getting in the way.
Turn in one unfinished edge. Choose one of the ends of the tube and fold down the edges into the tube about 1/4 or 1/2 inch.
Step 5: Insert the other unfinished side of the tube into the folded edge side about 1/2 to 1 inch to create a closed loop.
Step 6: Sew closed about 1/4 inch from the finished edge. Don’t worry about it looking sloppy, as it won’t show when you add the bow.
Good job! Now it’s time to make the bow.
BOWS
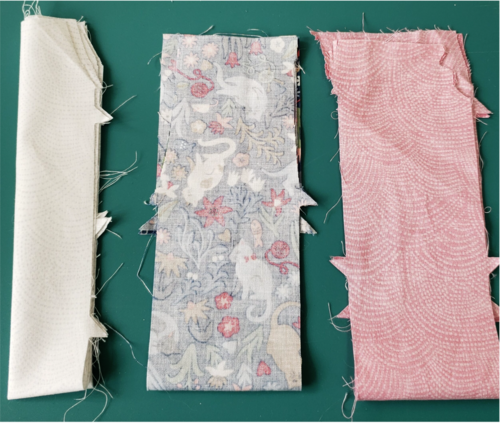
Step 1: Use two fabrics that are around 3” wide by 14” long. Place them right sides together and fold in half. Then fold in half again, lengthwise. You can press to keep the shape.
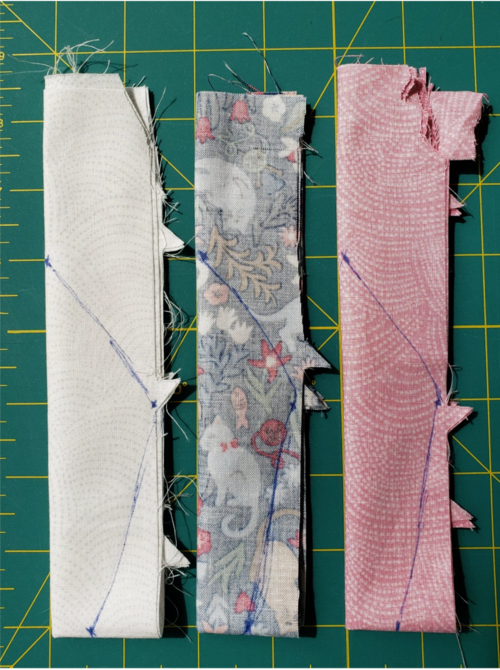
Step 2: Create your bow shape. With a pen or fabric marker, place a mark along the folded long edge about 5 inches up from the bottom. Place a second mark on the bottom edge about 1/2 inch from the left side. And finally, place a third mark on the right side of the fabric about three inches from the bottom. Draw a line to connect them and cut out your shape. You can totally eyeball this. Don’t worry, it doesn’t have to be perfect.
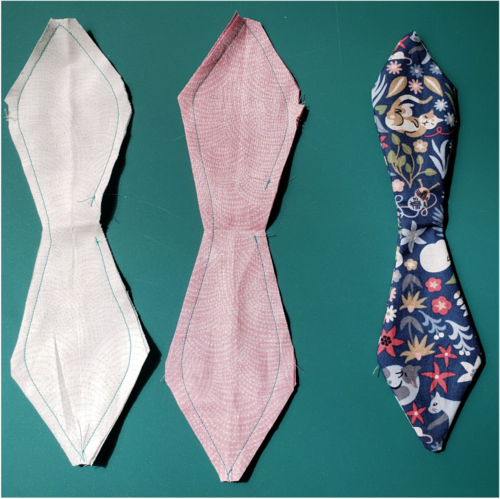
Step 3: Unfold and stitch along the edges with a 1/4 inch seam allowance, but leave about an inch open so you can turn it inside out. Cut the corner tips off to make the next step easier.
Step 4: Pull the insides out and press. I found my hemostats (long medical tweezers) to be really useful for grabbing the corners and pulling them out, as well as pushing along the seams to straightened them. You can also use a pen, pencil, or chopsticks. TIP: You don’t have to close the hole, because it will be covered in the knot!
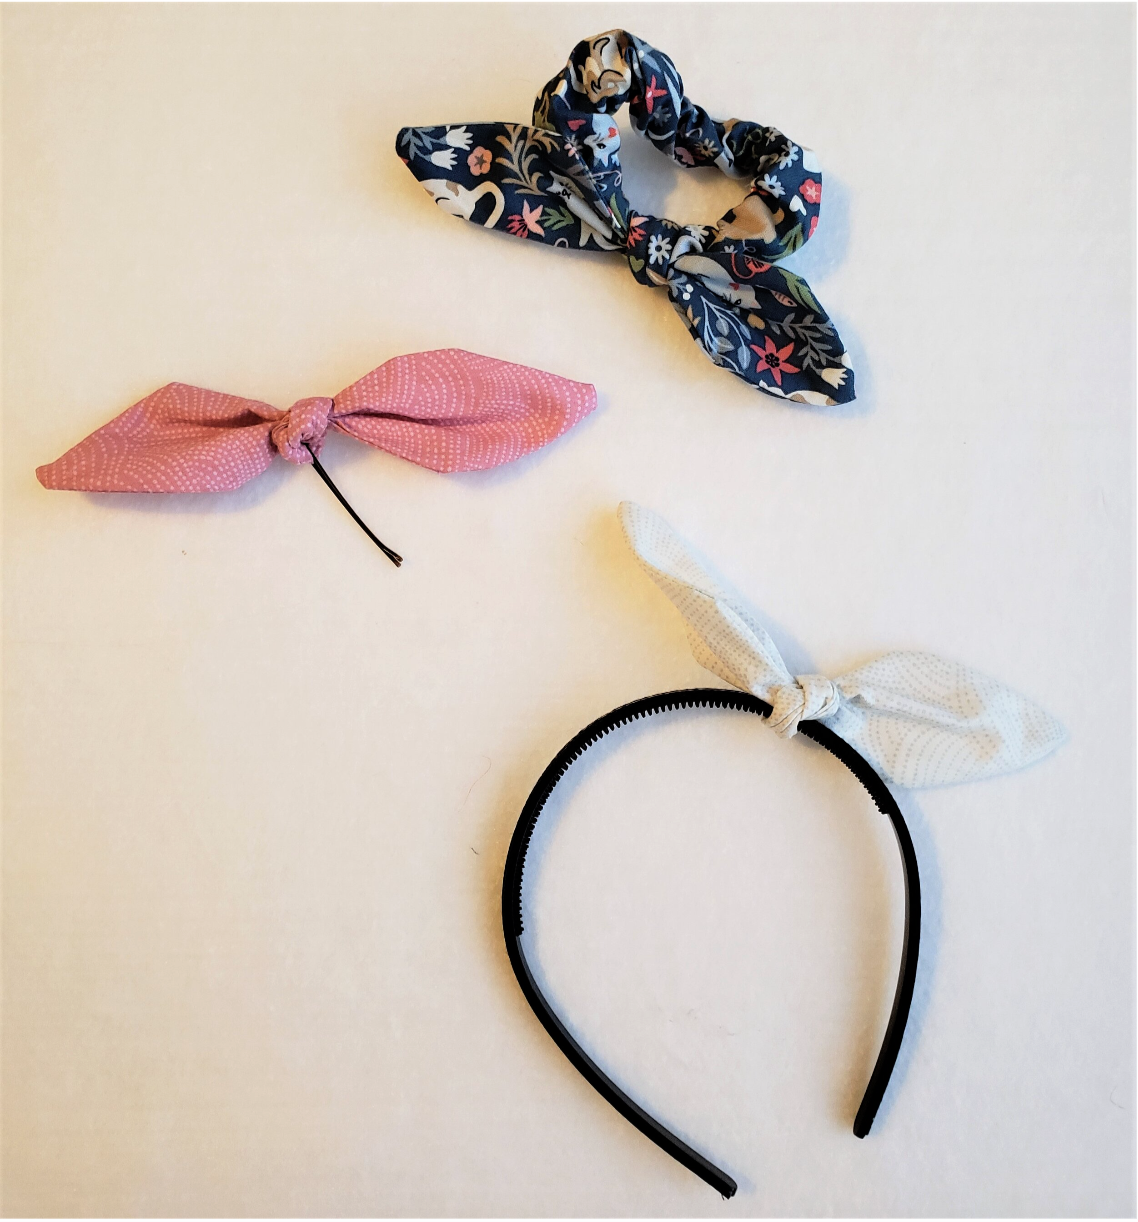
Step 5: Tie the bow in a knot around the scrunchie you made, a hair tie, bobby pin, clip or headband and you are set to go!