")
Calliope Precut Kits - A Project with Two Endings (and an Auction!)
18th May 2020
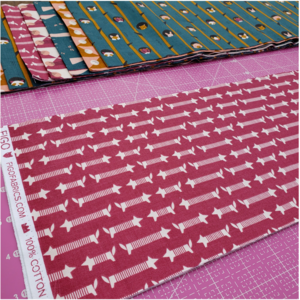
Hello! It’s Kim, Chief Fabric Enthusiast at Cotton Cuts. I’m taking over the blog today and I’m sew excited! Today, I’m going to show two ways to make quick quilts using our unique “Calliope” precuts, which are completely my jam (both quick quilts AND Calliope kits). Inevitably, I am always asked by my brother for a baby quilt - and it is always needed yesterday (I’m sure that’s never happened to anyone else). I have made a ton of charm pack quilts but was looking for something different and unique. Enter “Calliope,” our precut quilt kits with 10 strips of coordinating fabrics, cut into 6.5” width of fabric. 6.5” strips are actually very versatile and can be used to create very different quilts with minimal modifications. Both quilts pictured below are made with these kits but the outcome…very different!

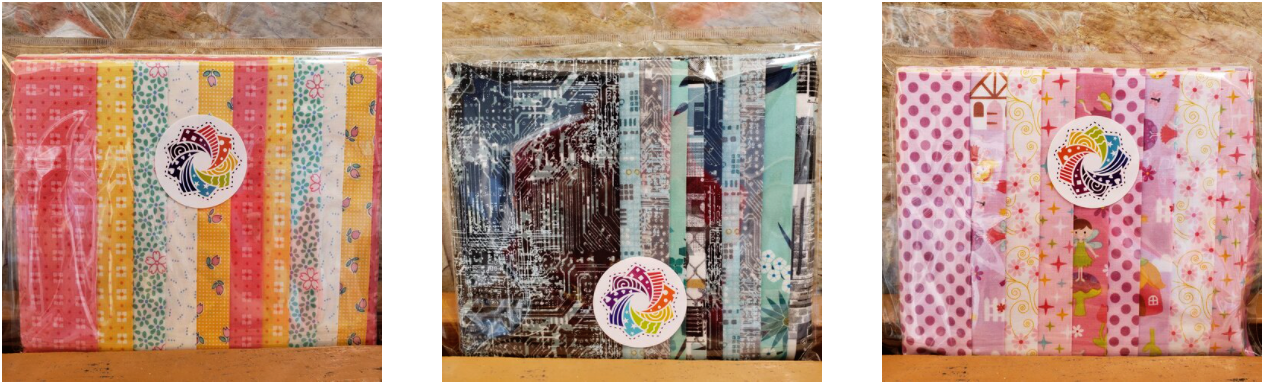
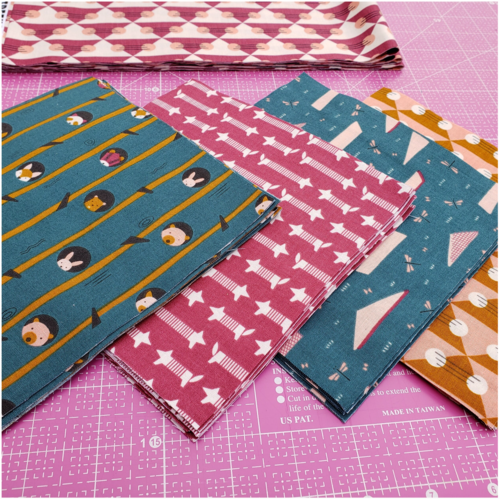
Calliope quilt kits are packaged as shown below. There are 10 strips total, 5 different prints with 2 repeats, cut 6.5” full width of fabric.
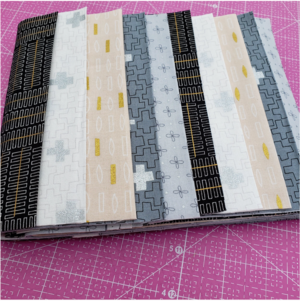
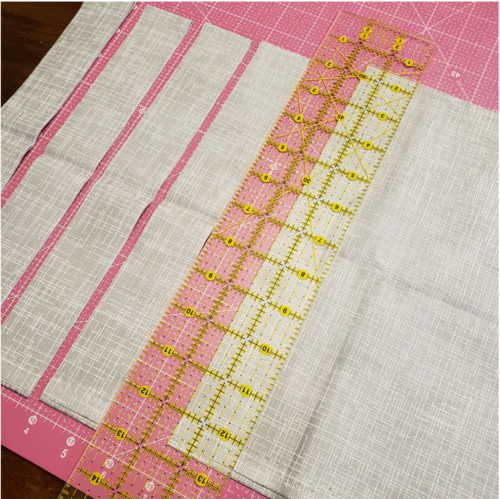
For both quilts, the process started the same. Cut the 6.5” strips into 6.5” squares. Very easy to do since the first cut was done for all 10 strips. NOTE - For the FIGO quilt, I reserved one of the prints for the outer border and cut the strips in half - four 3.25” strips wide. Then the sewing could begin!

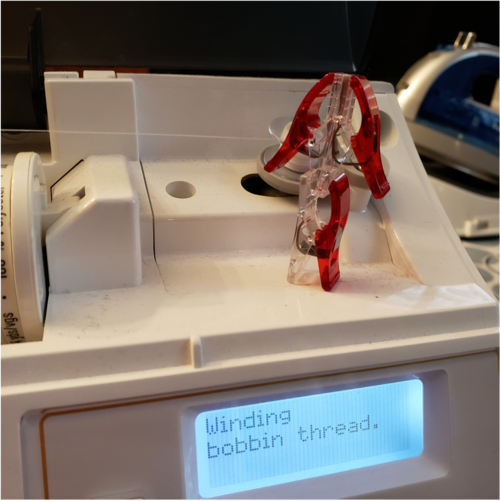
Sewing machine note: When I sew my projects, I love using my BabyLock Melody. It was gifted to me shortly after the birth of my first son, Lincoln. Melody is almost 10 years old and works like a charm. It was the first time I took a formal sewing machine class and I learned so many tips and tricks. If you get a chance to buy a new machine and they offer classes, definitely TAKE THEM!! I always have a sewing companion with Melody - Darth Vader is never far away. Lincoln created this using three clover clips and I love that it always rides in my bobbin loading compartment.
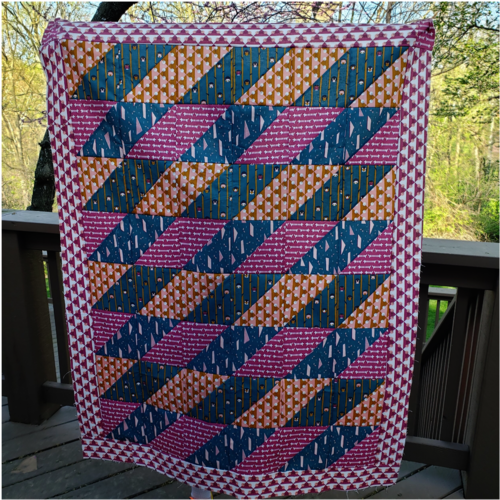
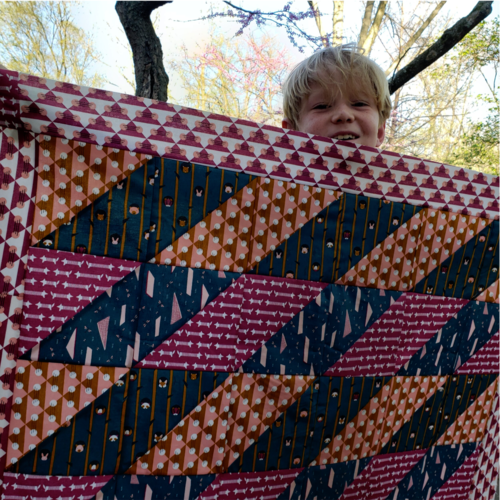
Quilt Top A - FIGO Treehouse
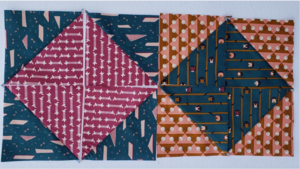
For the first quilt top, I chose to create half square triangles with each of the 6.5” squares. I drew a line from corner to corner on the wrong side of the half of the fabrics using a blue fabric pencil. I then stitched 1/4” on both sides of the line. I’m a big chain stitcher, so I lined them up and sewed them all at once, then turned them around and repeated for the other side. If you don’t have a quilting piecing feet, simply draw a line 1/4” on each side and sew on the new outer lines. Then I cut on the drawn line and BAM! - half square triangles galore!
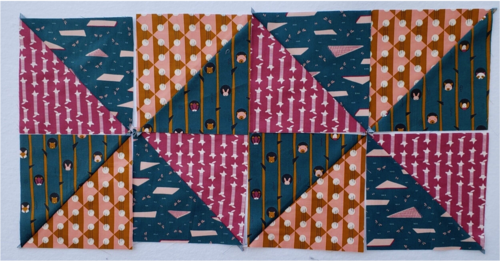
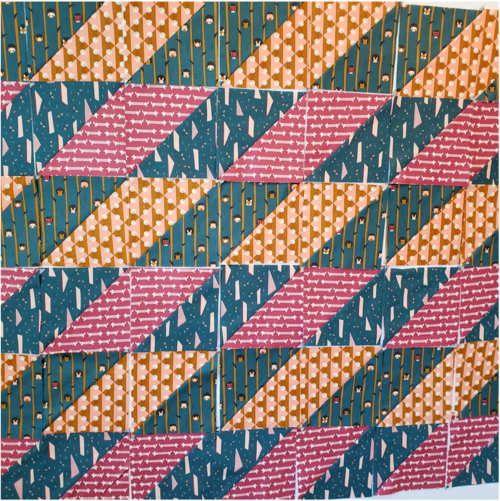
The hardest part of this project, and where I spent the most time, was trying to find a layout. I’ve done Layout #1 and #2 before, but really, really liked Layout #3 for this quilt top (What can I say? It sang to me) and I decided to run with it. I used my design wall to help with the layout. I’m a big cell phone camera person when laying out my quilts - I take photos to make sure that nothing is twisted or turned when I piece them together and refer to the picture often. It is very easy to get confused and sew a row upside down or rotate a part, which I’m sure never happens :)
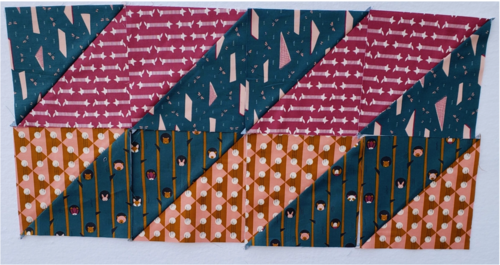
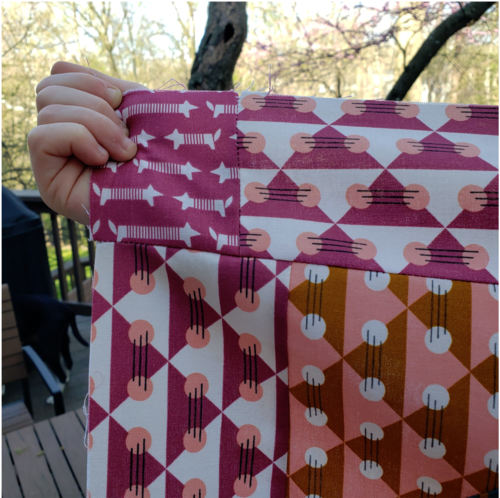
I wanted to take a moment and zoom in on this corner of the finished quilt. So I was told by a friend that “all you have to do is cut the WOF strips in half and BAM it makes the border of the quilt”. Well…sometimes it’s not that easy and it doesn’t quite work out. I was about 3” short of the fabric. Uh-oh. But I was way too far done with this quilt top. It was almost done! So instead of giving up, I dug through the scraps that I had leftover (never throw anything away!) and adding a small boo-boo square to the end. I like that the dogs are pointed the right direction and adds to the unique nature of this quilt top.
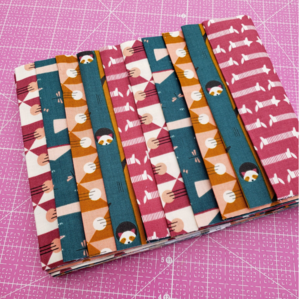
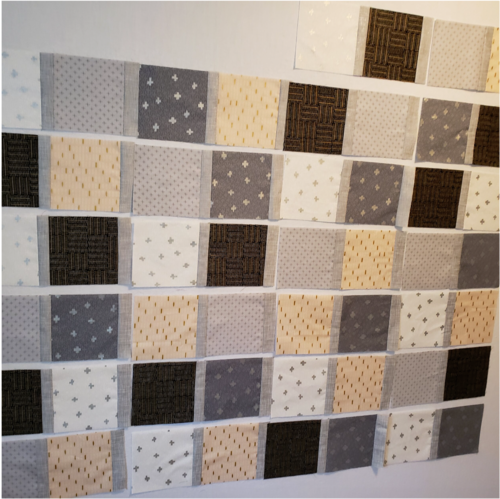
Quilt Top B - Wayside by Karen Lewis
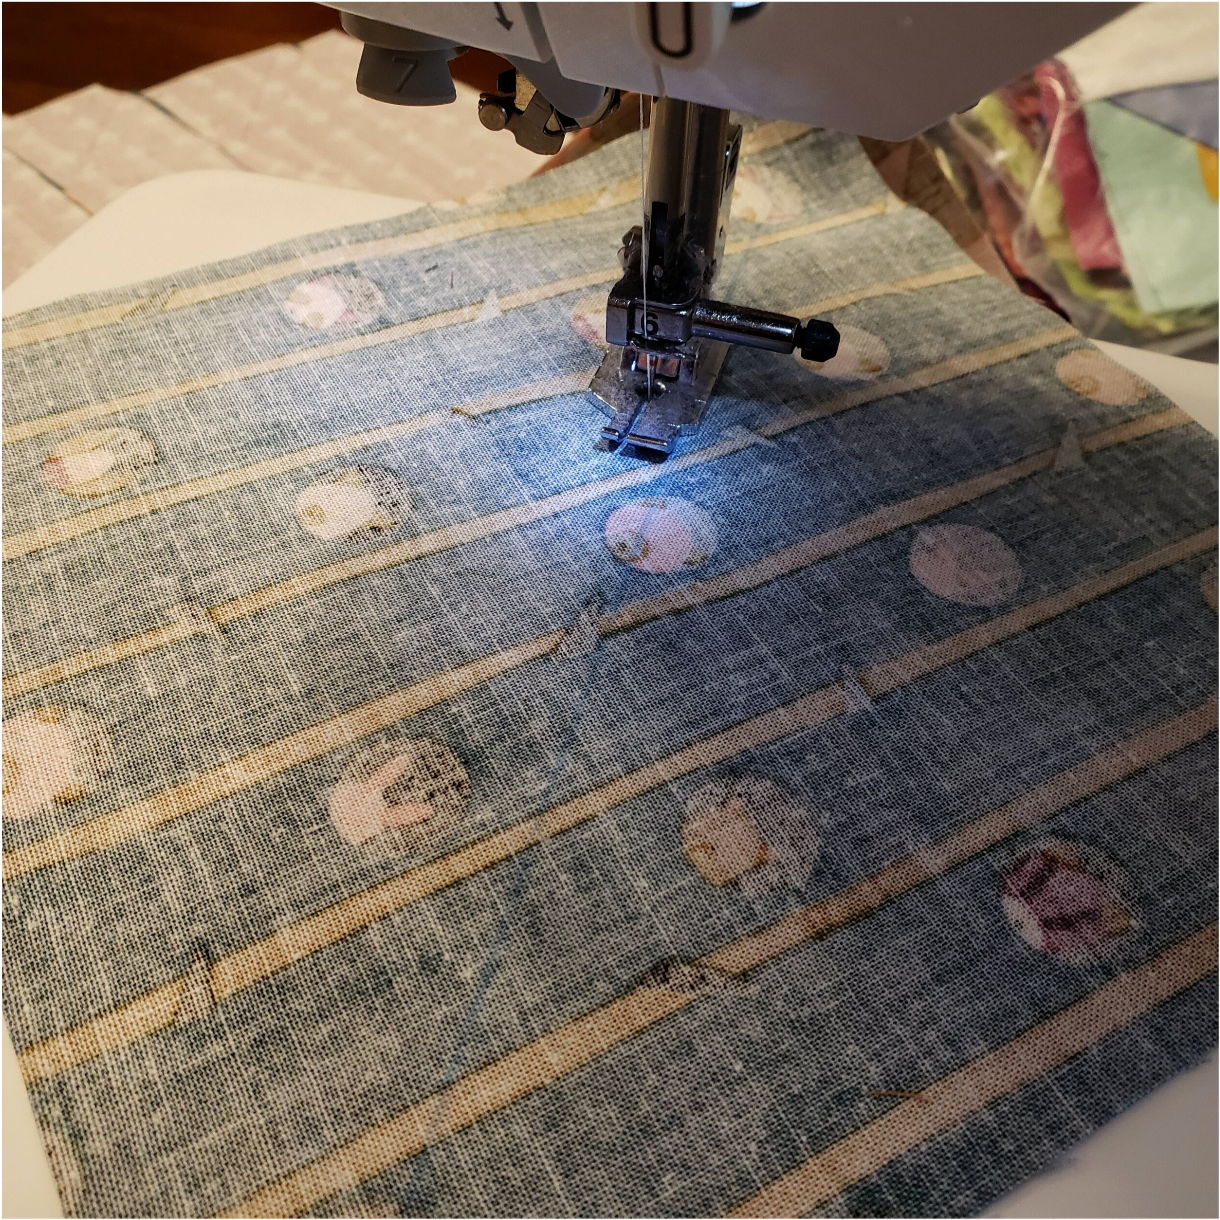
For the Wayside quilt, I wanted to follow a pattern and technique from my friend and business partner, Sheila Christensen. She’s been hosting an online quilting basics class on Facebook (Back to Basics Quilting Class) and featured a pattern that coincidentally used 6.5” squares. Following her techniques, I created a similar quilt using the Calliope squares and grey Quilters Linen for sashing. Again, I used the trusty design wall and spent way too much time laying out the squares. I didn’t want anything “too close” to the same print and wanted to make sure all of the prints were facing the same direction and moved and moved squares until I was happy with the distribution. The easiest part was the cutting!

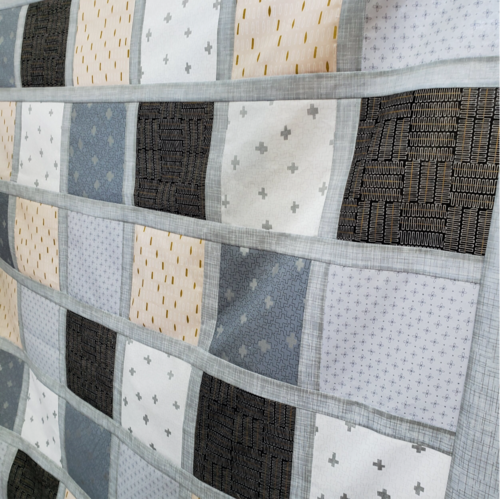
And it was that easy!
These two quilt tops will be up for auction on our Facebook page during our FB Live on 5/18/2020 at 2:00 pm CDT. We will also be adding in a 3 month Chroma Pop membership to the winning bidder and all money raised will be given to a general employee fund for Cotton Cuts employees in need during this time.
If you love these Calliope quilt kits as much as I do, take a peek at our shop while supplies last.