Sun Dyeing Fabric Tutorial
16th Jul 2020
Grab your sunglasses! Joanne and her neighbors are headed outside as they harness the power of the sun to create one of a kind fabric. With some basic supplies on a sunny day you can take a plain white piece of fabric and turn it into an amazing personalized gift in a short time.
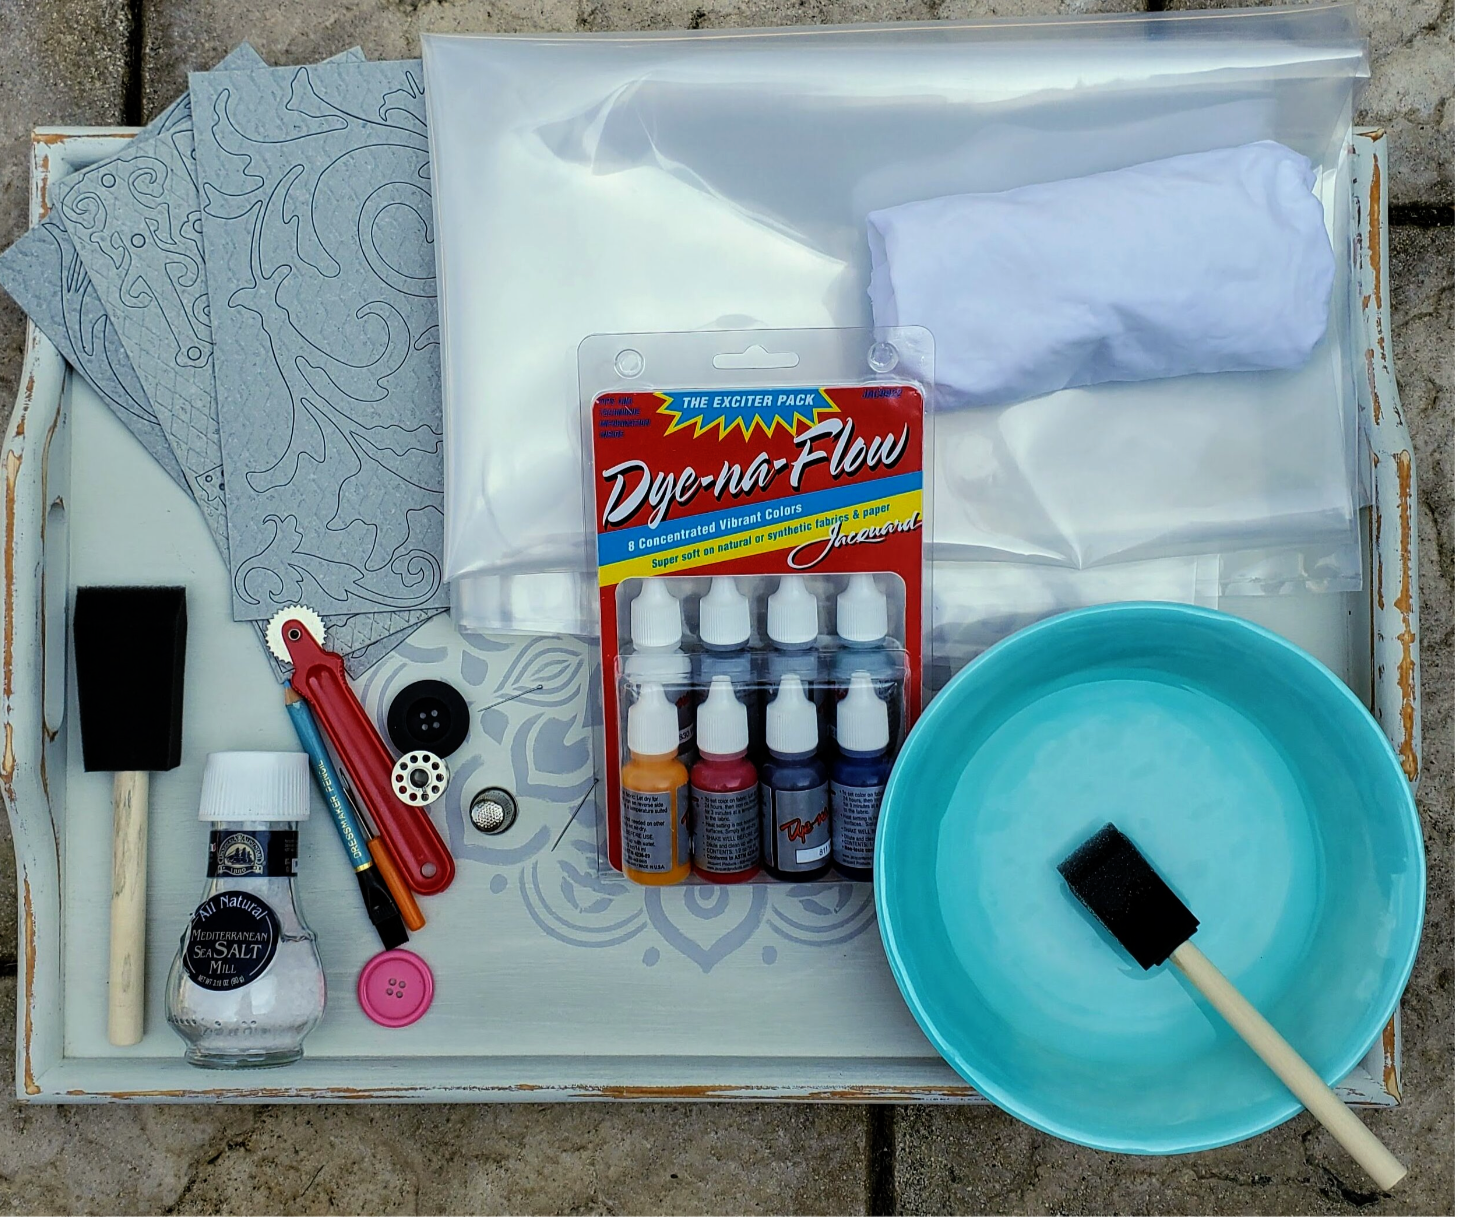
Supplies -
Dye-na-flow fabric dye in assorted colors
White cotton fabric
Foam brush
Container of water
Salt
Plastic to protect your work surface
Assorted objects and stencils to create design
The first thing you do is take the white cotton fabric and soak it in water. Then gently squeeze the excess water for the fabric, this will keep a smooth appearance. If you wring it tightly the wrinkles will grab more dye making it more obvious when it dries. Lay the fabric out on your plastic protected surface. It is important to work quickly in the sun or provide shade because it will dry fast. Now it is time to add the dye. Randomly drip the colors on the fabric as you desire.
Next use the foam brush to add water and blend the colors. You will add quite a bit of water to create a watercolor effect. It is important to keep the entire piece of fabric wet. If it starts to dry with the dye on the fabric you will not get a crisp white image in that area when you place the object.
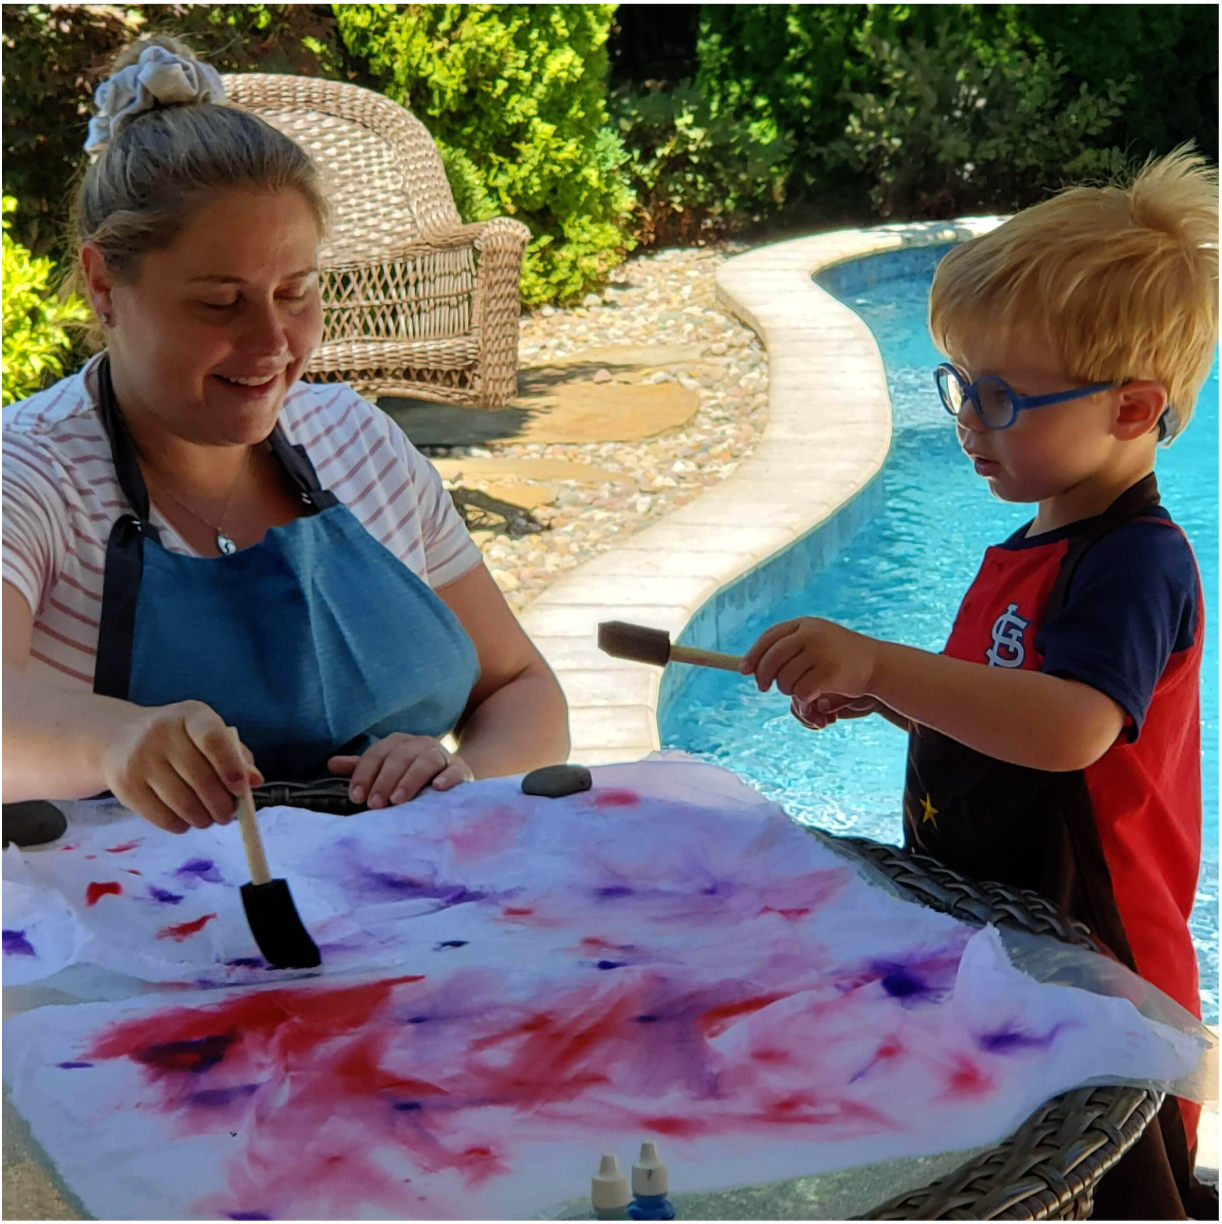
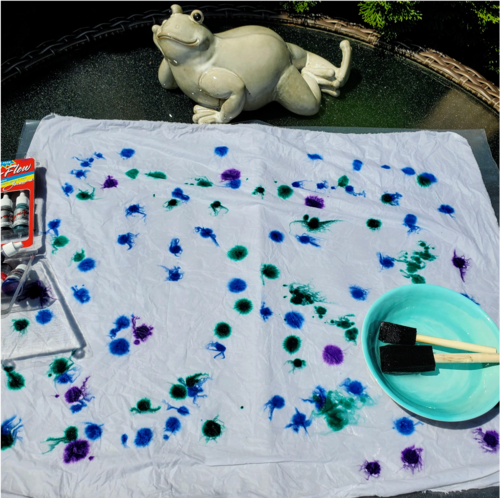
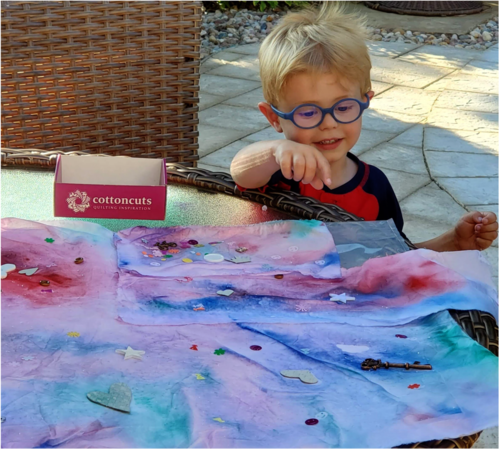
As you can see the very different outcomes emerging as each individual goes through the process of designing. That is what was so gratifying with this quick art activity. In less than 15 minutes to go from blank canvas to beautiful colored fabric.
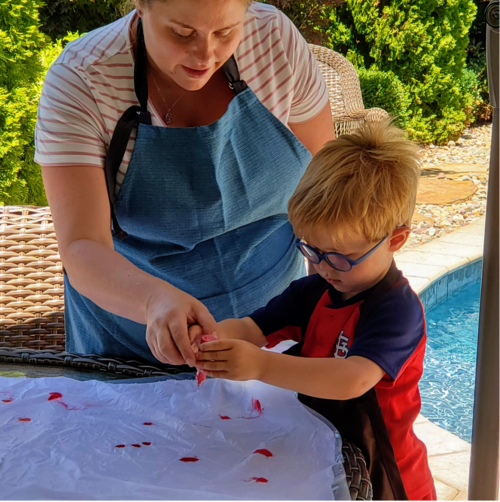
Now it is time to add objects and stencils to the fabric. I found metal things worked really well because of the very defined edges and the weight kept it in place. The stencils left a more blurred edge on the fabric. Theodore used party foil confetti for his design and it actually worked out great.
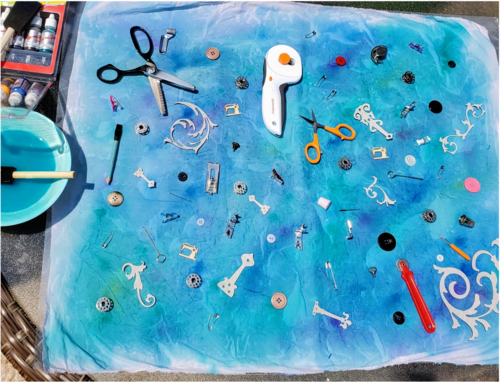
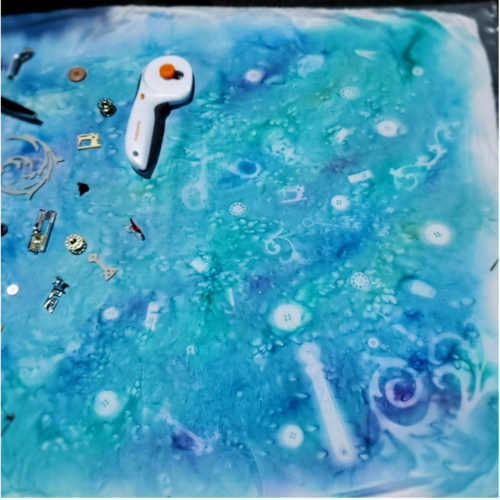
I would suggest adding many different sized objects to the fabric for a nice variety. It just depends on how you plan to use the fabric in your final project as to the quantity and the size of your objects. The dye doesn’t take under the objects leaving a white shadow on the fabric.
Now it is time to sprinkle on some salt. I just put a little here and there, it is difficult to see in the pictures.
This is the time to step away for a few hours to play in the pool letting the sun work its magic. I let mine sit for about two hours. If it is breezy you will want to secure the edges of the fabric to keep it flat as it dries in the full sun.
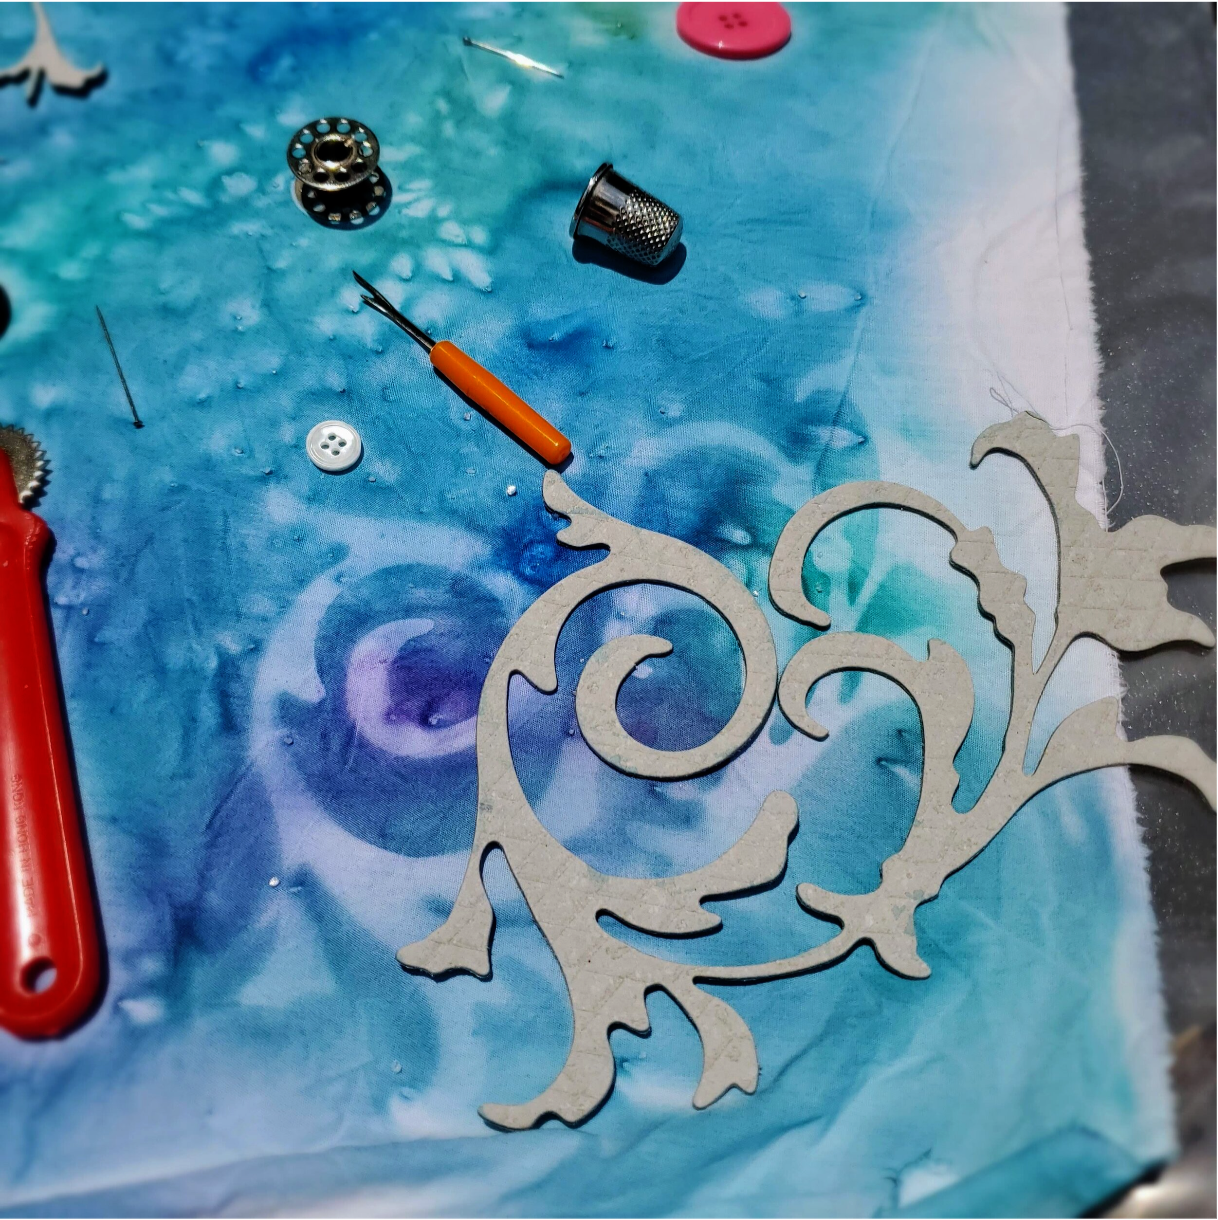
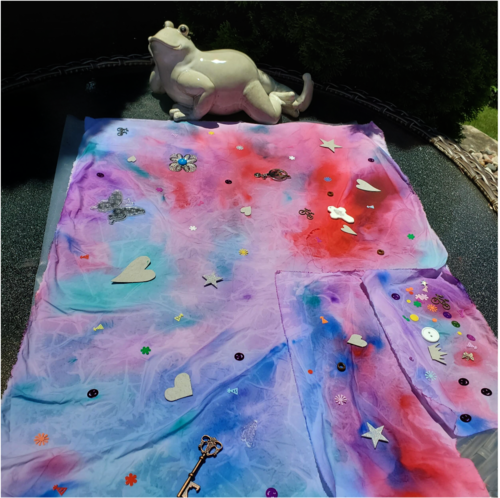
The big reveal! It was really fun to see how the different objects left an impression on the fabric. You can see the bubble effect from the salt clearly in this close up.
Theodore was very pleased in discovering the secret of sun dyeing!
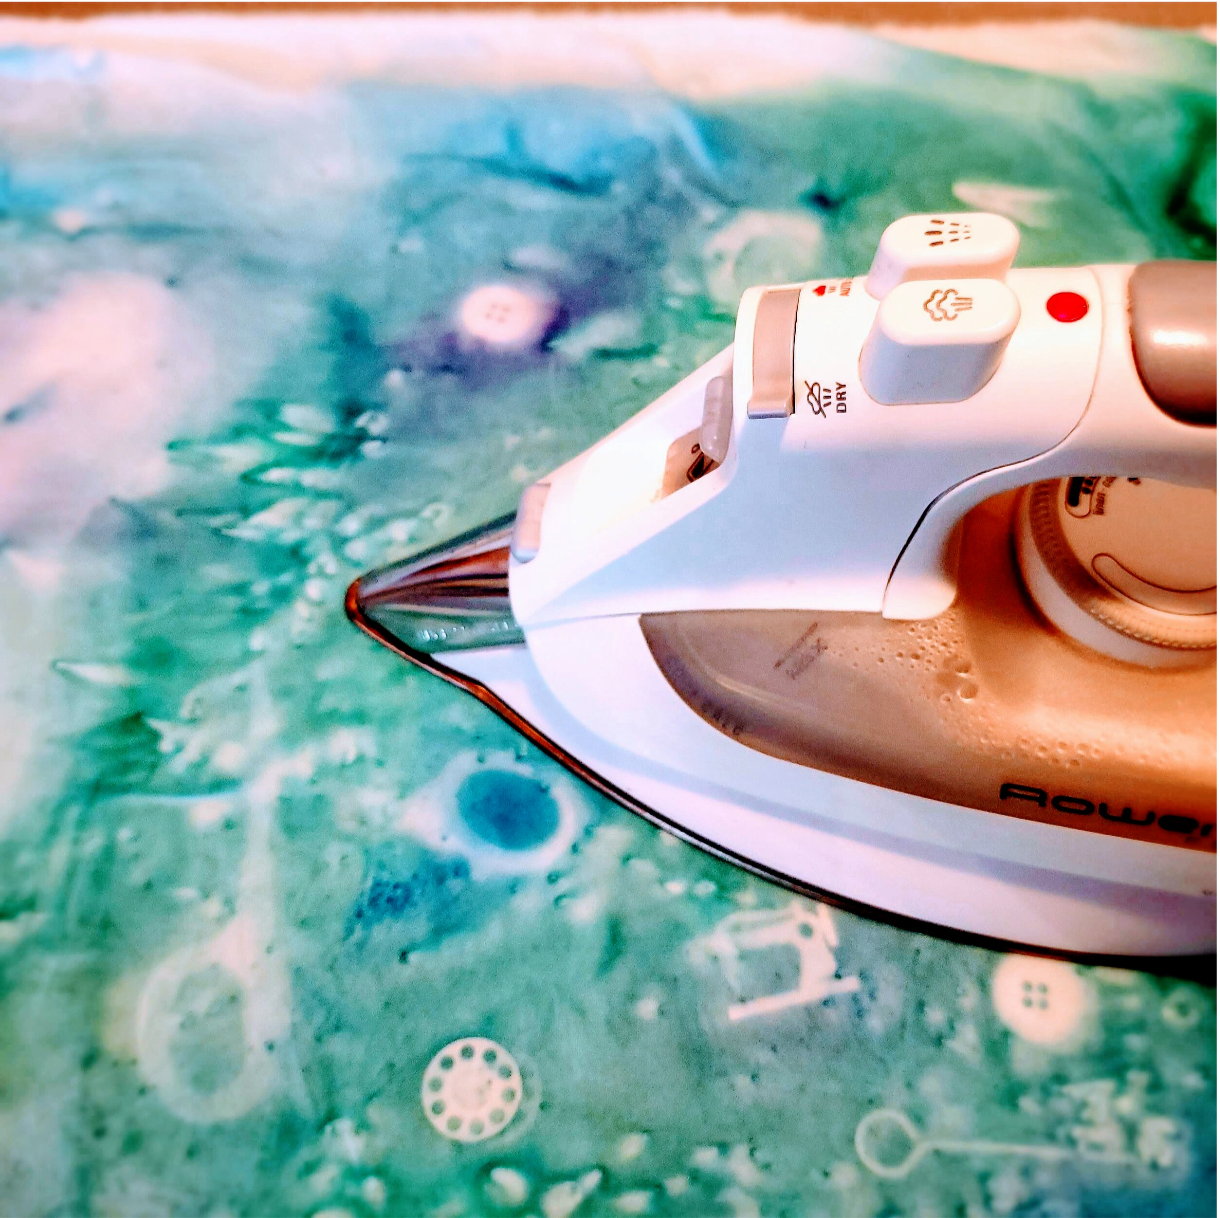
The next important step is to take the fabric inside and heat press with your iron to set the dye into the fabric. I used a high heat setting and pressed for about five minutes, keeping the iron moving so it didn’t scorch an area.
Now it is time to rinse your fabric to remove any extra dye. I used a product called synthrapol to help set the dye. It is something I use for pre washing quilting fabric. The key is to keep rinsing till the water is pretty much clear.

I did find that the fabric dries lighter after all the rinsing. If you want a strong color on your fabric you will want to add a lot of dye at that point of the process.
This was our first time to try sun dyeing and we really enjoyed the whole process. I would encourage you to invite kids to participate in this activity to discover the joy of personally designing fabric for gifts.
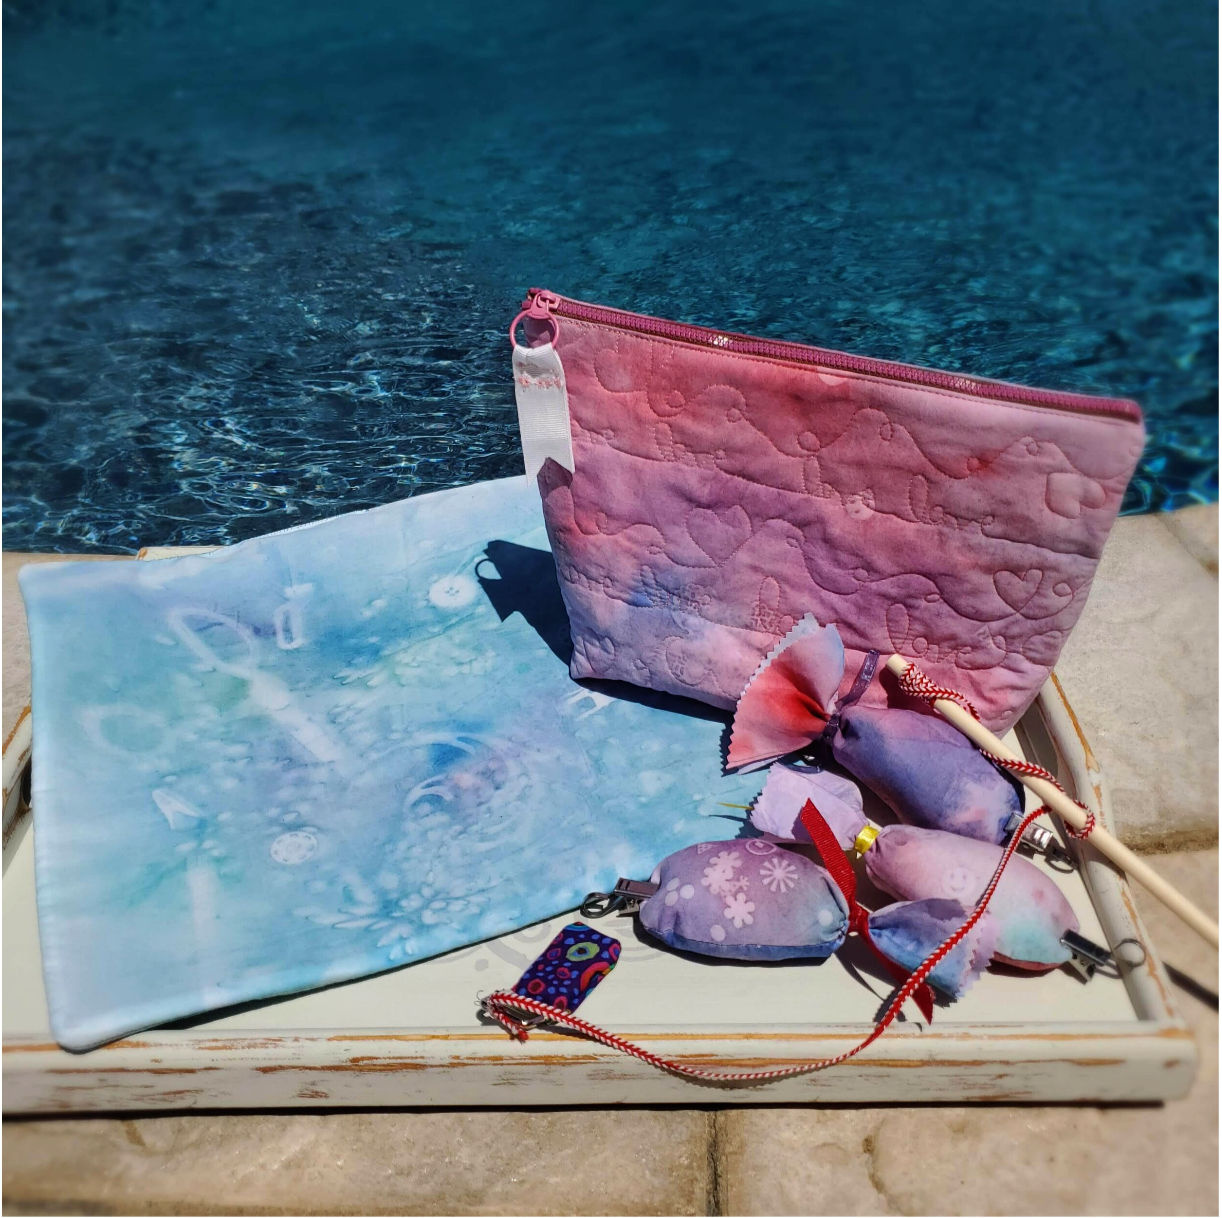
Here are the finished pieces from the sun dyed fabric. I made the blue ironing pad to keep next to my sewing machine as I piece my quilt blocks. Theodore had a little help sewing a zippered pouch for his grandma’s birthday and a magnetic fishing rod and fish for himself. It was a fun summer project with happy memories for all.