DIY Travel Sewing Kit
9th Jul 2020
Hi, it’s Joanne. I’m back in St. Louis after my escape 800 miles north to enjoy a brief hiatus from the July heat. I decided to make a travel sewing kit after working on small sewing projects during the long drive home. I have my zipper pouch I featured last month in the Cotton cuts blog but I needed to keep things better organized in the bag. So this week I will share with you a bird pincushion, mini thread catcher and scissor holder.
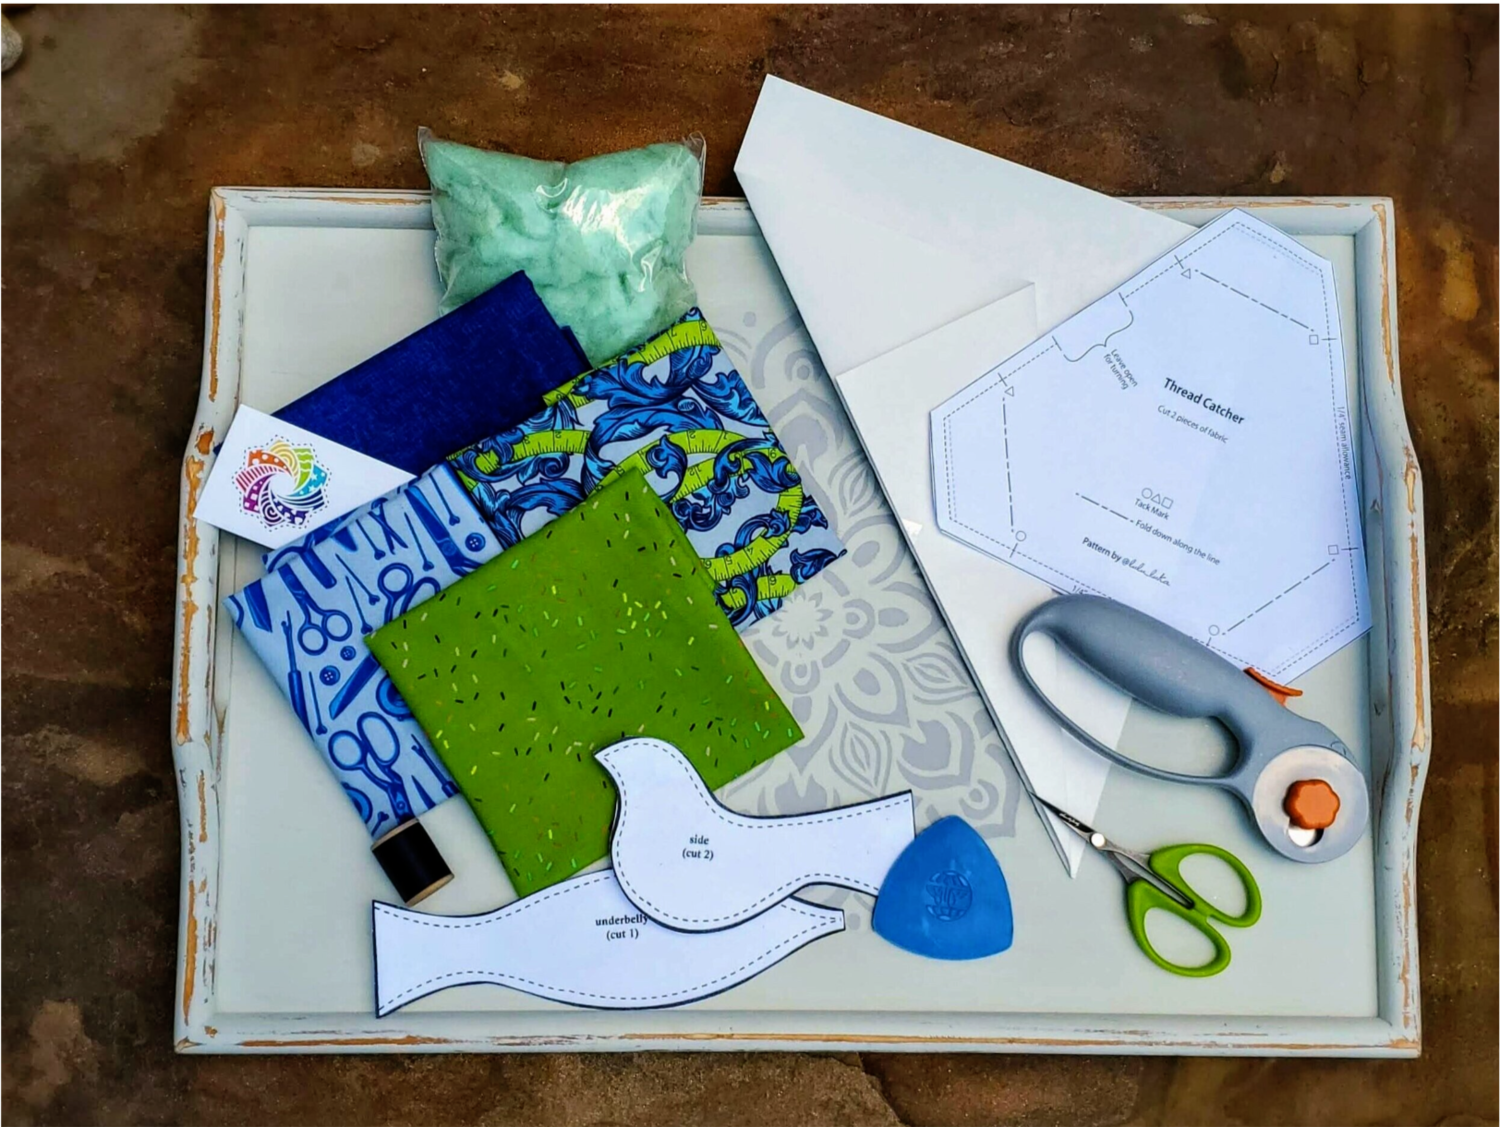
Materials needed
Fat quarter of 4 coordinating fabrics (I used some from a Cotton Cuts Classic Box)
Polyester stuffing
Small piece of batting
Small scissors
Rotary cutter
Tailors chalk to mark lines
Coordinating thread for top stitching and quilting
Pattern for bird Modest Maven
Pattern for thread catcher was a free download from Bluprint and Studio Luca
8 ½ x 11 paper to make scissors pattern, I made my own pattern inspired by
Quilted Scissors Holder Tutorial by Miss Sew-It-All
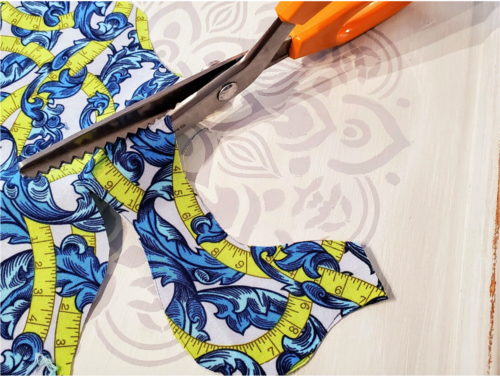
Let’s start with the bird pincushion. Cut two of the bird shaped patterns by folding fabric in half. In a coordinating fabric cut one of the under side of the bird.
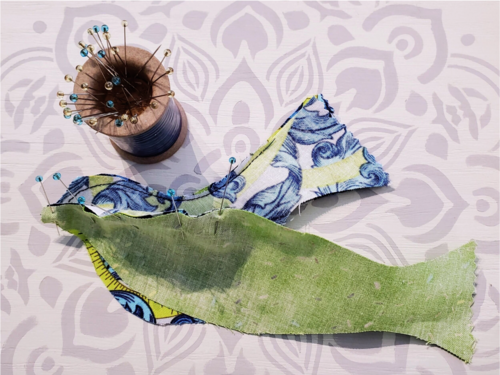
I used a pinking shears for the tail to add some texture to the finished piece. Do the same for the underside piece. I started by sewing the bird shaped pieces starting at the tip of the beak sewing along the top till I was about 1 ½ inch from the end of the tail. Next it is time to sew the underside to the top. With right sides together you can pin in place or just carefully sew and adjust as you go, keeping the seam ¼” or less.
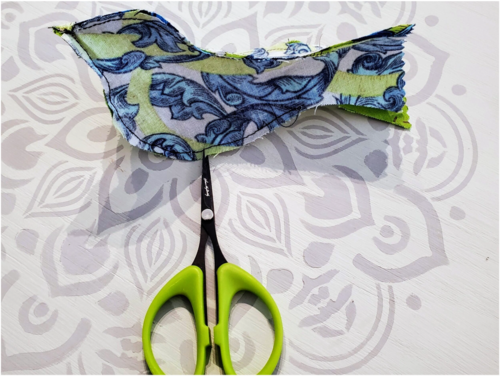
Trim the curves carefully to help it lay nice when you stuff it.
Turn it right side out and it is ready to stuff. You can use scraps of fabric and batting. If you add steel wool it can actually sharpen your pins and needles as you use the pincushion. After it is stuffed sufficiently you can use a scrap of fabric or ribbon tied around the base of the tail to finish it off.
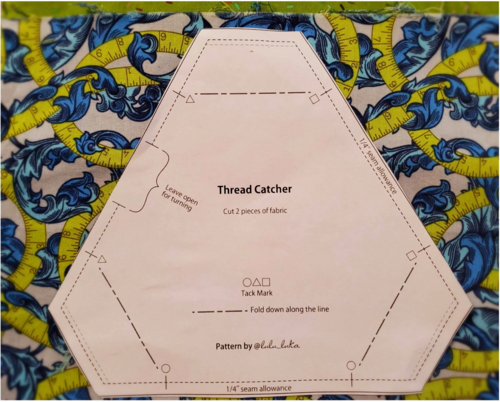
The thread catcher is such a quick and easy project. The pattern is basically an equilateral triangle with the points cut off. You can easily adjust to make the size that suits your needs. Cut out one piece from two coordinating fabrics. Sew ¼ “ seam all around leaving a 2” opening to turn the fabric right side out. Then on the straight edge fold the lining down ½” toward the outer fabric and top stitch close to the edge.
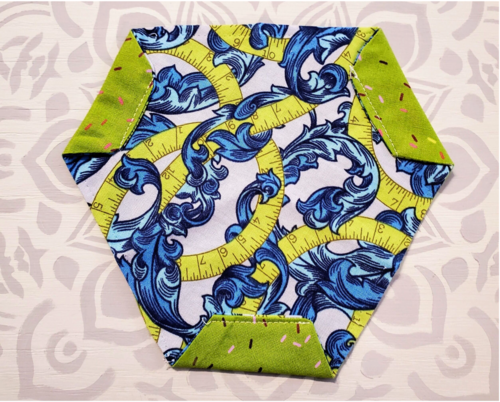
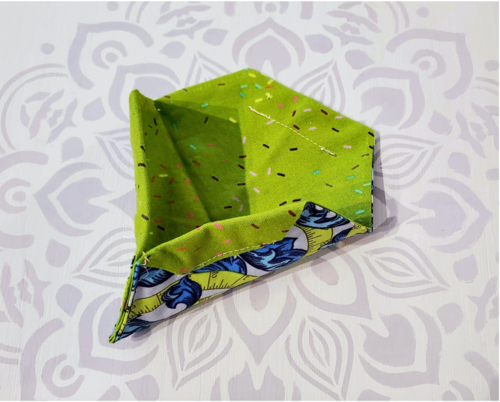
To make the triangle shape sew sew two sides together on the outer fabric. I did this close to the edge using a matching tread. After completing the three seams the fold up triangle thread catcher is complete.
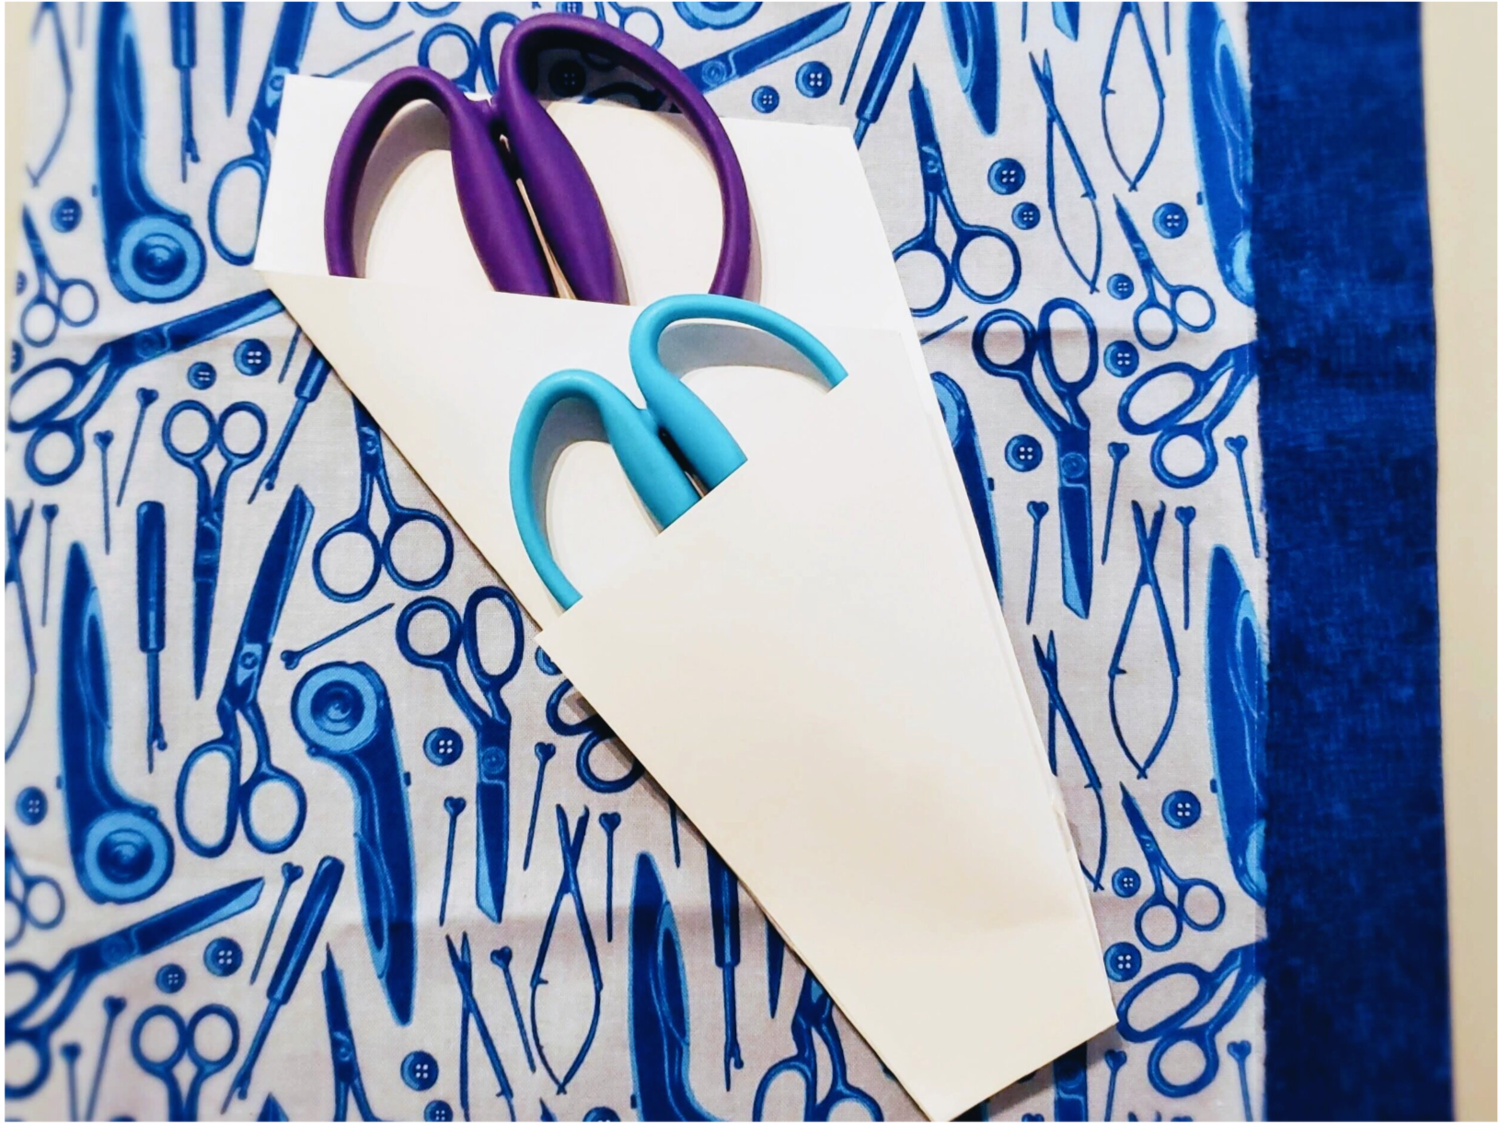
Our final project is a case that will protect your scissors and keep them handy as you travel. I wanted to make my case to specifically fit my two pair of scissors I use most often. I started with a 8 ½” x 11 paper and folded it like a paper airplane to fit the scissors.
I then planned my fabric selection and where I wanted the fabric to be on the finished project. This helps if you want to fussy cut a patterned fabric.
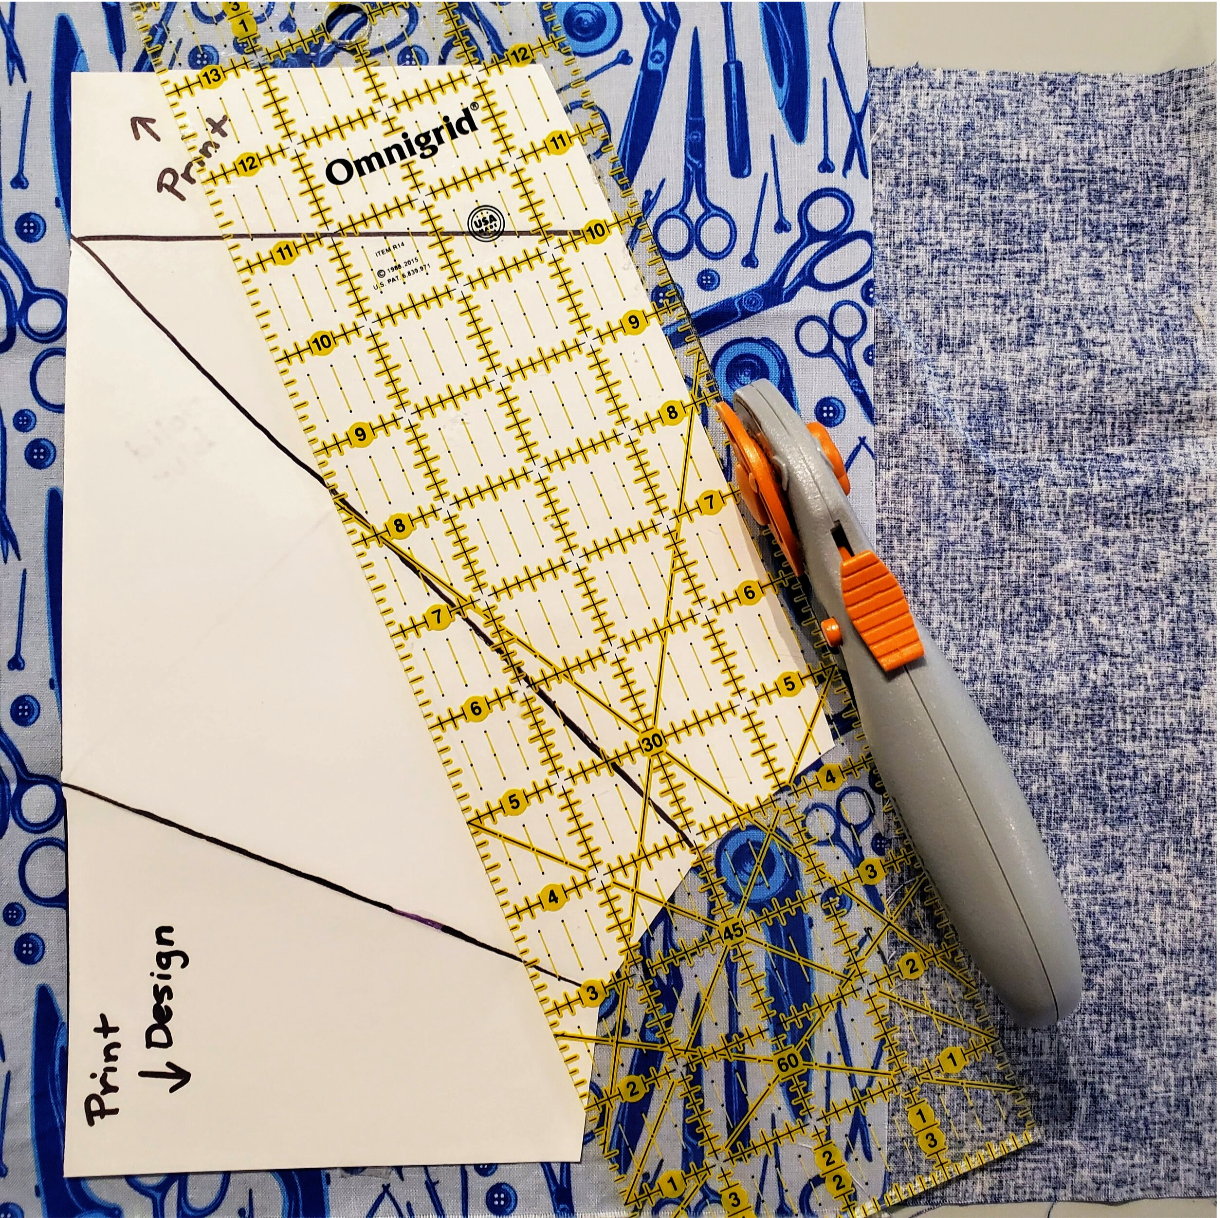
I cut around the pattern adding a ¼” seam allowance all the way around. I also cut a piece of batting to put in the middle. Sew the three layers together with right sides together along the edges leaving a 2” opening to turn the fabric. Turn the fabric and be sure to open out the corners with a tool. Press, taking care to turn the opening under.
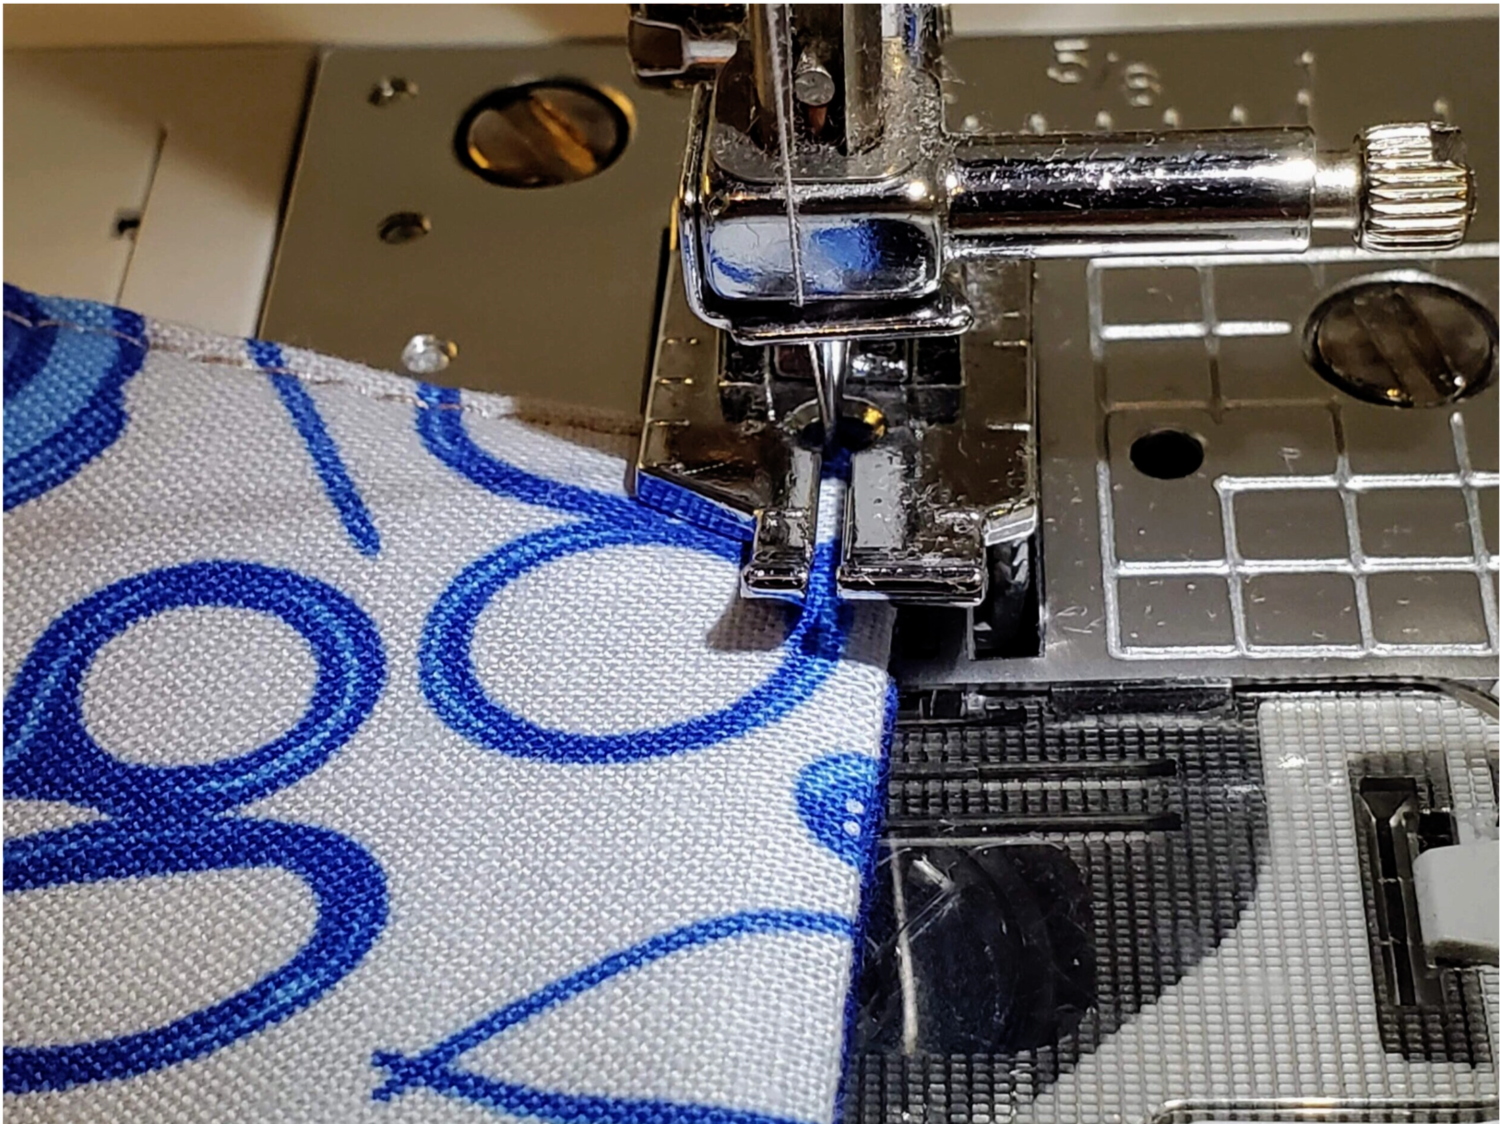
Top stitch all around the outer edge. I was sure to have coordinating thread in the top and bobbin to match my fabric. Next I used my paper pattern to determine the fold lines and pressed into place. Using steam on a wool mat will definitely help set the folds. I used a Hera marker, my ruler and tailors chalk to plan quilting lines.
I unfolded the piece to quilt the lines. I have a basic Brother sewing machine and I was able to sew on the lines marked to do the quilting. It would be easier to use a walking foot if you have one for the machine. I made another case for my sister and did free motion quilting around the design. All the methods worked well.
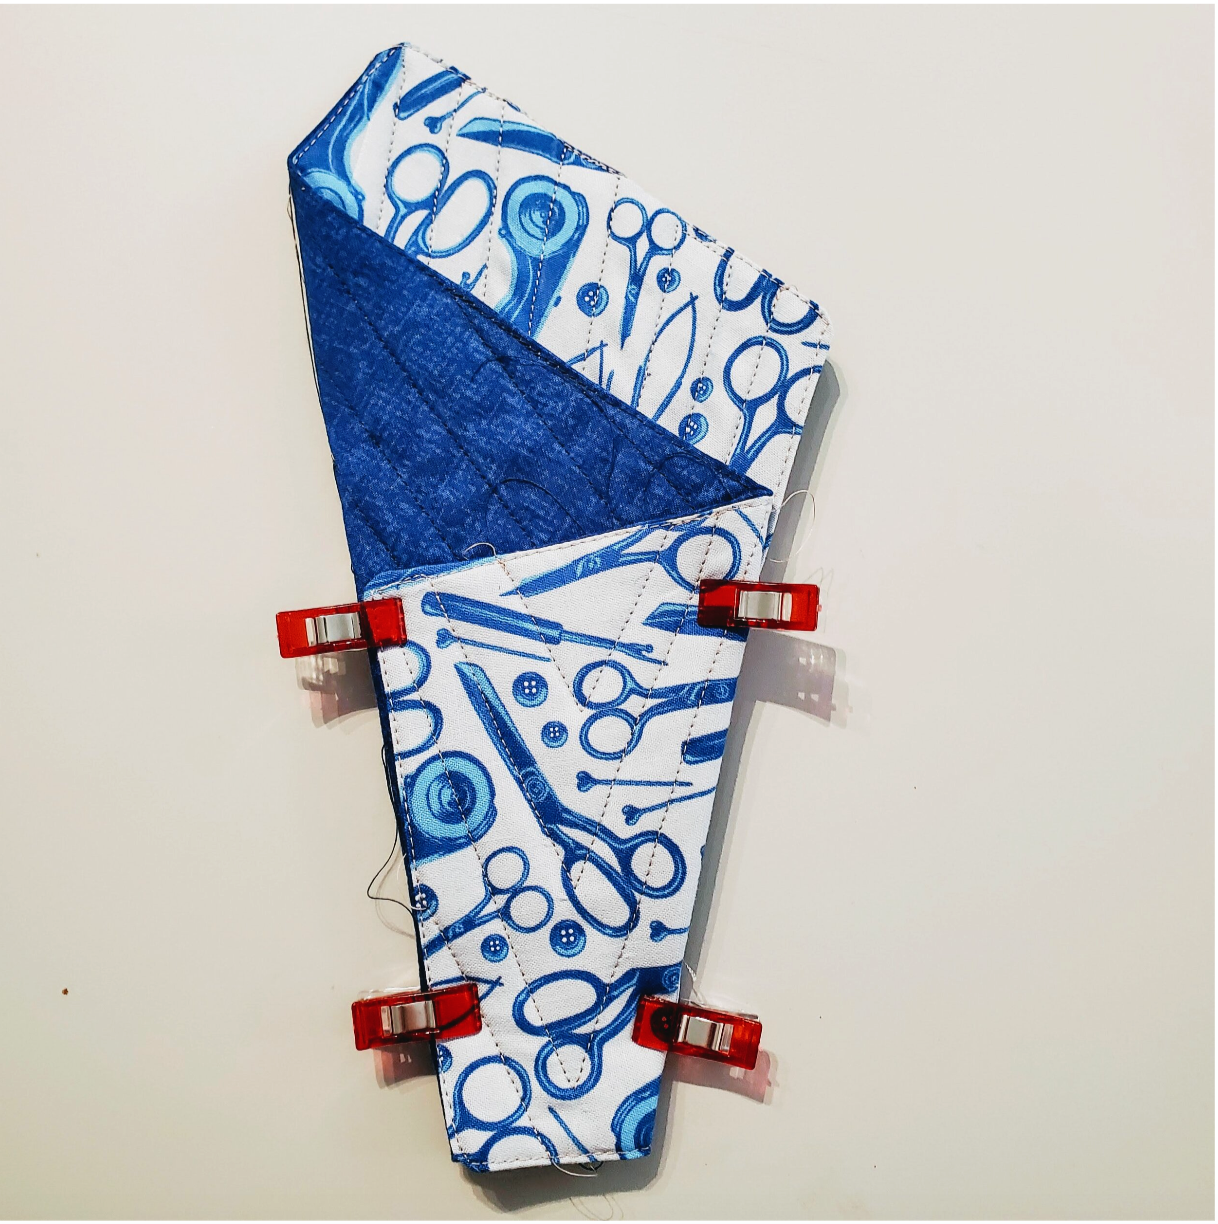
Before I sew the last two seams I trim the threads and place a drop of fray check to secure the stitching. I used clips to hold it in place on my folded lines then take it to the machine to top stitch the seams in place to form the pockets.
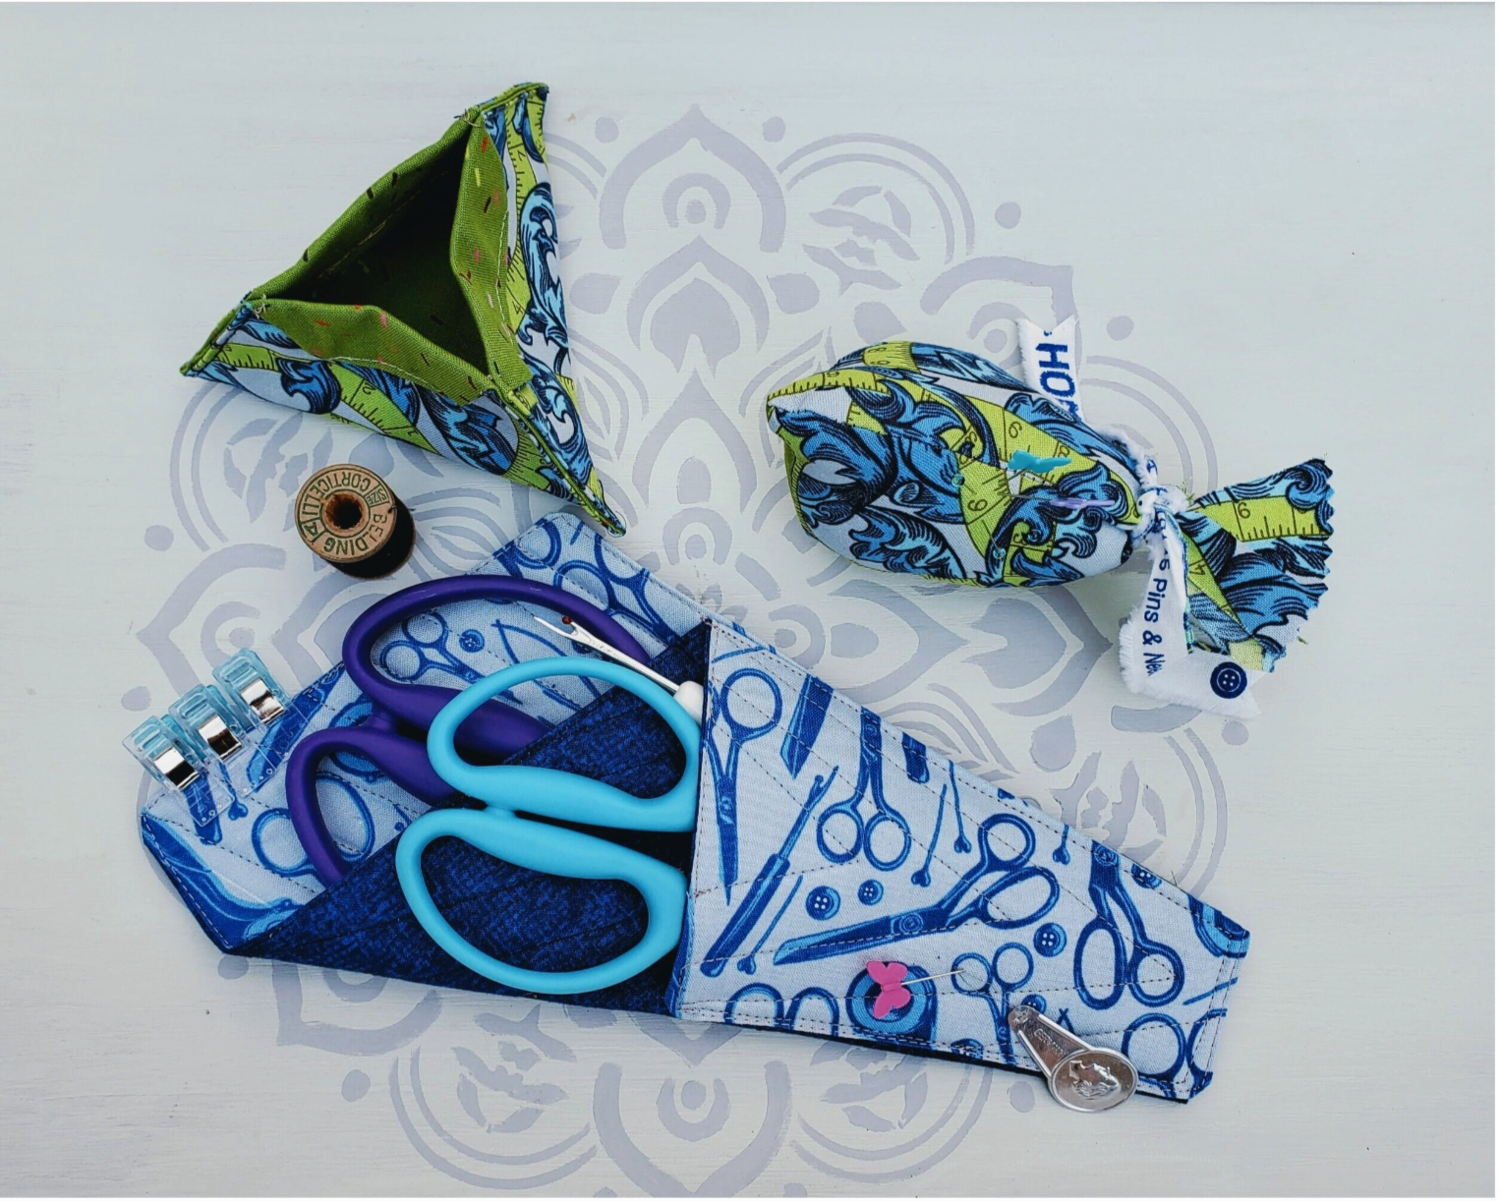
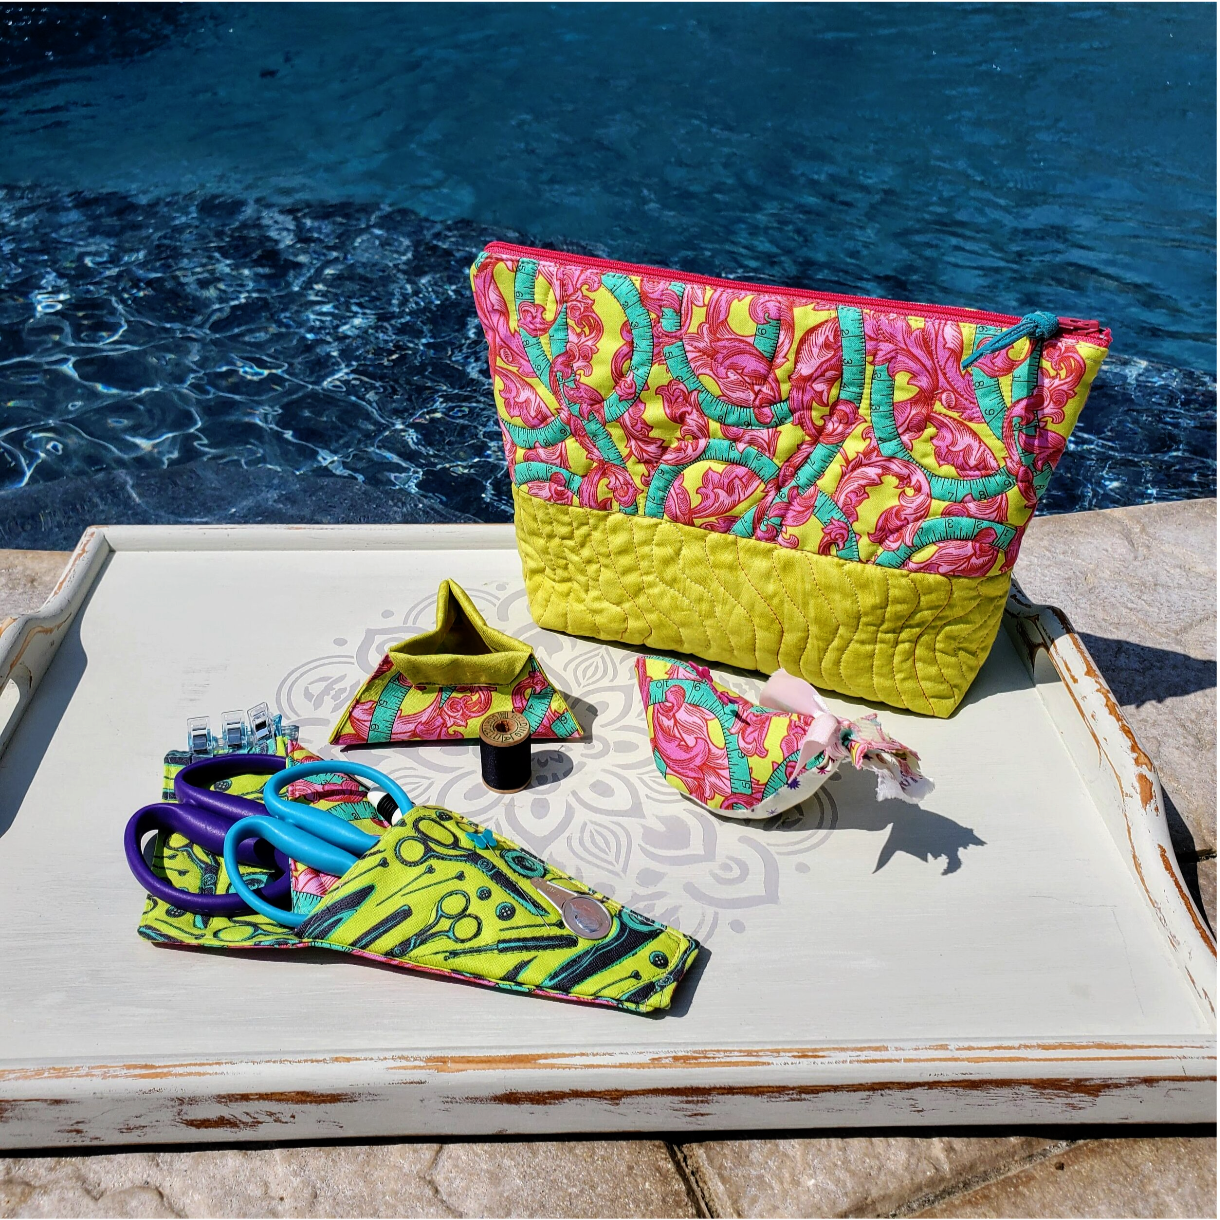
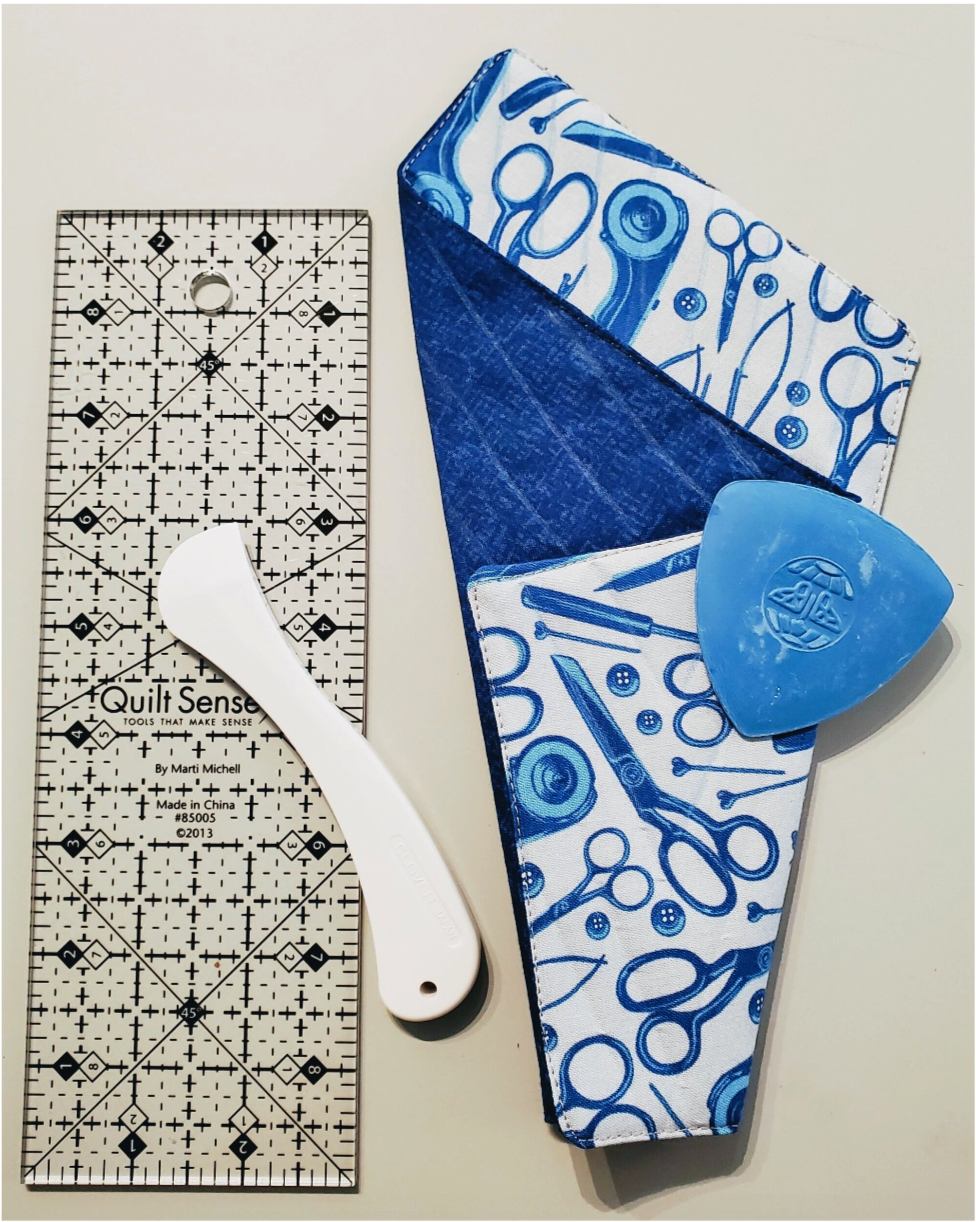
The finished set. The complete set going to my sister as a thank you gift. She provided her cabin for the escape from the heat to the quiet woods of northern Minnesota.