DIY Pie Carrier
17th Sep 2020
With the cooler weather I have started thinking about my holiday gift list. I came across this pattern on Creativebug after receiving a cute selection of Cotton Cuts fabrics in a mystery bundle. You can order the package of 10 fat quarters here
This pie or casserole carrier was a quick project and would be great for someone just beginning to sew. I plan to make several filled with goodies to deliver for the holidays.
Materials needed:
-
Three coordinating fat quarters
-
Two 15” pieces of webbing for handles
-
7” x 16” piece of fusible interfacing
-
Aurifil coordinating thread
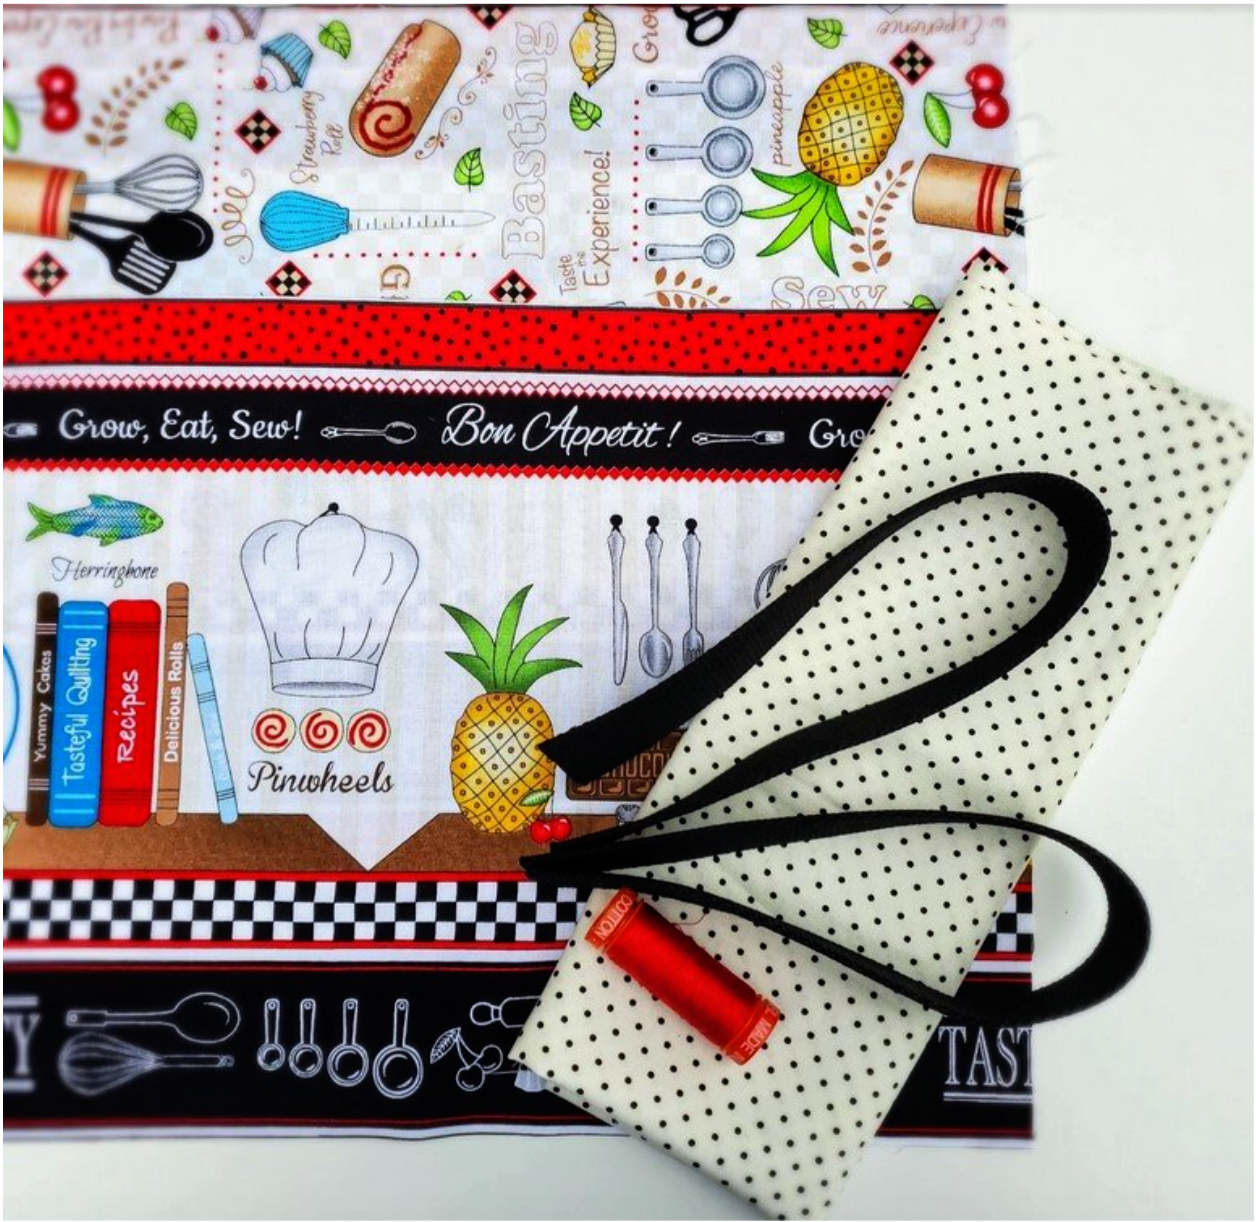
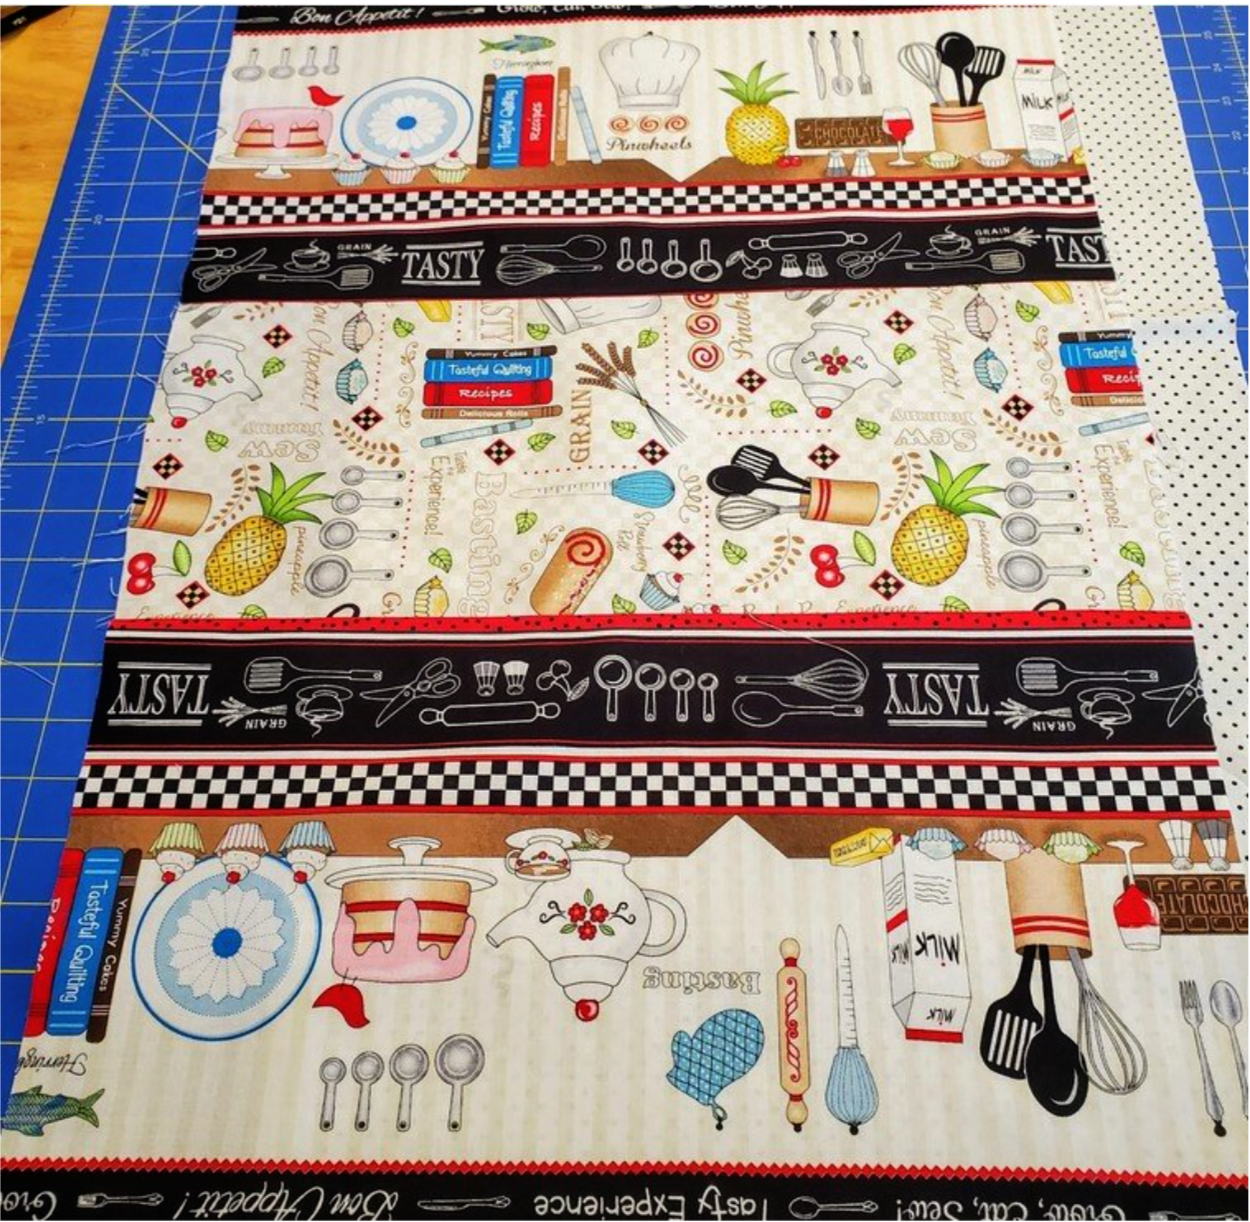
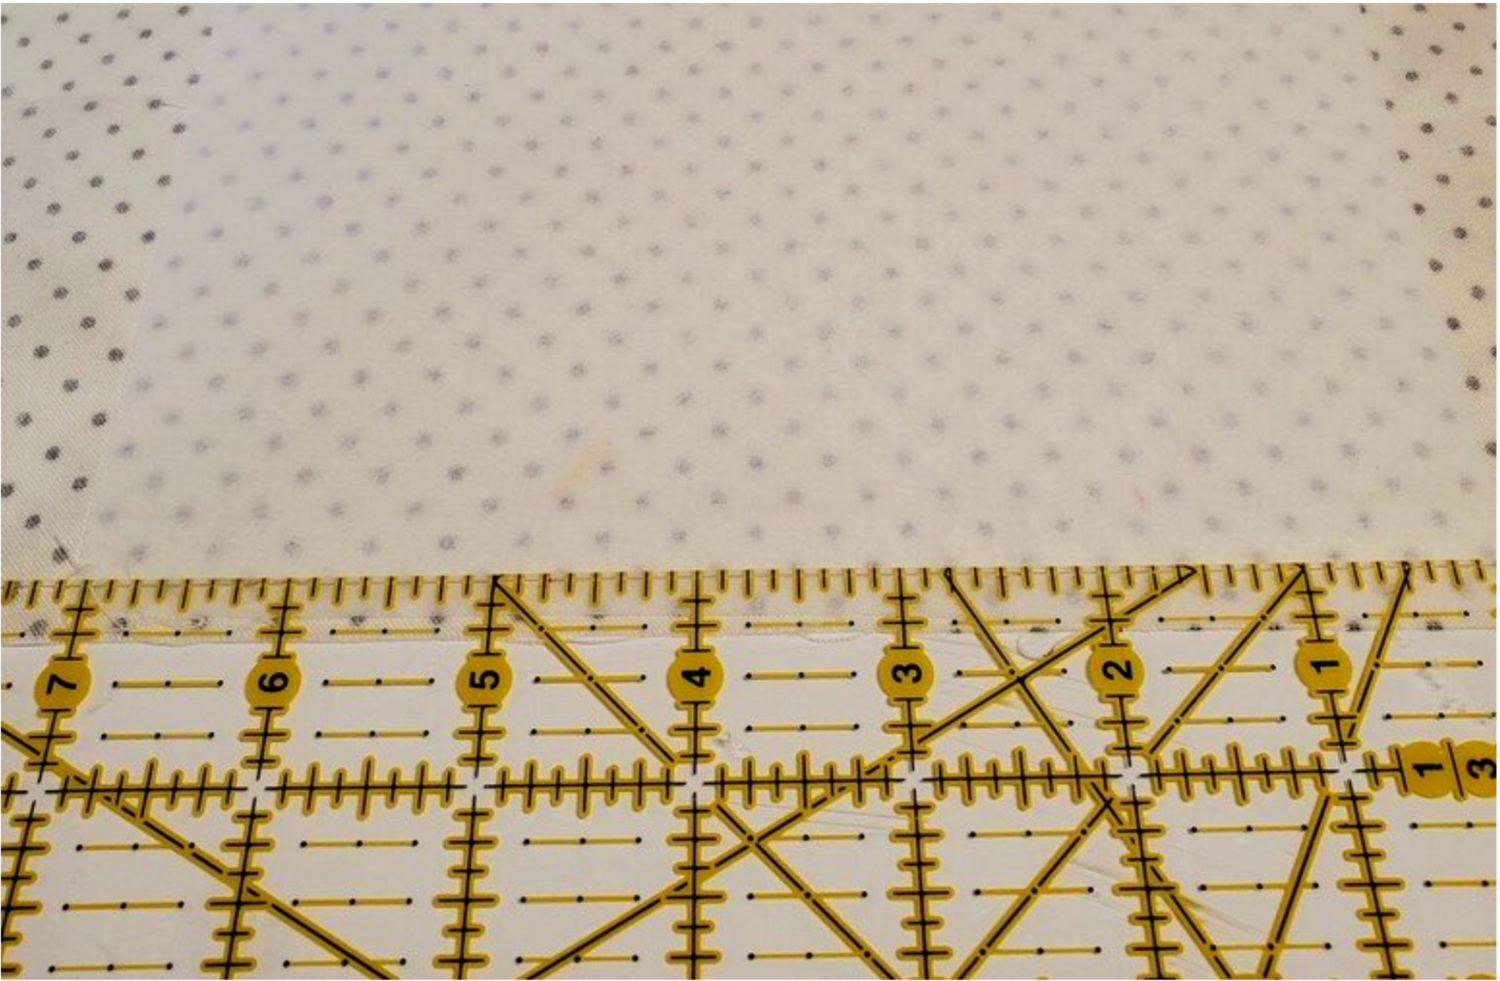
To start, I used two of the fat quarters sewn together to make a piece 28” x 16 ½ “. The pieces pictured here for my project were directional so I placed a coordinating piece of fabric sewn between the pieces taking into consideration the direction of the fabric on each side. You will need to make a second piece for the lining the same size.
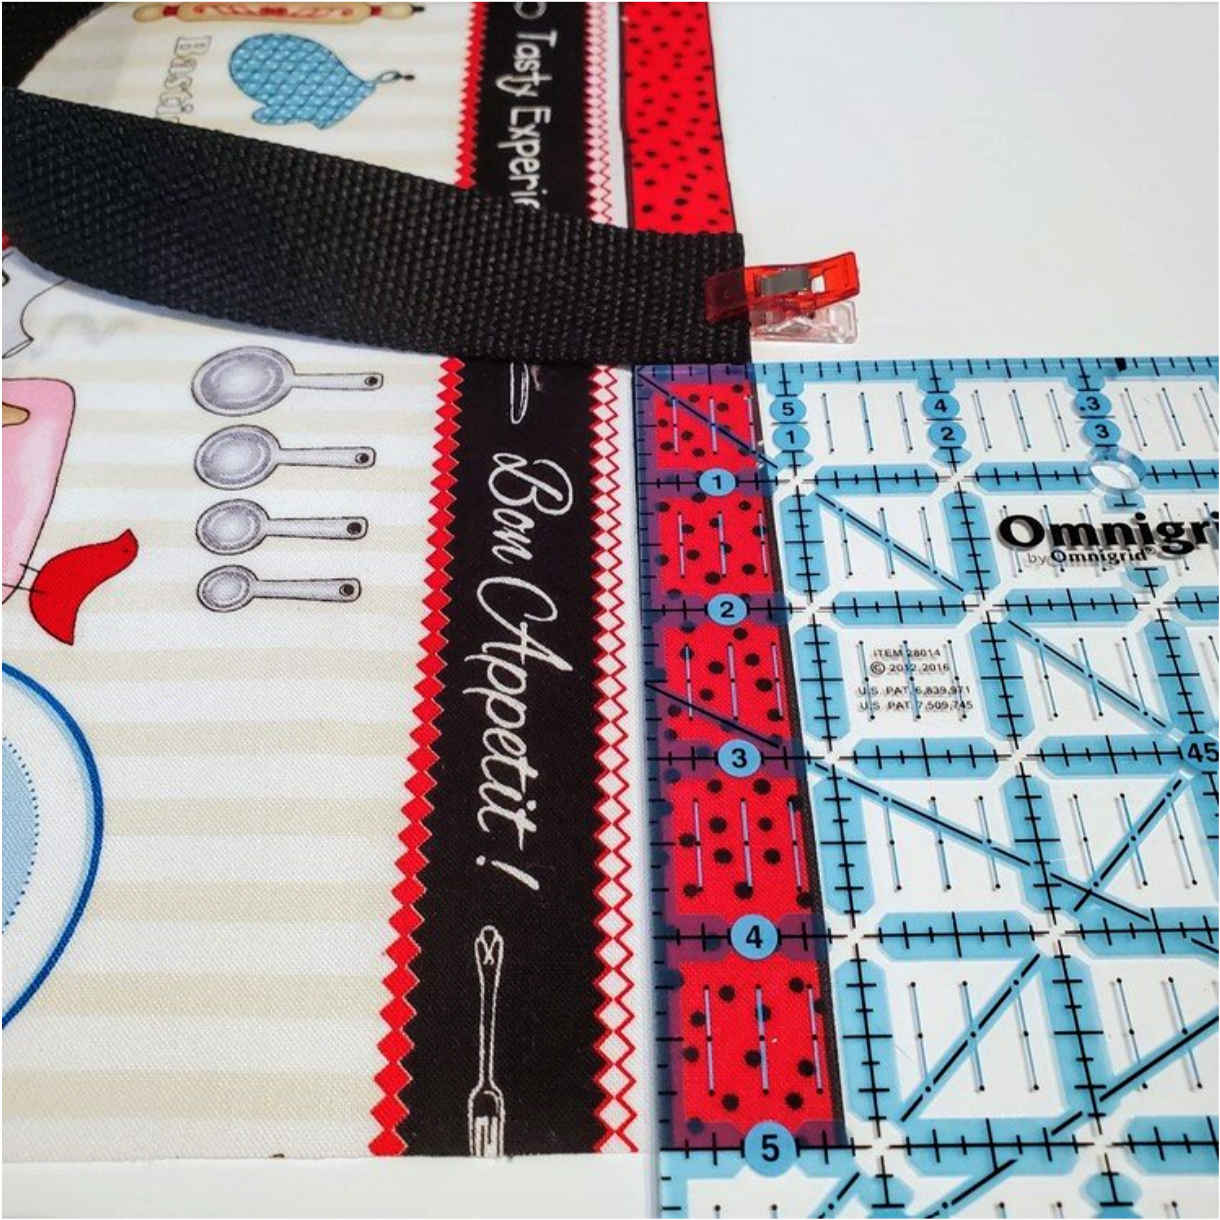
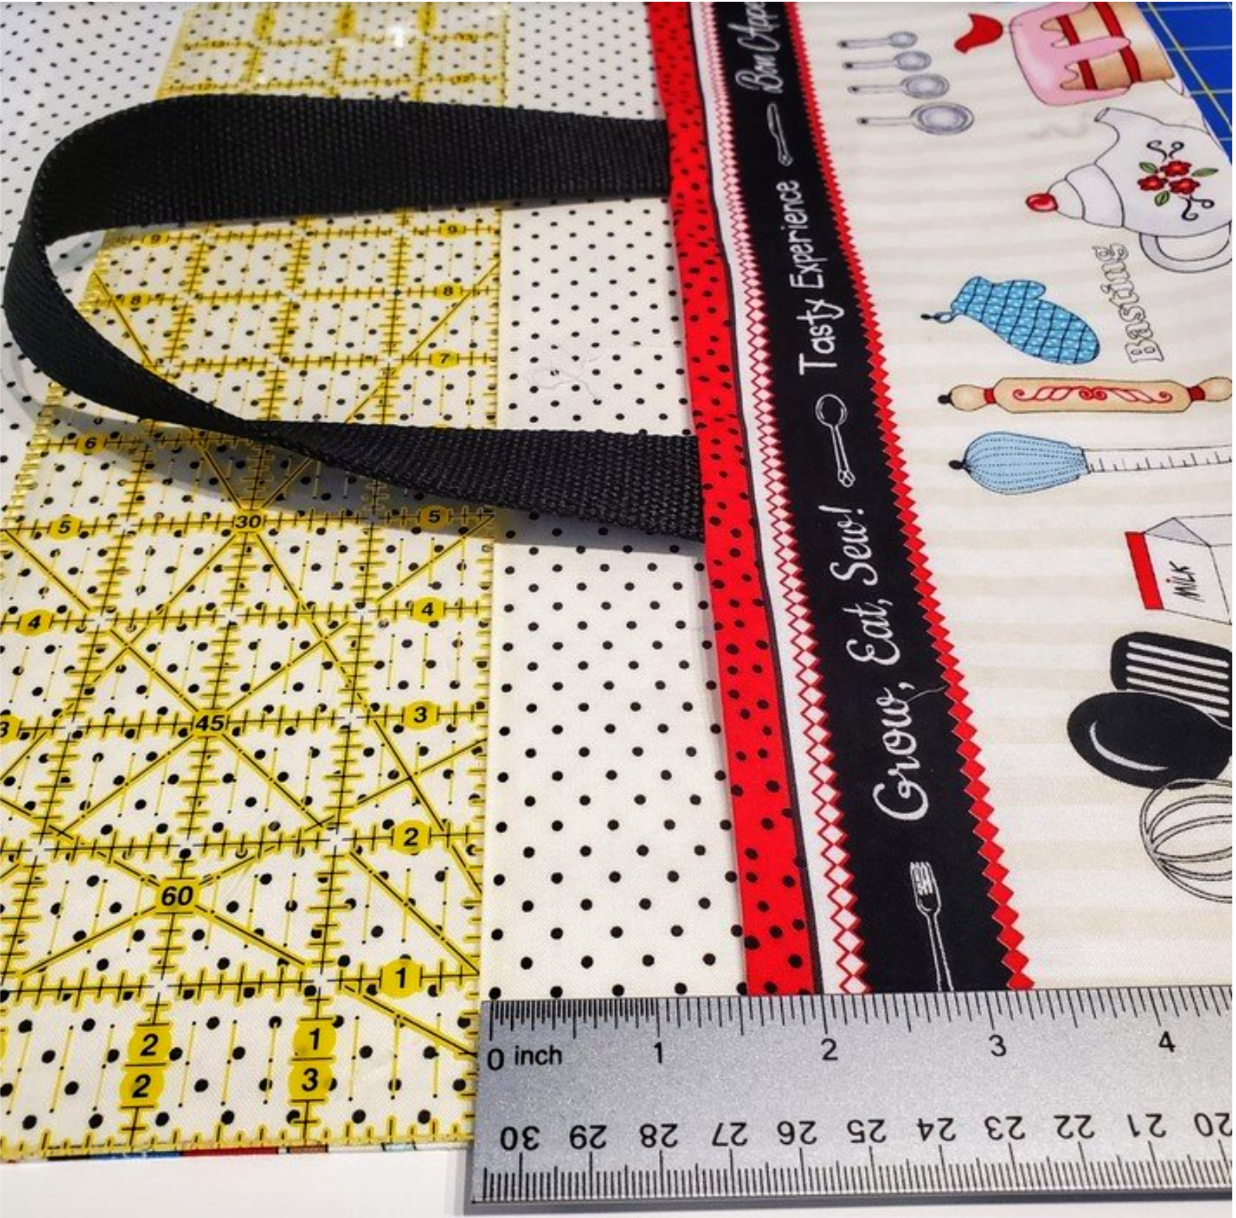
Next you will take your handle and place it on the right side top edge of the short sides of the outer fabric 5” from each of the corners. Sew in place with ¼” seam. Sew back and forth a few times to secure in place. Repeat on the opposite side.
On the wrong side of the lining, fuse a 7” x 16 piece of interfacing to the center of the piece of fabric. This will add stability to the bottom of the carrier.
Match up the two pieces of fabric with the right sides together. Be sure handles are tucked in the middle so they do not get caught in the seams as you sew.
Using clips, align the pieces together. You will leave a 3” opening on the long side near a corner to turn right sides out.
Sew all the way around with a ⅜” seam allowance. Clip the corners and turn right sides out and press. Give special attention to the 3” opening.
Fold the seam allowance under and pin in place. With your coordinating thread top stitch the short sides with the handles about ⅛” from the edge. Fold handle sides together in half and mark the center point. Measure 1 ½” from the mark on each side and fold the short sides to this mark.
Top stitch about ⅛” from the edge along the long side forming a pocket on each side. Repeat on the opposite side. This stitching will also close up the 3” opening you left to turn the piece right side out.
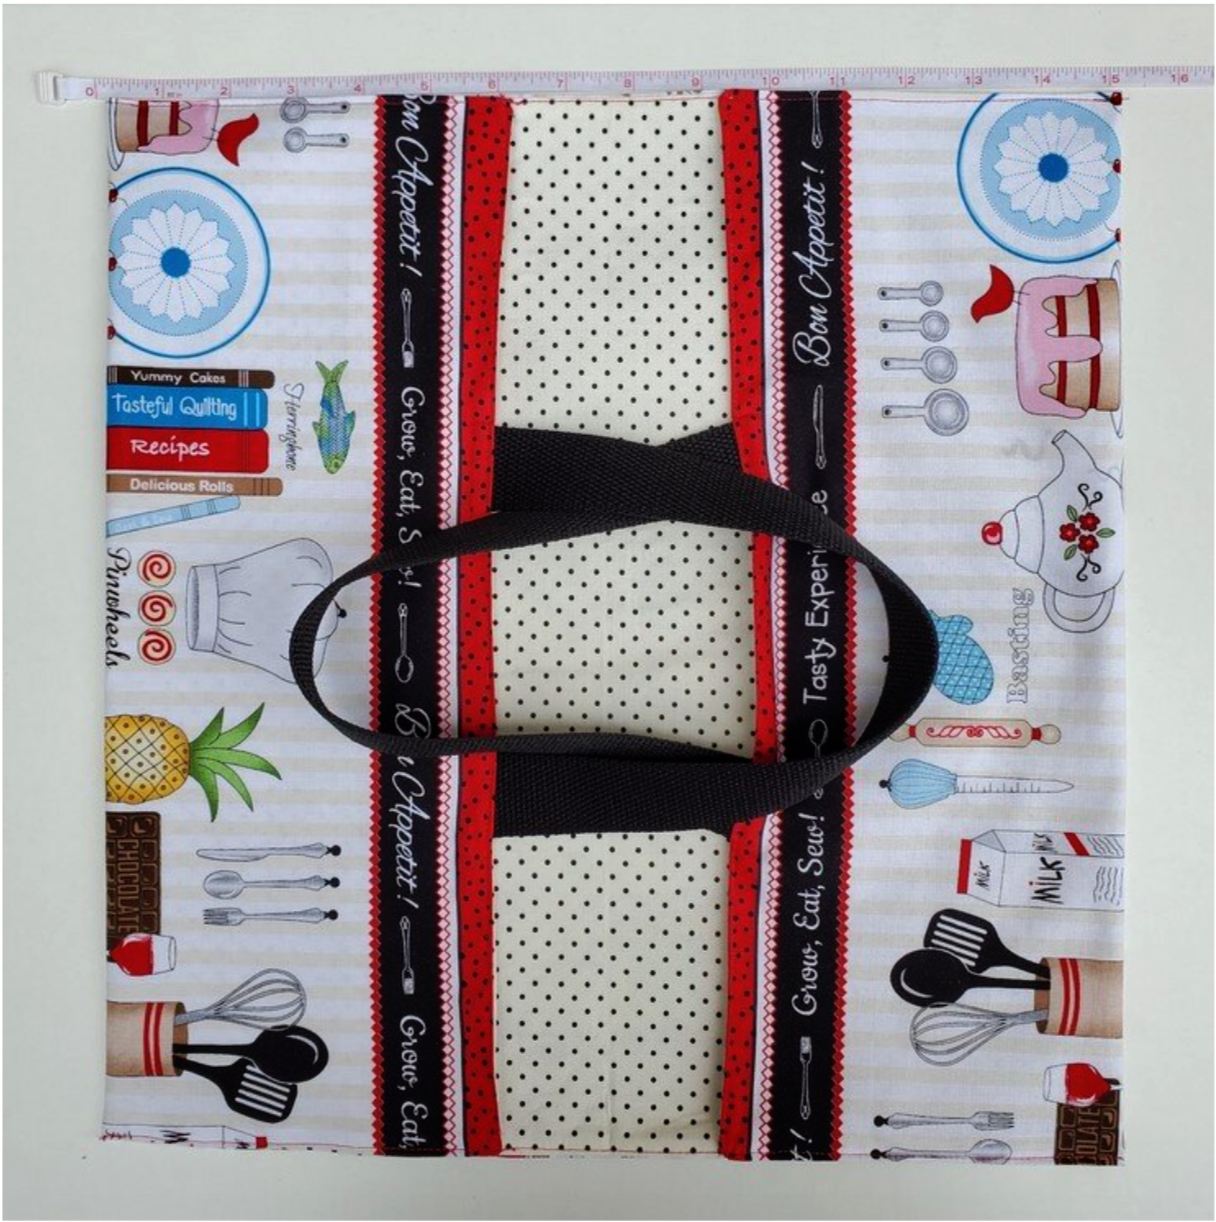
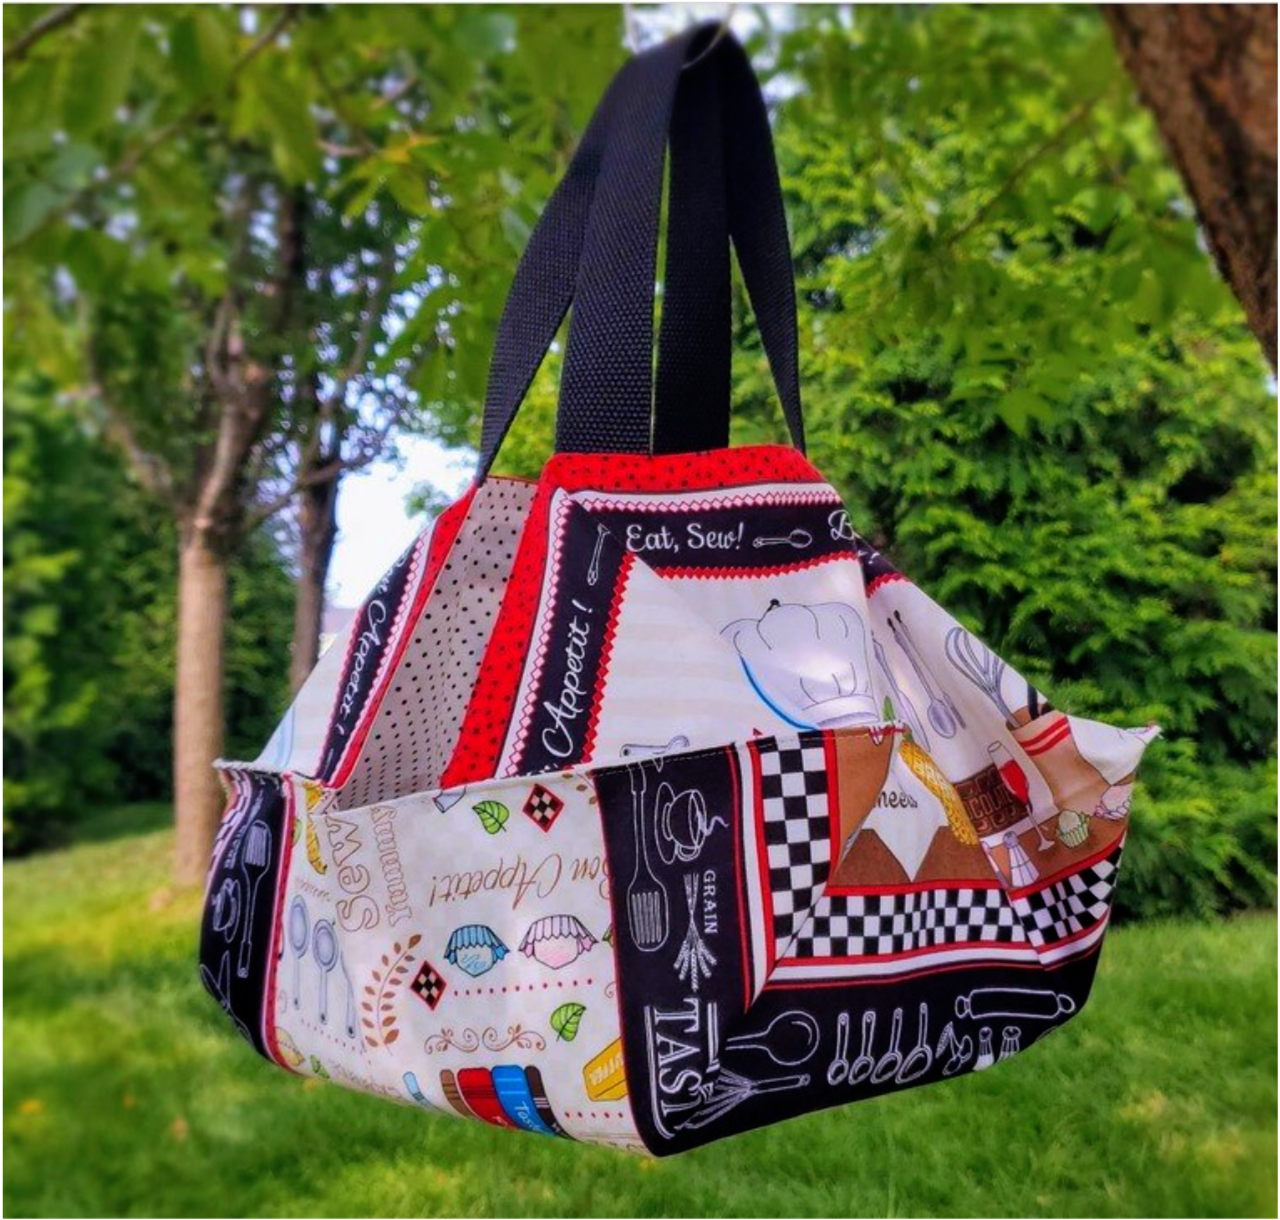
Your carrier is complete! Now you can impress your friends and family with both your baking and sewing skills!